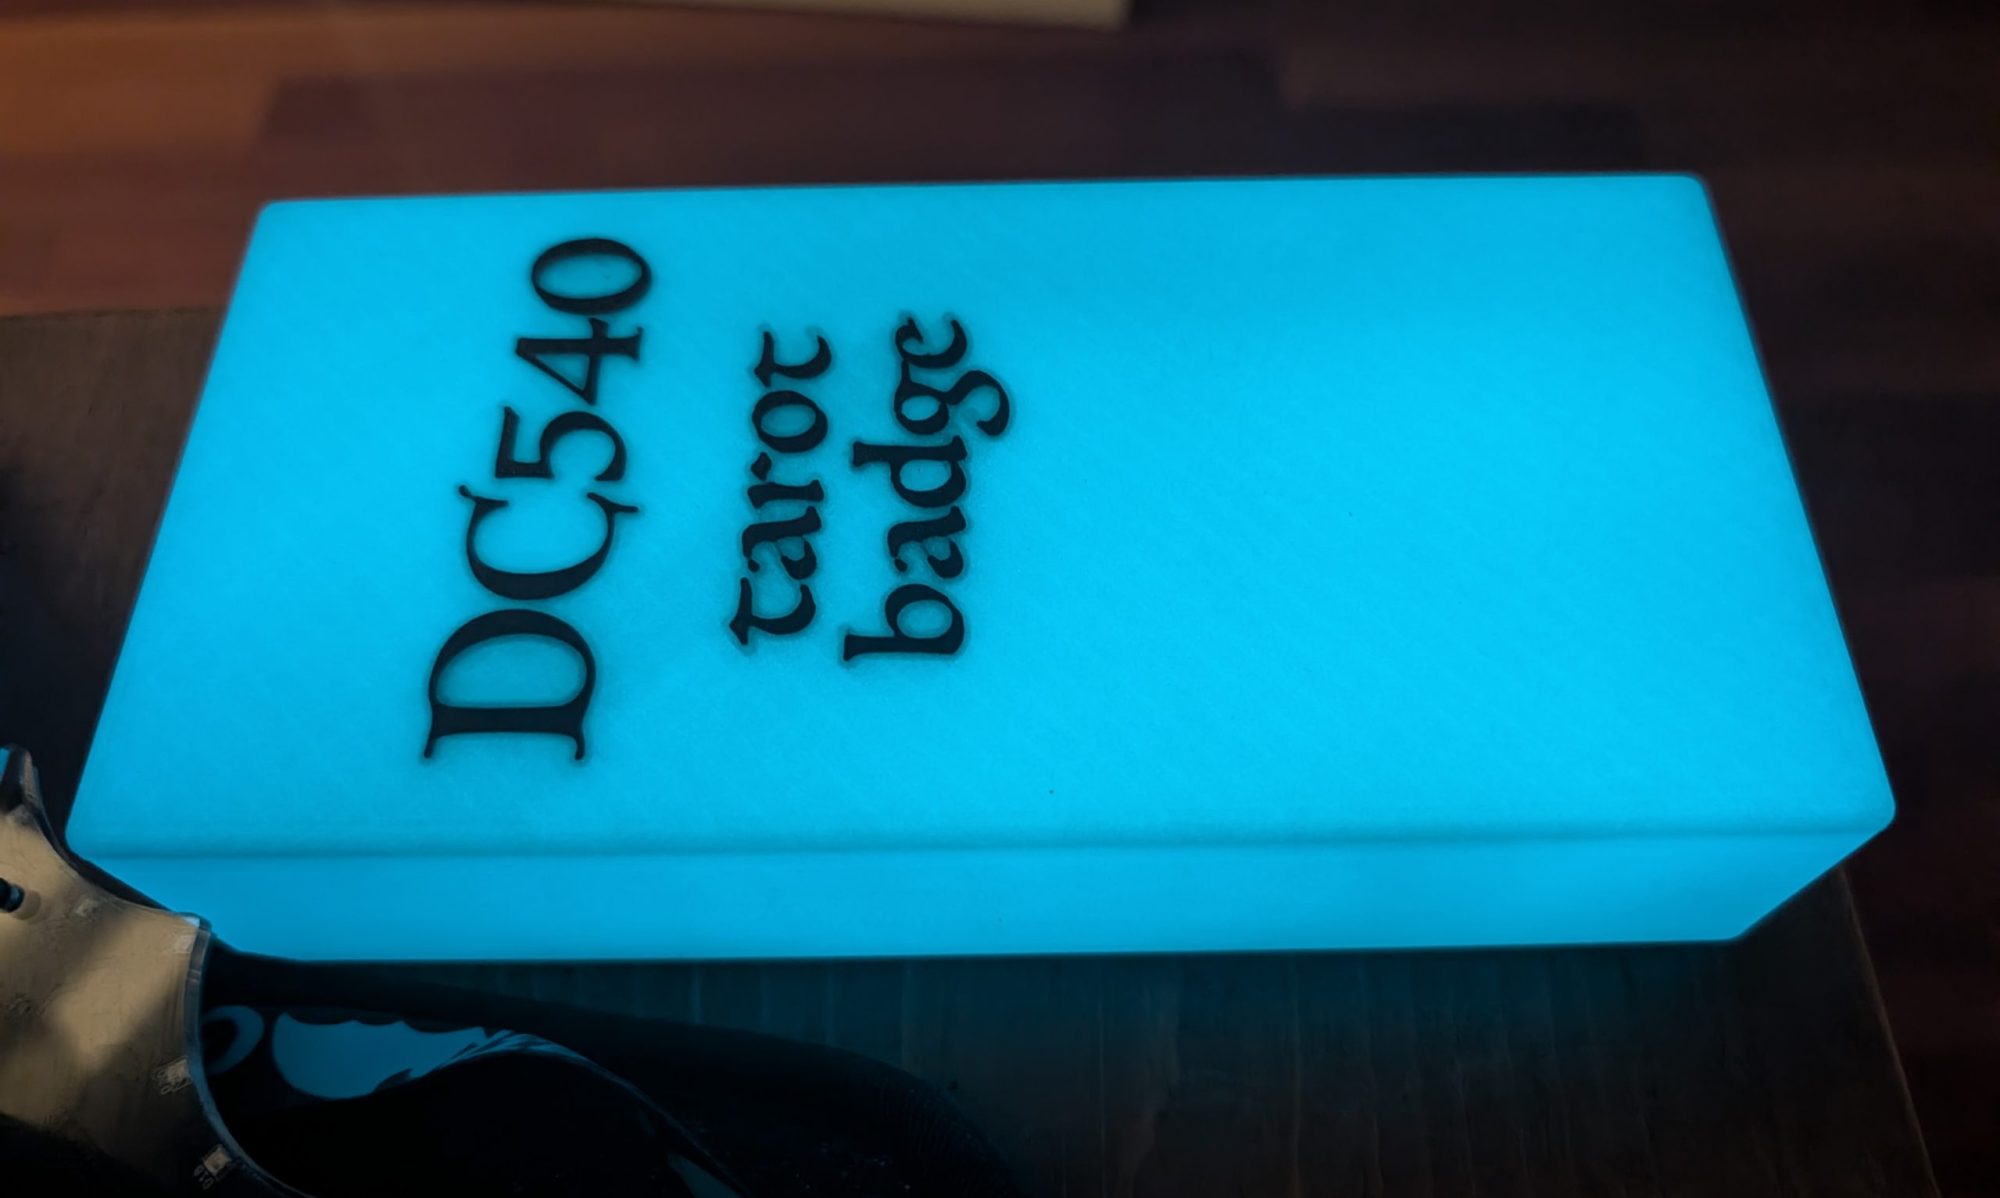
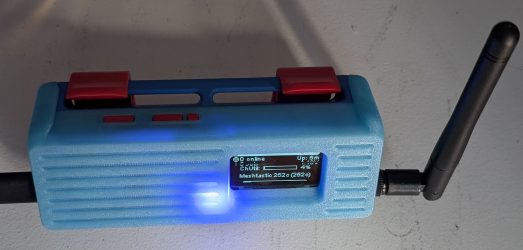
DC540 ‘Tree of Life’ Games

How to Enter the Answers:
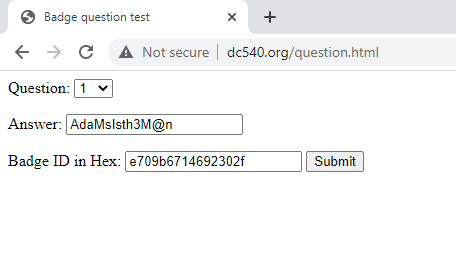
– Once you get the Answer, go to the http://dc540.org/question.html website and enter in the Question number, the answer, and our badge ID. Take the eight-digit number (unique to your badge) and enter that into your badge.
– A couple of notes: even if you put in the wrong badge id or answer, an 8-digit code will be returned, so be careful.
– When entering the numbers into the badge, make sure to lock in each number with the right button and then submit. If the answer is wrong or you didn’t submit correctly, you will be dropped out of the game answer area.
– There is a Discord invite on our main DC540 page but look for the dc540-tree-of-life-badge room.

Game 1: Crossword Puzzle
– There is a Hitchhiker’s themed crossword puzzle on our website or the one included in your bags. Complete the crossword puzzle, snap a picture of the completed puzzle with answers written legibly and send it to us on Twitter or Discord IN A PRIVATE MESSAGE with your badge ID (that 16-digit sequence starting with an ‘e’). You can also deliver it to us in person. Once we verify you completed the puzzle, we will send you the answer code to enter on the badge. Our Twitter Handles and Discord Usernames are at the bottom of this instructions.
https://crosswordlabs.com/view/dc540-2021-badge

Game 2: Lockpicking Challenge
– Go to the lock picking village and learn how to pick locks. Videotape yourself picking the lock and send us the video to our DC540 Twitter with all the hashtags or feel free to also send it to us privately. Once we verify you completed the challenge, we will send you the answer code to enter the badge.

Game 3: DC540 Website
– Check out the ‘History of the DC540 badge’ and enjoy the pictures on our website.

Game 4: Twitter Challenge
– We have hidden some information on our DC540 Twitter Page. Nothing too complicated but check out our feeds, find the information and decrypt.

Game 5: Scavenger Hunt
– Make sure to be courteous and ask for permission before taking pictures of anyone.
– To ensure the following photos are yours and yours alone, make sure you are in the picture. Extra points for creativity.
– Take pictures of ten of the following items, add a hashtag, and post on our twitter page. Make sure to send us a message (to our twitter) with your username when you found ten of the below items and posted on our Twitter:
– A Sheep
– A Carrot
– The “Welcome to the Fabulous Las Vegas” Sign
– A brochure from a wedding chapel in Las Vegas
– A photo of you next to a man/women who has a mullet
– Take a picture of an impersonator.
– A photo of you with a Roman Guard at Caesars
– Poker chips from 3 different casinos
– Green Craps dice
– Post card with the Eiffel tower on it
– A picture with Elvis
– A picture with one of the M&Ms
– A tiger
– A picture of a person wearing socks with sandals.
– A bike “cop”
– Photo of a man with a handlebar mustache
– Ceiling in Bellagio
– Pink Flamingos
– Floppy Disk
– Picture with a DC540 Boss

Game 6: Morse Code Challenge
– Go through the Morse code menu and you’ll find several Morse code challenges. One is the answer, but the rest may prove helpful. For a bit of fun, when you pair with a boss, Morse code will flash. Hurry up and write it down and make sure to let us know what you’ve found. The answer (when input into the generator) will not have spaces, capital letters, special characters, or numbers.

Game 7: What do you know about the Ham Radio?
– The theme of DC29 is “Don’t Stop the Signal” if we do end up in a world where communication becomes more difficult, could you grab a ham radio and know what you are doing? The questions and answers are only displayed once and your answers will not save if you leave the game early. You will get a random set of questions from a larger question bank, Answer 15 of the following questions correctly and pass this challenge. You won’t know what questions you get wrong.  Then maybe go take your entry level Ham Radio license (there is a Ham Radio village at DEFCON).

Game 8: Badge Pairing with another Player
Pair badges with other players and check out some of the default messages or send your own. Be careful, you’ll have several good or bad hints you can send to the other person. You know if the message you sent is helpful or not, but not what the message is. Hopefully, they treat you the same. Make sure to write down the message you receive immediately. It’s not saved anywhere.

Game 9: Hide and Seek Part 1
There will be three DC540 founders at DEFCON. You can put your badge in “Boss Check” under the Phonebooth menu and it will search for our three Boss Badges wandering DEFCON. Your badge will light up when you are nearby a “Boss Badge”. We will occasionally post on Twitter our locations or hints. We maybe wearing DC540 paraphernalia. Find us and to get the code you need by completing one of the following: sing a lullaby/song out loud, show us a talent (idk, impress us), bring us a SAO for our collection or a cool DEFCON sticker or anything else you think would be worthy of winning this challenge (or just bribe us with a beer).

Game 10: Hide and Seek Part 2
Now find the another boss badge.

Bonus: For those coders/badge enthusiasts and all-around tinkers, feel free to explore our badge and make suggestions for code improvements or

Twitter Handles: @skullsinblack and @dc540baab
Discord: ‘Lyra the Damned#5380’ and dc540#3865

Badge Distribution Update

So I just left the badge creator’s meetup. Amazing talking to other badge makers and doing a few swaps, buys and sells.

Right now, I’m taking a much-needed self-care break. I have to recharge my phone, mask and body for a bit, sit with my feet up for a while, and get shower of the day.

My plan for the rest of the day is to be available to hand out preorders.

I’ll leave the room in like an hour and a half or so, and head down to the main chandelier bar on the Paris casino floor next to Cafe Americano, find a comfortable seat and hold court for any pickups. If any of you are really desperate to pick it up before then, hit me up directly (Twitter @dc540_nova) and I’ll give you directions to the room at the Linq. Extra stickers and support points for life if you pick me up a mocha doubleshot from the convenience store on the way up. It’s about $7. I’ll pay you for it.

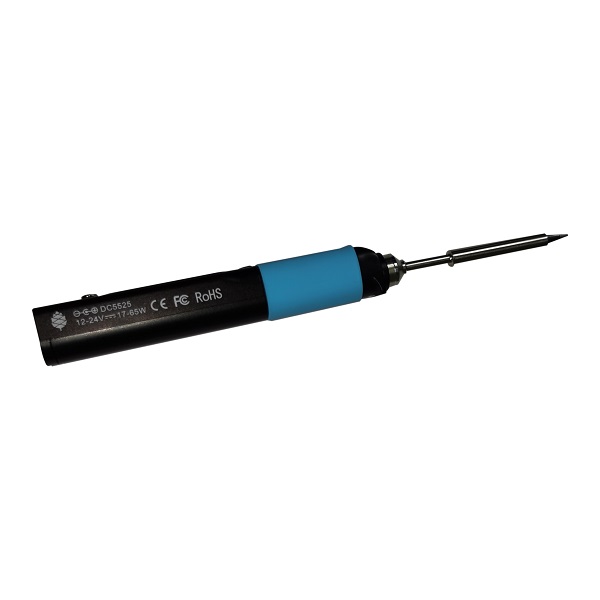
PINECIL soldering iron for the win!

So I dropped my TS-80 portable soldering iron on the tile kitchen floor last week, and broke the glass covering the OLED. It still works, but it spooked me, because of and the upcoming Defcon trip. Very bad timing. I wanted to make sure I had a backup in case we need to fix anything on the fly, or solder new stuff, etc.

I looked into getting another one, because I’ve been pretty happy with it, but then I found some posts touting the PINECIL. At about 1/3 the price of the TS-80, supports open firmware and custom logos just like the TS-80 and TS-100, and pretty well-reviewed.

So I got a PINECIL. It showed up last week. I plugged it into the same battery pack I’ve always used for my TS-80 (since fall 2018!), and it reported low voltage. Looked into it, and it turns out the PINECIL needs more juice than something made in 2018 can push. From multiple sources, the PINECIL really works its magic when it’s getting 60W at 20V. So now I need a new battery to power my new iron.

You should totally buy one. It’s just $35. https://amzn.to/3lqKDlp

I spent a couple hours looking at battery packs, specs, reviews, the whole bit. I finally settled on the EasyLonger model. 65W USB-C PD, 10000mAh. It’s important to stay below around 30000mah if you want to take it on a flight with you.

First test, fires right up, pumps the iron right up to the optimal temperature.

You should totally buy one, it’s about $55. https://amzn.to/2VhXpIj

Also get a high-capacity USB-C cable. The one I got is rated for 5A.

You should totally buy one. https://amzn.to/3xp9CrM

History of the Tree of Life Badge

Our Final Product

It’s time to tell the tale of how the DC540 “Tree of Life” badge came to be and memorialize its compiled history into one grand telling.

The badge had humbled beginnings as all great ideas do. Our crew had long wanted to conceive our own glorious badge. A badge that was both aesthetically beautiful but also offered more. We played around with several different themes that stretched from The Hitchhiker’s Guide to the Galaxy, Lovecraft, an Escape Room to Ham Radio.

One of Our First Conceptions

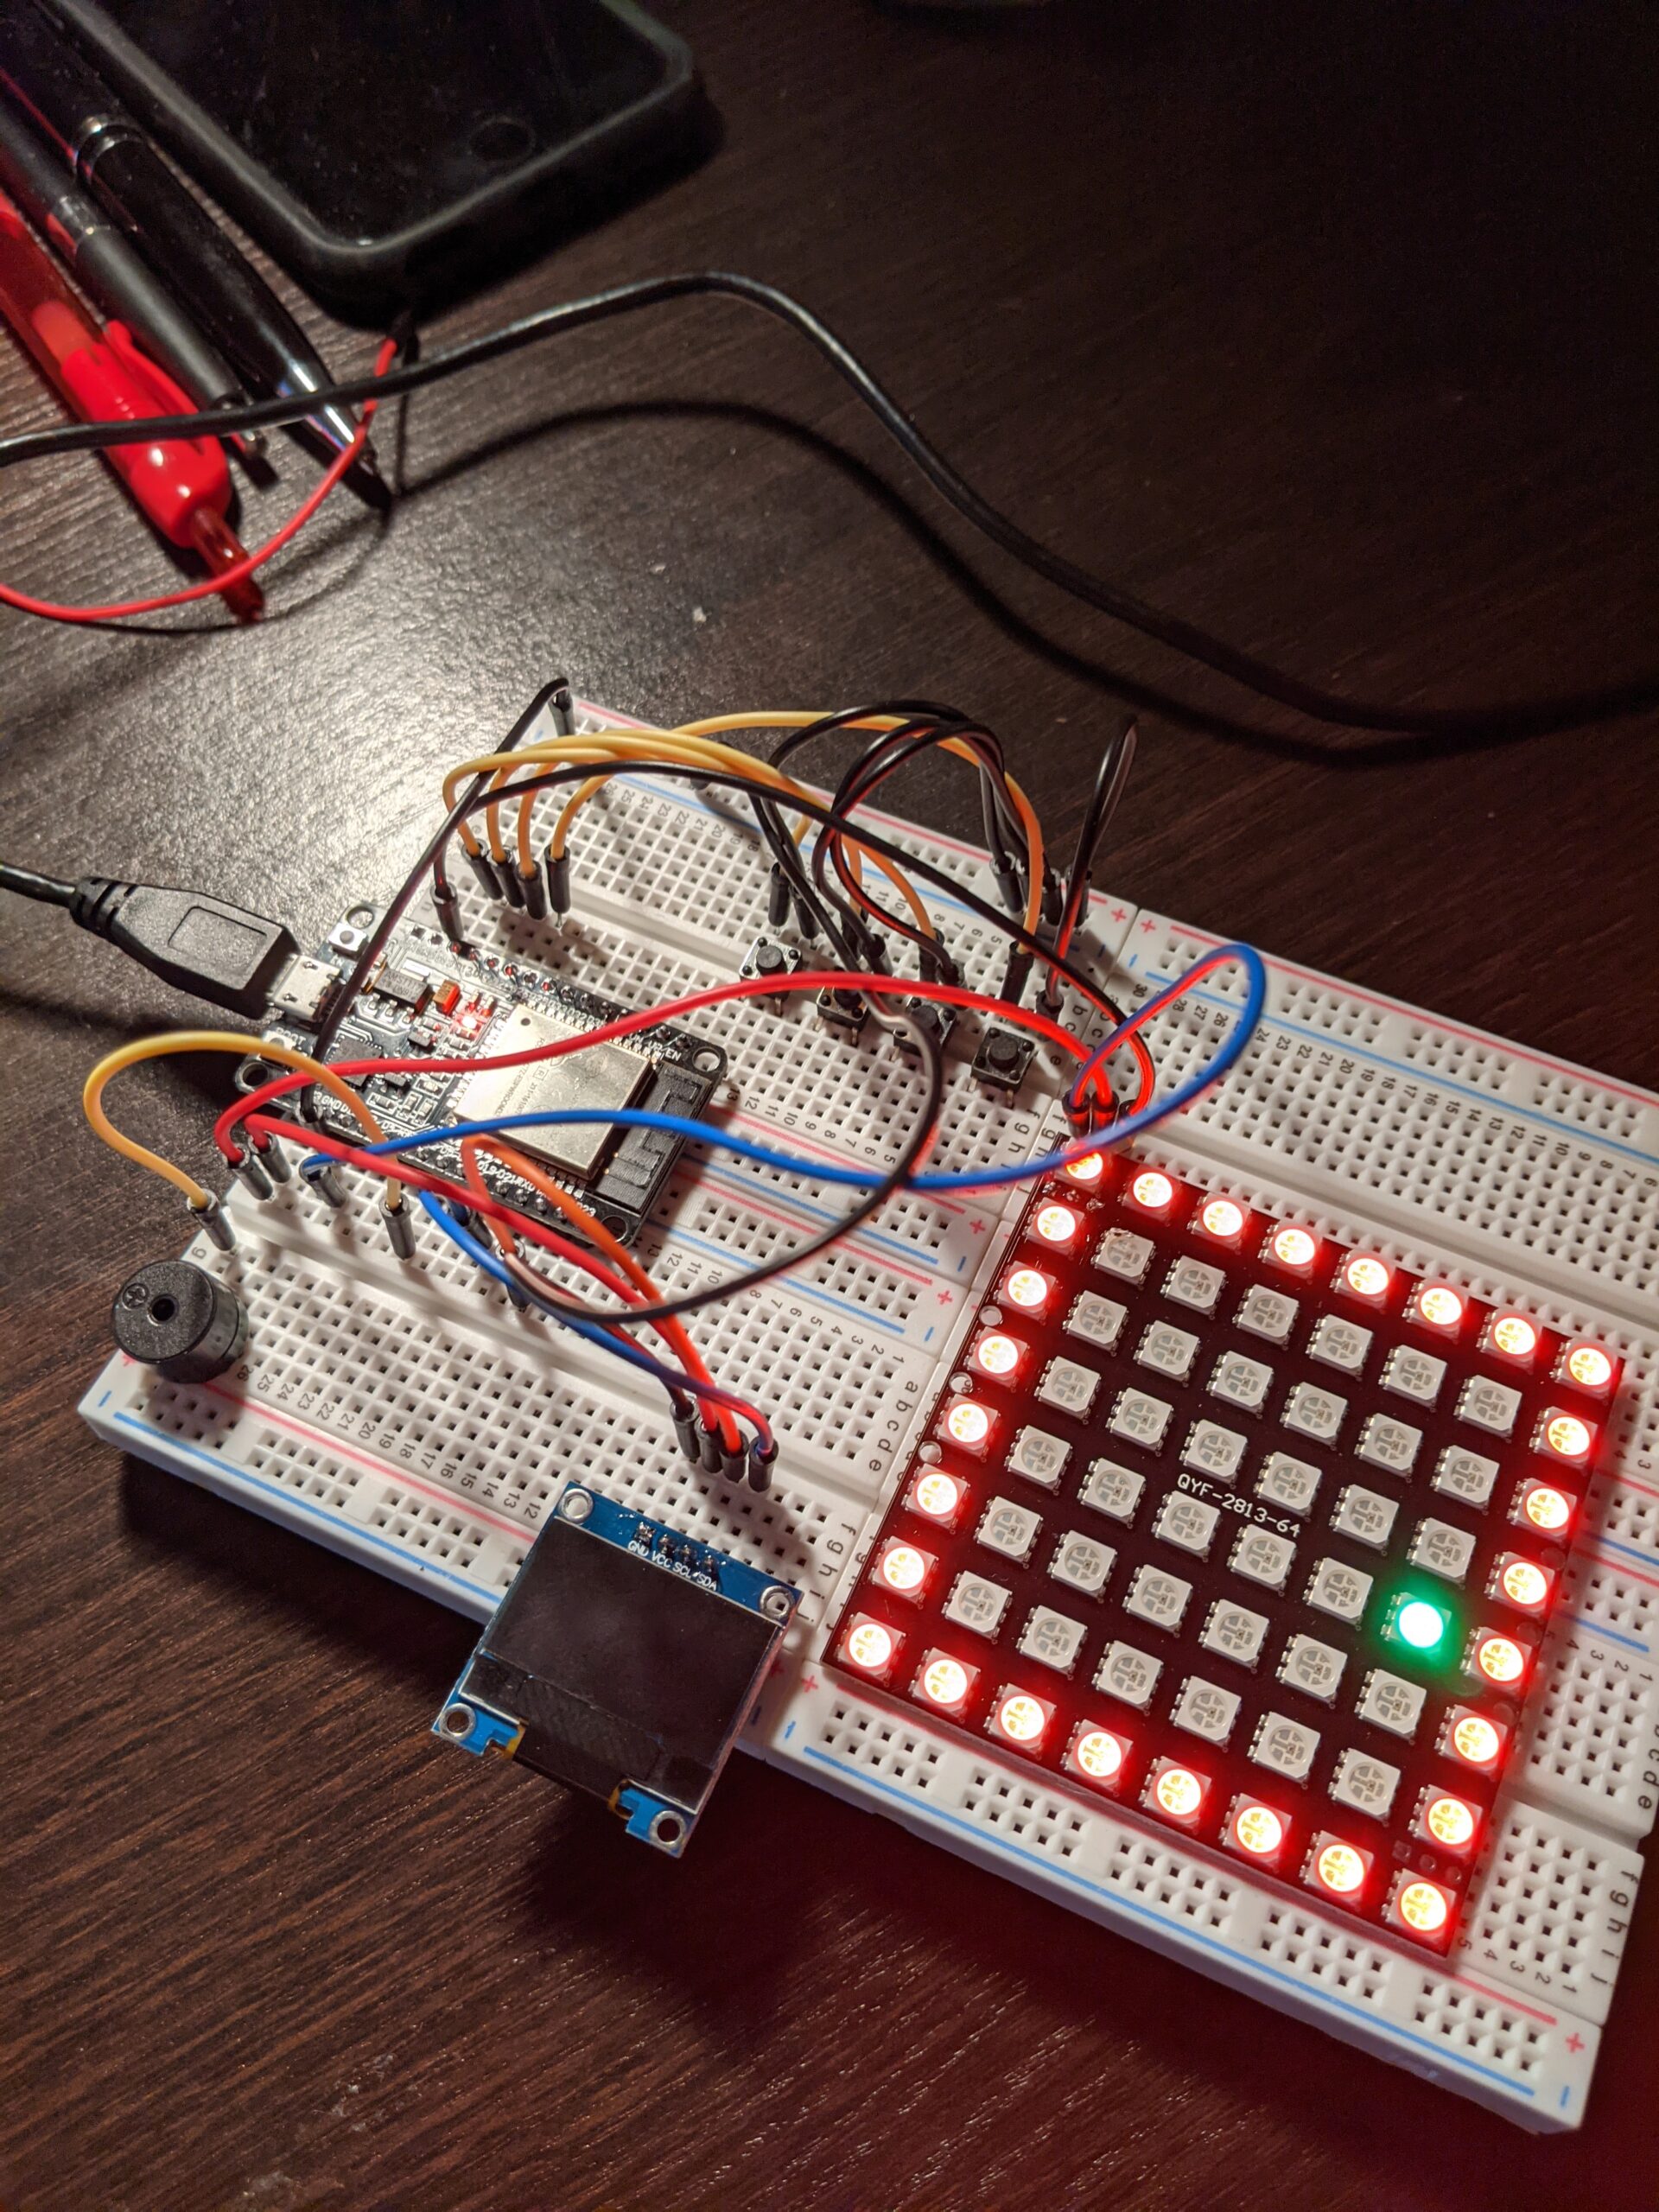
We quickly learned the importance of identifying which hardware we wanted to use early on. Initially we played around with the ESP8266, found that it wasn’t robust enough for our grandiose plans, moved to the ESP32, and then abandoned all for the pico. Our OLED screen changed quite a bit as well, with us at one point using a 1.8 inch SPI TFT LCD Display module. While lovely, cost and other practical implications kept us from pursuing a larger OLED. We were loath to have the badge burdened down with batteries and needed to keep it light.

The beginning

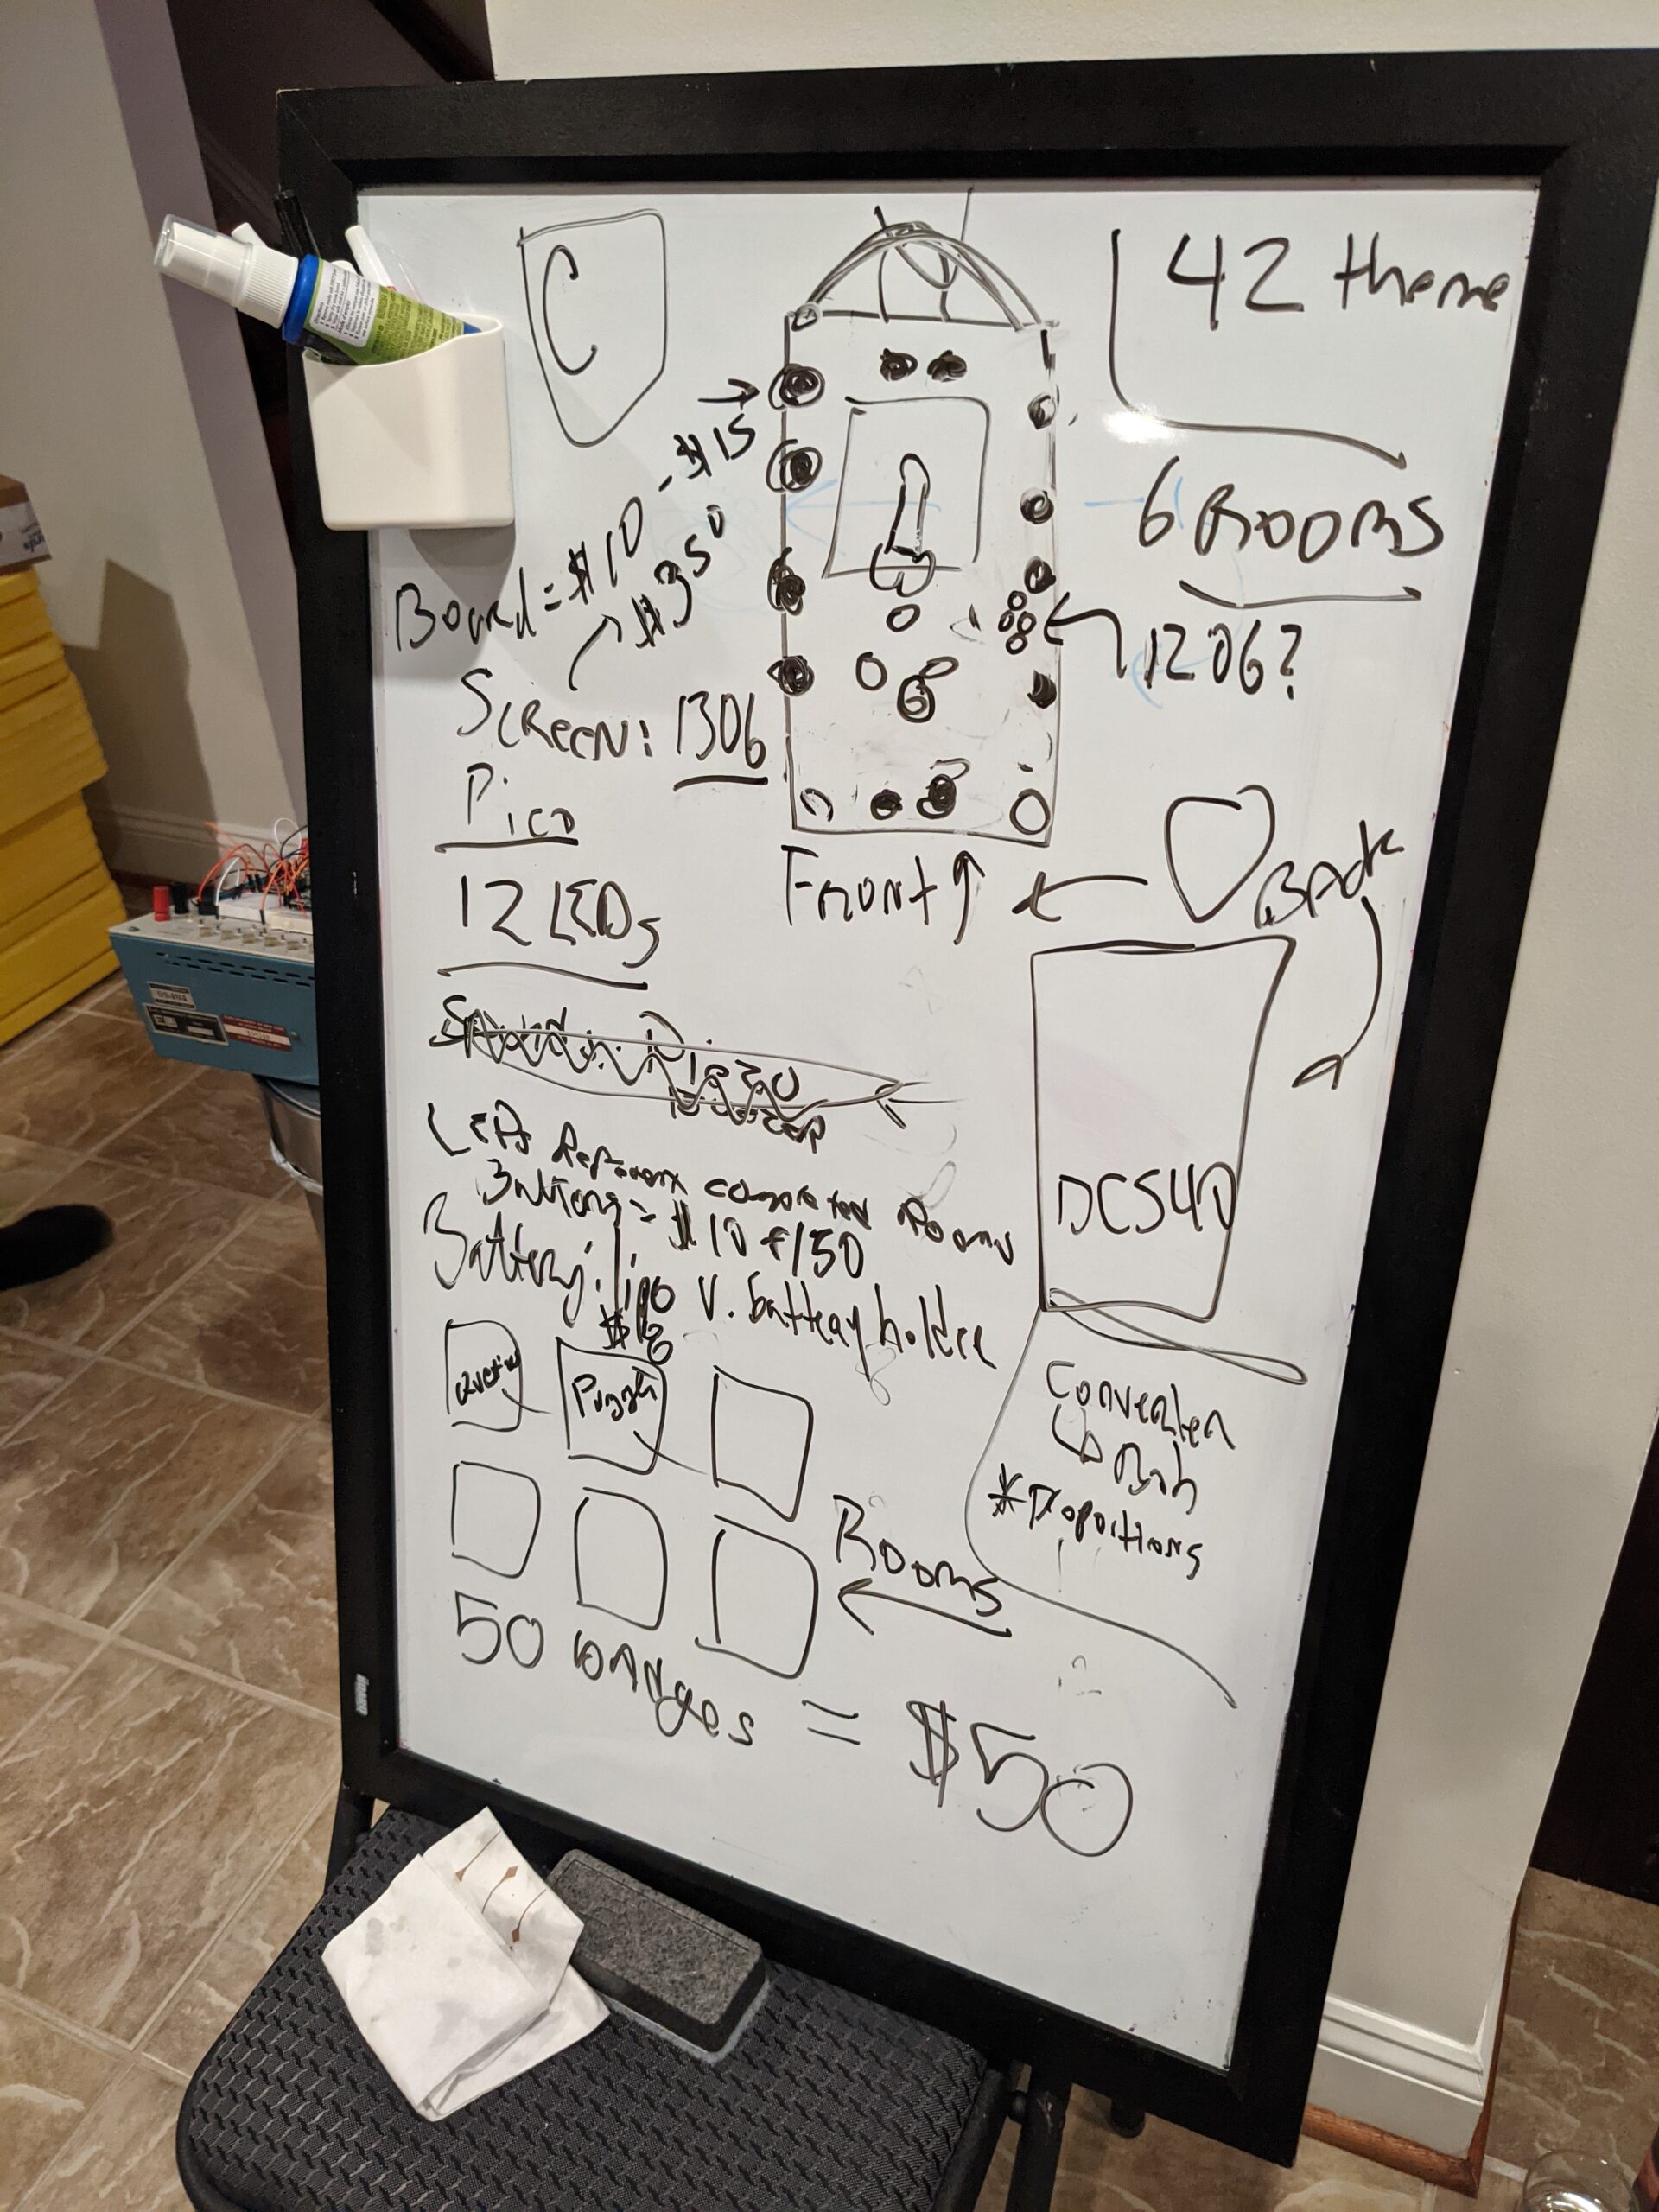
It was the end of May where we finally got serious. At one of our in-person meetings, the whiteboard came out and we started scribbling. In the next two hours, we had more forward progress than the last 6 months. We made some guesses on how much parts would cost, our general “theme” and some potential games. Shockingly, we were pretty on point with our cost estimations and were able to keep our final product at the $50 mark per badge.

A lesson on hardware

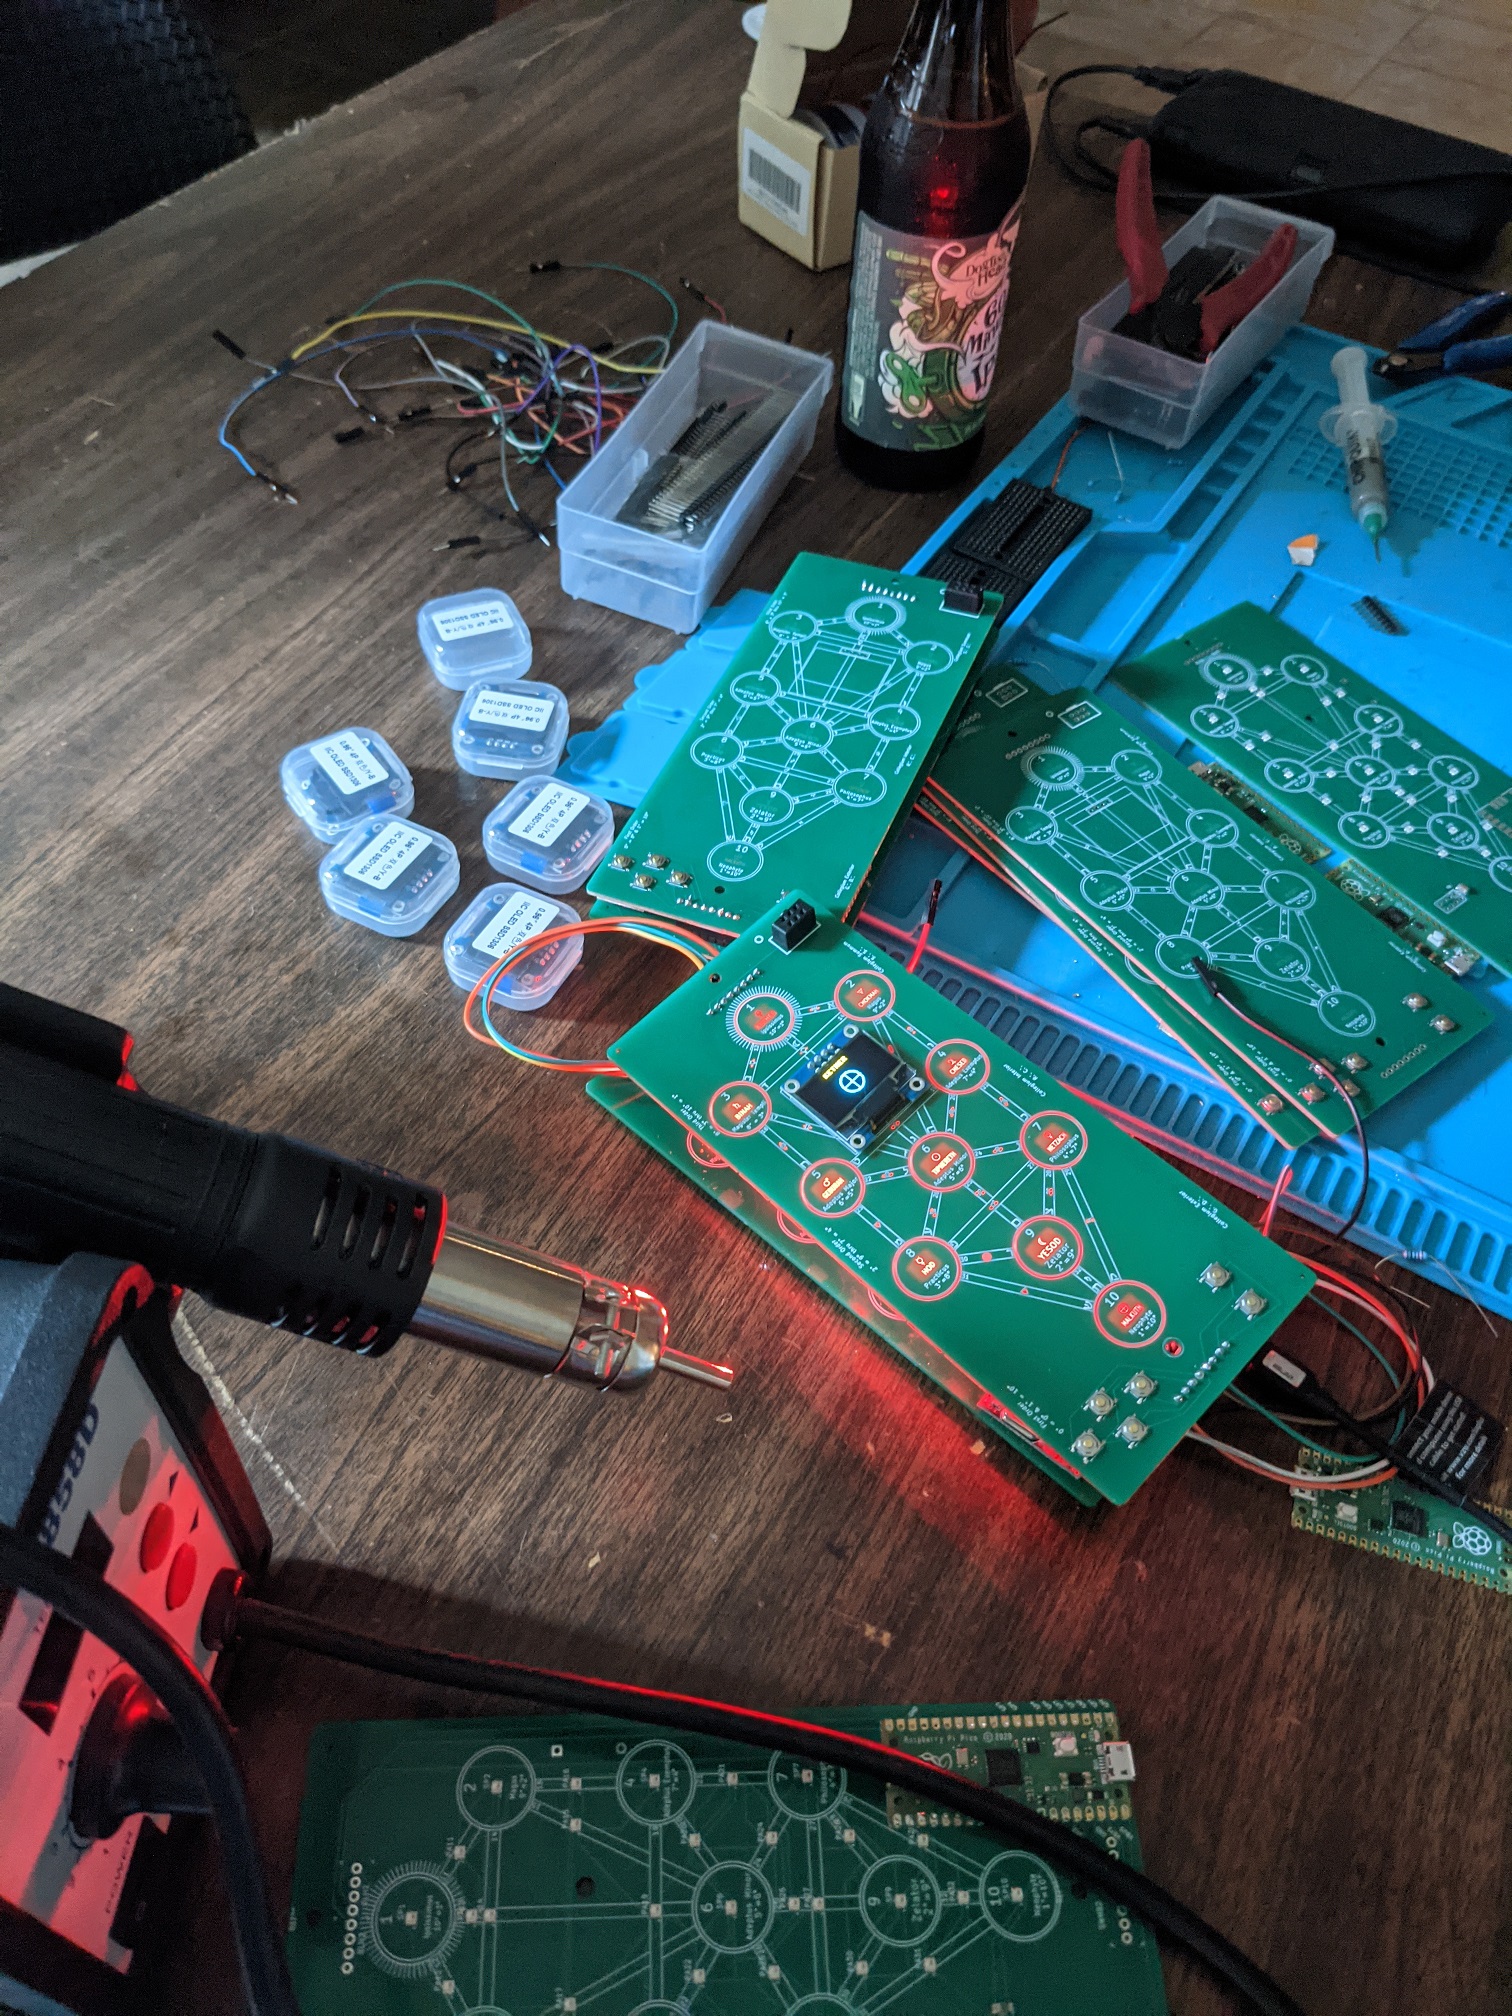
Bob played around with many ideas for the badge design and finally had inspiration with the “Tree of Life” theme, in a fit of creativity, he quickly produced one prototype after another, making each one a bit better. He used KiCad for the board designs and then gave us all a lesson on how he did it. Our imaginations went into high gear as we started planning our future badges and Shitty Add On (SAO) we could make.

Taking a closer look at a suspiciously complex program

Our first prototypes came in unexpectedly quick which was a relief, we were a month in and had little more than a month to finish up the project. Kevin worked hard, rewriting the libraries and code, each time one of us fortuitously had another good idea that resulted in more work for him. Critiques included morse code had too much fade when flashing, the badges didn’t just need to send messages to each other but also have default messages hidden inside, badges had to flash in a spectacular manner when paired with a Boss, and I needed more menus! Oh, let’s not talk about the great hash wars where we debated the merits of each encryption and nearly stopped talking to each other. At one point, I swore Kevin hadn’t slept for a week and had developed an uncontrollable twitch and would yell “no more” every time I spoke up, even when it was just to say hello.

The development of the games was especially frustrating as the goal was for the games to be very achievable by new DEFCON attendees, offer a way for people to interact with each other but still be challenging. I learned a lot about steganography, stegdetect, githubs Steganography online, using WordPress, a member helped by created a Hitchhiker’s themed crossword puzzle, the intricacies associated with morse code (using ‘dah’ and ‘dit’ over ‘dash’ and ‘dot’ and so much more.

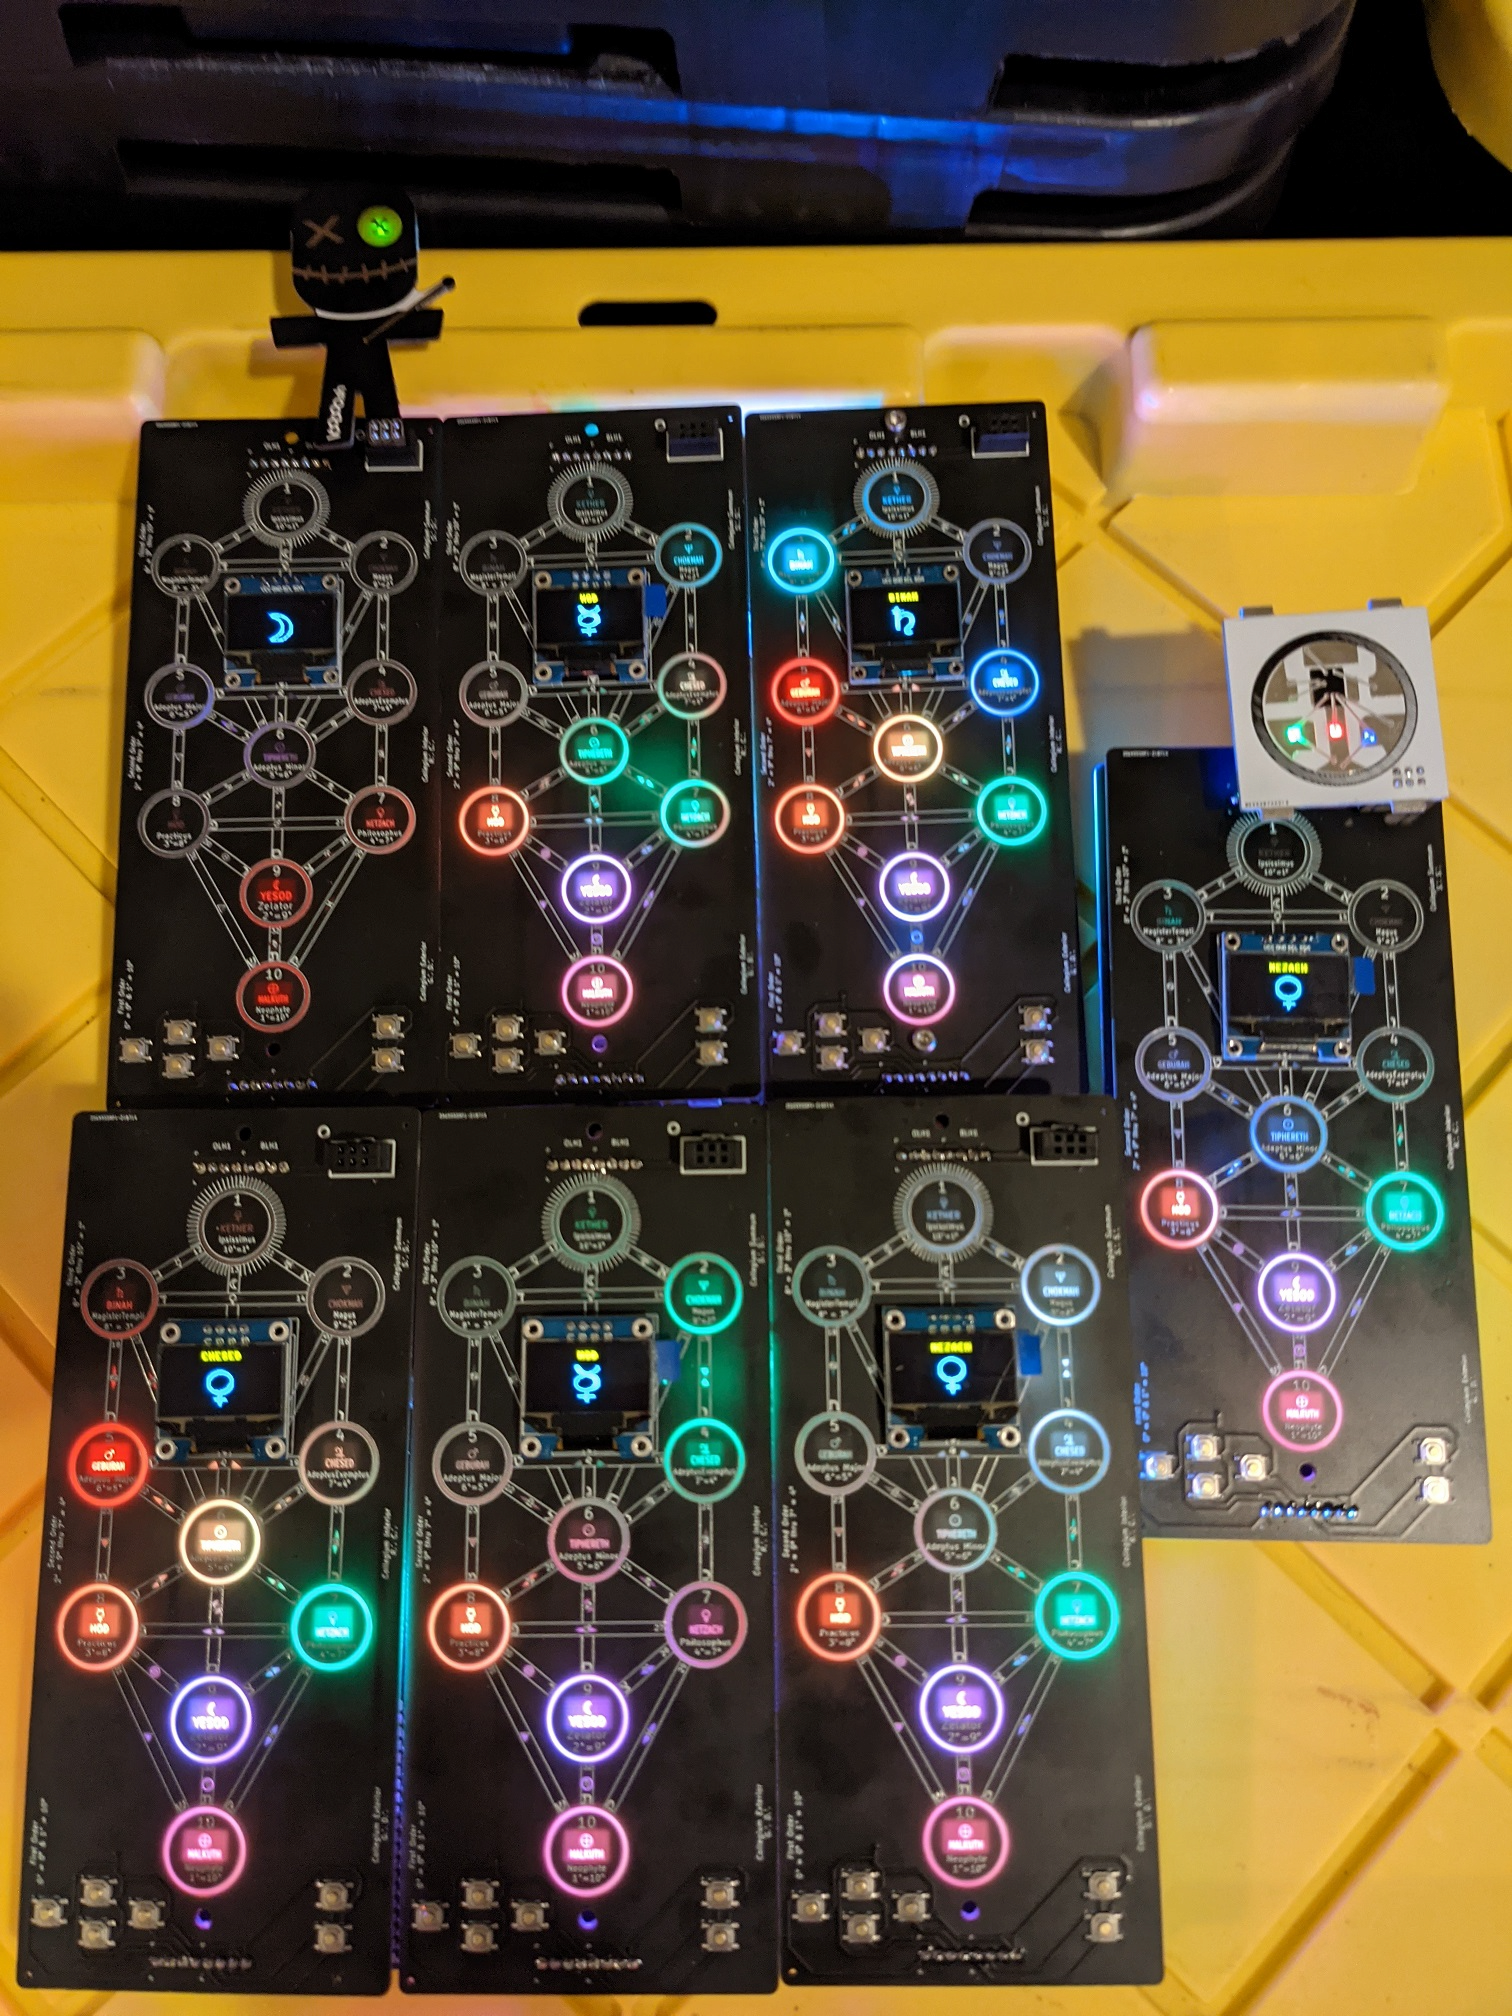
The Final Boards

One particularly important lesson was learning to speak “developer”. What made sense in my mind didn’t necessarily make sense to our developer and how he envisioned code. There was many nights of butting heads, exasperated sighs and outright frustration over the lack of communication.

Final Assembly

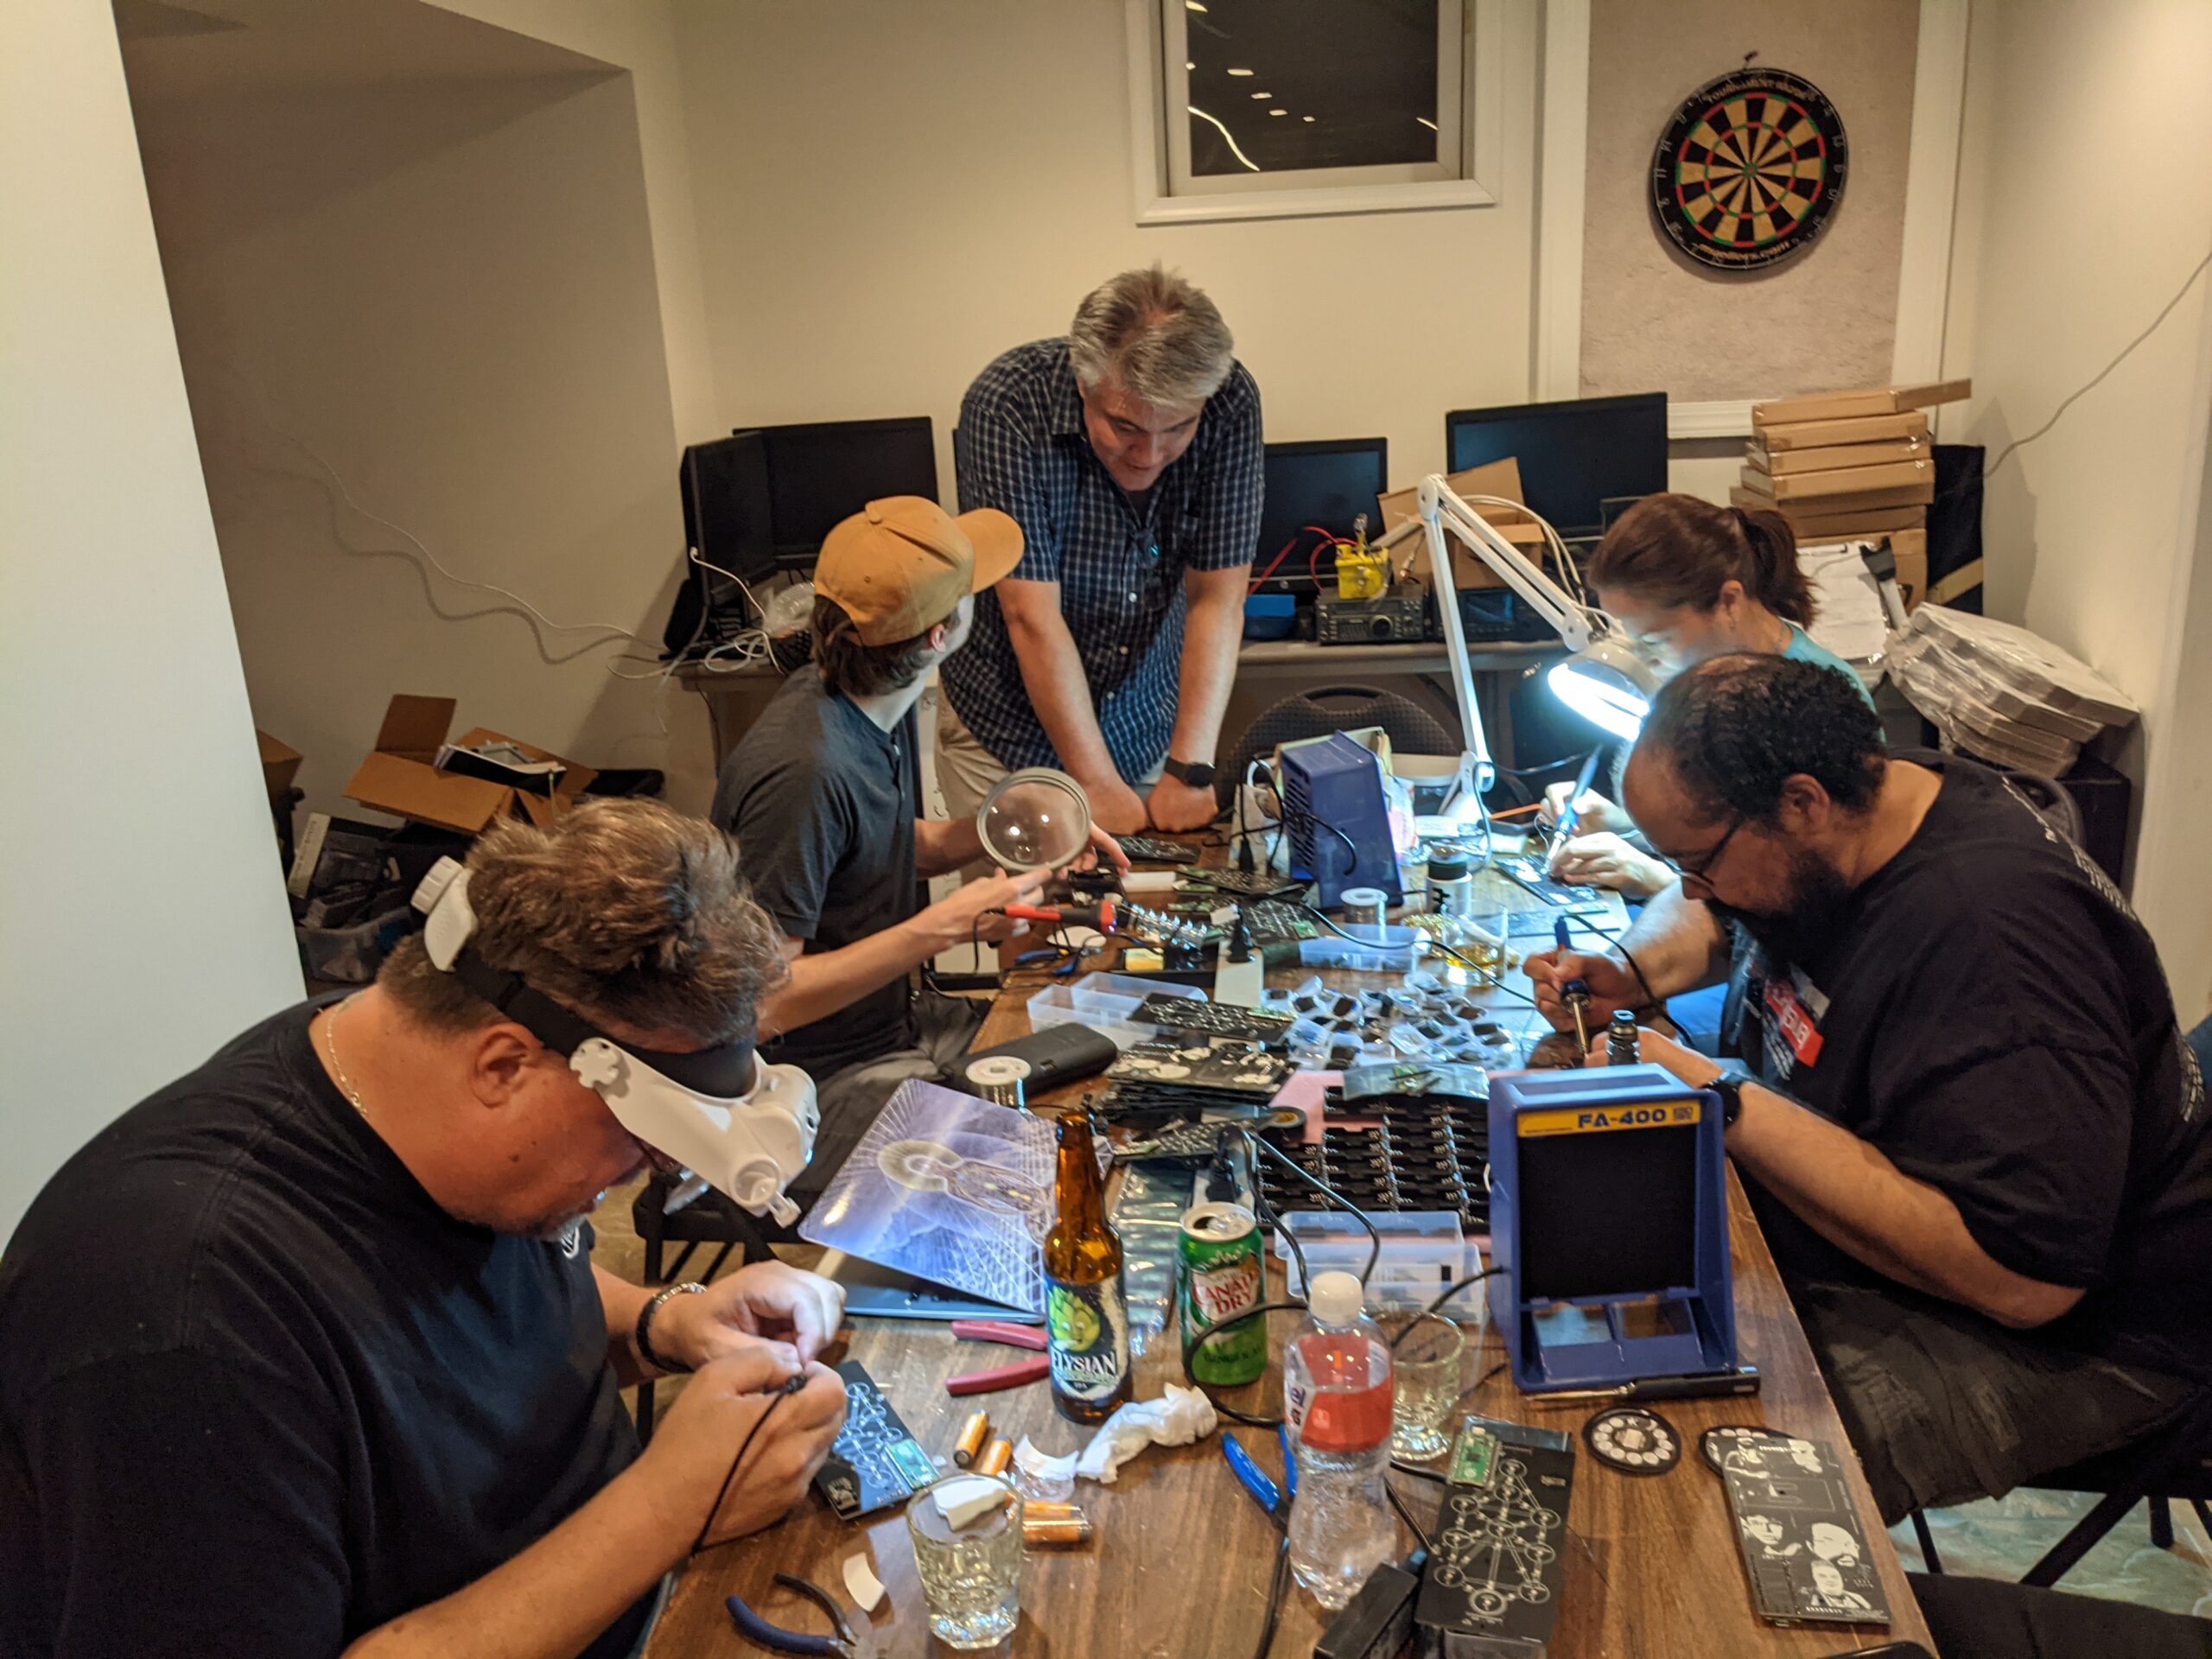
Finally we had the boards, now it was just time to solder and assemble them. In these desperate times, we called everyone together and had one large soldering party, troubleshooting any connections that just weren’t right, cursing, and drinking more whisky to sooth our burnt fingers.

I made sure to tweet- from my sweet mountain overlook

Now the last step, playing the games, traversing the rooms in the badge and seeing what would break. I hid away in a the Shenandoah Mountains for a weekend and did nothing but drink more coffee, try and break the badge and code, and debug away. With only five days before we would leave for DEFCON, we had a product we all agreed was magnificent. Our last Monday before we left, we double checked each bag, wrapped them in bubble wrap and carefully placed them in a baggie with batteries, stickers and a lanyard.

Our last task would be to hand them out at DEFCON and enjoy.

Well, except we ordered 50 more badges just a week ago, so it seems we will be packing those up and shipping them out once we get back.

Oh, and our war-torn developer just happened to ask about our next big product…..he’s already got a suggestion and we’ve begun to brainstorm away.

#game3

Post 2: Game Rules for the DC540 “Tree of Life” Badge

****** DO NOT PLUG IN THE BADGE TO A USB IF THE BATTERIES ARE INSERTED ******
If the power switch is off, it is probably fine, but use your judgement.

The DC540 Tree of Life badge has ten interactive games that can be played during DEFCON. The games vary and some can be played on the badge (morse code, ham radio questions) while others are interactive (conducting a scavenger hunt, lock picking, decoding ciphers). An explanation of games and more detailed instructions will be posted on the DC540 website Friday morning August 6th at 00:01.

Overview

The games do not need to be completed in a specific order.

Five of the games will require you to send us proof of completion. These games are:
– Game 1 (Crossword Puzzle)
– Game 2 (Lock Picking)
– Game 5 (Scavenger Hunt)
– Game 9/10 (Boss Pair)

For Games 1, 2, 5, 9, and 10, the game instructions will provide direction on how to obtain the answer but make sure to always include your badge number in your correspondence.

The other five games do not require interaction with a DC540 member to complete. Completing the game will either automatically unlock the badge or provide you with the answer.

Include the following hashtags on anything you post on Twitter when you solve a challenge.

Alternatively, you can post on our DC540 Discord Channel “dc540-tree-of-life-badge” or message us on Twitter or Discord (preferably both).

Twitter Handles: @skullsinblack and @dc540baab
Discord: ‘Lyra the Damned#5380’ and dc540#3865
As the game progresses, hints and other updates will be dropped on the dc540 Twitter page (and that of the two main characters) if certain challenges are proving too difficult.

When all ten spheres are completed, the badge will FLASH RAPIDLY FOR 5 minutes. Be advised, that it is intense, and be cautious if you are nearby other people as this has the potential to trigger seizures or epilepsy. Send us a picture of all ten rooms lit up from completing the challenges. We will announce winners on our Twitter DC540 Page.

Understanding the Badge:

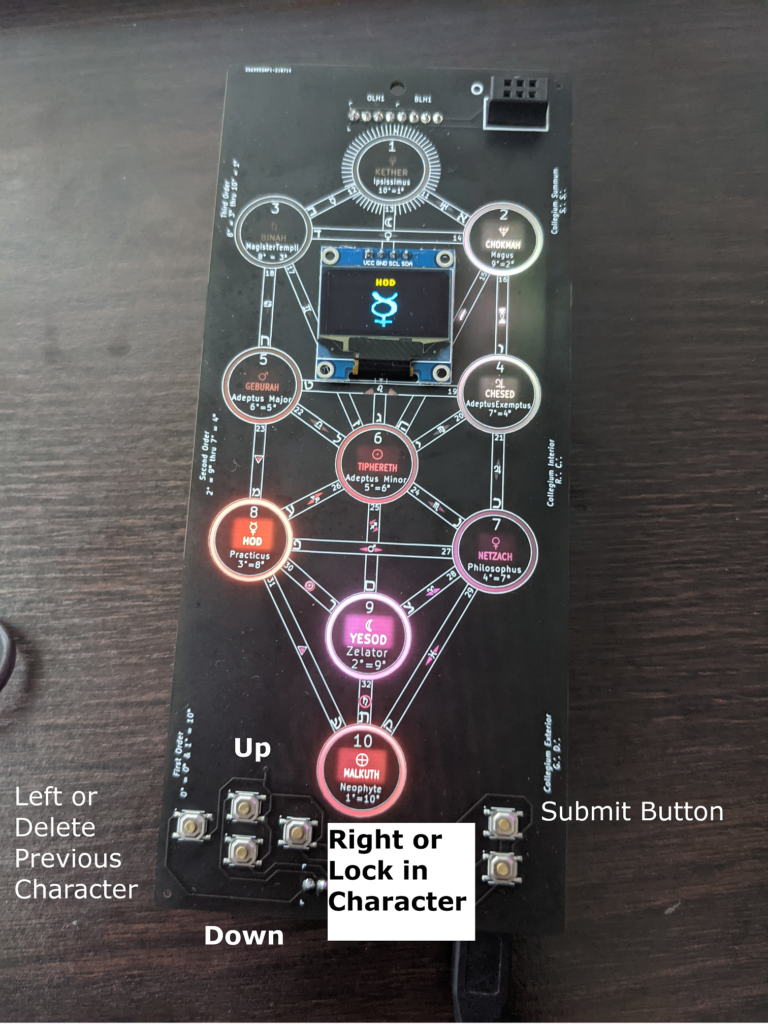
There are six buttons on the badge.
– The four buttons on the left function are: Up, Down, Left and Right
– The Left Button allows you to erase a previously input character.
– The Right Button will allow you to “lock” in each character.
– Up and Down scroll through the characters and numbers.

Button Assignment

There are two buttons on the right. The top button allows you to submit, and the button has a surprise but IT is also there for you to get creative.

Entering Answers:

When you complete each game, you will get a case-sensitive answer.
– Go to http://dc540.org/question.html, select the question number, the answer, and your badge number.
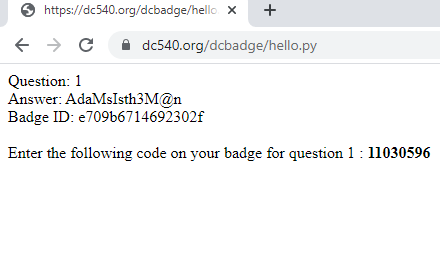
– You will get back an eight-digit number that is unique to your badge.
– Write down or save that number.
– From your badge, go into that corresponding game, and enter that eight-digit number.  You will need to “lock” in each digit and then submit. If you for the answer correct, the badge will correctly flash and blink for that challenge.

Sample Submission
Sample Output

The answers are case-sensitive. Once you complete a challenge and put the answer into the badge correctly the “room” lights up.

Prizes:
We do have prizes for 1st, 2nd, and 3rd place. More information to come.
First Place: 100K DEFCOIN
Second Place: 10K DEFCOIN
Third Place: 5K DEFCOIN

Maximizing the benefits of castellated edges

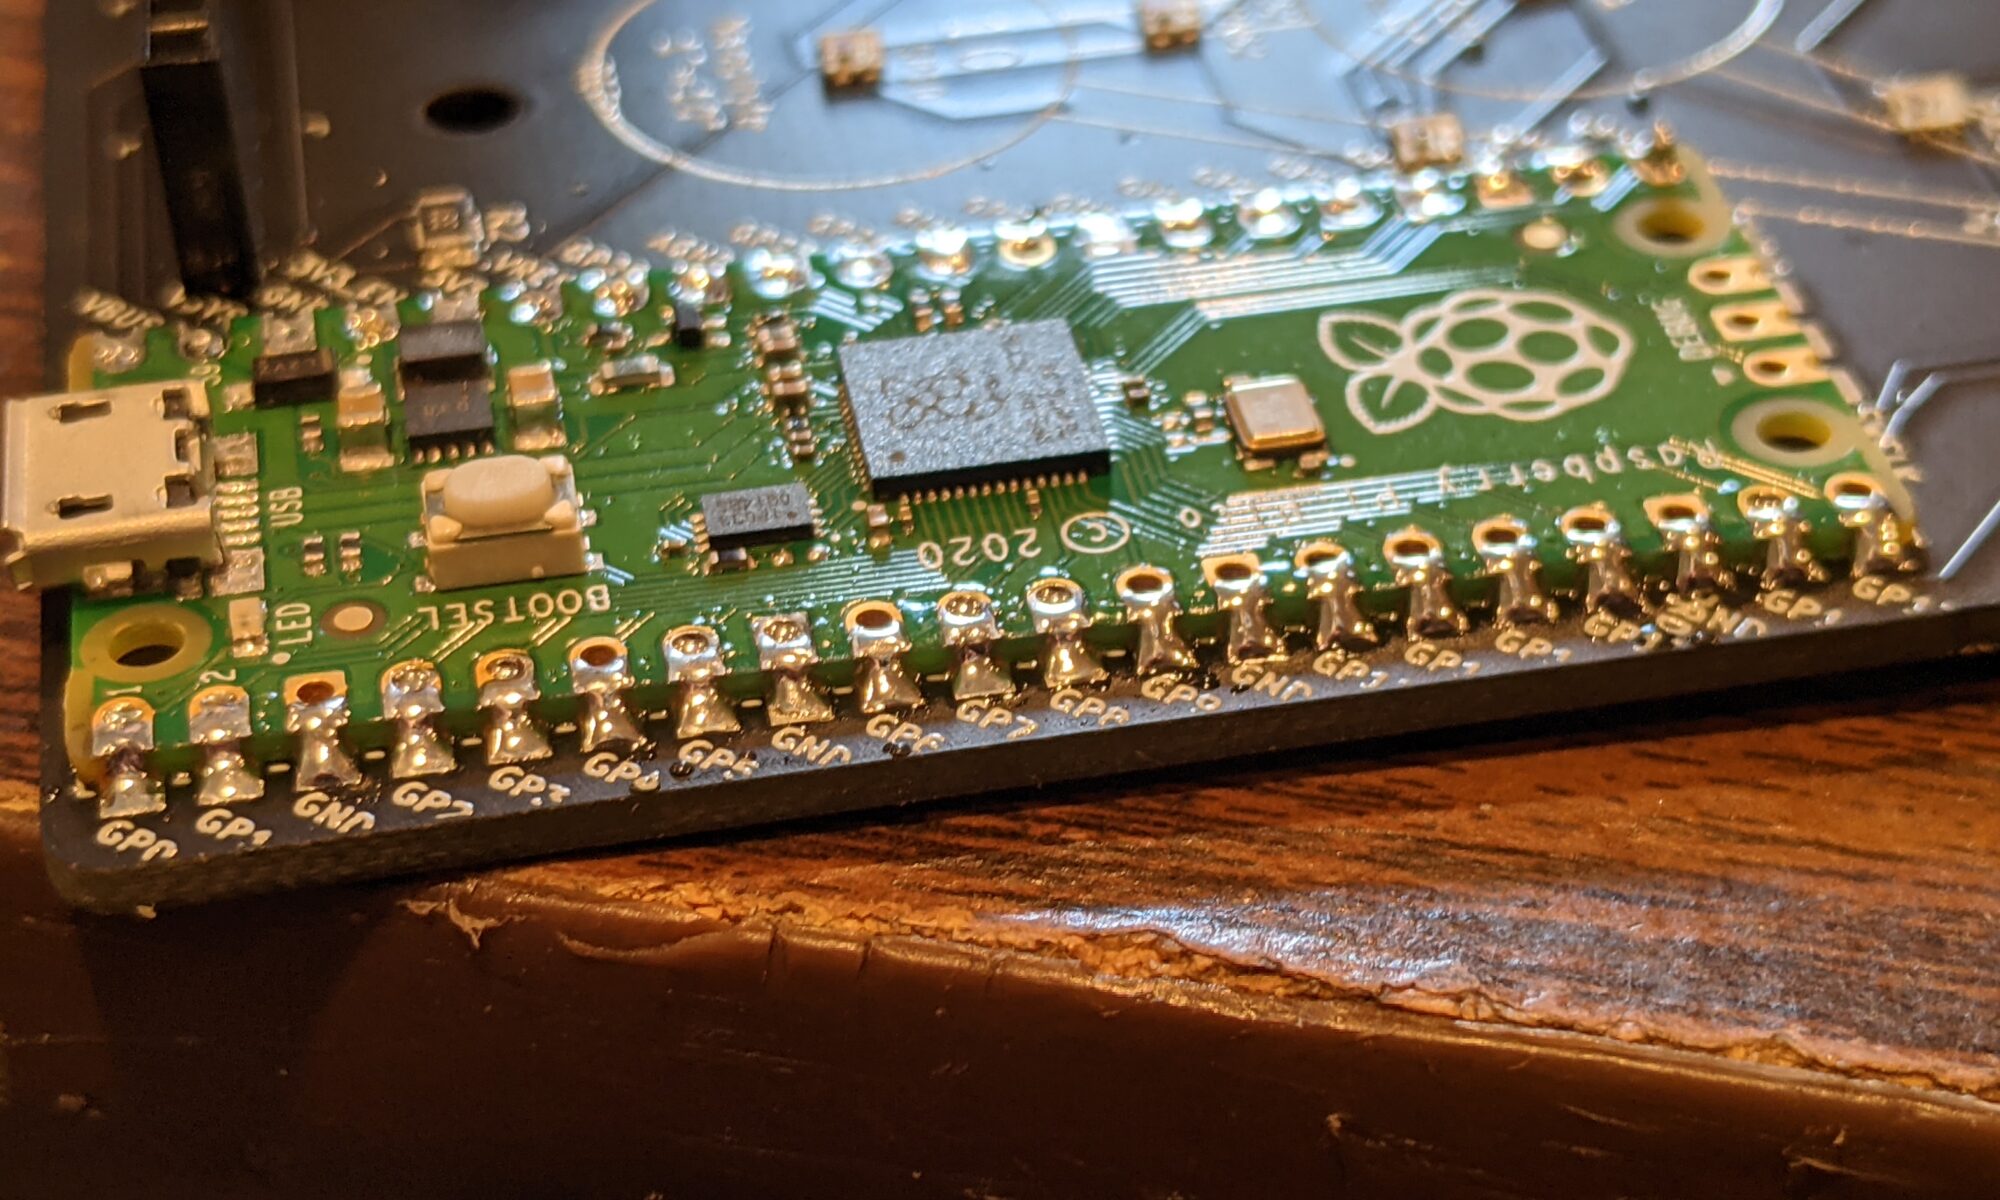
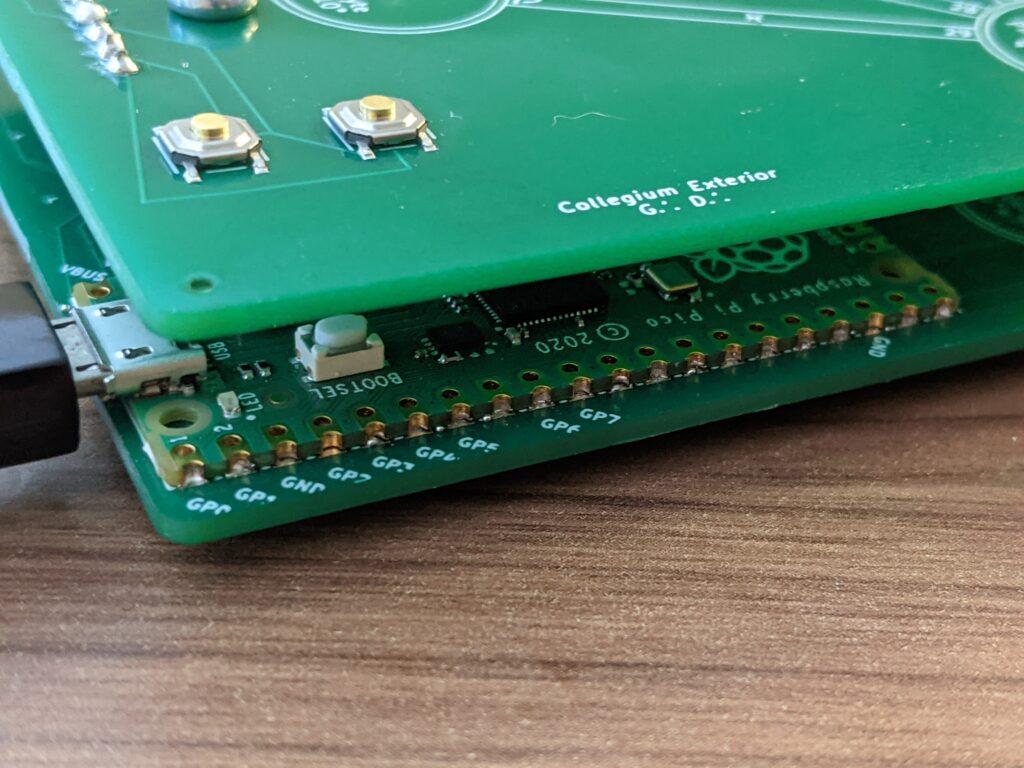
When we chose our badge design, we were cocky and full of ourselves, and went with surface-mount pads on our prototypes. Because our badge is based on the RPi Pico microcontroller, and had castellated edges, we figured we would minimize soldering, maximize space for silkscreen artwork, and up the cool factor by mounting on the pads using solder paste with the castellated edges.

Well, that turned out to be too hard. We don’t know what we’re doing, and didn’t have time for a learning curve, and kept running into bridging below the surface, which is hard to correct after it’s soldered down.

So we decided to go back to thru-hole with the finals. We soldered about half of them with thru-hole headers, which, let me tell you, is a pain. 40 header pins soldered to the board, and 40 soldered to the Pico. It’s tried and true, and any screw-ups are obvious and visible, but we were disappointed.

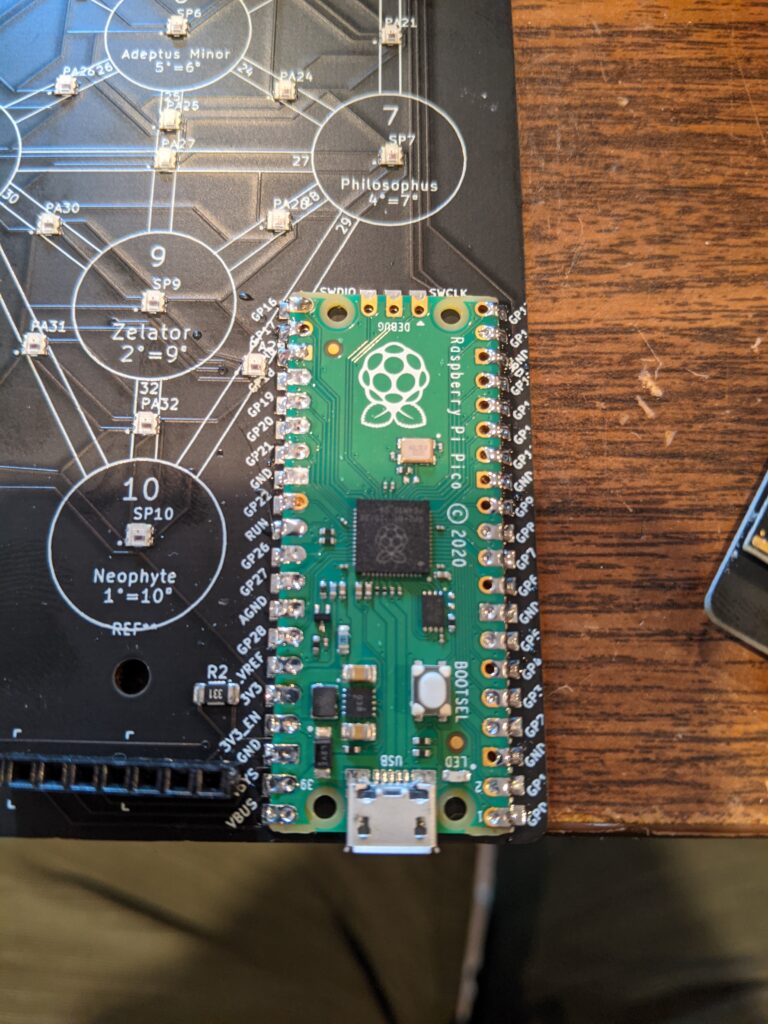
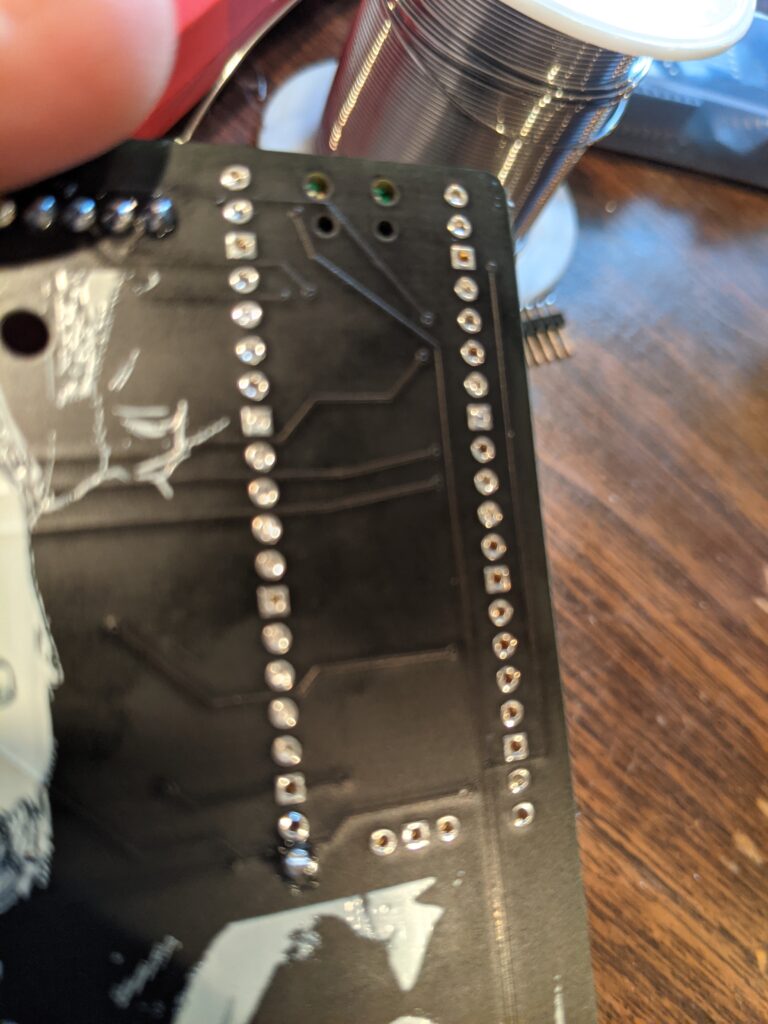
I was assembling the last of batch 1 earlier today, and decided on a whim to try headerless soldering directly to the pads with regular solder instead of paste. I used a 20-pin header temporarily on the left side to hold the pico in place on the board, soldered down the right side, then removed the header and soldered down the left. It worked great. It’s the best of both worlds. It saves wasted time with headers, cuts soldering in half, and keeps unsightly pins from poking out the bottom of the board. Just like regular thru-hole soldering, problems are visible. Bridging is not usually a problem, the solder tends to stick to the pads on the board as well as the generous copper pads on the Pico. All I need to do is make sure there’s a nice ramp from the upper pad, waterfalling over the castellated edges and onto the board pad.

If you ever have the urge to base a PCB around the Pico, consider this option.

Yes, we’re aware you can get the RP2040 chip on its own without the Pico, but one of our members bought a whole REEL of Picos, so it made sense for us to do this.

Hack your Vagus Nerve with the Tree of Life badge

We added guided breathing to our badge. Whether you use it to control your heart rate, raise your kundalini or simply de-stress, that’s up to you. But the badge now includes three levels of guided Vagus breathing. Just follow along with the pretty lights, sync yourself up, and get ready.

I first learned how profoundly breathing can affect the mind and body when I encountered a book in the 80s called Taoist Yoga: Alchemy and Immortality. It’s the kind of thing that has pretty much instant results, and makes you want to come back for more.

I was recently reminded when reading Recapture the Rapture: Rethinking God, Sex and Death in a World that’s Losts its Mind by Jamie Wheal.

I thought I’d bring this to the badgelife folks for consideration and feedback, so we included it in our badge for this year.

And no, the Vegas/Vagus puns are not lost on us at all.

A glimpse of the final boards…

I just realized we’ve been so focused on getting them out on the Twitterverse that we haven’t posted an updated view of the final badges here.

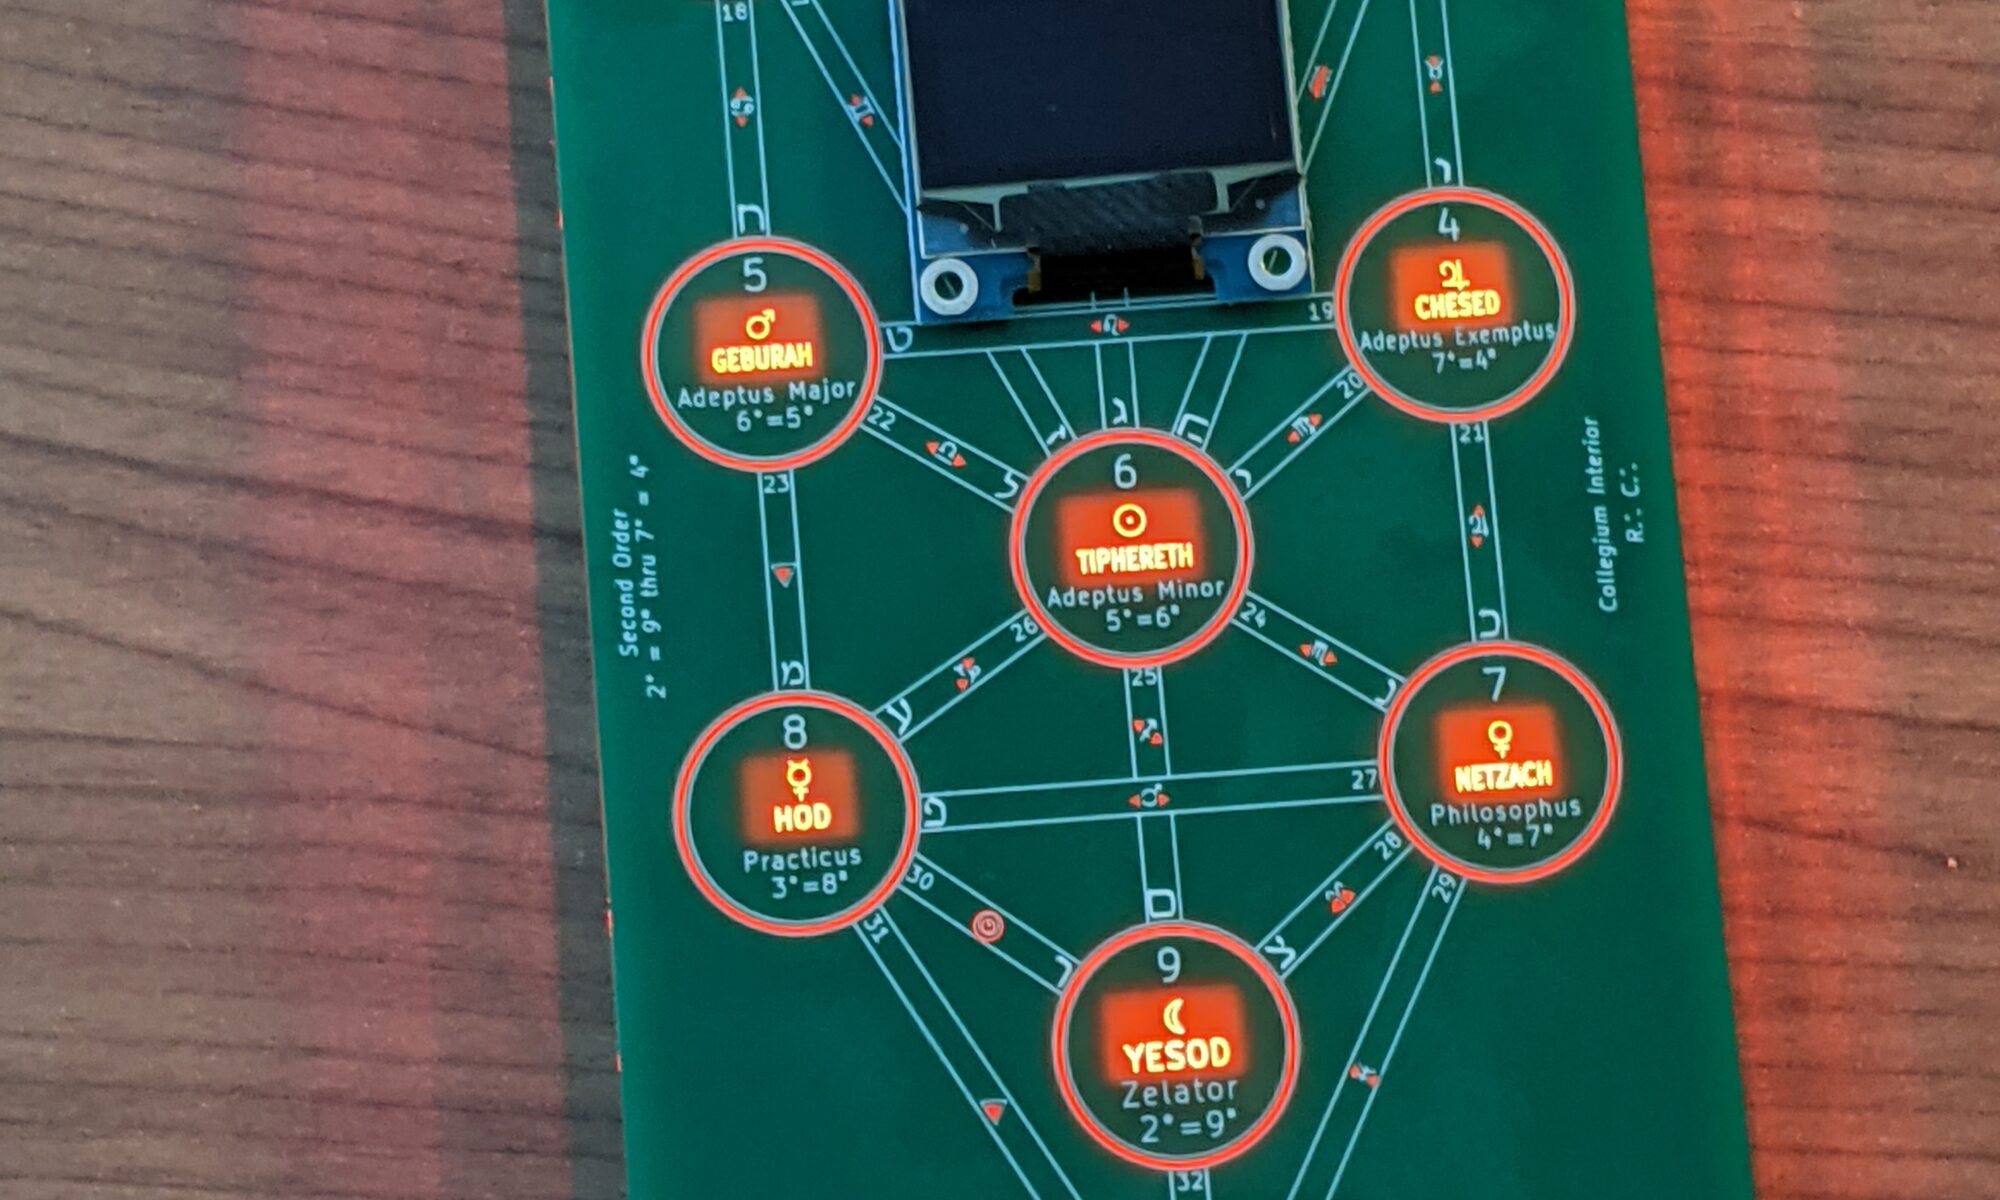
With the green prototypes, we found we couldn’t flow most colors through the substrate perfectly, because all of the “cool” colors were too close to the green solder mask, and basically made large green clouds behind the board. Nice effect, but we wanted more flexibility.

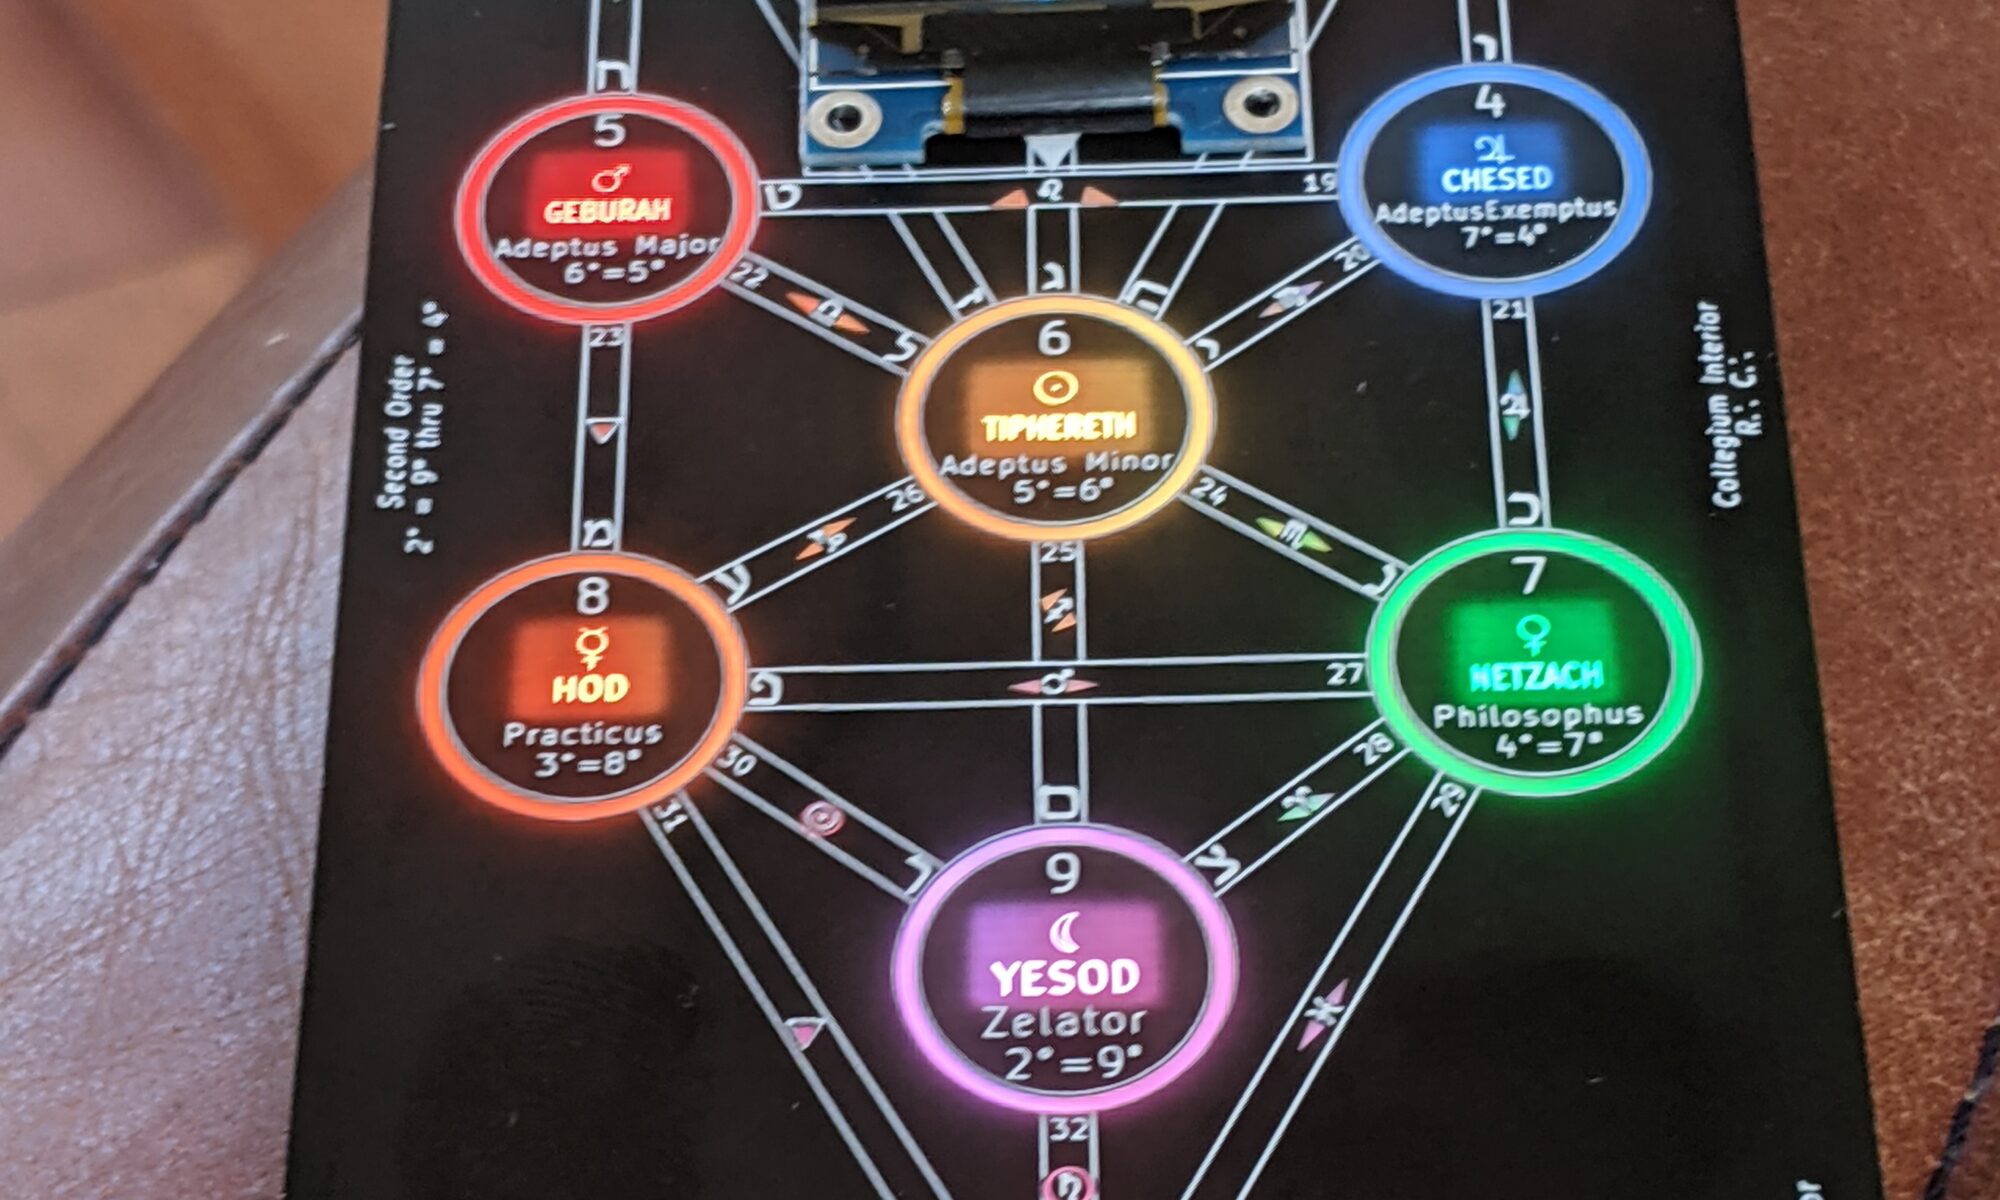
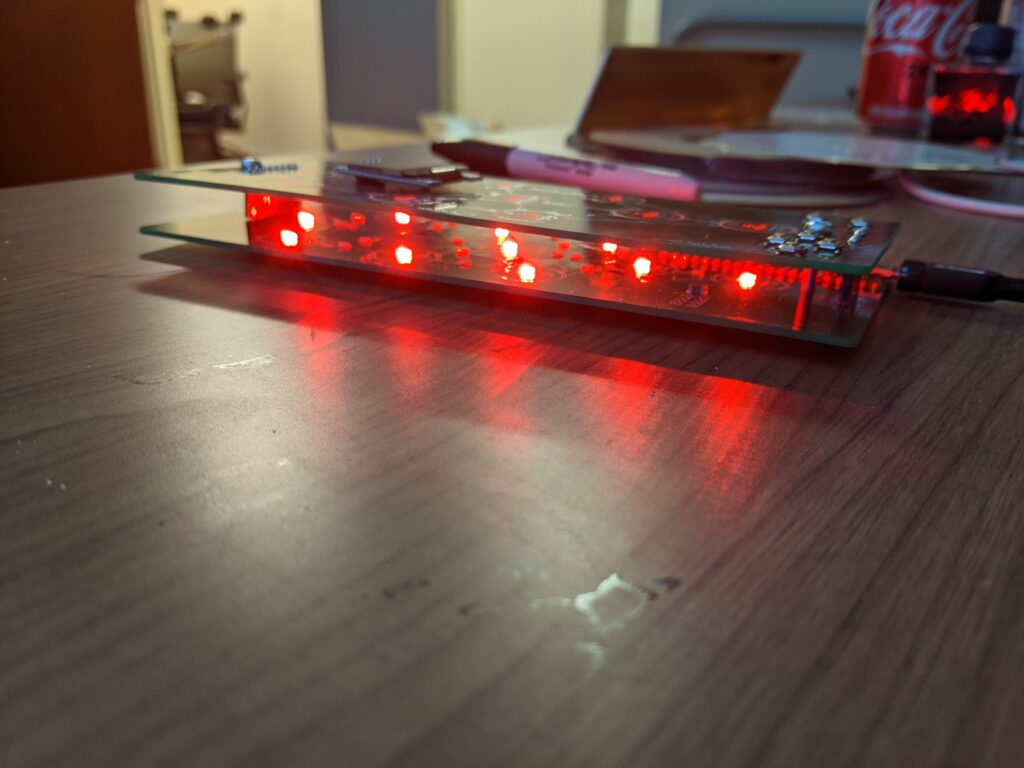
We thought it would work better with black, allowing us to take advantage of the RGBs on the second board, but we weren’t expecting it to look THIS good. Kevin’s working hard on visual effects, and the challenge games, and implementing a Vagus breathing exercise (what happens in vagus stays in vagus) assistant to help you de-stress during and after the con. I don’t think that’s been done on an indie badge before, LOL. There’ll be a separate article on that later. Or you could just google it.

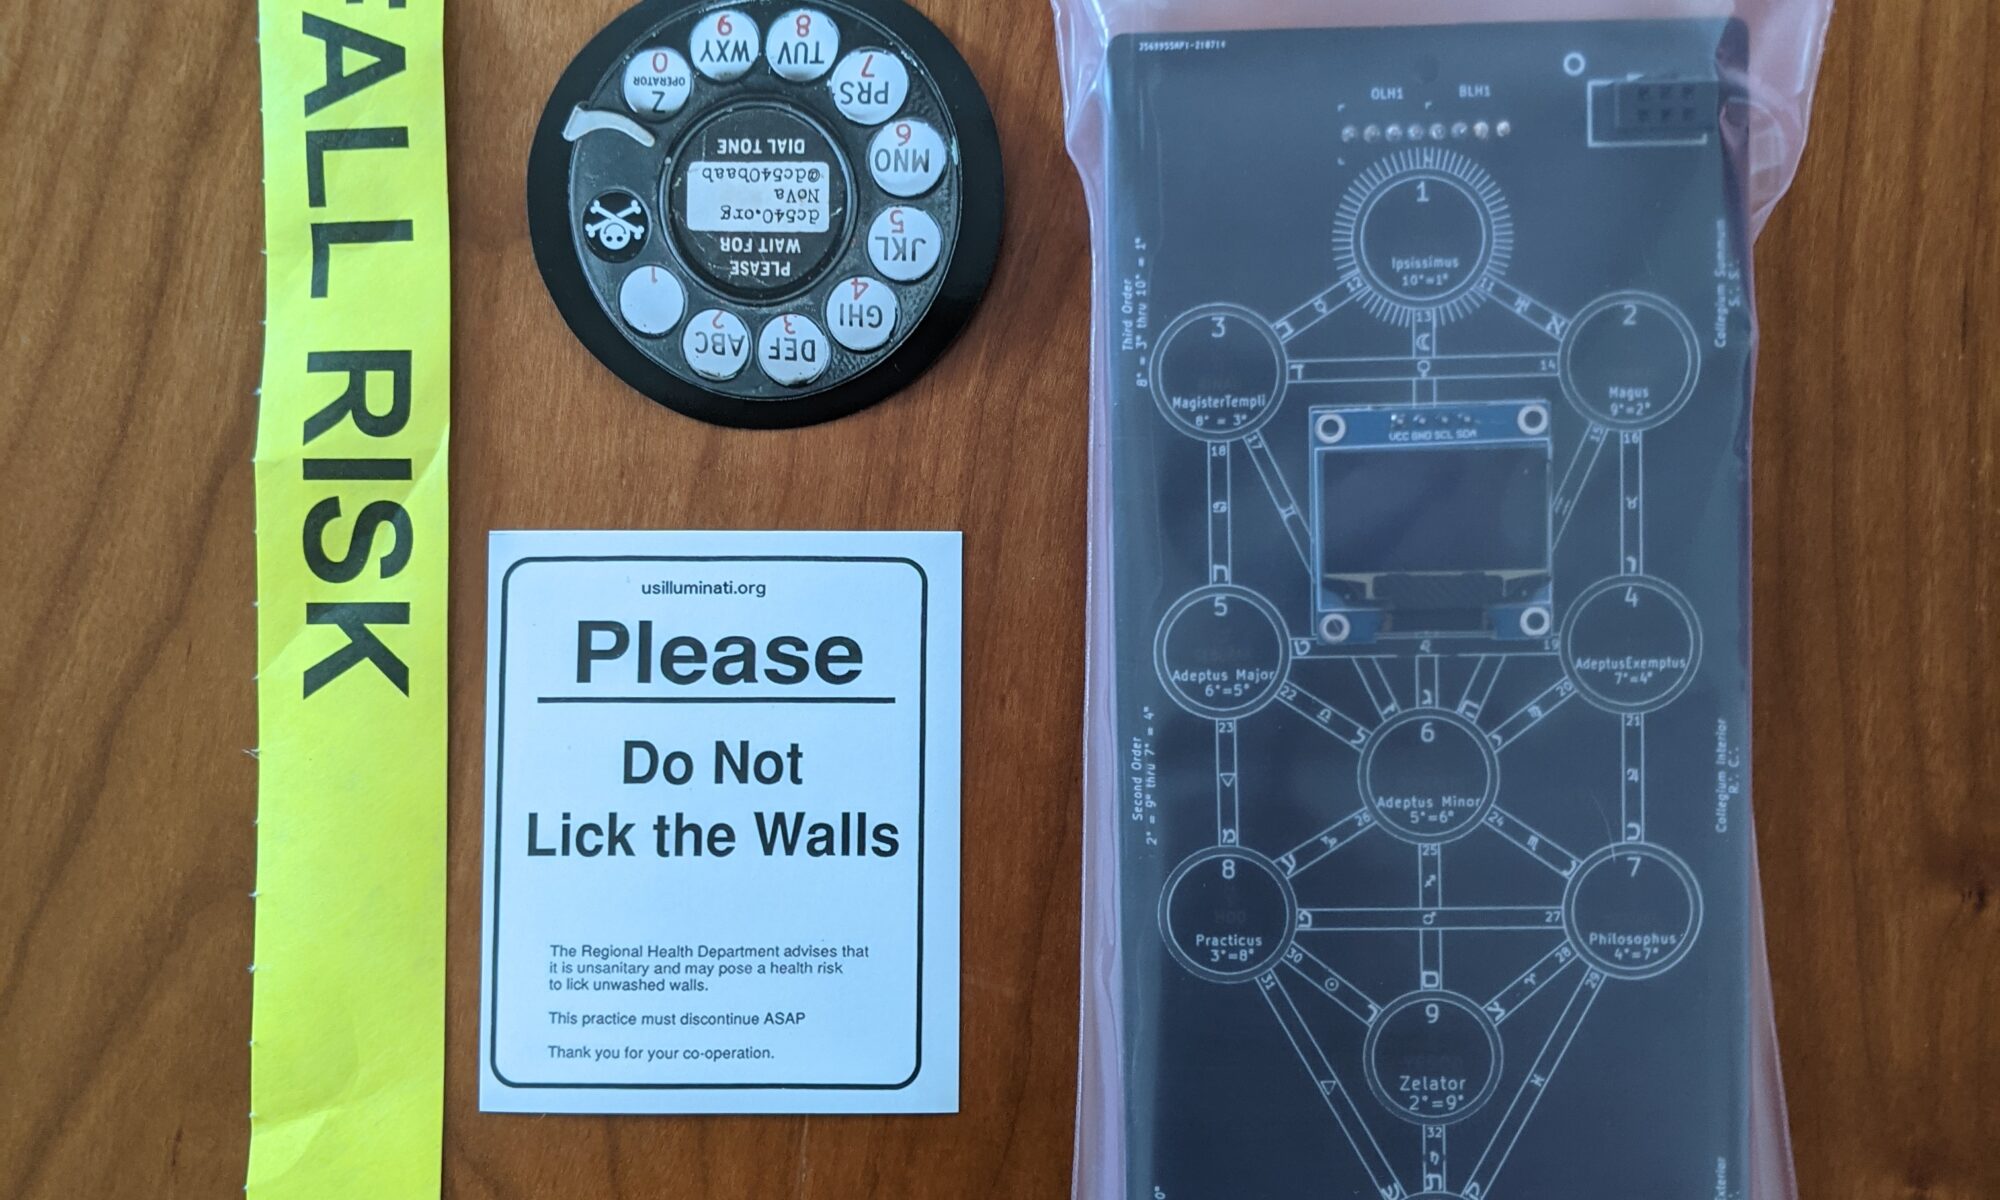
The badge will come with a custom lanyard and a little bit of swag. Hopefully we’ll find time to add an instruction manual. We’ve got the anti-static bags, the shipping boxes, and all the swag. We’re just waiting for the lanyards and the final firmware. We will definitely have some at the con*, but we’ll have more ready to ship within a couple weeks after the con, unless miracles happen and heaven and earth and international shipping bend to our will. Stranger things have happened. Stay tuned. Follow us on twitter @dc540_nova for the latest updates. Join the Discord if you want to hang out with us. We’re usually online Monday evenings, although this Monday we’ll be a bit distracted soldering a bunch of stuff.

[*Assuming the con still happens. From this viewpoint, it appears things are heating up in the west. My plan is to go if I can, i.e., if the con isn’t cancelled, if travel isn’t disrupted, and if restrictions don’t make it impossible. If plans get disrupted, ours or yours, everyone who ordered badges for hand delivery can have them shipped, we’ll figure it out.]

Also, Kevin created a stellar hype video to get your blood pumping (before we slow it down again with the Vagus breathing exercises).

So Close!

Just waiting on lanyards and firmware now. Started acquiring parts for batch , so don’t give up on your FOMO. We’re here for you!

DC540 Badge and Game

While numerous LEDs, an OLED screen, and a stunning design on a completed badge are all commendable achievements in their own right, the DC540 does nothing in moderation. For our first badge, we would not stop there, we wanted to stress ourselves unnecessarily, develop new skills by constantly troubleshooting and redoing processes, test to the max our patience and group dynamic, all in designing a game for the badge.

So, I’m rather excited to announce that the DC540 badge comes with an interactive game that can be played during DEFCON. This game is meant to be a way to enjoy DEFCON while still experiencing the conference. It is a path to make the whole experience more fun for those who are completely new to the scene. This game does not require any serious skills and some challenges are just meant to be a way to get out there and experience Las Vegas, DEFCON, meet fellow hackers, and have a good time.

The game begins Friday, August 6th at 0900 and ends Saturday, August 7th at midnight. We will be around Thursday and throughout the CON for anyone who wants to purchase a badge and play the game.

What To Expect:

The game consists of ten challenges (one for each Sephiroth (sphere) in the Tree of Life). A detailed list of the challenges will be posted on the website early Friday morning (6 AUG). As you solve a challenge, you will receive a code that must be manually input into the badge using the buttons. The code will unlock the challenge which then lights up the corresponding sphere on the badge.

More information on the game will come in the following weeks as we continue to perfect it.

Review: Making Spaces Safer, by Shawna Potter

I was made aware of this book very recently on Twitter in one of the many, many threads calling out shitty behavior, specifically shitty behavior at cons, more specifically shitty behavior at Defcon.

As a person who runs a space and attends cons, it seemed exponentially important for me to read it.

I’ve been around a while. I’ve seen shitty behavior. I’ve seen shitty behavior at Defcon. Combine people who have never had their bad behavior challenged with the Vegas factor and the perception of anonymity, and it’s easy to see how things can go off the rails really quickly.

Going into this book, I felt like I had done the work. I’ve worked on myself over the years. I’ve intervened and confronted on behalf of others. I’ve been that person that discreetly notifies staff that a problem might be brewing. After reading this book, I know there’s even more to do. I was surprised. In fact, I was surprised at how surprised I was.

Shawna (Twitter: @ShawnaPotterWOW) does a fantastic job at describing the problems faced by marginalized people — people of color, women, LGBTQIA+, etc. — and then takes it farther by giving real world examples of both shitty behavior and legit strategies that can be employed by community space staff, allies and even bystanders. None of it is extreme or difficult. In fact, 99% of it costs nothing, and much of it aims for not only de-escalation of a situation and how to support the victim in the moment, but also changing the behavior using confrontation, education and specifically targeted strategies on dealing with the person who has been harmed as well as the person causing the harm.

I feel like this book is a great starting point for anyone who manages a group or opens up a space to the public. I still have questions, of course, but as the book points out, these behaviors and their reactions can be nuanced and require thinking outside of the box, and there will be situations that come up that feel like gray areas. But the book does a fine job of guiding the reader into the mindset of a victim-centered approach.

The important thing is that it makes situations that may seem unmanageable seem more manageable by providing you with a toolset for dealing with them.

Going forward, there’ll be a copy in the DC540 library. Members who are interested are encouraged to consider reading it. Or get your own copy:

Amazon (affiliate link)

Also available on audiobook at libro.fm

#Badgelife Rule #4,080: Testable components are SHADY!

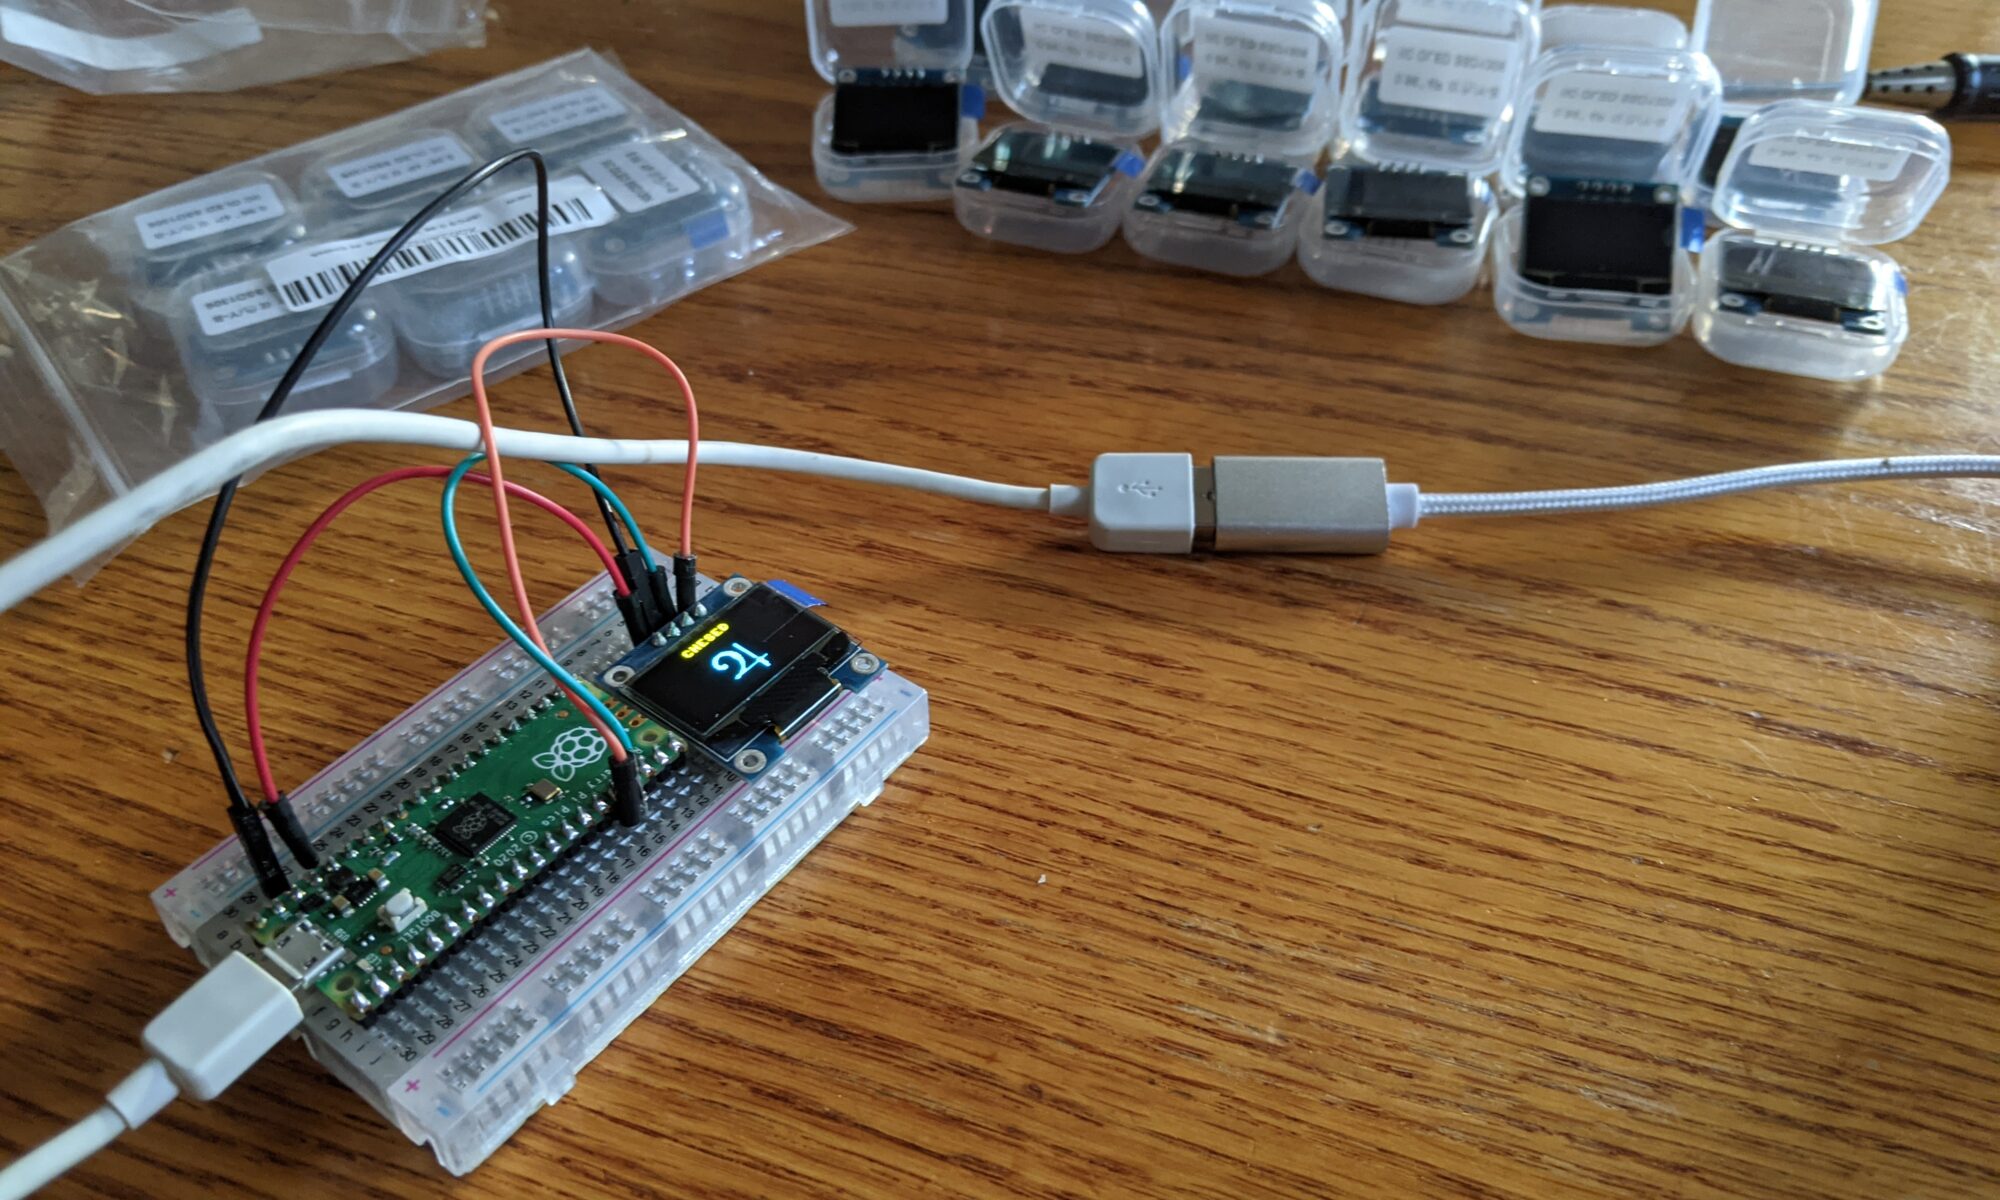
Better to find out you have a faulty OLED before it’s soldered to a PCB, right?

All of ours passed testing. These are the things you fill your time with to ease anxiety while waiting for the boards to show up from across the sea.

Ordering ESD bags. Designing custom lanyards. Making sure you have enough header connectors. Testing components. Ordering battery holders or LIPOs. Figuring out battery logistics. Can you take the batteries you chose on the plane?

Packing materials. Did you know you can get free flat-rate shipping boxes from USPS?

Stickers. It’s always cool to throw some stickers in there for good measure.

DC540 Tree of Life Badge for DC29

So this year DC540 decided to go through the exercise of creating a badge for Def Con 29. None of us had ever done this before. The most any of us had done was design a very simple minibadge with just one LED and one resistor. But a bunch of us are addicts.

We had started with the idea of a simple door-based badge design with an embedded game/challenge for our first badge. But ambition got the best of us, and honestly, we needed something to set our badge apart from every other badge out there. Something to make it unique. Go big or go home, right? And after a few iterations, and a planning meeting or three, an epiphany came. I realized that our challenge, which involved unlocking different “levels,” seemed to overlap nicely with the tree of life (Kabbalah) concept, and the Kabbalah provides a rich visual canvas on which to project our gameplay progress.

Additionally, for those who study Kaballah, because we based our badge on the Raspberry Pi Pico, the badge provides a platform for writing your own application. Perhaps something to reinforce the correspondences between Kaballah, Tarot, astrology, I Ching, colors, hebrew letters, gematria, etc. If Kabbalah is your thing, then you’re probably well aware of what I’m talking about.

If you’re not aware, the origin of Kabbalah is beyond the scope of this description. Very briefly, I’ll summarize what it is and isn’t. It isn’t devil worship. Kabbalah, as Jewish mysticism, dates back at least to the late 1100s in Europe. Modern Kabbalah can be seen as a framework for interpretation of physical and spiritual reality. The version we chose to implement is the version used by Aleister Crowley.

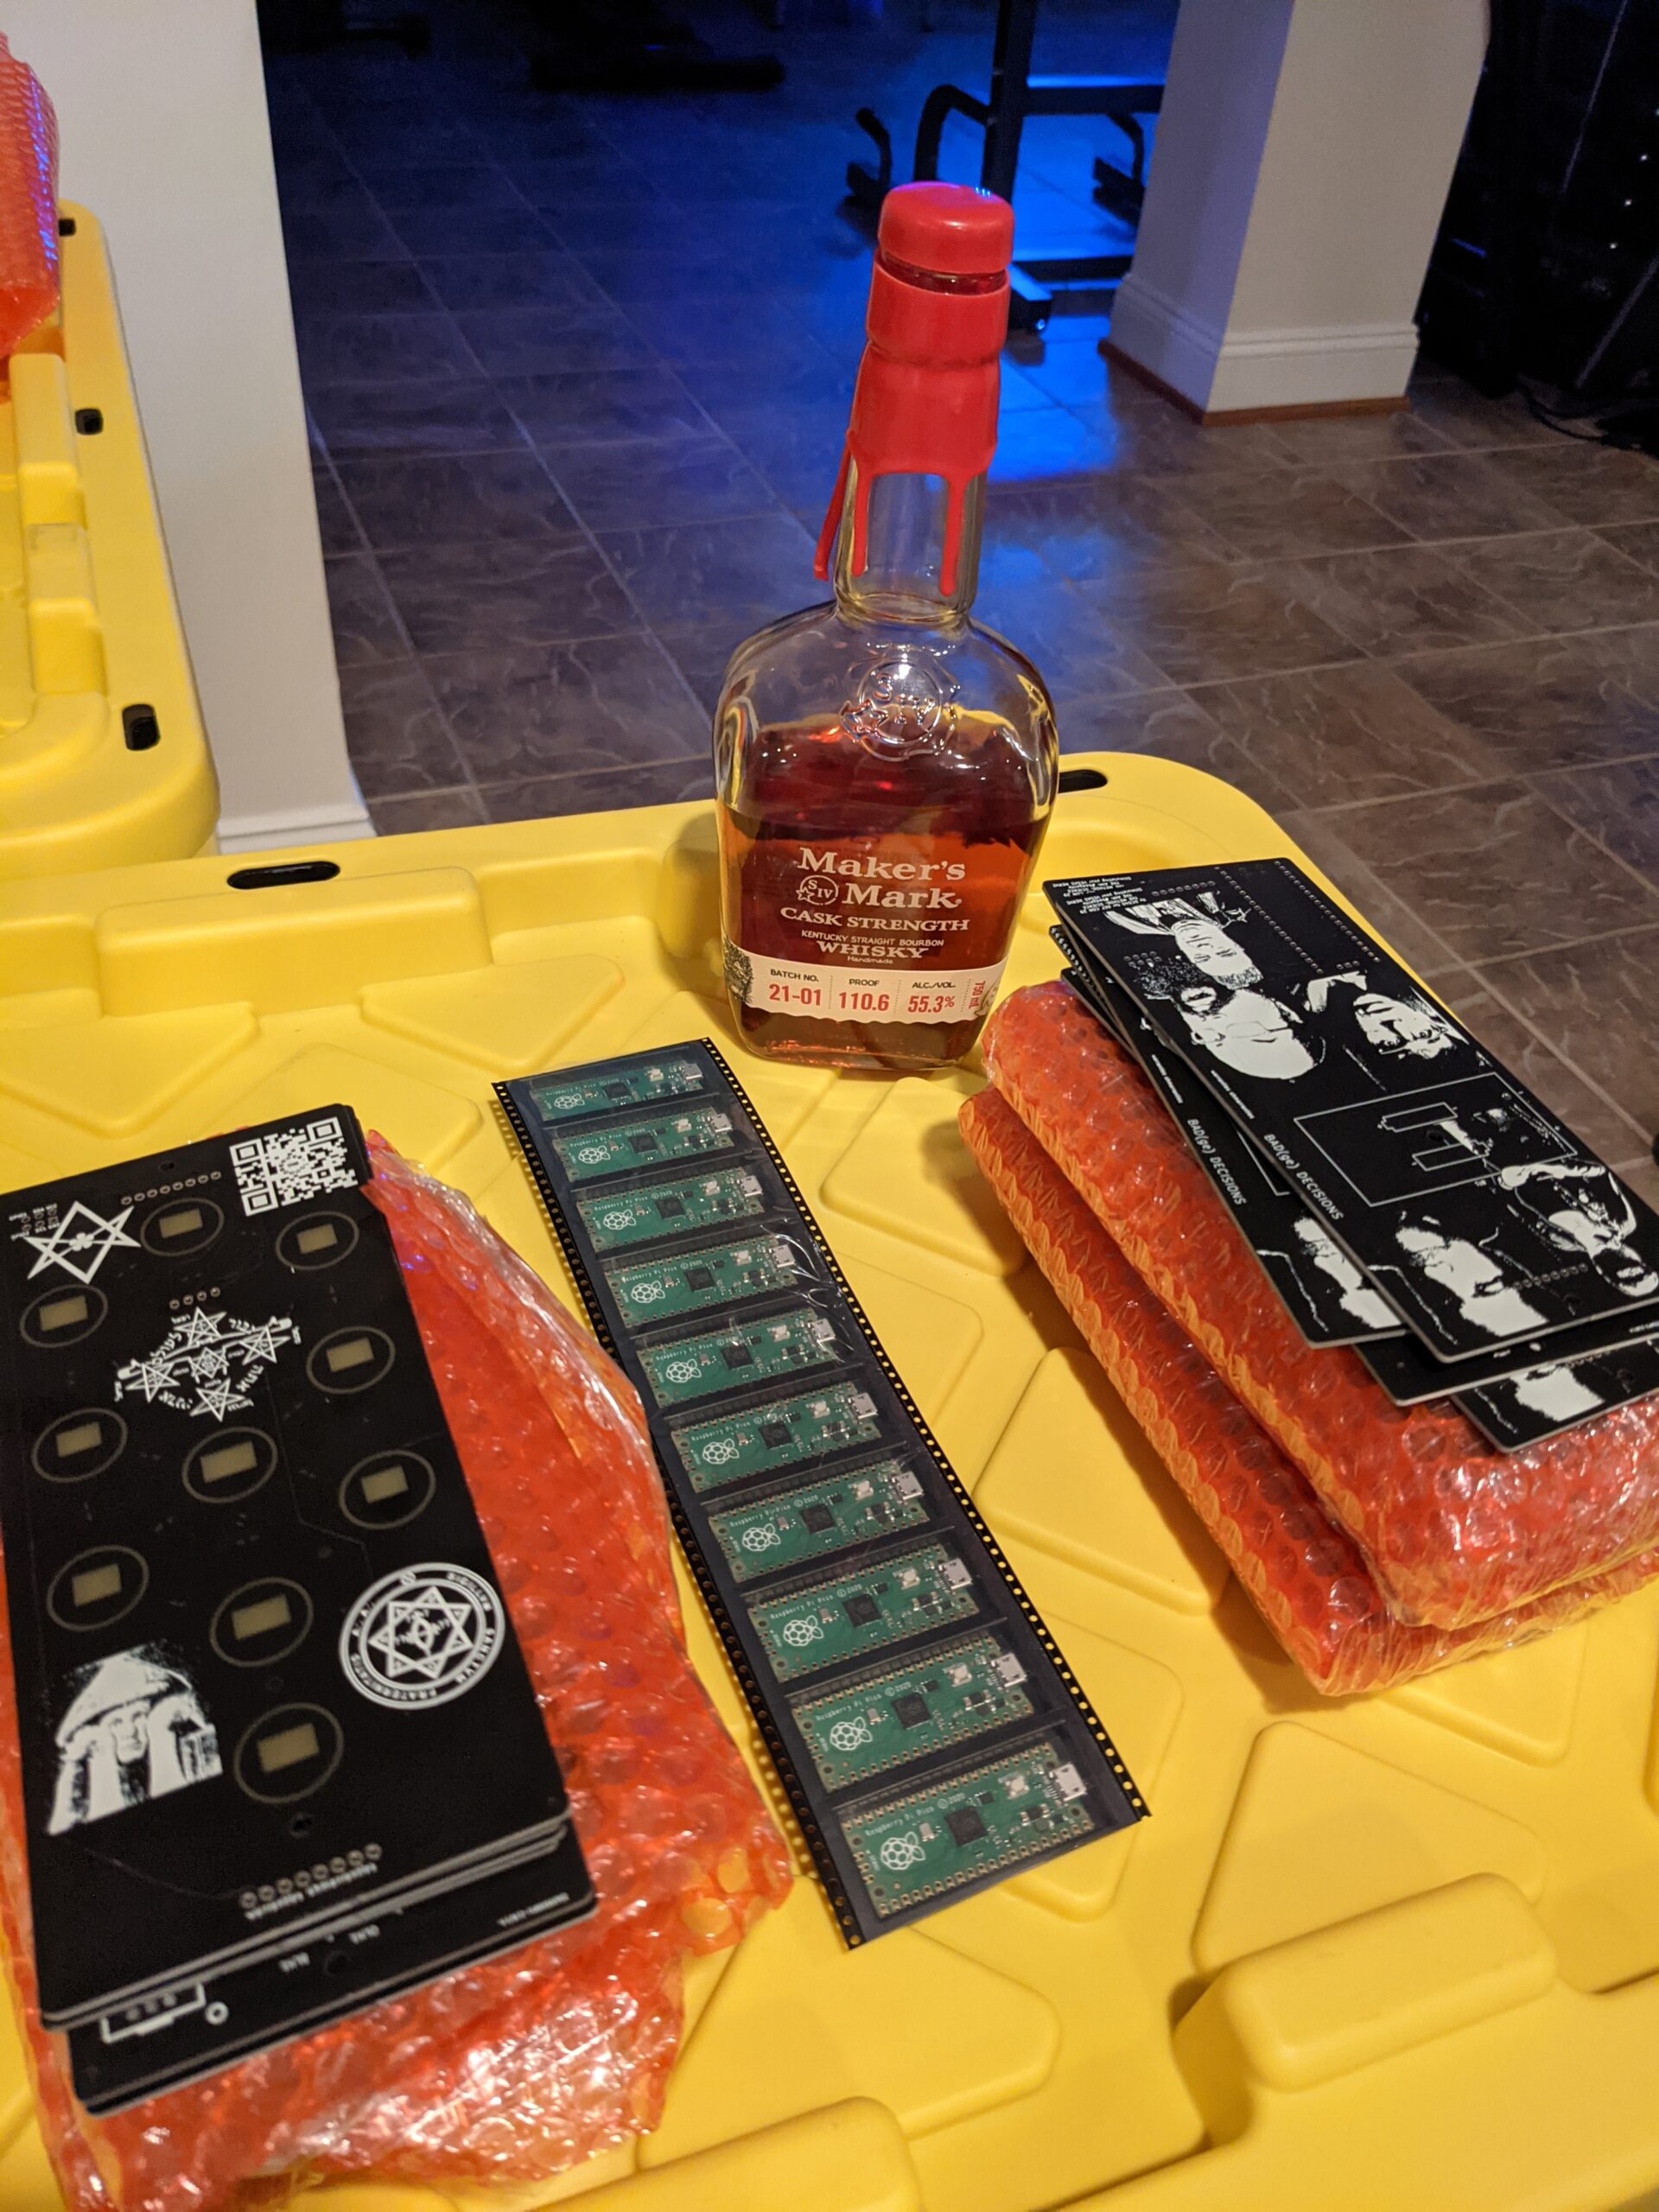
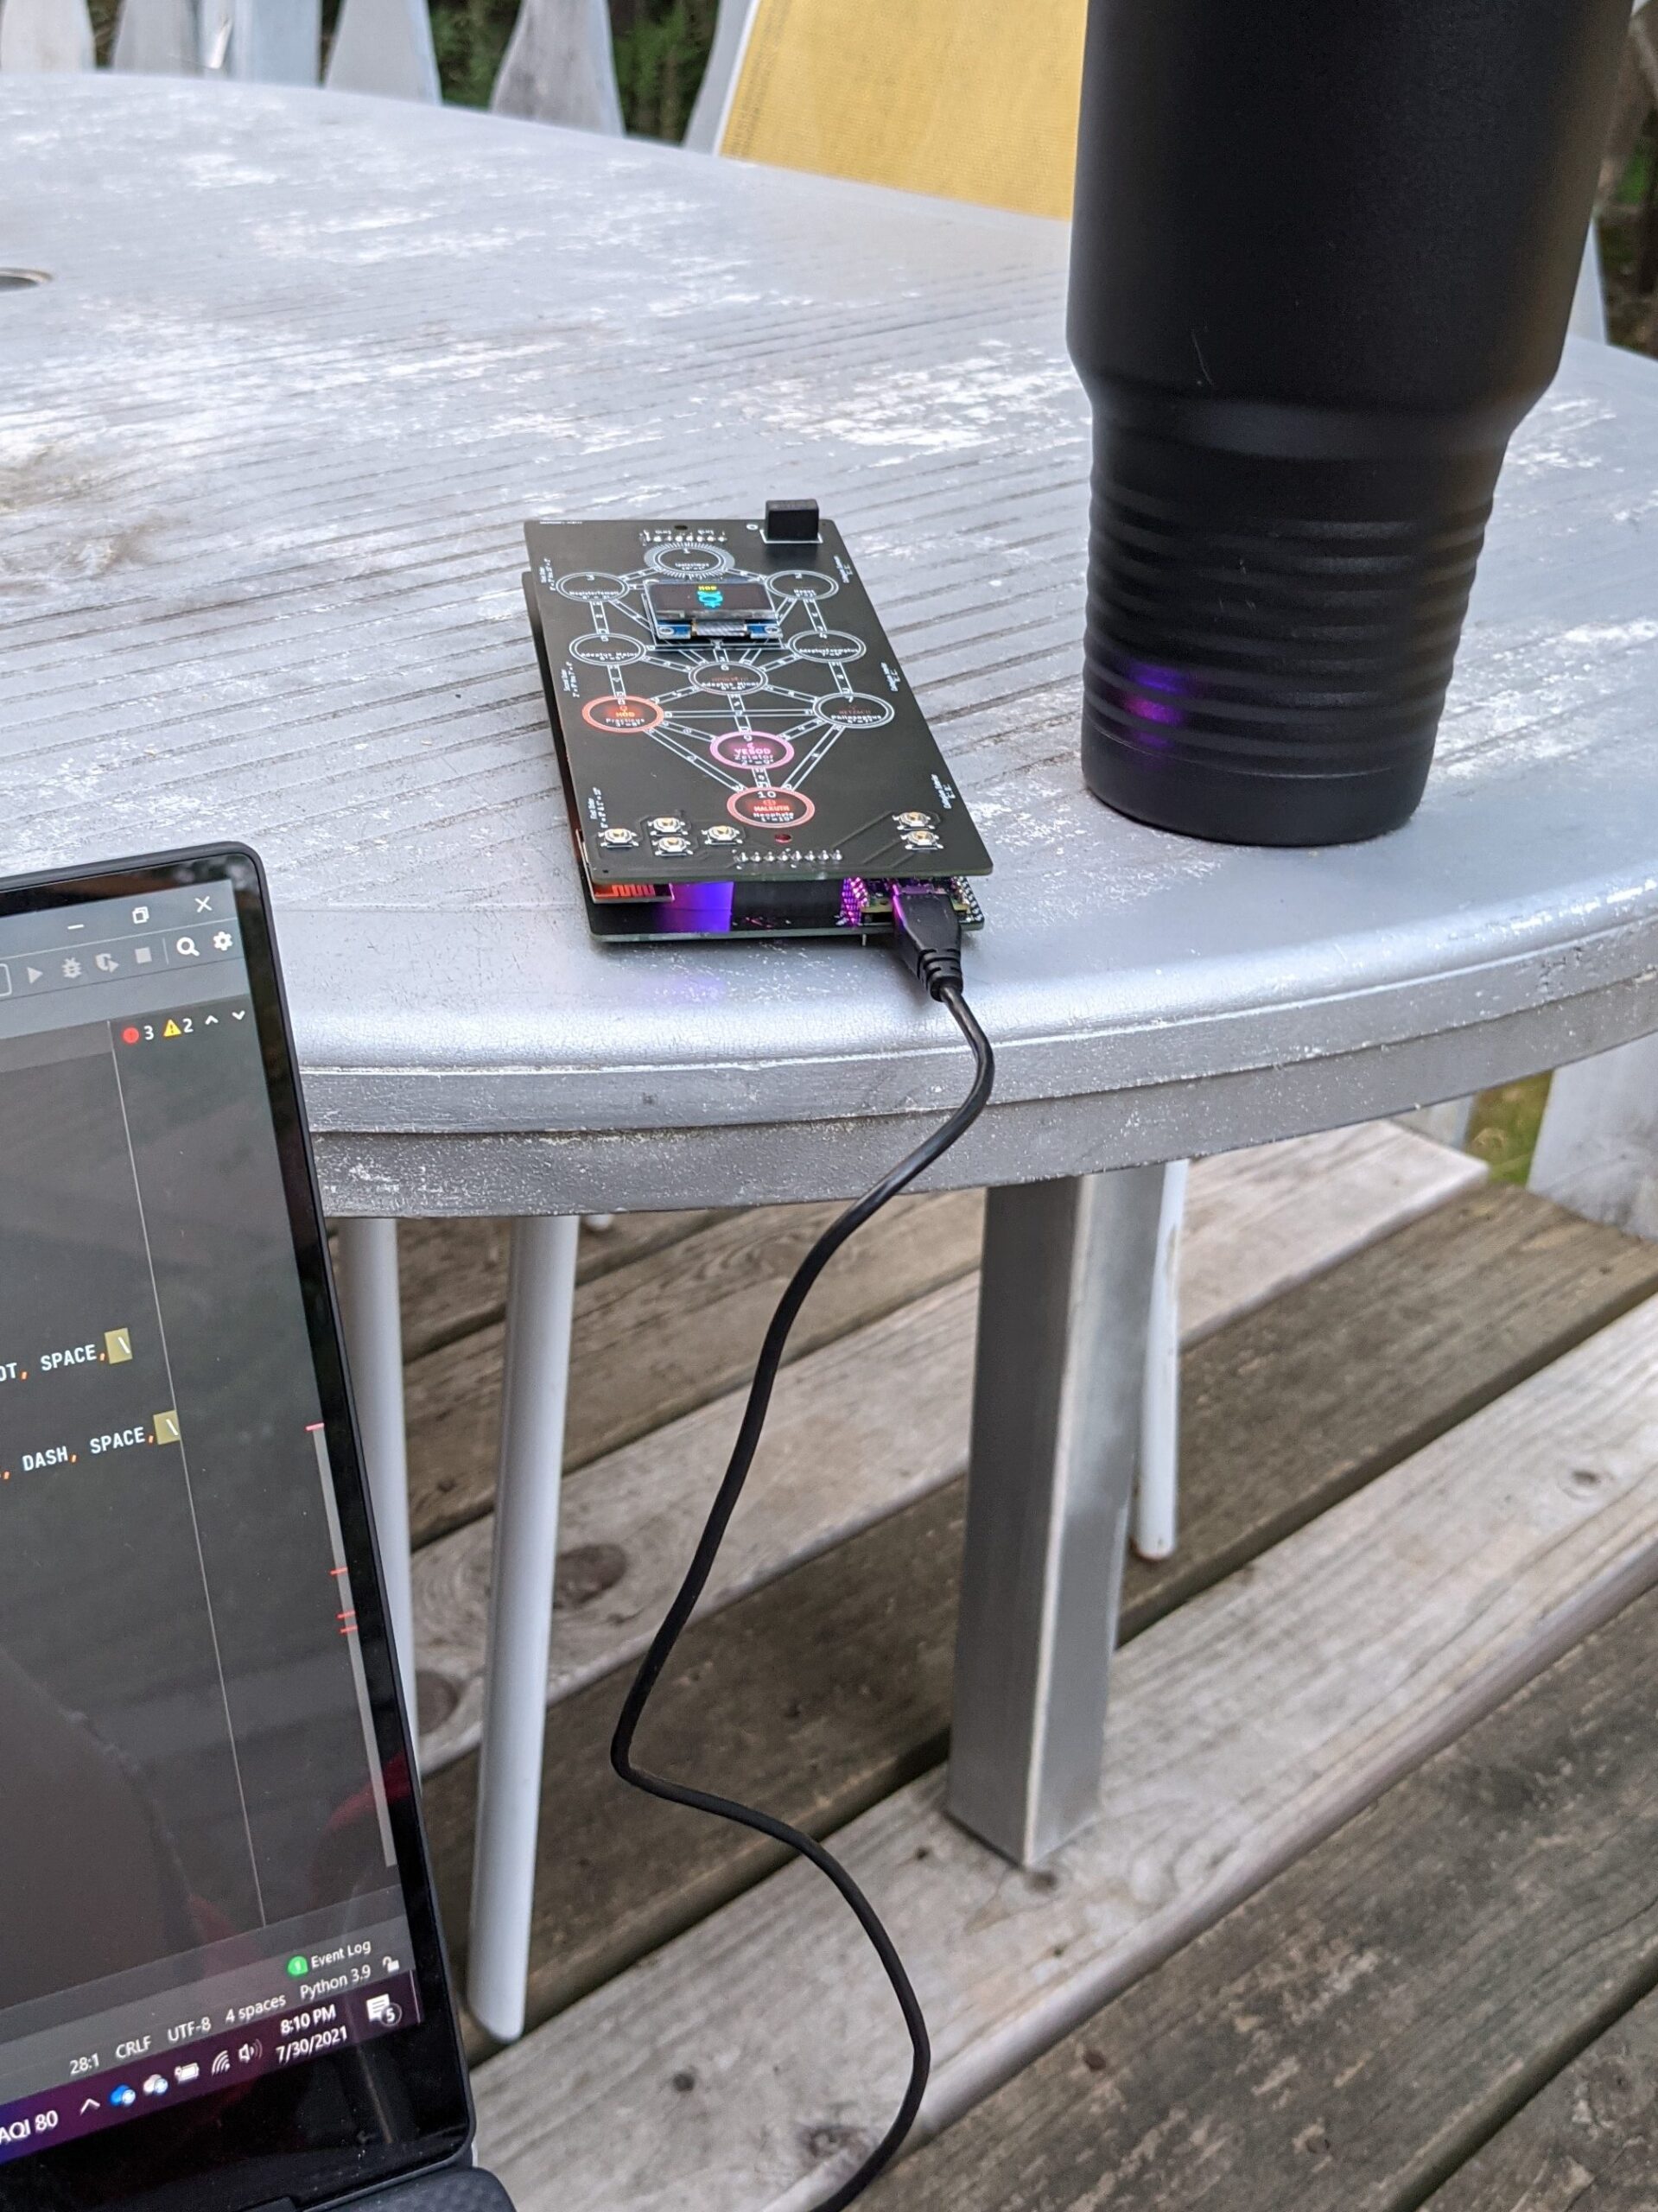
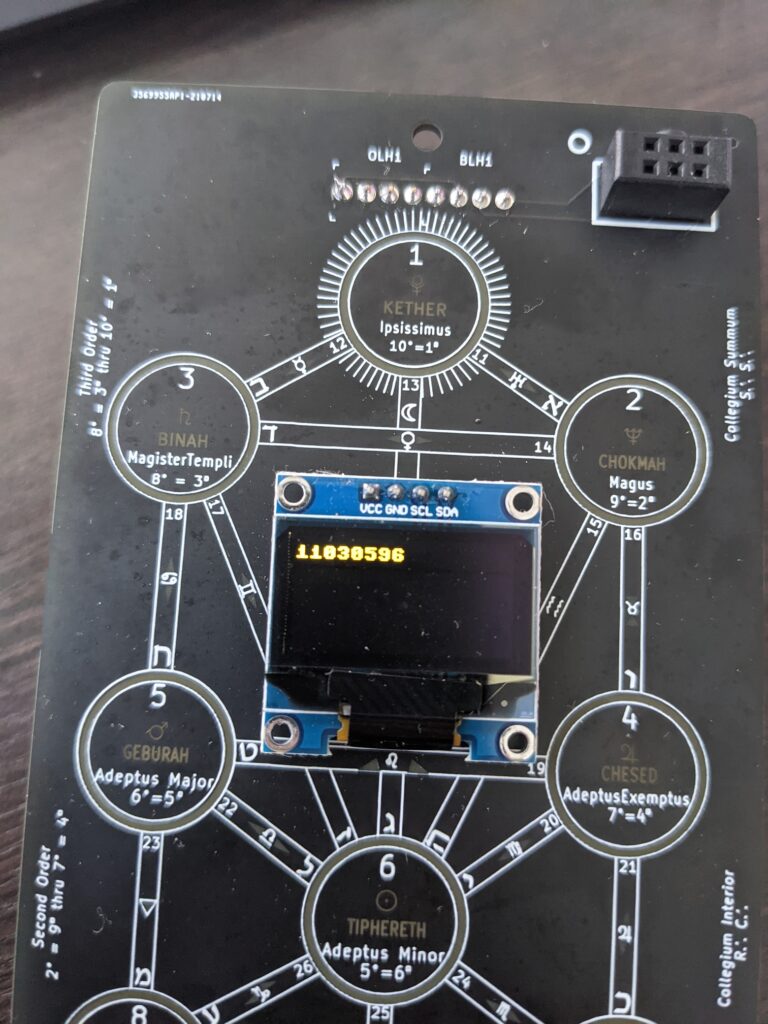
The badge consists of two PCBs — the surface PCB has solder mask cutouts to allow the light to shine through from below, and also houses an OLED, six tactile switches (buttons) and a Shitty Add-On (SAO) connector. The bottom PCB houses the Pico (surface-mounted, thanks to its castellated edges! sorry, we’re not worthy of surface-mounting picos, holy crap!), 32 RGB LEDs and a wireless transceiver. The two PCBs are connected by a pair of 1×8 connectors, and a pair of M3 screws for stability. A lanyard will be included. The final badge will use black solder mask instead of green. Because black is the most magickal color.

We’re going to go ahead and offer preorders through Shopify. We expect to have them in hand prior to Defcon, and we will bring some out for those who want to buy them in person, but if you’re NOT going this year, and you’d like it shipped to you, that means we have less to carry to Vegas with us. :). The link should be in the sidebar.

Update 2021-07-10: What you’ll get: You’ll get a fully assembled badge, a battery holder and two AA batteries, and a custom lanyard.

Expectations: I 100% expect the LEDs to be fully functional, they were successful on prototype . This is our first badge, and by far the most complicated thing I’ve ever designed for fabrication. I got the 1×8 headers lined up right, yay! The M3 screwholes are sufficient, when populated with a long enough M3 screw, to keep the side-to-side wobble in check. I’m 95% certain the OLED will work. I fubar’d the prototype by orientating the 1×8 headers backwards on the top board. That screwed up my testing capabilities for the OLED. Expectations for the wireless transceiver (NRF24L01+) are a bit lower. We haven’t even nailed down exactly what we expect it to do, and I think I ran a trace too close to a pad, causing a short. So unable to test that either. They work fine on the breadboard, though, so we’ll continuing developing and testing with the aim of it working. Be honest, though. You’re buying this for the blinkyshit, or your a dirty occultist who’s up to no good, in which case you can use your magickal wizard powers to make it work (or just cut traces and fix it if it’s wrong in prod).

Mounting the Pico as SMD using the castellated edges was something I wanted to do from the getgo. It means more surface space for artwork, and less annoying thru-holes. It does add a layer of complication, though. Or a challenge. Hell, let’s call it a probletunity. It’s forcing me to up my hot air game. It’s harder, I will say. It’s hard to know when the paste is melted enough underneath to avoid shorts, and I really found myself looking closely in the thru-holes to see the paste bubble up and turn from gray to silver. I also worried that I’d fry nearby electronics, but I think my technique is sound, and I’m using low temp paste. I may try baking one in the T-962 at some point, once I figure out how to add new bake profiles to it. Nope. Too hard. Back to thru-hole for the Pico.

I can’t guarantee we’ll have them in hand for Defcon, as I’m relying on outside entities. But they’ve been great so far, knock on wood. So that’s our goal.

KiCad: Cannot Determine Board Outline

I gave a silly little “Intro to KiCad” presentation at our meetup last night, before the weather came and insisted we not congregate outdoors.

I shit you not, it happened almost too fast to document. “Oh look, the sky is threatening. Oh wow, the wind is picking up. Better get the electronics inside. Oh, there go the beer cans and a dessert plate. Holy shit.

Then everyone scattered home, and it really came down. We actually had hail. It was the first time hearing hail in our house. People were concerned. The cat was concerned.

Anyhow, I wanted to relay a problem/solution I ran across yesterday, because I hadn’t come across this particular solution to the problem in my Googling, and maybe this will help someone.

PROBLEM: When trying to do a 3D view, you get the dreaded “Cannot determine board outline” message and it will not properly render your board shape.

VARIANT 1: KiCad provides coordinates to look at. In most cases, this is because your board edges aren’t properly connected and locked together. Go around the perimeter, zoom in very close, and click both lines, observing where the square marking the end of the segment appears. If they are in the exact same point, they are locked together, move on to the next one. If you need to move one, move it until a circle with a square inside appears, that’s the locked/connected indicator while moving the line.

VARIANT 2: KiCad provides no further information, just the subject error message. This one took me a few minutes. I walked the perimeter and everything was fine/locked. I turned off all other layers’ visibility except for Edge Cuts and could see no stray segments. I was confused. So I went old school. Knowing that all of these files are just text files with information, I grepped the .kicad_pcb file for “Edge” and was treated with the following:

  (gr_line (start -189 84) (end -189 -90) (layer Edge.Cuts) (width 0.05))
  (gr_line (start -114 84) (end -189 84) (layer Edge.Cuts) (width 0.05))
  (gr_line (start -114 -90) (end -114 84) (layer Edge.Cuts) (width 0.05))
  (gr_line (start -189 -90) (end -114 -90) (layer Edge.Cuts) (width 0.05))
  (gr_line (start -151.86914 77.27188) (end -151.87168 77.27188) (layer Edge.Cuts) (width 0.05))

My first clue was that my board shape was a rectangle and there were five segments described. The second clue is that fifth segment was too short. Ridiculously short. Invisibly short. So I zoomed in at those coordinates, and sure enough, there was a stray dot of edge cut sitting there that couldn’t be seen without the zoom. I removed it, then everything was fine.

Documenting here in case it helps others. But if you don’t move your board outlines much, and don’t accidentally draw on the edge cut layer and forget it, this probably won’t happen to you.

It occurs to me that this happens frequently with other layers, I often end up with an extra dot of something that I discover later when zoomed in. It might be useful to have a routine or view that just highlights every sub-millimeter unnecessary portion of wire, mask, edge or silkscreen that was probably left there by accident. 🙂

Raspberry Pi Pico wireless communication

So this thing we’re working on, you know. This is the second or third iteration of an idea, and it finally got enough momentum to, you know, be something. Or become something.

Originally, we were going to do it on maybe an ESP8266. Then maybe an ESP32. Then the Pico came out, and we’re like, fuck it, let’s ride the wave of momentum of this new awesome microcontroller and see what we can do with it.

Well, it’s amazing, and awesome, and wonderful, BUT it lacks wireless communication.

And we started looking into what it would take.

And found a couple of articles that piggyback an ESP32 to handle the comms.

Meh. Nah. Number 1, if we wanted an ESP32, we’d just use an ESP32. Number 2, we don’t need, or even want, full wifi. We just want communication between units. For this thing of ours.

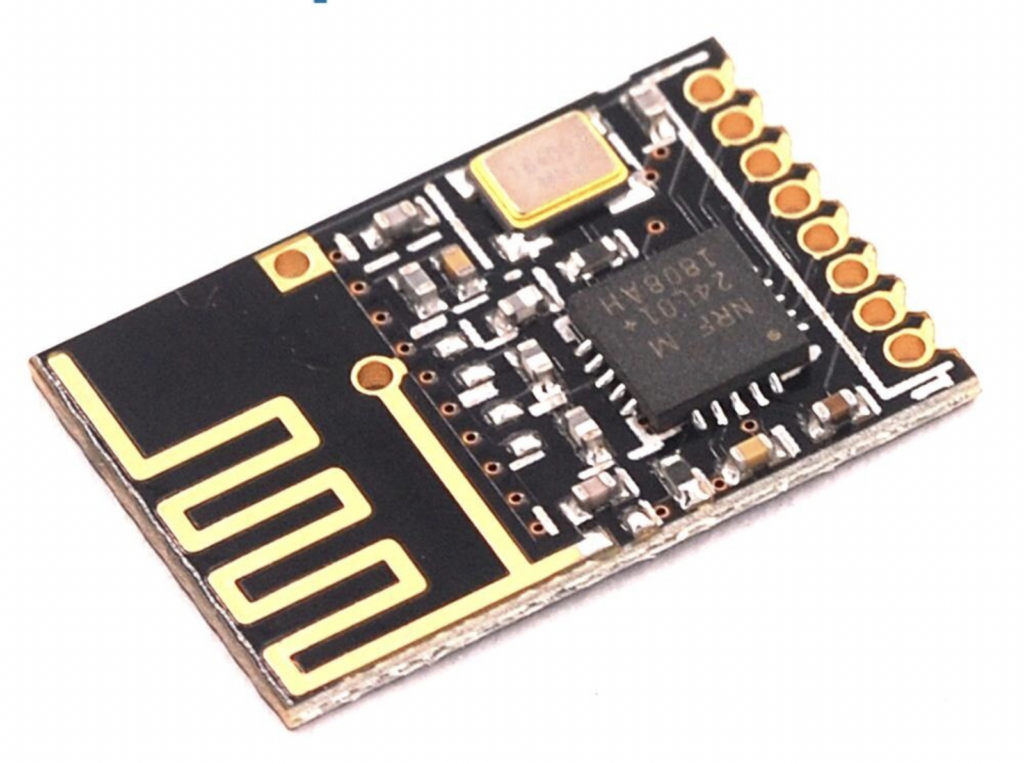
Then I saw that I can get this model of the NRF24L01+ for just a buck a piece.

Like the Pico, it has those glorious edges that can either be thru-hole (albeit half pitch) or surface-mount. I love that, you all know I love that. I love that you can mount it on a board and the other side of the board can be virtually unmolested.

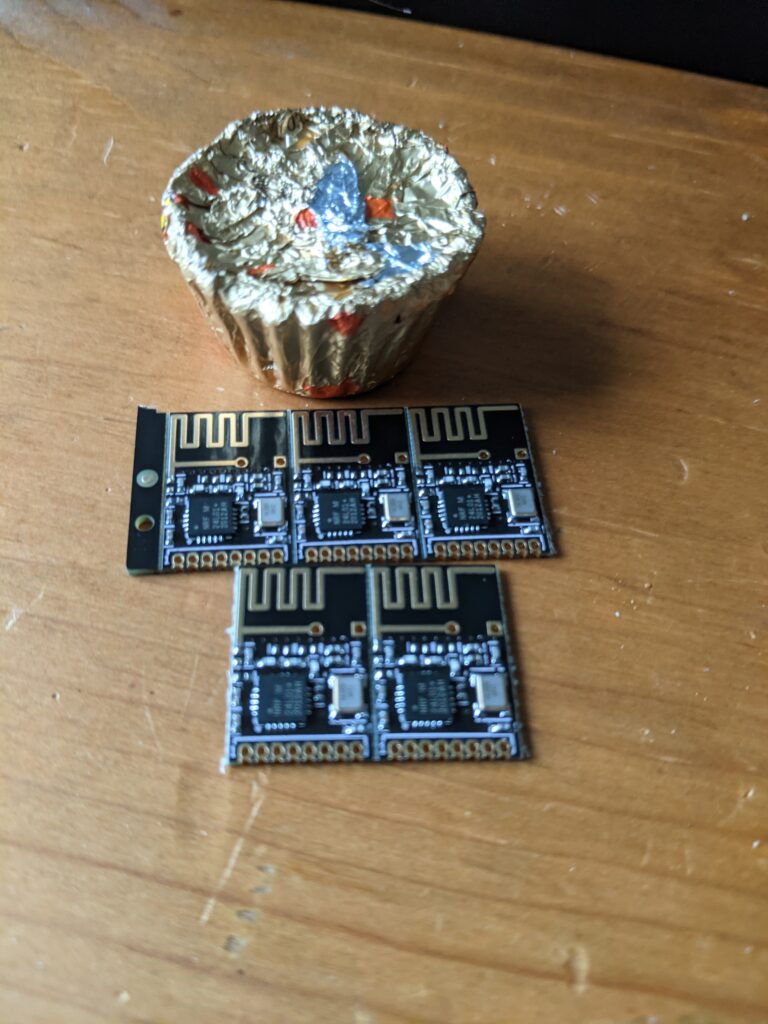
So I picked up a few for testing.

And dang, they’re small.

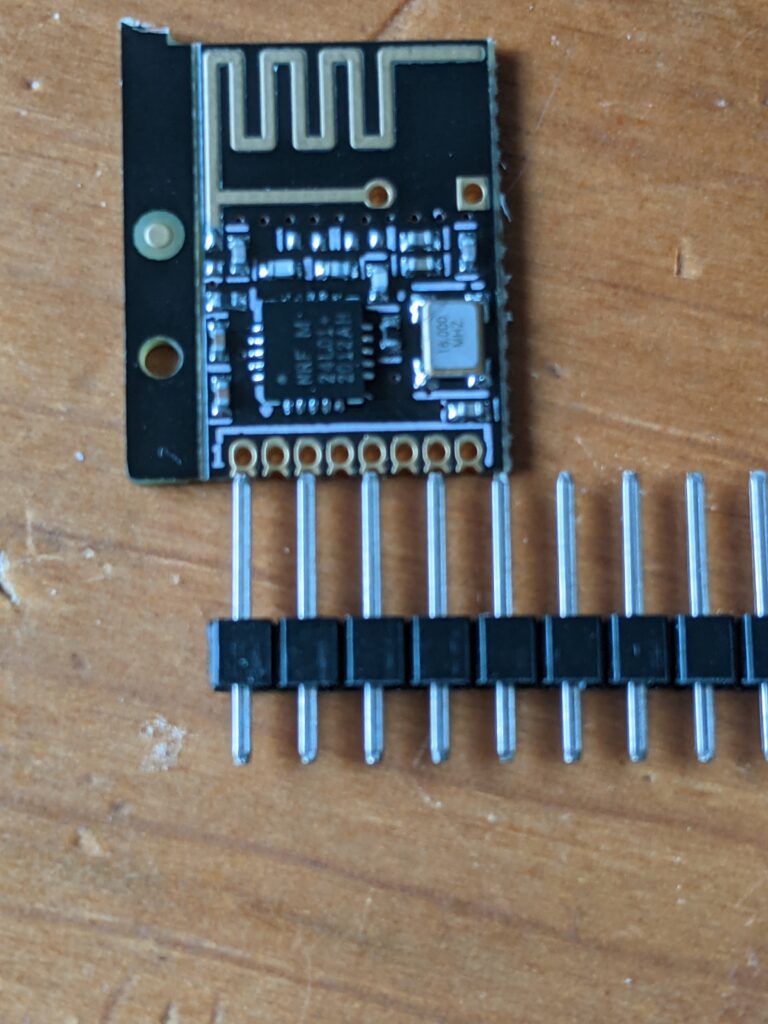
And this half-pitch bullshit presents a problem for traditional breadboarding.

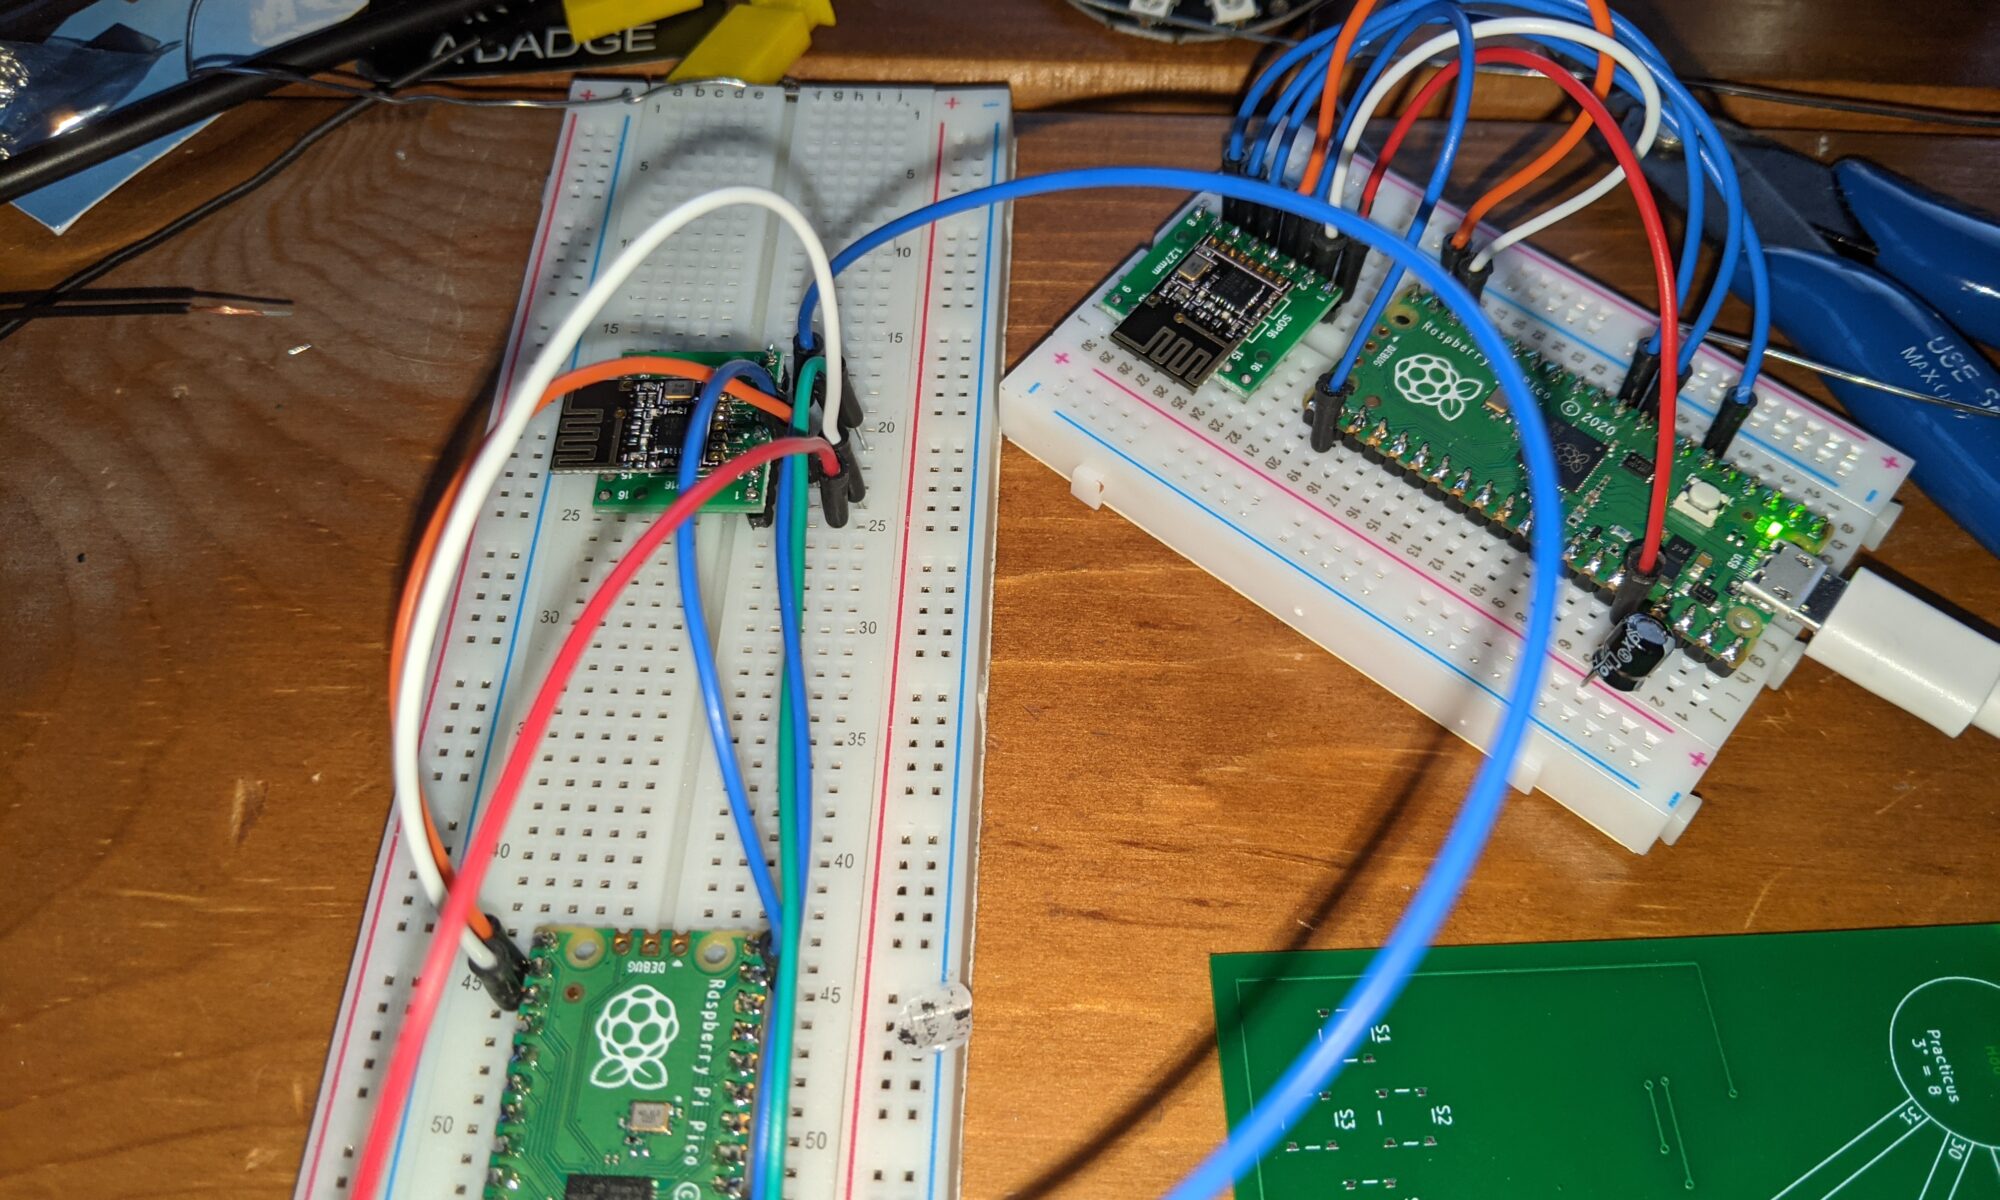
Fortunately, I have some SMD breakout boards that fit this perfectly. Let’s put a couple together for testing.

OK, now that I can breadboard this, let’s find some software for it.

NRF24L01 drivers for Micropython

These drivers won’t recognize the Raspberry Pi Pico without modification. You need to add a configuration line in nrf24l01test.py:

if usys.platform == "pyboard":
    cfg = {"spi": 2, "miso": "Y7", "mosi": "Y8", "sck": "Y6", "csn": "Y5", "ce": "Y4"}
elif usys.platform == "esp8266":  # Hardware SPI
    cfg = {"spi": 1, "miso": 12, "mosi": 13, "sck": 14, "csn": 4, "ce": 5}
elif usys.platform == "esp32":  # Software SPI
    cfg = {"spi": -1, "miso": 32, "mosi": 33, "sck": 25, "csn": 26, "ce": 27} 
else:
    raise ValueError("Unsupported platform {}".format(usys.platform))

Just add another elif stanza:

elif usys.platform == "rp2": #Pico
    cfg = {"spi": 0, "miso": 4, "mosi": 7, "sck": 6, "csn": 14, "ce": 17} 

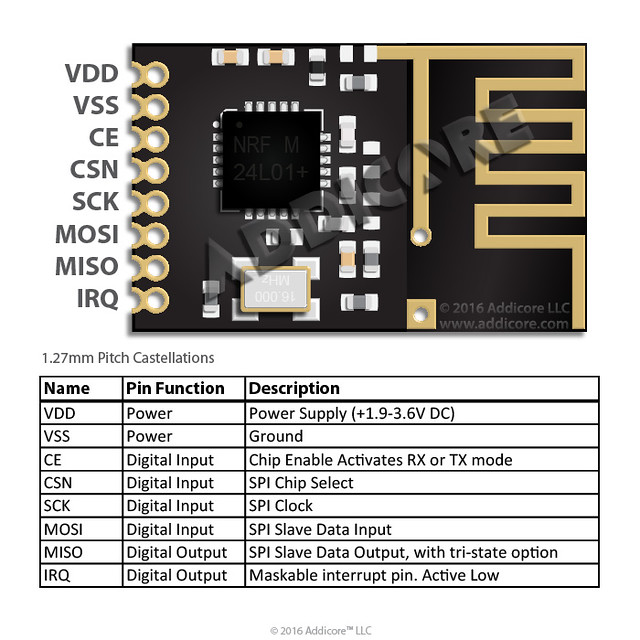
and connect the appropriate pins on your Pico to the correct pins on the NRF24L01+:

So I did all this, and fixed the connections so that I wasn’t getting hardware failures. I did it twice, because the example code has a master function and a slave function. Yes, I know, these are now outdated terms. Maybe someone should tell them to update it.

Anyhow, nrf24l01test.master() broadcasts a packet with the milliseconds, and wait 250ms for a response. nrf24l01test.slave() will listen for those packets, and if one is received, send a response. I ran it, excitedly — one pico/nrf24l01 assembly running nrf24l01test.slave() and another running nrf24l01test.master()… and…

Nothing. Response timeout. Consistently. So I googled a bit, and found that with some devices, a capacitor is needed “to smooth the current.” Some docs say 10uf, others say 100uf. I found that 10uf cut the failures to about half, and 100uf eliminated the failures. With a 100uf capacitor between VDD and GND on the transceiver, responses come back steadily, even if I take the sender into another room, 30 feet away, even to a different floor of the house, with walls in between. I’m impressed.

sending: 2802292 2
got response: 2802292 (delay 40 ms)
sending: 2802591 4
got response: 2802591 (delay 34 ms)
sending: 2802886 8
got response: 2802886 (delay 35 ms)
sending: 2803177 1
got response: 2803177 (delay 39 ms)
sending: 2803475 2
got response: 2803475 (delay 35 ms)
sending: 2803770 4
got response: 2803770 (delay 35 ms)
sending: 2804065 8
got response: 2804065 (delay 35 ms)
sending: 2804360 1
got response: 2804360 (delay 35 ms)
sending: 2804656 2
got response: 2804656 (delay 40 ms)
sending: 2804957 4
got response: 2804957 (delay 45 ms)
sending: 2805260 8
got response: 2805260 (delay 37 ms)
sending: 2805558 1
got response: 2805558 (delay 38 ms)
sending: 2805853 2
got response: 2805853 (delay 42 ms)
sending: 2806153 4
got response: 2806153 (delay 35 ms)
sending: 2806449 8
got response: 2806449 (delay 37 ms)
master finished sending; successes=16, failures=0

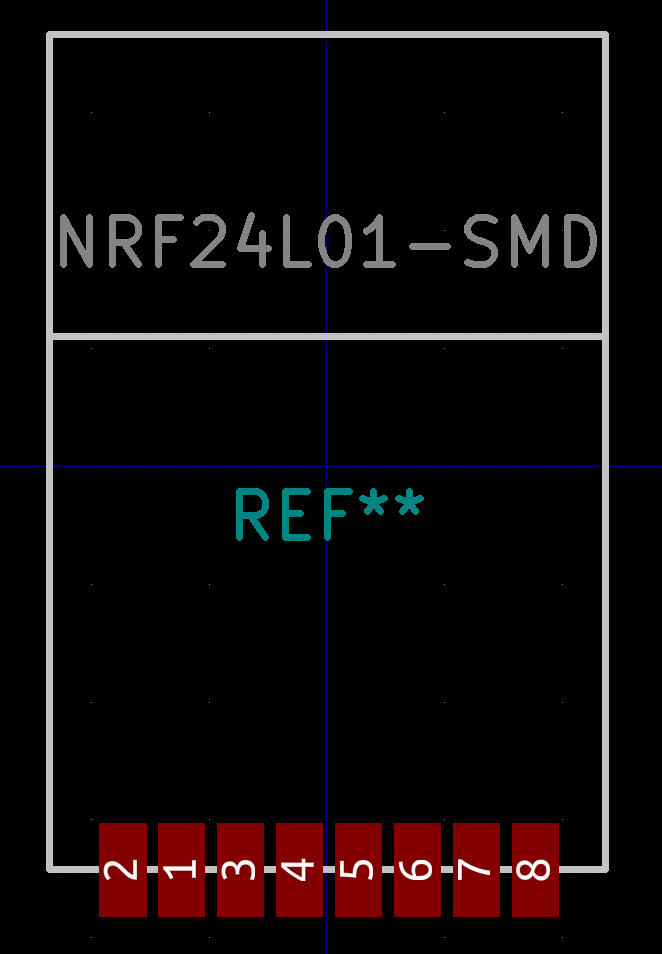
Interesting info: I had so much trouble finding a KiCad symbol and footprint for this device that I started to build my own. But then I found one by accident in the mysensors repo. Important note: Pay attention to the symbol on this one. The symbol as provided in mysensors has VCC on pin 2 and GND on pin 1, but the units I received have VCC on pin 1 and GND on pin 2. I suspect that’s the reason for one review of the unit I ordered stating that the pinout was nonstandard. I don’t know what’s official and standard, but the pinout on the units I received match the photo above, so maybe mysensors is wrong, or maybe there is no standard. Just be aware so that you don’t smoke your transceivers.

Update: LOL. I take it back about the pin 1 vs 2 confusion. Look what they did in the footprint!

Monday 6/14 Meeting is In-Person

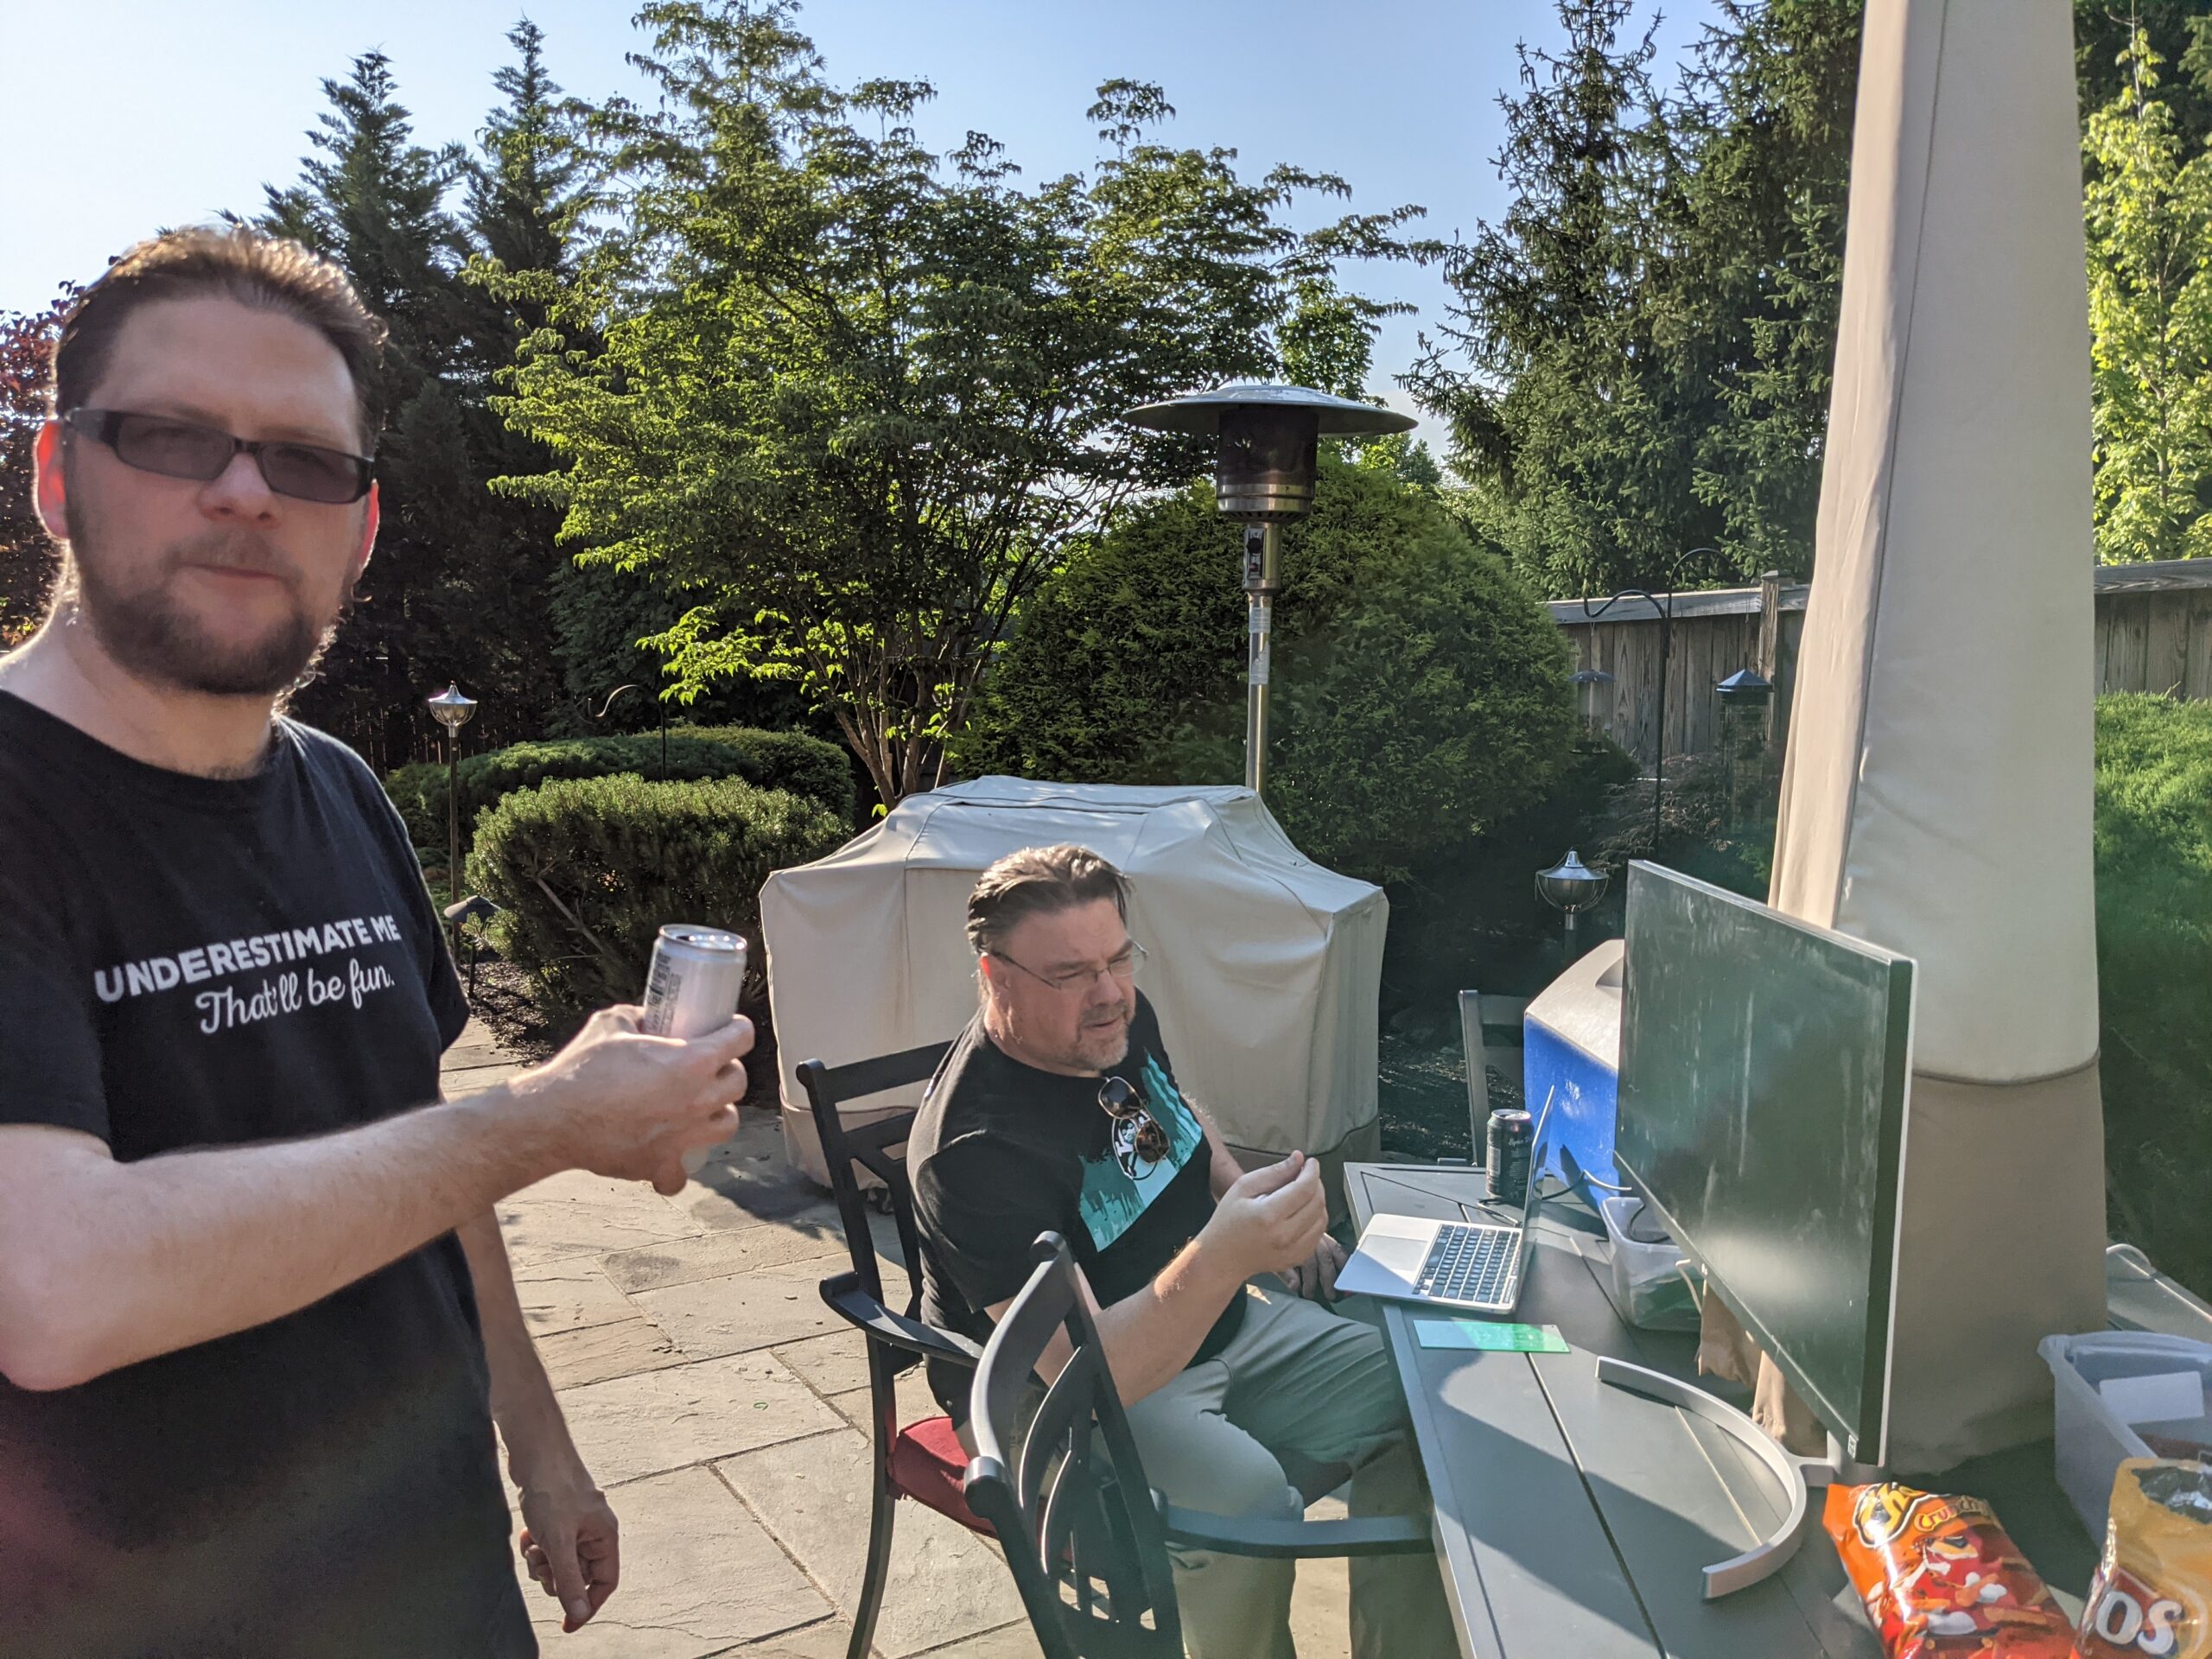
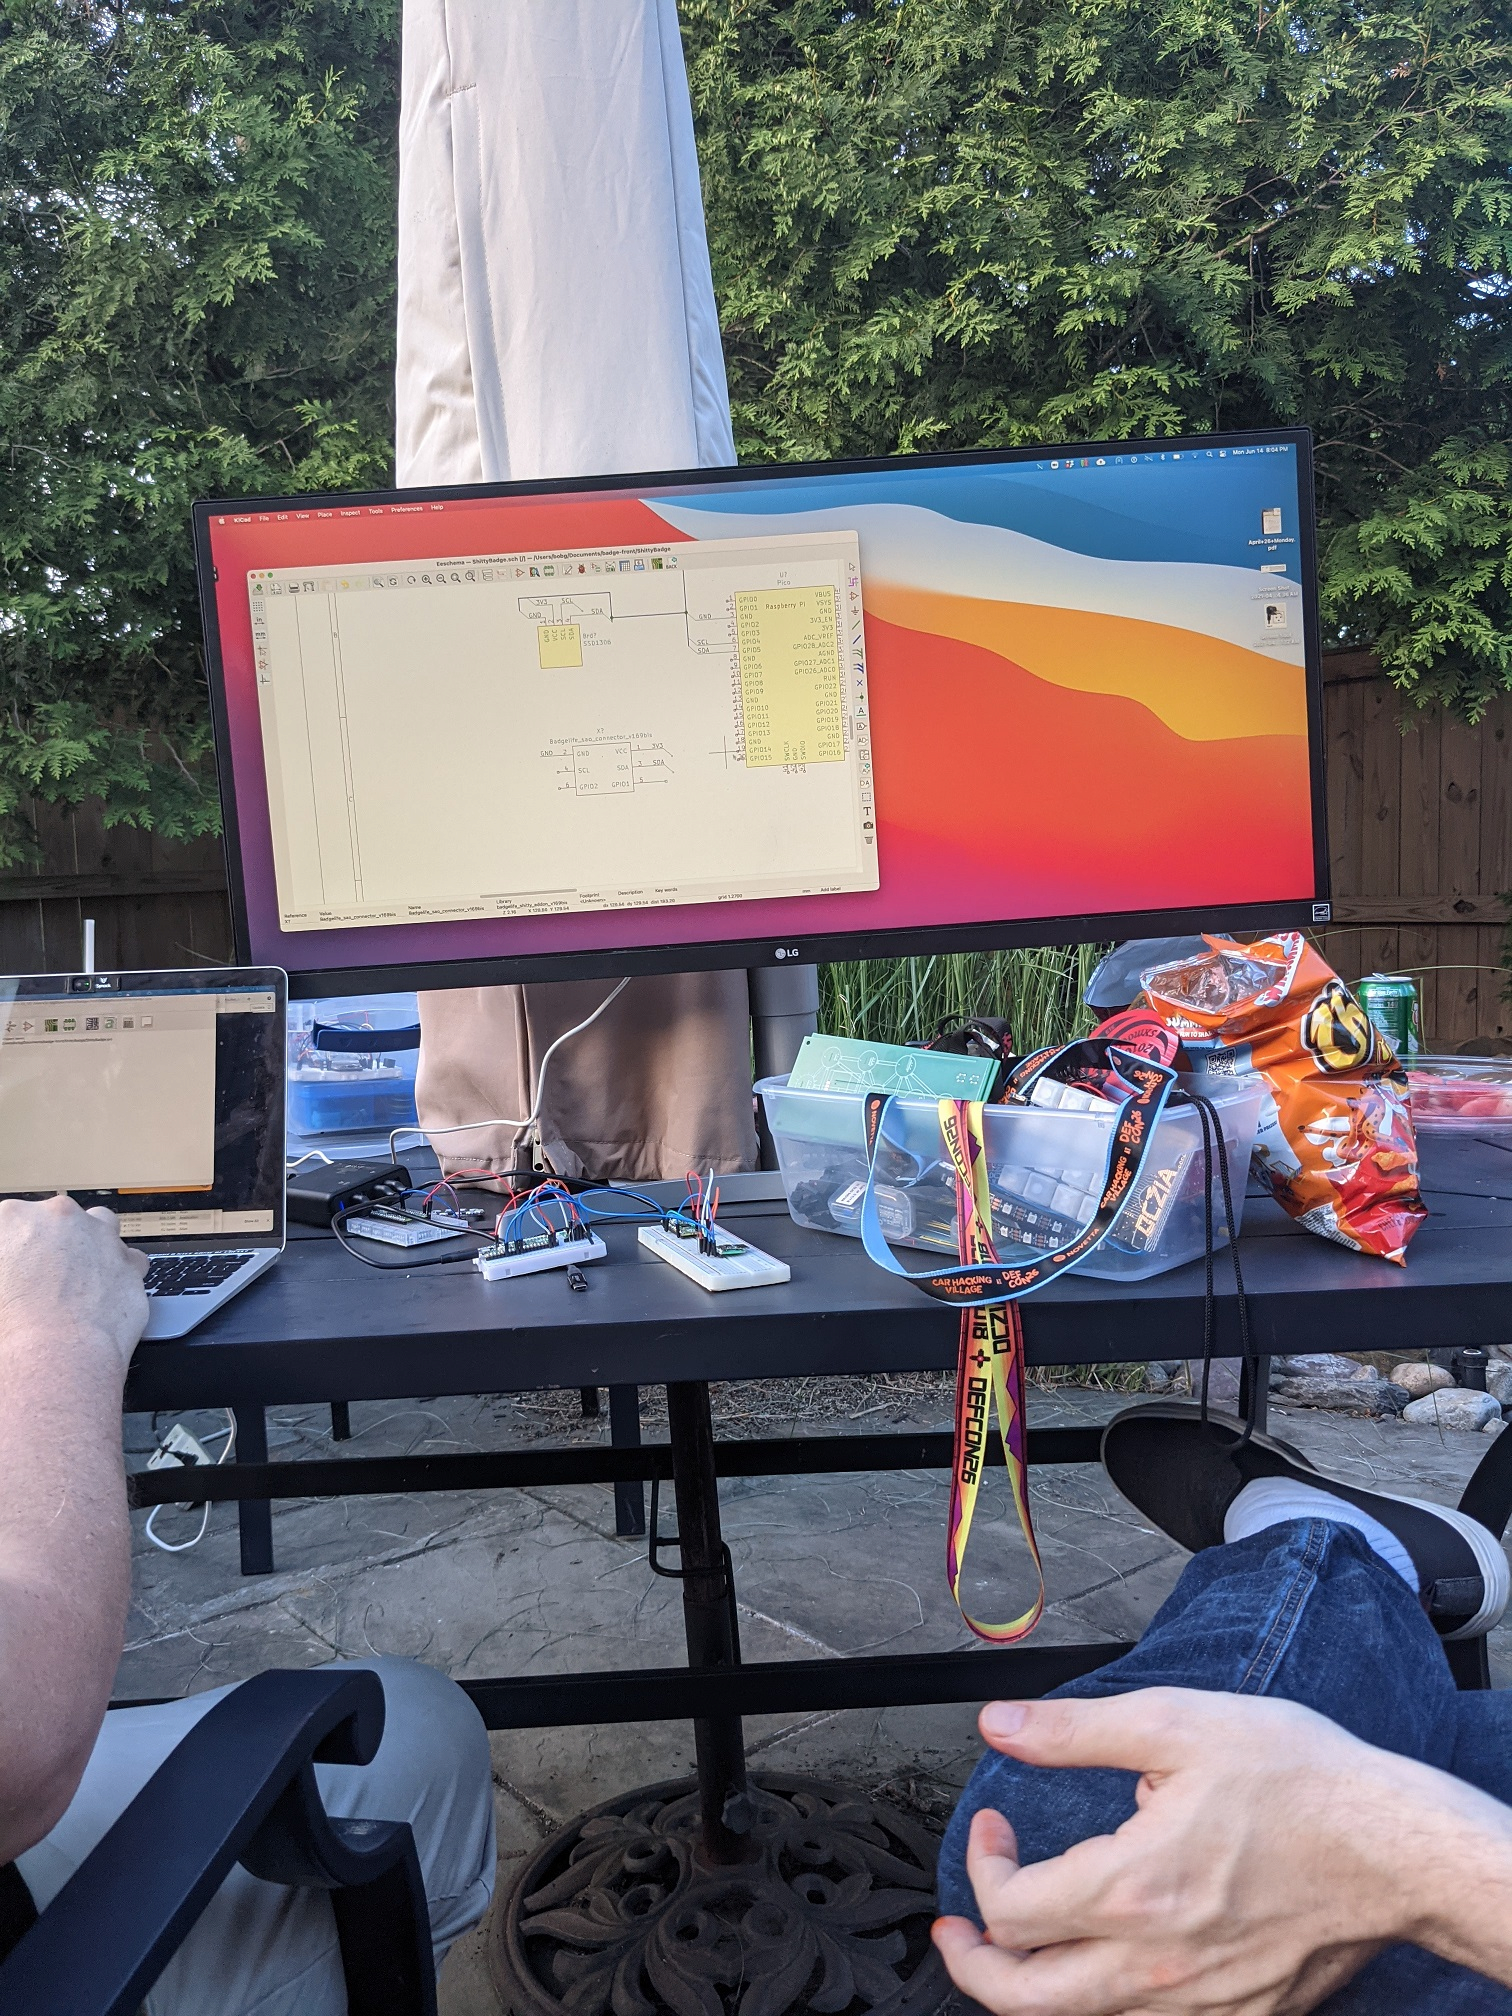
OK, Actually it will be Hybrid. We want to be inclusive to those who can’t make it out. We’ll be talking about badge planning, and I’ll give a demo of PCB design and how to build a badge in KiCad, from a blank slate to fabrication. You can put your filthy grubby hands on the early prototypes of the badge we hope to release at “summer camp” this year.

Weather looks good for a backyard meetup. I’ll see if I can bring a large-ish screen out to the table so everybody doesn’t have to crowd around my laptop. And I’ll stream the screen in the Discord so everyone can see it.

Thonny, MicroPython and Pico Inside Out

We’ve been playing with the Pico over here. Some of us have been going more in-depth than others. And since everyone starts with a different set of experiences, a historical perspective, you might say, we all sort of hit it from another angle.

A common angle to come at this unique and delicious combination is from a general familiarity with Python. That’s where I came from. I had written Python scripts to do various things. I had taken it to the next level and written tkinter visual apps for the Raspberry Pi 3 and for desktop OSes.

But I quickly got the understanding that MicroPython is not full Python. Is it safe to say it’s a highly-specific subset of Python?

So obviously my first question is, “what can I DO with it?”

So, you could go out and find things that have been done, and adapt them, and we’ve all done that.

Or…

You could ask your Pico directly.

Go install Thonny, if you haven’t already, and get it talking to your Pico. I’ll wait. And I won’t walk you through that. That’s beyond the scope of this little post.

[jeopardy theme song plays while I wait patiently…]

OK. You back? Let’s do this.

So hopefully you’ve connected up your Pico and been prompted to flash the MicroPython firmware to it. That’s all kind of automatic, right?

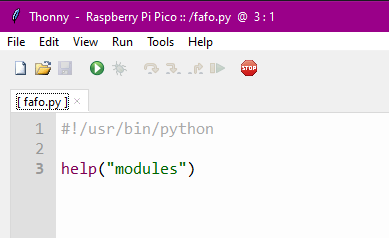
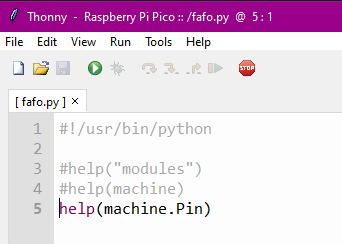
Now, create a new file in Thonny. Let’s call it fafo.py (fuck around, find out).

Put the following very simple script in it.

Save it (you should be prompted to choose whether you’re saving it to your PC or to your Pico — choose the Pico).

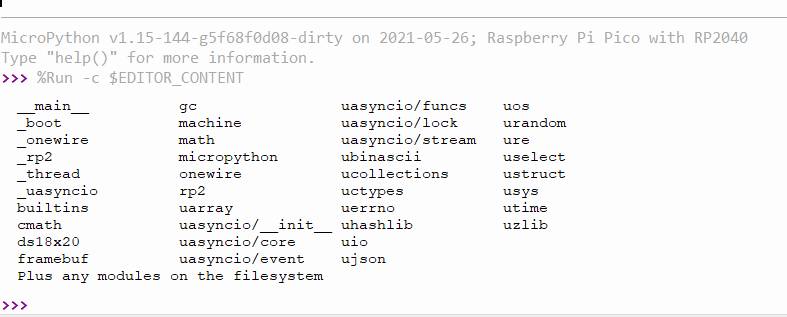
Now run it. You should have a shell in the bottom half of your Thonny window and should see the following output:

Congratulations. You’ve just asked your Pico politely for a list of modules, and it has responded with a list of all built-in modules (modules that are built in to the MicroPython firmware you flashed onto your Pico). Note the last line: “Plus any modules on the filesystem.” It’s not aware of any custom modules you may have written, borrowed, used within its governing license, or stolen, and dropped into the MicroPython filesystem.

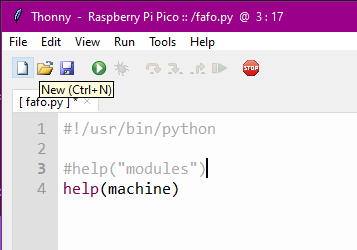
Let’s take this a step further. What if you wanted to know what functions and classes are available within a module? Let’s try this:

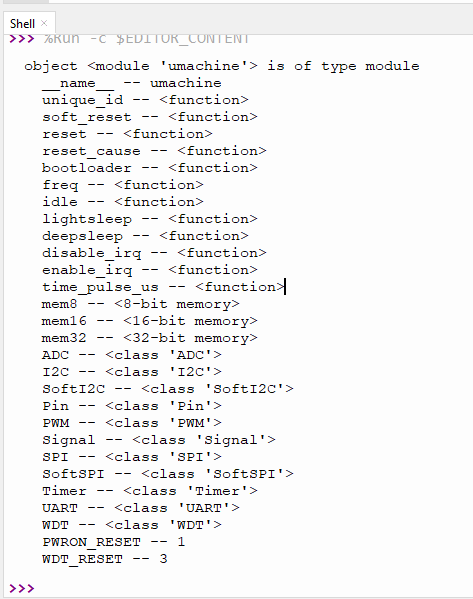
Now you’ve asked your friendly little Pico to give you help on the module named “machine.” Note that you do not quote the module you are requesting help with. If you do, it thinks you’re asking help with strings, because “machine” is a string. Yeah, I don’t know why “modules” is quoted and machine is not. Let’s keep going anyway. Hit run. (In my setups on Mac and Win, you don’t need to save anymore once you’ve saved to Pico, it will automatically save before running, so unless you’re saving a new file, you can just hit run.

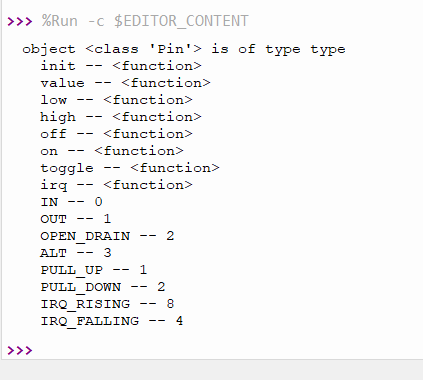
That’s pretty cool. And now you know you can ask it for help on any module. But what if you want to know more about a class within a module? Let’s take a look:

Hello, my little Pico friend, would you be kind enough to tell me more about the Pin class within the machine module?

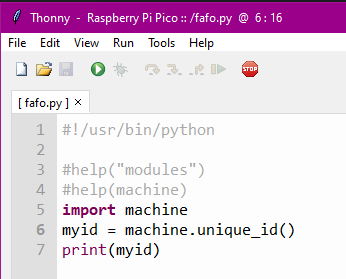
Now you have a super helpful list of functions (methods) and constants associated with the Pin.class of the machine module. Now go forth and play with all the other modules. Find something that takes you to your happy place. I did:

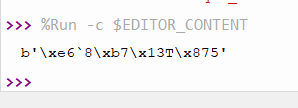
This is actually what I came here looking for, a unique ID function.

So I plugged in another Pico, flashed the MP firmware on it, then hit run again. As predicted, it automatically saved it to the Pico, not even realizing I had swapped Picos, then ran it.

Mission accomplished!

#badgelife development from a band of misfits

So here we are, it’s 2021, Def Con is hybrid this year, and we procrastinated long enough. We wanted to put together a badge for last year, but with the con being fully virtual, we lost motivation. There’s something about the idea of being in person for our first badge presentation that appeals to all of us.

Except Kevin, who hates crowds. And I get it.

So we were still on the fence until the org made the announcement and we decided to push forward. Then it became, “oh shit, do we have enough time to put a badge together?”

The answer became “fuck yeah.” Despite the fact that none of us has ever created a badge before. We’re just a bunch of nerds with a fetish and some audacity.

The badge is based on the Raspberry Pi Pico. It will likely be released as a locked UF2 firmware compiled from MicroPython with some secrets and challenges in it. The artwork is shaping up to be sufficiently attractive to sit proudly in any collection. And because the base is the Pico, it will be easy to update firmware, either with future releases from us or with your own cool ideas. I won’t spoil the artwork now, but certain subcultures might be very interested in the design functionality and I suspect some will find their own uses with their own code. I hope when this happens that they feed it back to us through our Github so that it can be shared with the community.

We currently have two needs for the badge:

(1) I would love for someone with or other PCB design experience to help design a Lipo charging circuit for the badge. According to the datasheet, it should be able to charge through the existing USB port and power the badge accordingly. If we don’t get this reliably resolved, we’ll use battery holders and 2xAA batteries. Power usage is minimal on the Pico, even with neopixels and an SSD1306 OLED display. I just started testing powering the circuit by battery today, and at this moment I’m at nearly 7 hours of runtime, and that’s before we optimize power usage. For this test, the screen is always displaying or scrolling something, and 10 LEDs are cycling.

(2) Looking for someone with graphic design experience to come up with a lanyard design which fits the theme of the badge. Without spoiling the badge, there is a bit of an occult theme to the badge artwork, it would be great if that theme translates to the lanyard as well.

Sorry, no spoilers until the final boards arrive. First prototype should arrive this week.

Fun with the ESP32-Cam

Tonight I finally got around to firing up the ESP32-CAM I’ve had sitting in a drawer for long enough to forget exactly where it came from or what it came with.

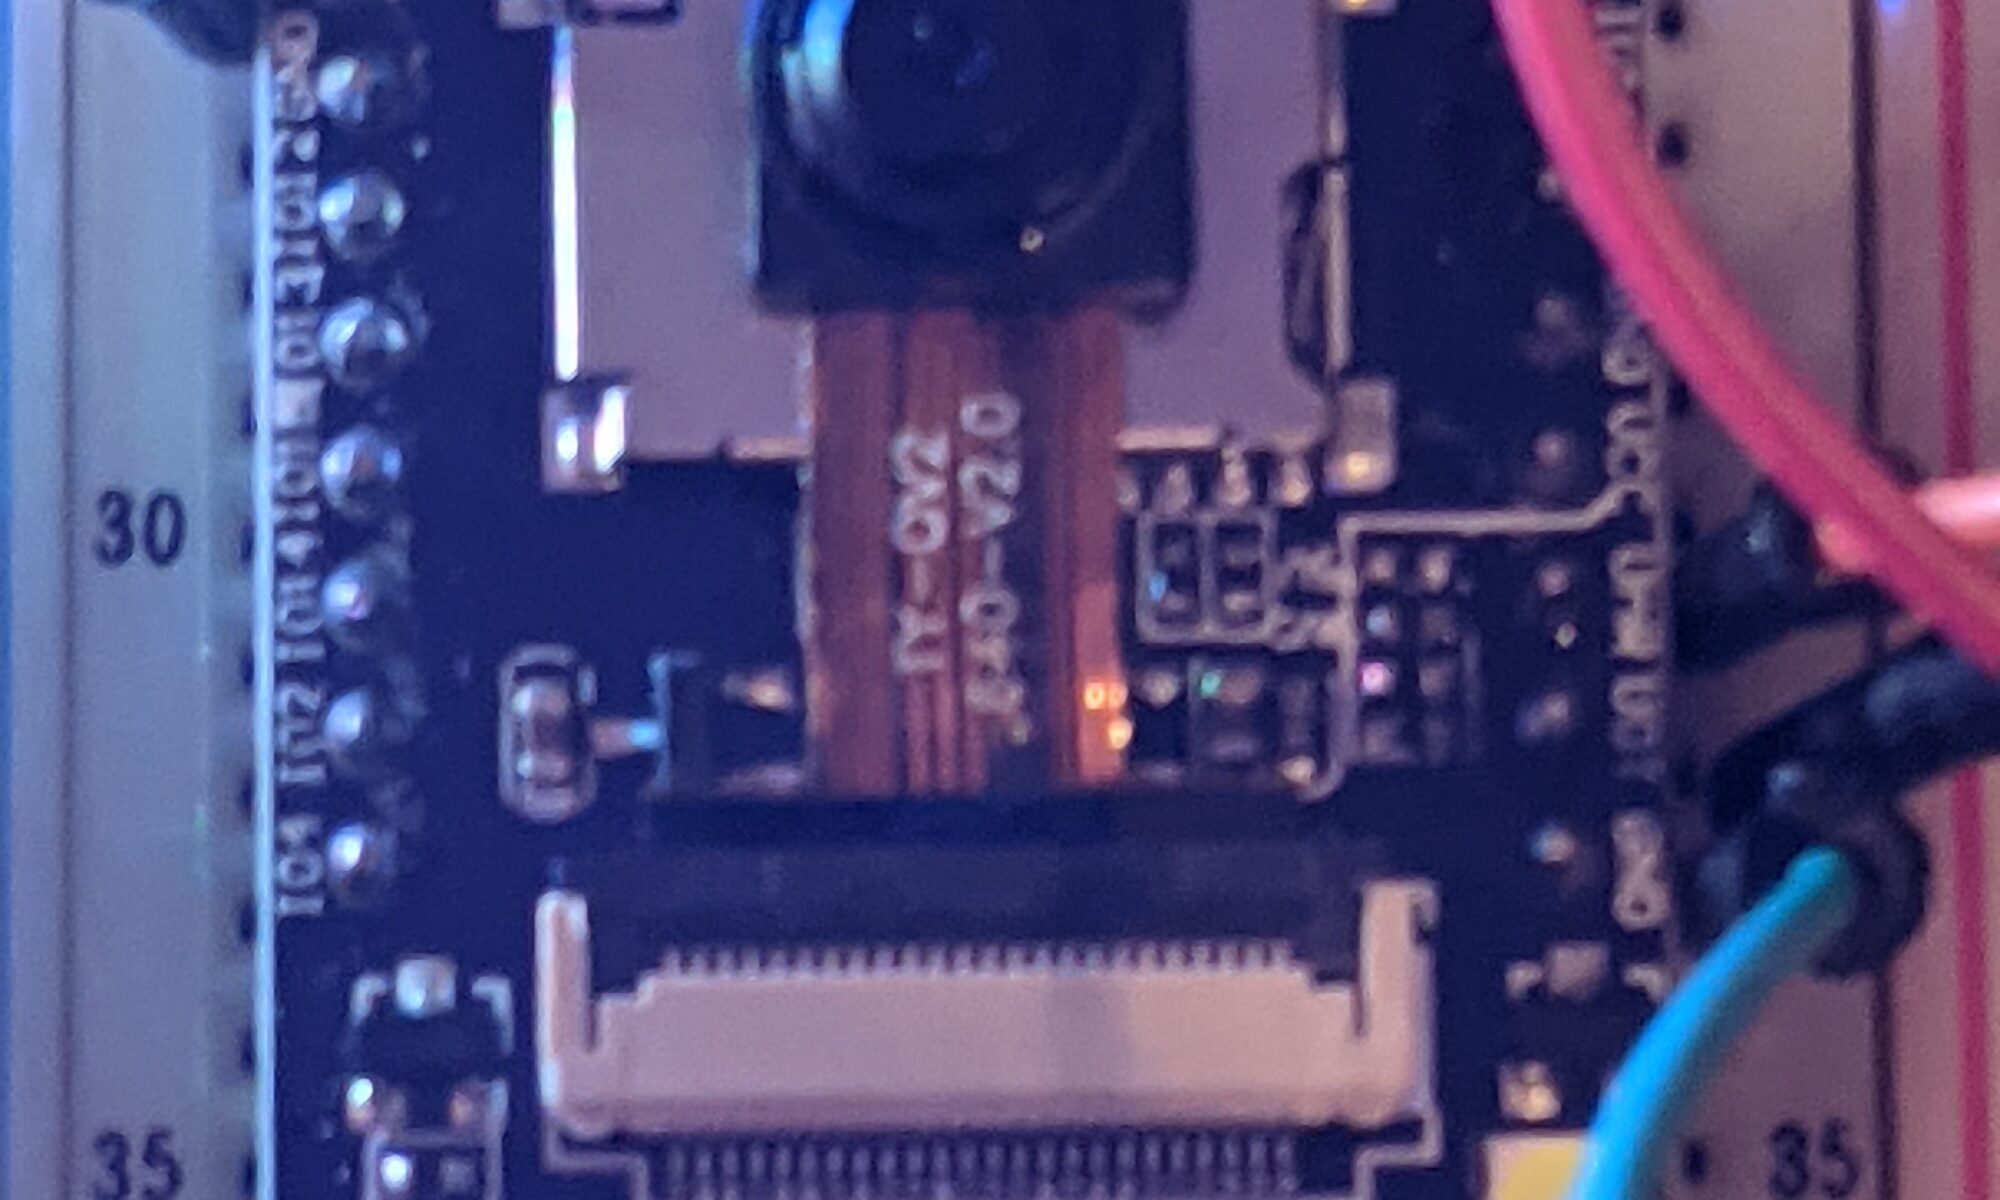
It’s an annoying little buttmunch of an ESP32, because it didn’t come with a USB programming port. This means you have to wire up a USB-TTL FTDI programmer, ground IO0, and hit the reset button to program it.

I used the Arduino-provided example. Once you install the ESP32 boards via Boards Manager, it becomes available under ESP32->Camera->CameraServer.

All you really need to do is specify the board, fill in your SSID and Wifi password, and upload the sketch. It took a few tries, but it finally came up. Once it came up, I could see on the serial monitor that it had received an IP address. I browsed to it and was surprised to see the many options available in the example software. Face recognition is in there if you drop the resolution low enough.

In such a tiny, low-cost, low-power package, I could easily see building very cheap hidden cameras out of these and integrating them into your security/surveillance package. In fact, there are dozens of housings available on Thingiverse.

Here’s an example of someone who took the ESP32-CAM to the next level:

https://www.thingiverse.com/thing:4315841

My love-hate relationship with 3D printers

Ever since the first time I read about 3D printers, I knew I had to have one. Something about creating things out of filament, and imagining and designing those things, has always appealed to me.

If you’ve read anything here, you know that my first was the Anet A8. Someone (probably in an Anet forum) said “Don’t buy an Anet if you want a 3D printer. Buy an Anet if you want to learn how to build a 3D printer.” Boy was that true.

Now I have the Creality Ender 5. The price came within a comfortable reach, and the reviews have been stellar, both public and via word-of-mouth. It’s been rocking pretty steady since I got it, around the beginning of this year.

But the more you drill down into a 3D printer, the more you see how things can be improved. I soon realized that the questionable first-layer problems I have occasionally might not be a problem with my practices after all… It might just be about barely-perceptible warps in the bed, which are common. So I thought, what the hell, the BL-Touch bed leveling sensor is cheap, I’ll just get one, install it, and all my troubles will be gone.

Except that 3D printing, like most amazing things in technology, is based on rickety scaffolding and band-aids, and just about everything is more complicated than it looks. Here’s what I encountered, in semi-sensible order.

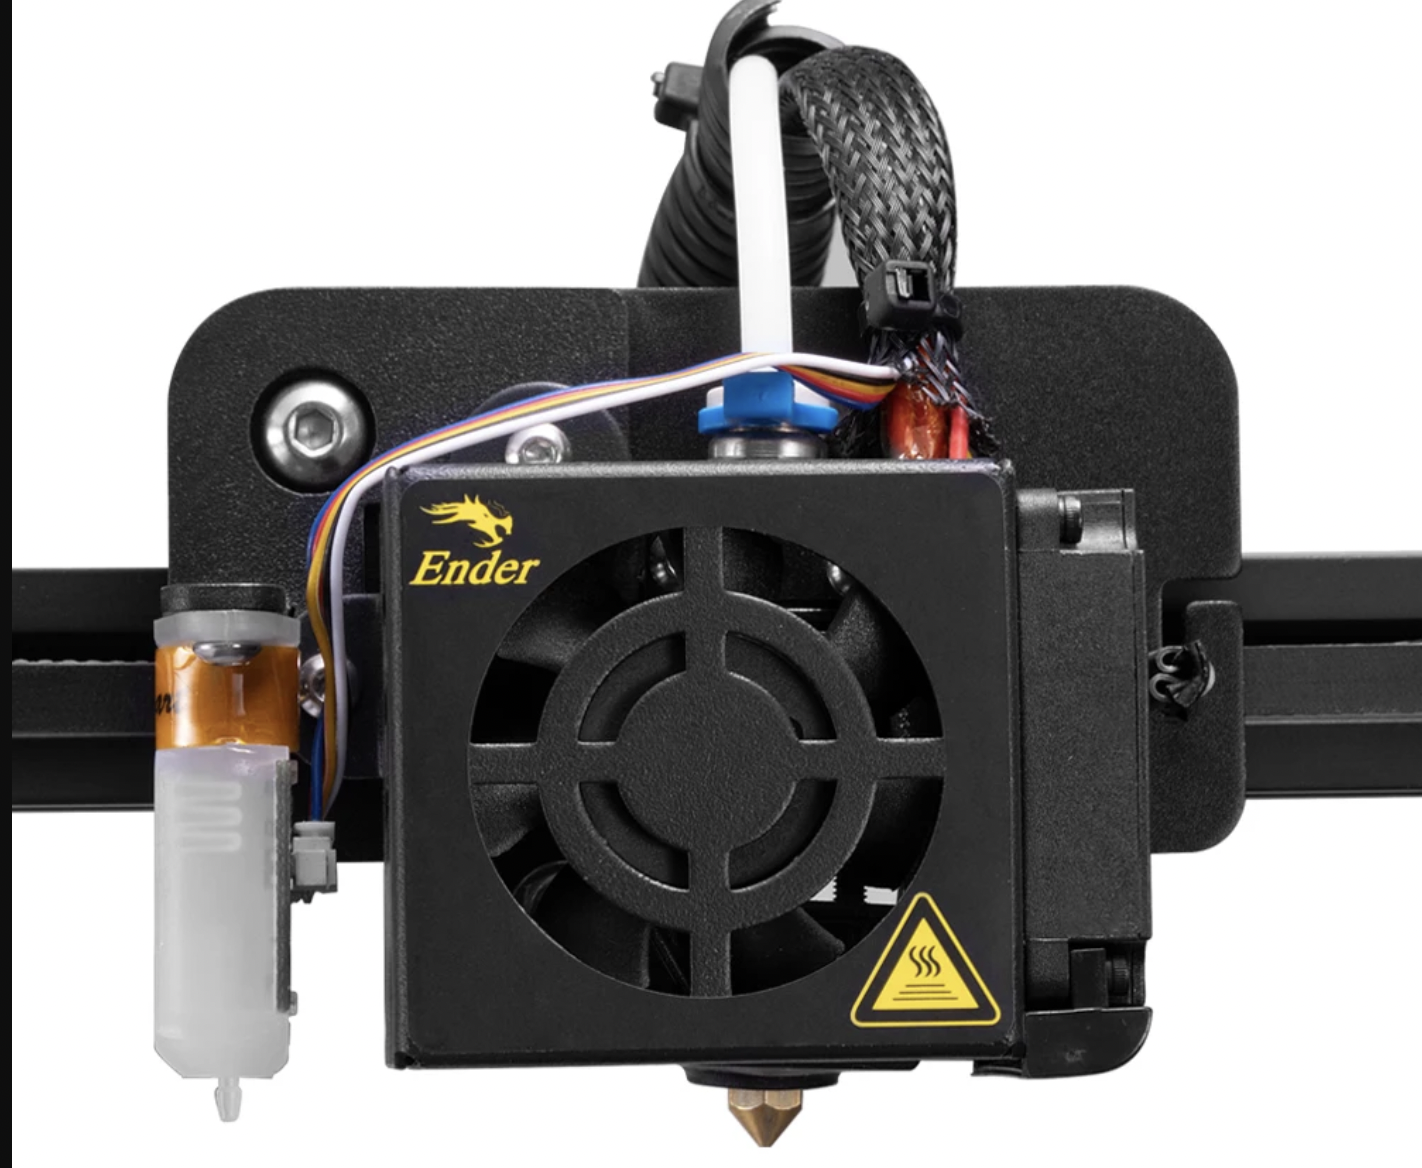
  • Adding BL-touch support requires making tweaks to the Marlin build.
  • Making tweaks to the Marlin build requires re-flashing the firmware.
  • Since the Ender 5 (Creality V1.1.4 motherboard) does not include a bootloader, I had to flash a bootloader prior to flashing firmware. The bootloader allows for flashing firmware via USB.
  • Flashing the bootloader requires using a USP-ISP or an Arduino Uno flashed with ArduinoISP to connect to the ISPC programing headers on the motherboard.
  • I used an Arduino Uno. I lost significant time to learning that a 10uF capacitor needs to be connected to the RESET and GND pins of the Arduino so that (as I understand it) the reset signal won’t be interpreted by the inline Arduino but passed forward to the target device. But yay, once that was done, I was able to reliably upload the bootloader. More importantly, I could take my laptop out of the equation and upload the firmware to Octoprint and use the firmware updater plugin to apply new firmware. This is much more streamlined because there’s no constant disconnect/reconnect of cables.
  • Meticulously following a guide for my specific printer, I was surprised when the orientation changed. Home/0,0 used to be in the back left on this printer with the stock Marlin 1.1.6 firmware on it. Imagine my surprise when my first test print started printing as if it was oriented in the diagonal opposite corner. This has cascading effects, from my calculation of nozzle to probe offset, to the move-out-of-the-way-to-pose-for-a-photo behavior for Octolapse, to the location of my Wyze Pan-Cam mount.
  • The whole concept of direction and home on a 3D printer, once it becomes disrupted, is extraordinarily confusing, and if you get it wrong, your shit will try to slide out of range and make a bunch of noise, and cause unnecessary wear on your parts.
  • The good news is, the probe “works” — as in it deploys and retracts, and senses surfaces. I still have more work to do with directions, inversions, and home locations before it correctly knows what’s going on, though.
  • Oh, and I also had to learn how to navigate VSCode/PlatformIO, because there are “issues” compiling this firmware via the Arduino IDE, which I had always used in the past.
  • I also had to disable certain less-than-necessary components of Marlin to build a firmware image that would fit in my ancient-ass 8-bit board. This probably means it’s time to replace the board with the fancy new 32-bit board, but as long as I can get this one to print, I think I can wait on that one.

All in all, I think I’ve dumped about six hours so far into this “improved experience” modification.

Improvements so far:

  • Incomplete BL-touch support
  • Disrupted orientation that still isn’t fixed
  • Marlin firmware went from 1.1.6 to 2.0.8.1. That’s got to be good, right?