Badge Announcement

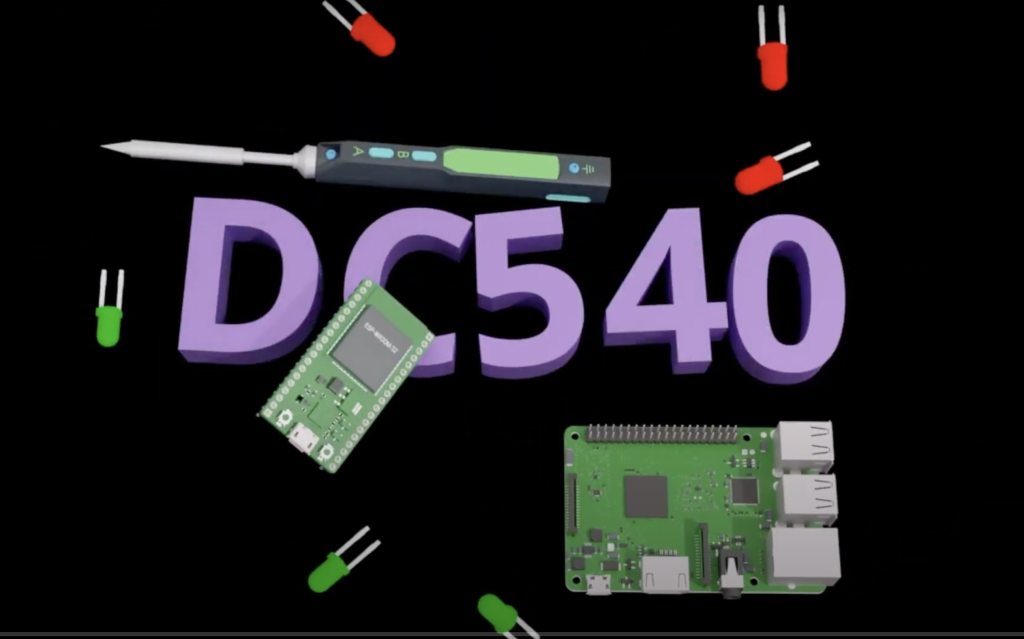
Sure, it was haphazard. We shat out a badge announcement tonight. You wanna know why? Because Kevin and Txnner put together such a beautiful intro/promo demo that it just begged for public consumption.

Yes. DC540 has a badge this year. This is the badge that was supposed to happen last year, but us ADHD misfits with demanding day jobs couldn’t get our shit together to complete it in time to release last year. And when we realized that, we relaxed. We were like, “Fuck it, we’ve got time to do it right. Let’s do it right.”

And I, for one, think we did.

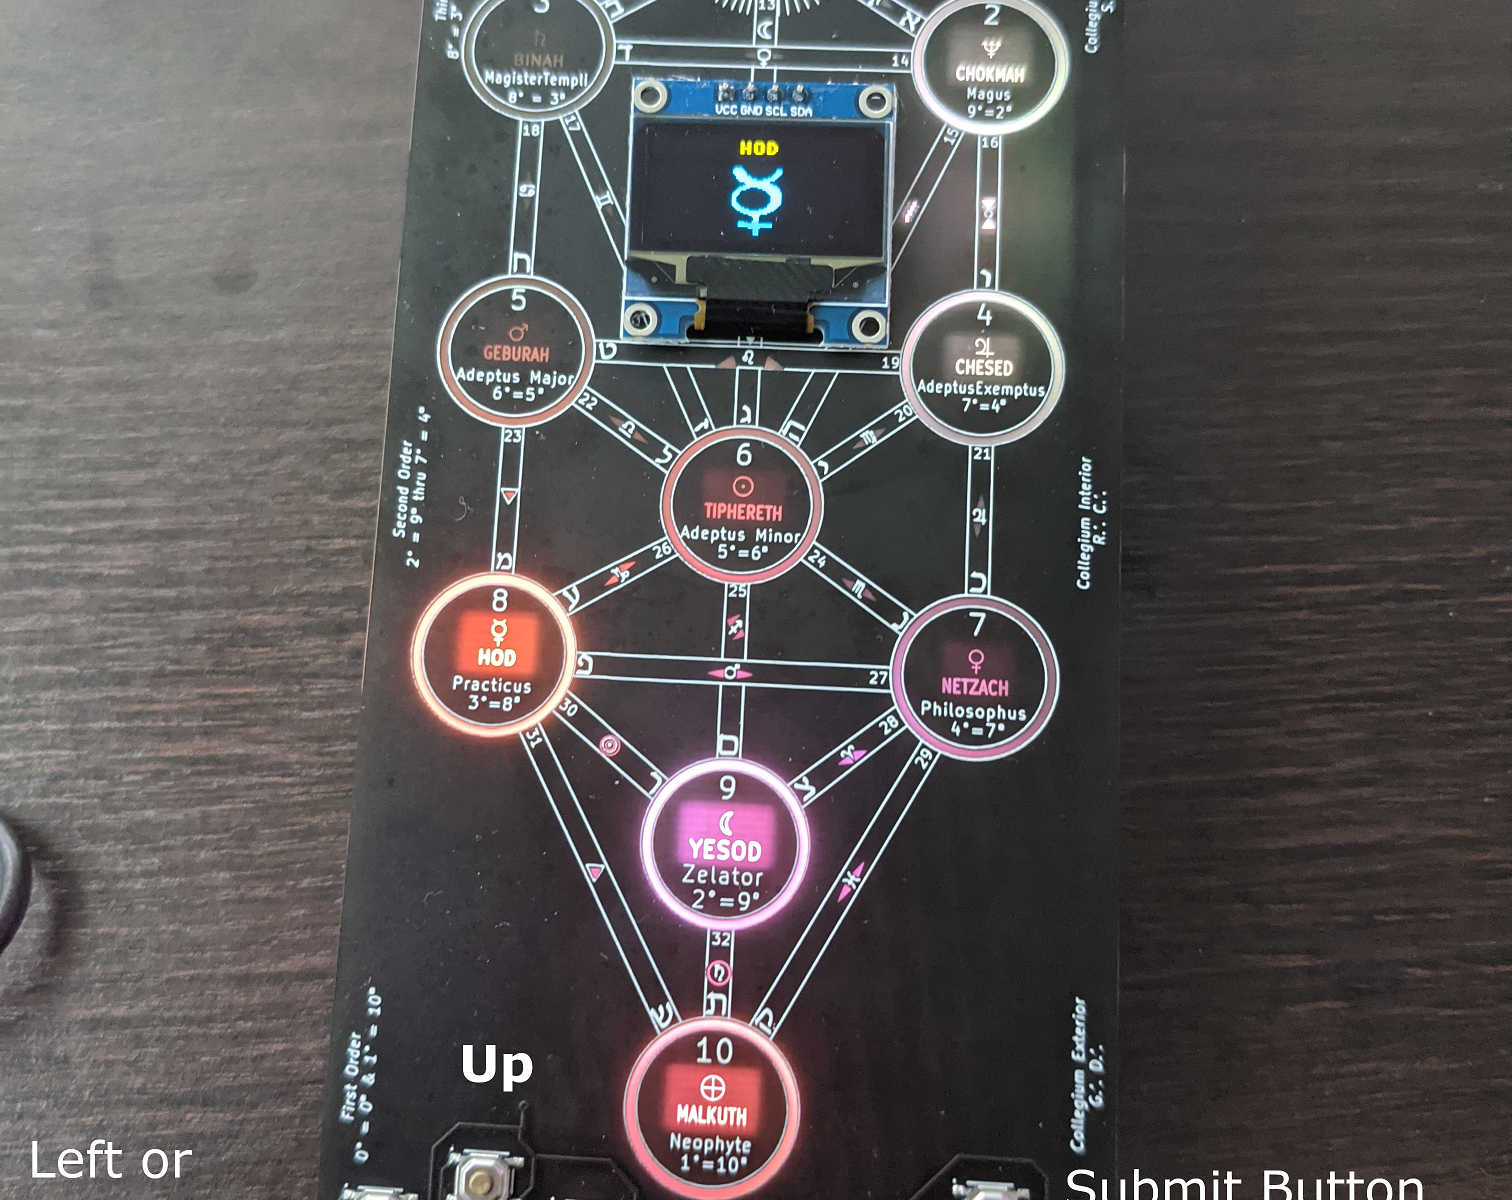
So the badge is once again based on the RP2040. But this time, we didn’t use a prefab Pico devboard as a base. We went all out and did all the things we needed to rawdog the RP2040. We have EEPROM. We have flash. We have USB-C. We have Li-Po. We 3D-printed battery covers to protect the Li-Po. We painted and laser engraved and cut acrylic wings, and used sidelights to light them up. It’s fucking glorious. It’s eloquent. I think it’s the most beautiful badge we’ve done yet.

But it’s not just me. Kevin is ejaculating in his pants as well. This is a beautiful fucking badge.

But we didn’t stop there…

We have seven badge challenges this year. And NONE of them will be released before DefCon 32 Day 1. The winners of the challenges will receive beautiful laser-crafted physical trophy awards to commemorate their diligence and commitment to NoVa’s death cult. Something so glorious and displayworthy that we’re not even going to preview it here. The first THREE winners to complete all seven challenges at DC32 in-person will receive a trophy. The first VIRTUAL winner who can’t make it to DC32 will also receive a trophy.

We’ll do presales. We have assembled badges in-hand. We have lanyards. We have packaging. The only thing we don’t have yet is the documentation booklet. And we’re working on that. We’re going to do a limited presale, maybe 25 badges, maybe more, way before DefCon. Those presale badges will not have the final firmware, they’ll have some lovely demos and things you can play with, but they won’t have the badge challenge. Those who pick up our badge at DefCon will have a fully functional badge with the badge challenge loaded.

Those who preorder will have to make do with demos, features and maybe customizing it with your own software while you wait for DefCon Day 1. We’ll publish the pinouts and starter hints in the documentation booklet. On DefCon Day 1, we’ll release the final badge challenge firmware, it’ll be easy to reflash your badge with it.

Let’s be clear. We don’t WANT to do a presale. But we’re pretty heavily out of pocket for creating this year’s badge, and we need to recoup costs, hopefully before we get out to vegas. Not all of us make the big tech bro dollars. But we’re doing it. And we’re almost 100% ready.

You ready for the preview now? Here goes. Make sure you’re in a private place, because regardless of gender or personal junk, this badge might just give you some sort of boner. I present, the DC540 DC32 2024 Chakra Badge.
Tonight: MicroPython & PCB Design Class: Catching Up

What better way to spend Black Friday evening than cozying up by the fire and tuning into DC540’s catch-up class on MicroPython & PCB Design. We’ve done 7 classes so far of a planned 6-class series, and last week we started in fabrication prep. Enough people are traveling this week that we decided not to take the class forward this evening, but enough people are around that we’re going to hold “class” anyway, and dig deep in whatever direction folks want to explore.

No promises about next week. I’m having minor ear surgery next Friday morning. We’ll see how it goes.

7:30pm on Zoom.

MicroPython & PCB Design Class update

So I finally caught up with all the last few weeks of class videos, and they’re all out there on the YouTube playlist. We’re having such a great time working through this process, dealing with real-time mistakes, and just going through the grind of designing a board and getting it fabricated. It’s a group class, so it’s very conversational, and the group is comfortable together, so it occasionally gets irreverent and mildly sarcastic.

Here’s the YouTube playlist link: https://www.youtube.com/playlist?list=PLvHfoRwREM9NEh0unEx78AdT5MzEejzg7

I expect we’ll have one or two more classes before we wrap this series up. Hit us up on all the platforms if you find it useful.

Batch 2 is gone! Batch 3 news…

Thanks for all the support! It’s been quite the ride creating this badge and fulfilling the orders. We’ve learned quite a bit — about design, soldering, group projects, logistics and fulfillment. There’ll be a lessons learned post soon, I’ll probably write that while we wait for boards and lanyards for the next batch.

Well that was quick enough results. Demand seems to support opening up preorders again. I know it’s annoying to stalk a shop for restocks. OK, there are 40 in the shop for preorders. Shipping is mid-September. I’ll update you if something comes up, but we’ve had pretty reliable everything so far. The longest lead is the lanyards, and they’re scheduled to arrive on 9/13.

[democracy id=”3″]

DC540 Badge and Game

While numerous LEDs, an OLED screen, and a stunning design on a completed badge are all commendable achievements in their own right, the DC540 does nothing in moderation. For our first badge, we would not stop there, we wanted to stress ourselves unnecessarily, develop new skills by constantly troubleshooting and redoing processes, test to the max our patience and group dynamic, all in designing a game for the badge.

So, I’m rather excited to announce that the DC540 badge comes with an interactive game that can be played during DEFCON. This game is meant to be a way to enjoy DEFCON while still experiencing the conference. It is a path to make the whole experience more fun for those who are completely new to the scene. This game does not require any serious skills and some challenges are just meant to be a way to get out there and experience Las Vegas, DEFCON, meet fellow hackers, and have a good time.

The game begins Friday, August 6th at 0900 and ends Saturday, August 7th at midnight. We will be around Thursday and throughout the CON for anyone who wants to purchase a badge and play the game.

What To Expect:

The game consists of ten challenges (one for each Sephiroth (sphere) in the Tree of Life). A detailed list of the challenges will be posted on the website early Friday morning (6 AUG). As you solve a challenge, you will receive a code that must be manually input into the badge using the buttons. The code will unlock the challenge which then lights up the corresponding sphere on the badge.

More information on the game will come in the following weeks as we continue to perfect it.

More fun with Raspberry Pi Pico

Our next meeting will again focus on the Raspberry Pi Pico. We are looking at, weather permitting, an outdoor in-person meeting next Monday. Stay tuned in the Discord to see if it’s happening.

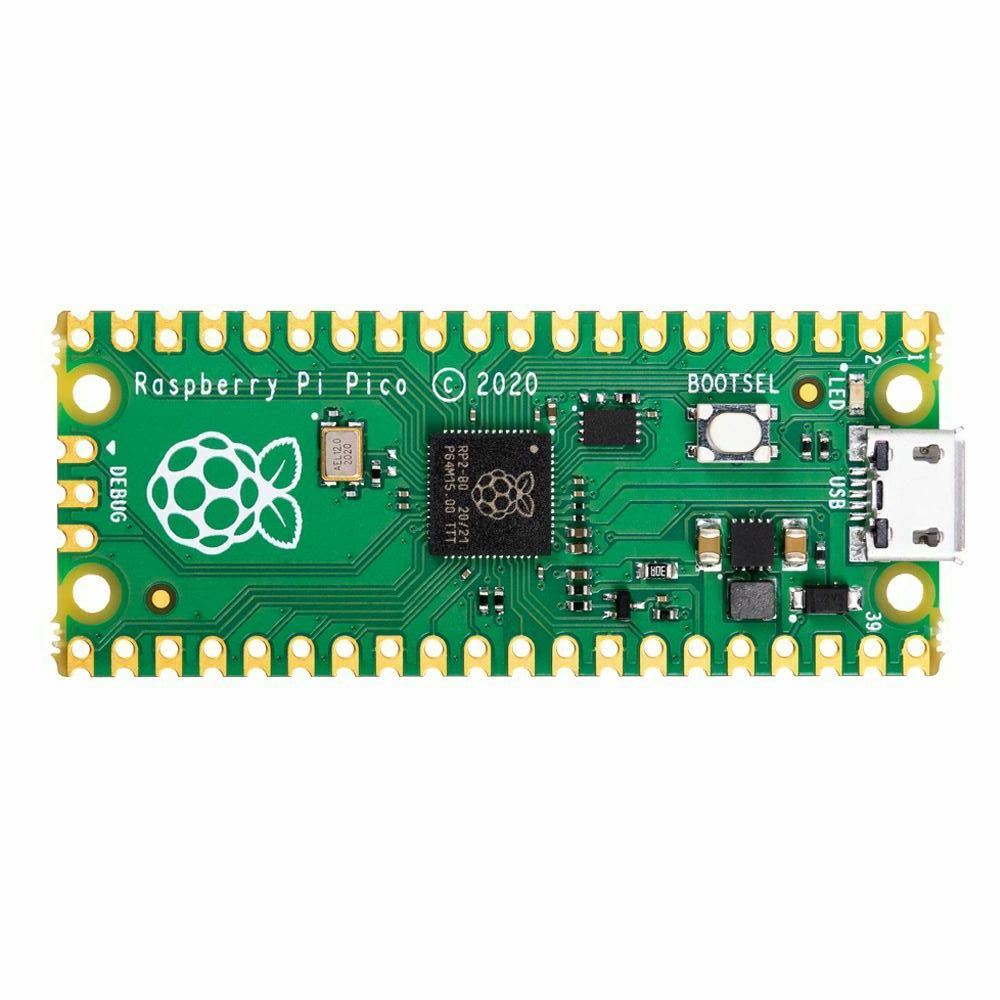
So, our regulars will know that one of our founding members, in a moment of extremely questionable judgment, purchased an entire REEL of Raspberry Pi Pico microcontrollers. If you’re out of the loop on this device, it’s closer to an Arduino than the previous iterations of the Raspberry Pi. While the Raspberry Pi 2, 3, 4 and Zero are all tiny computers onto which you install an operating system, the Raspberry Pi Pico is a microcontroller, onto which you flash firmware and code.

The Pico, as a microcontroller, has a lot of things going for it. It’s very small, it’s light weight, and the castellated edges provide a lot in terms of mounting flexibility. You can either mount it thru-hole or surface-mount it on pads!

The easiest way to use it is with MicroPython. By flashing the Pico with MicroPython firmware, it provides and environment that allows you to very easily drop new MicroPython programs onto the Pico just by pressing the boot button and having it mount to your computer as a storage device — programs that can easily interact with LEDs, sensors, servos, etc… basically anything that a microcontroller can do by sending and receiving data on its I/O pins, this little baby can do. See the recent post on the vintage powered breadboard for an example of the Pico in action.

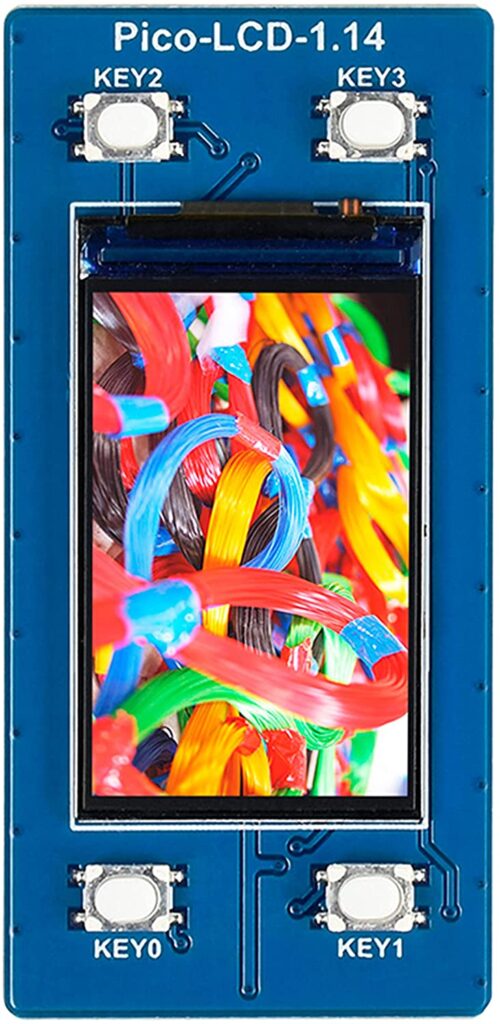
This also includes using tiny OLED displays. For example, the Waveshare 1.14″ display for Pico — this is available in a “hat” format, meaning it sits right on top of the Pico once the headers are installed in the correct direction. At that point you can easily build a 3d-printed housing for it or include it in a larger project’s design. It conveniently includes four buttons to drive any menus you come up with or provide some other sort of input.

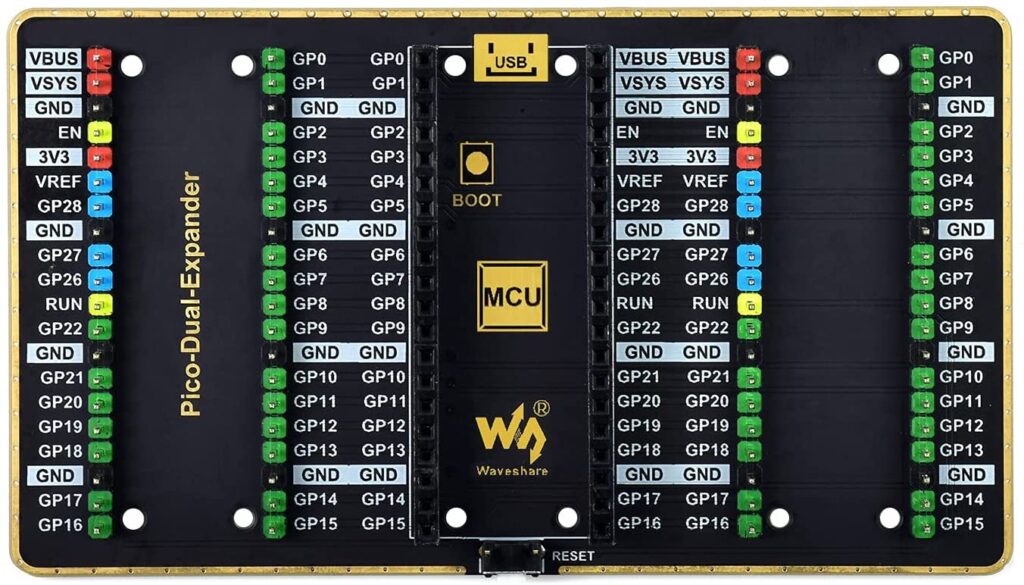
Then there’s the GPIO expander, also by Waveshare. It’s a single board, on which you mount the Pico, and it splits all of your GPIO pins into left and right versions. So if you have two different devices you want to connect (and there are no conflicting pins), it’s pretty easy to do that.

If you were around a few weeks ago, our man Kevin provided a really cool demo of reverse engineering using the Pico.

If the weather holds out, our next meeting maybe in person, outdoors, and we’ll have some cool Pico stuff to demo, build, and play with.

I Refuse to Admit Failure… YET.

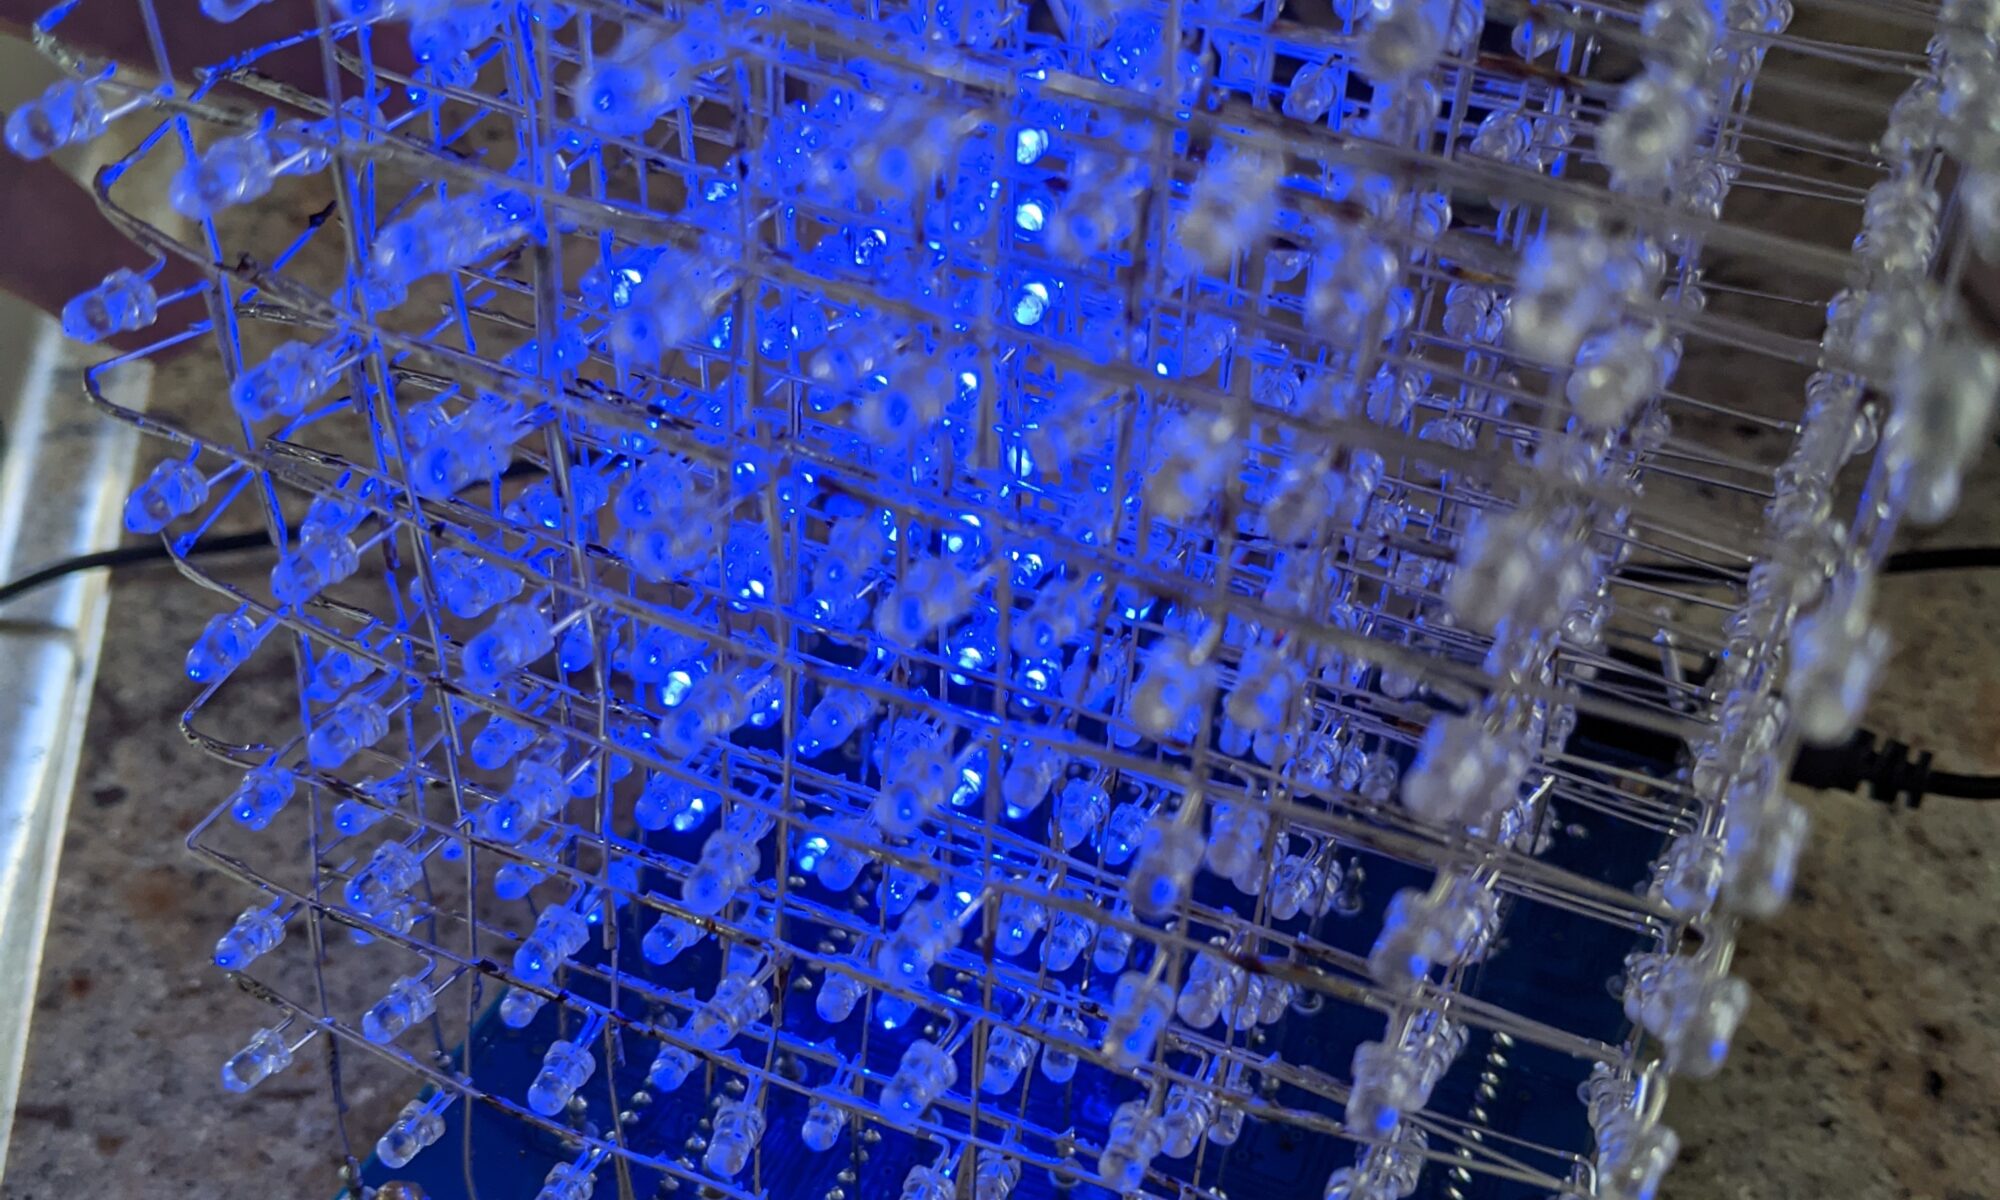
I finally picked up one of those 8x8x8 LED cube matrix kits. I’m a sucker for blinkyshit, all the DC540 regulars know that. I’m doing the rare thing here in documenting before the resolution of all of the issues, just because the processes deserve documentation, I think.

I am by no means a hardware expert. I stand on the shoulders of the entire internet when it comes to mucking about with programming microcontrollers. I’ve gotten better, but it’s still not innate to me the way other aspects of technology are. There are just too many microcontrollers, and too many ways of poking at them. I2C, SPI, JTAG, sometimes it seems almost overwhelming.

But here we are, with this STC12CA60S2 microcontroller, already installed on the PCB. I went through all the steps over the weekend of soldering all 512 LEDs and the other chips and small parts. I don’t know about you, but when I get close to the end of a project like this, the anticipation starts to really kick in. If I’m not careful, it’s easy to get sloppy and make a stupid mistake. But I didn’t, this time. I did find myself short on LEDs. The kit came with extras of most of the small parts, but inexplicably, only the exact number of LEDs, and two of them were DOA. So I had to order replacements from another supplier, and I didn’t think to order long-leg LEDs for the replacements, so I really had to work a bit to fit them in.

So here we are, it’s all assembled, looks great from a distance, but up close you can see my sloppy skills. This is how the Captcha protections should work, they should evaluate us on our assembly skills. Clearly I am not a robot.

From the instructions I found, the STC12 is supposed to be pre-programmed, and I should just be able to apply power and see the animations. No such luck. It illuminates a block of LEDs, but no animation. To be thorough, I double-checked all the chip orientations, and double-checked all LED paths by using my bench power supply and applying 3V to each power vertical and grounding each ground horizontal to confirm that every LED is “addressable.” I suspect from Internet research that they lapsed and sent me an un-programmed STC12, because it’s documented that this happens. Not a problem, I’m up for the challenge, I’ll figure this out.

Let’s see. It wants a UART USB TTL serial device. Four-pin header. VCC, GND, P30 (RX) and P31 (TX). Well, I don’t have the Adafruit programmer they recommend, but I do have a FTDI FT232R. Let’s give that a shot… Nope, it doesn’t seem to recognize the power cycle, it stays on “Waiting for MCU…” even though I cycled power. NOTE: during this process, the devices is powered, 5V, by the USB programmer. Interestingly, and the Internet backs me up on this, the power light remains dimly lit even with the power button off. Several sources report that parasitic power leaking from the TX line can interfere with the power cycle reset process, preventing this from working. It’s possible this is only an issue on these FTDI programmers, and maybe the problem will go away when I use the recommended Adafruit programmer, which arrives today.

But I’m impatient, I WANT IT NOW! So I started scouring the lab to see if I have any other options available to me. Hmm, I have a Bus Pirate, the Swiss army knife of microcontroller programmers. I spent about an hour last night learning it and futzing with it. The Bus Pirate is interesting but cumbersome. You plug it in, then you serial directly to it (I use screen on the Macbook) and configure it for the purpose intended using a manu system. Then I exit screen and do what I would normally do with a dedicated programmer.

The Bus Pirate doesn’t seem to handle the power situation correctly either, but in a different way. It doesn’t seem to know how to power cycle correctly in UART mode. Even if I set power on before running the stcgal command, it shuts power off when I initiate the sequence and never turns it back on again. What if I disconnect power and ground from the programmer to the board and use the cube’s external power supply? I’ll try that after this post, but I don’t have a lot of hope. I tried this tactic with the FTDI and didn’t see any difference. I wonder if part of the process is the programmer detecting voltage via the same pins it provides voltage on. UPDATE: Tried that on the Bus Pirate, no luck. Also tried another suggestion, putting a 10K resistor inline with TX to keep that parasitic power at bay. No luck. Hopefully the Arduino programmer will work.

Another option is that I have one of those ZIF-socket chip programmers. That’ll be a last resort. I prefer not to pull chips off the board, even though they’re socketed, because of the potential for excessive bending and possible breakage of the pins.

Oh well, one way or another I’ll update this already-too-long shitpost later today. I’ve got at least two paths left to explore today.