Our next meeting will again focus on the Raspberry Pi Pico. We are looking at, weather permitting, an outdoor in-person meeting next Monday. Stay tuned in the Discord to see if it’s happening.
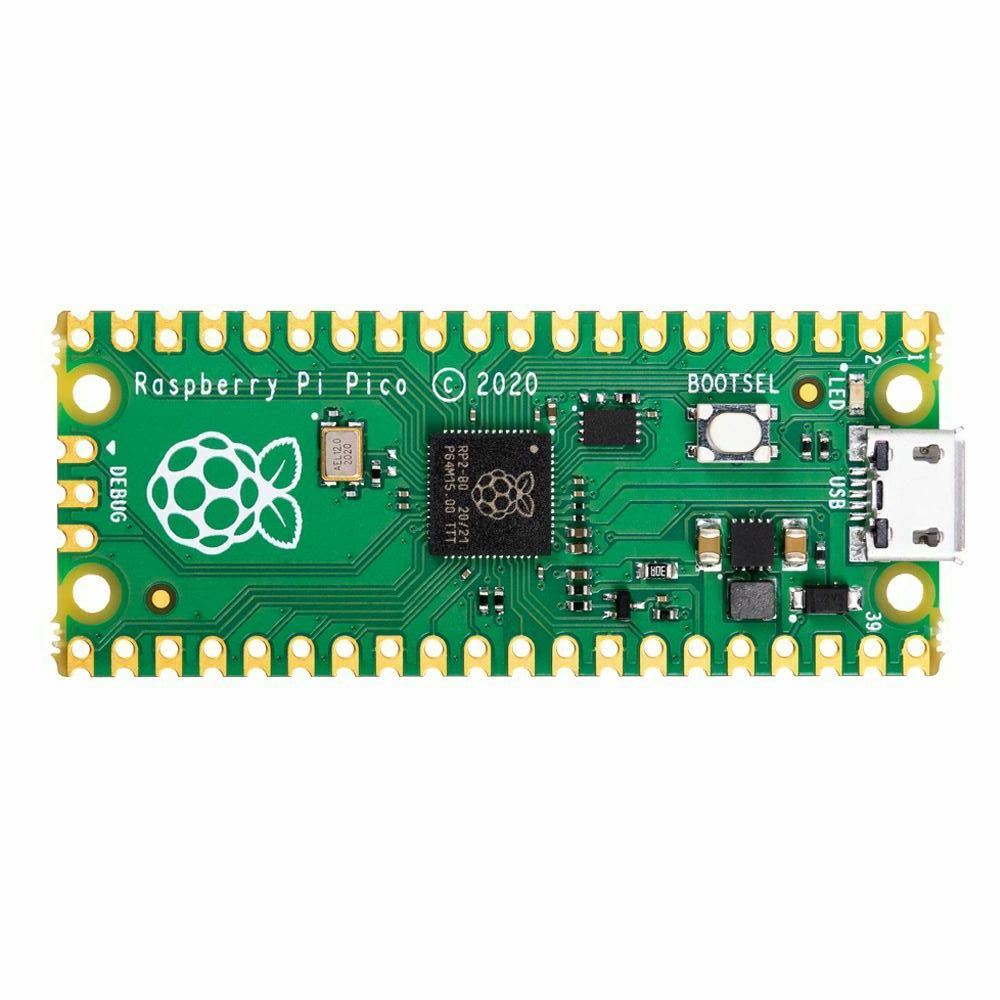
So, our regulars will know that one of our founding members, in a moment of extremely questionable judgment, purchased an entire REEL of Raspberry Pi Pico microcontrollers. If you’re out of the loop on this device, it’s closer to an Arduino than the previous iterations of the Raspberry Pi. While the Raspberry Pi 2, 3, 4 and Zero are all tiny computers onto which you install an operating system, the Raspberry Pi Pico is a microcontroller, onto which you flash firmware and code.
The Pico, as a microcontroller, has a lot of things going for it. It’s very small, it’s light weight, and the castellated edges provide a lot in terms of mounting flexibility. You can either mount it thru-hole or surface-mount it on pads!

The easiest way to use it is with MicroPython. By flashing the Pico with MicroPython firmware, it provides and environment that allows you to very easily drop new MicroPython programs onto the Pico just by pressing the boot button and having it mount to your computer as a storage device — programs that can easily interact with LEDs, sensors, servos, etc… basically anything that a microcontroller can do by sending and receiving data on its I/O pins, this little baby can do. See the recent post on the vintage powered breadboard for an example of the Pico in action.
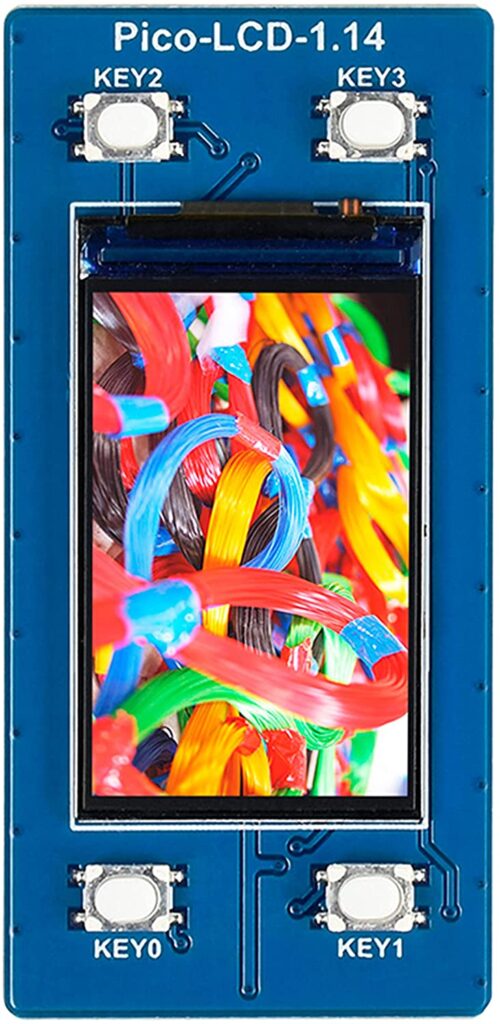
This also includes using tiny OLED displays. For example, the Waveshare 1.14″ display for Pico — this is available in a “hat” format, meaning it sits right on top of the Pico once the headers are installed in the correct direction. At that point you can easily build a 3d-printed housing for it or include it in a larger project’s design. It conveniently includes four buttons to drive any menus you come up with or provide some other sort of input.

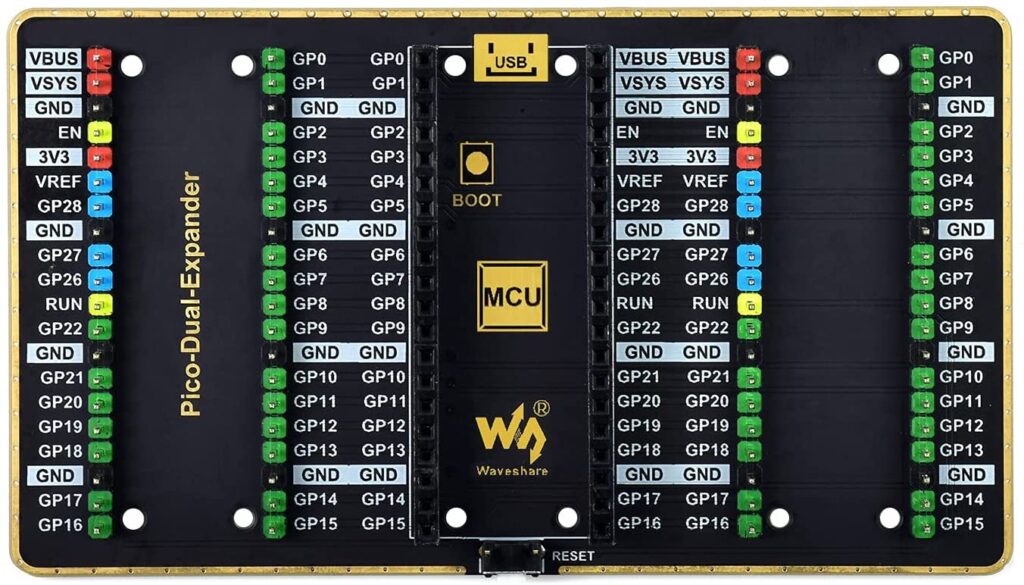
Then there’s the GPIO expander, also by Waveshare. It’s a single board, on which you mount the Pico, and it splits all of your GPIO pins into left and right versions. So if you have two different devices you want to connect (and there are no conflicting pins), it’s pretty easy to do that.

If you were around a few weeks ago, our man Kevin provided a really cool demo of reverse engineering using the Pico.
If the weather holds out, our next meeting maybe in person, outdoors, and we’ll have some cool Pico stuff to demo, build, and play with.


