What’s the worst that can happen?

I’ve had this bin of Dell 1850 hot-swap power supplies (AA23300) for a couple of years now. They won’t sell, because they cost more to ship than people are willing to pay for them. I’ve been reluctant to toss them. I swear I’m not a hoarder, but if all those videogames (the ones with sub-challenges involving breaking objects into their most valuable parts to reassemble into valuable objects) taught me anything, they taught me to recognize the value in objects. This is no longer a power supply I can’t use. It has potential.
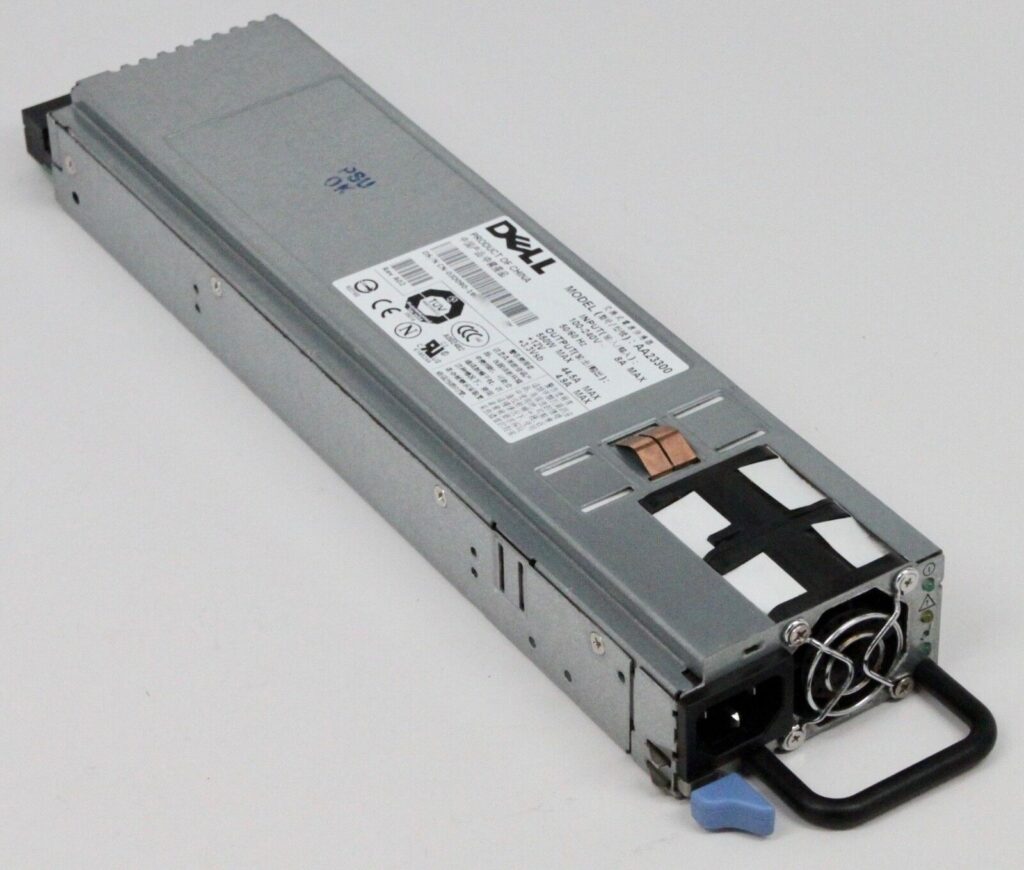
I started looking into how to use these, for example, as a bench power supply. A friend used the pinout to fashion me up a quick breadboard on-off device with indicator LED. This is fine, but it’s temporary, and I tend to jostle things. I’m thinking of something more permanent.

I ran across tjintech’s RC power supply info page, which helped me start to solidify what I wanted to get from this project.

So I started looking for the connector, which is for sure an odd beast.
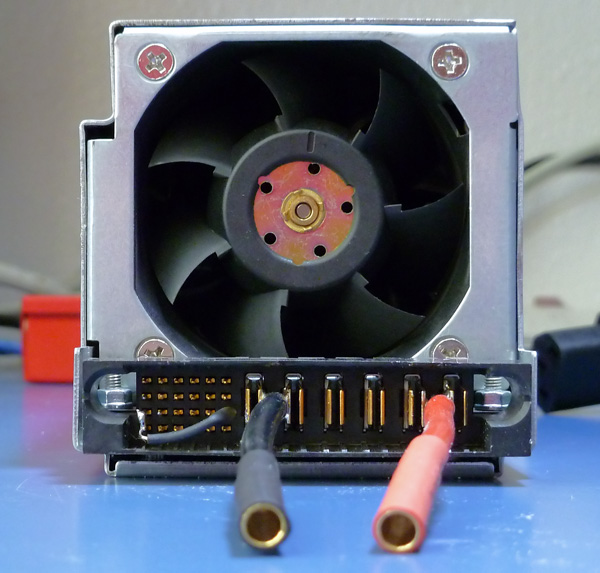
It took me a while, but I FOUND ITS MATING PLUG! It’s a TE Connectivity 6450572-1, and goes in low quantities for around $10 each.

So I started investigating the PS’ capabilities and imagining the possibilities. Right off the bat, we know it can serve 12V DC, and quite a bit of it. Those six blade connectors on the right side? Three of them are hot, and three are ground.

It would be amazing if we could also easily pull 5V off of this, but no. Many amps of 12V are at your fingertips, and 5A of 3.3V, but out of the box no 5V outs.

Other functionality includes:

  • PS ON (B6), which means I could wire in a power switch.
  • B2, shorting to ground apparently slows down the fan, which was originally intended to provide supplemental cooling to the server — unnecessary in my case.
  • Multiple 3.3V outputs, might be useful, might not. Could power an arduino and some status indicators. The device even provides some I2C data. Imagine pulling some of that data into the Arduino and displaying

So here’s the thing. I could sloppy-wire stuff directly to the board, but there’s nothing elegant or permanent about that. What if I designed a distribution unit housing, with a number of fused 12V post pairs, and then added voltage regulators to also provide 5V post pairs or even power-only panel-mount USB connectors? Or hell, even panel-mount Anderson powerpole connectors for my ham radio gear? Add switches, possibly even power meters, and Bob’s yer uncle.

Then I started looking around some more. Powerwerx has made it even easier. Look at this delicious stuff…

So now I’m thinking I could mount one of these supplies on a Pelican, mount these controls/displays somewhere, and have a simple, elegant and powerful AC to DC power solution.

Imagine being in the field, and provided one AC outlet, having the capability to power multiple radios, charge numerous phones, etc…

More to come on this one someday.

The GoCube Battery Blues

So I picked up a GoCube during its crowdfunding. I was super-excited about having a cube that could interact with a phone app, potentially play games with strangers around the world, keep track of my solve times, etc., but to be 100% honest, I was almost as excited about simply having a cube that was designed to be a speedcute.

I’d always wanted to get around to learning speedcubing techniques. I seem to have hit a wall with traditional pattern-solving techniques from the 1980s. I never solved it in under a minute that I can recall.

So I got it, played with it a while, and then forgot about it. And the thing about some devices with rechargeable batteries is that if you leave them alone too long, they die for keeps.

I came across it in a box about a week ago, thought I’d charge it up and play with it again. When you plug the USB charger in, it flashes for quite a while as if it’s charging, but then stops. And if you launch the app, it sees the cube — briefly — and then the cube goes dark and disconnects.

I googled it. A lot of people are having this issue. I tweeted about it. GoCube Support responded, said they’d make it right. However, the tweet given and the fine print taketh away. Since I’m just out of warranty (by about two months) they offered to repair it for $30 or replace it for $50. Shipping included. I figured $30 isn’t bad to get it working, but $20 more means I have one fully functional (for as long as I remember to charge it) and one that’s still a decent speedcube. So I’m waiting for that transaction to finalize.

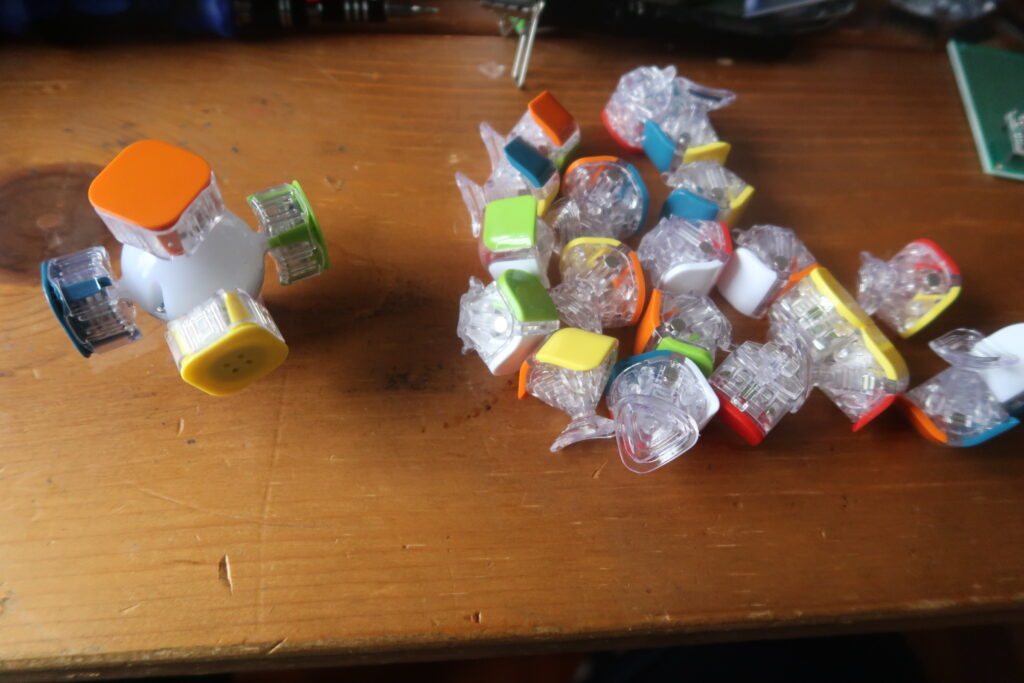
Meanwhile, I was playing with it and caused one of the edge cubes to pop out, and decided to go ahead and disassemble as far as I could safely do so.

This is how far I got. I’m temporarily stymied on how to get further safely.

Once you get the removable cube pieces off of the skeleton, you’re left with the ball and the center pieces, which are attached to the ball in a rather ingenious manner. The ball has cone shaped tips in the six cardinal directions which shroud the turning mechanism and give the cube structural integrity.

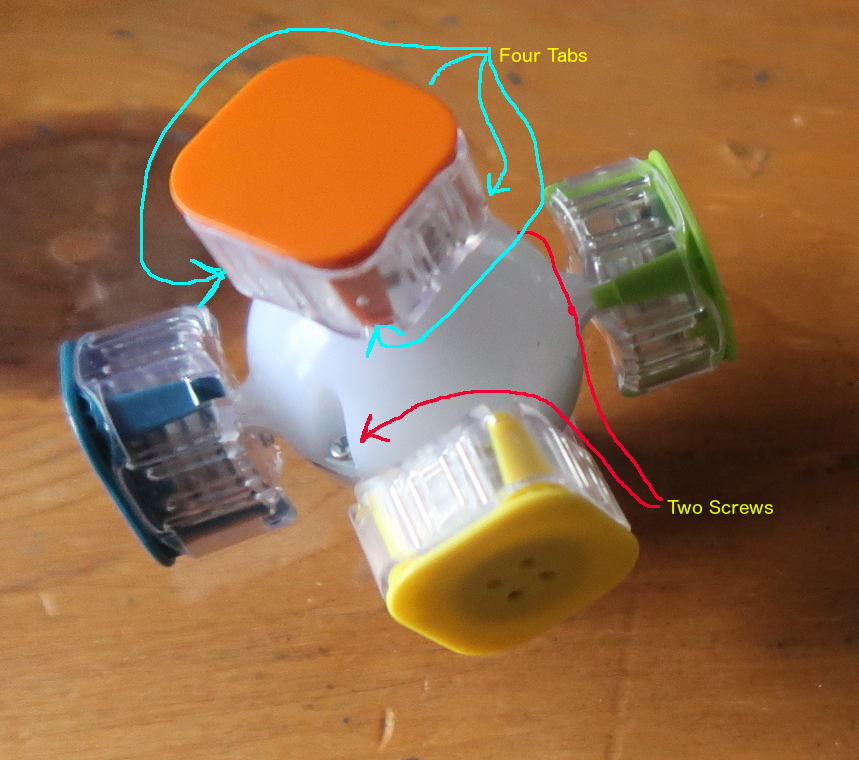
To unlock its secrets farther, you would need to first remove the keycaps, which it seems are held in by tabs at the four corners as shown. Likely they have a custom grabby tool to remove those. Underneath that is a spring mechanism. Since the two halves of the core terminate at four points in those conical tips, even though only two screws hold the core together, you can’t open the core until you’ve removed those four center pieces.

Fortunately for our education, but not for our amateur repair, the hard work has already been done, by Intertek Testing Service. Here’s a document I found posted online. I don’t know the backstory. If you do, please enlighten me.

Until I figure out how to get the keycaps off without breaking them, I guess I’m stuck.

I started going down another path. Is it possible to revitalize a LiPo battery? The battery in the GoCube is: Rechargeable LiPo Battery; 85mAH, 0.3145 watt hours, Model: JHY661515, weight 2.1g.

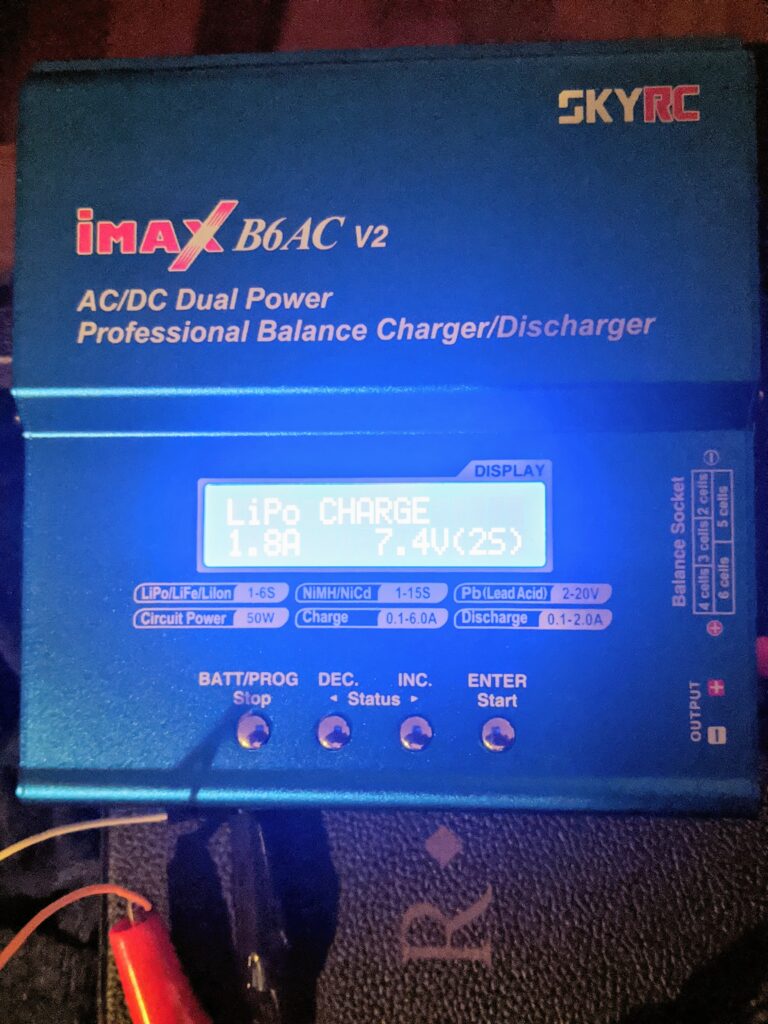
I found articles indicating that a balance charger/discharger might be able to revitalize a LiPo battery. “Interesting,” I thought, and then I realized that I have one of those. I had bought it for a specialized purpose about 4-5 years ago and only used it that one time.

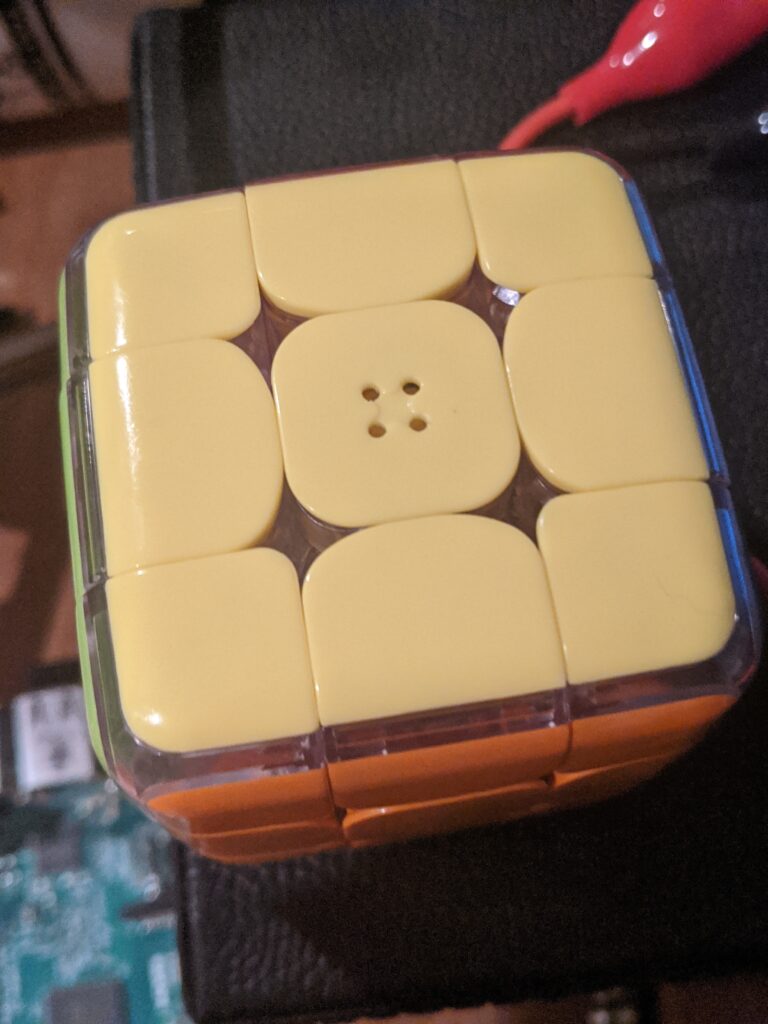
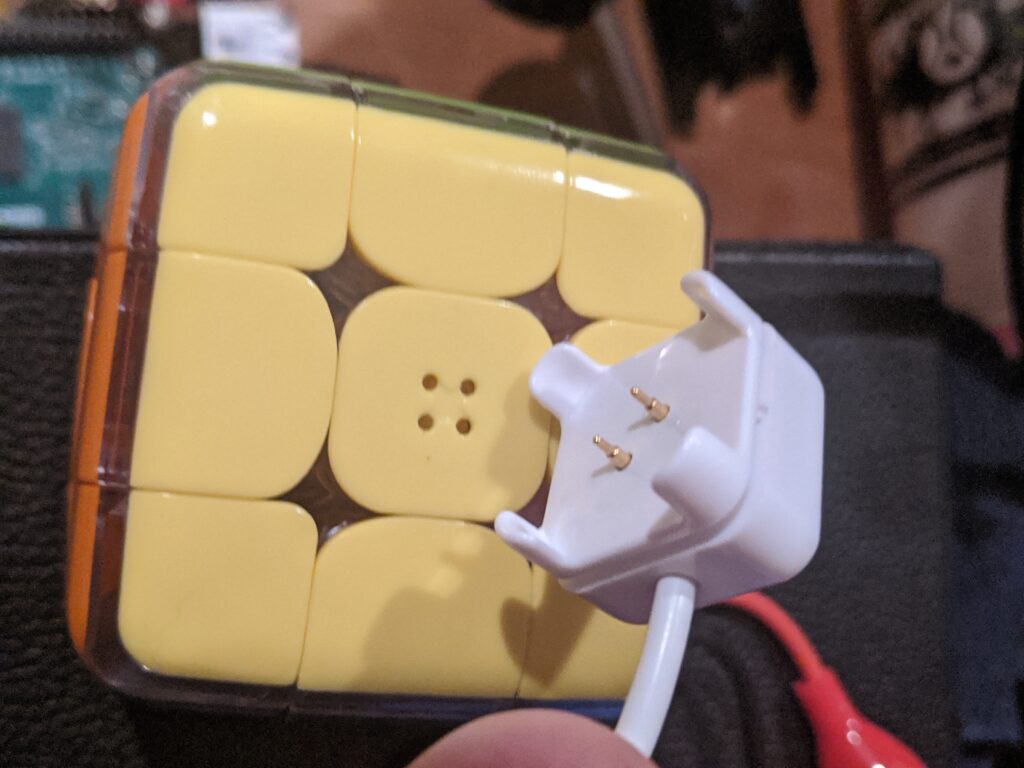
So then I started thinking about how I would get to the LiPo battery if I can’t get it open. The included USB charger seems pretty basic, just a molded hat with a couple of pogo-type pins that go down into the holes on one face’s center piece on the cube.

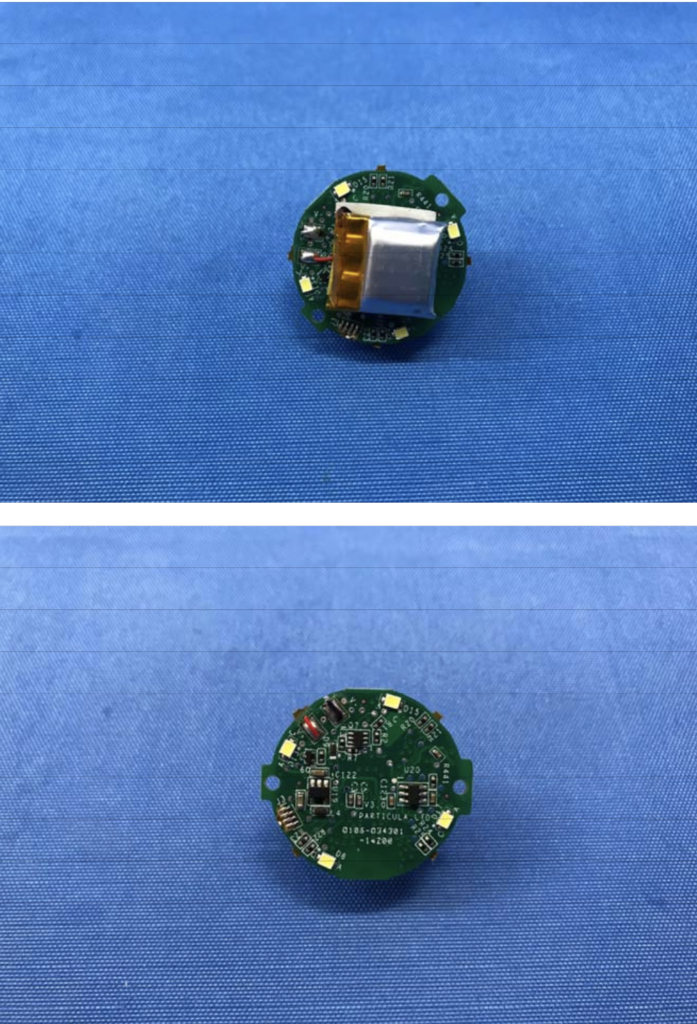
I suspect all this device is doing is shooting 5V down the holes, and there is a.tiny battery charging circuit in the core with the LiPo, so the only way my charger is going to do any good is if I can get those keycaps off of the centerpieces and open the core, so that I can bypass the device’s own recharging circuitry.

This photo is not mine, it’s from the Intertek document linked above. I’m just including it so that other explorers will know what the insides look like.

I’ll come back and edit this document if I’m able to reliably get the keycaps off and finish opening the core. This thing is nagging at me now, and I’m becoming obsessed with the idea of revitalizing it myself.

Aside from determining whether my specialized charger can revitalize that battery, I could just BUY a replacement once I crack it open. I can’t find the exact model listed above, but here’s one from Wish that looks like it will work, and for just two bucks, you can’t go wrong.

https://www.wish.com/product/5b0a196e36409931170eab61?hide_login_modal=true&from_ad=goog_shopping&_display_country_code=US&_force_currency_code=USD&pid=googleadwords_int&c=%7BcampaignId%7D&ad_cid=5b0a196e36409931170eab61&ad_cc=US&ad_lang=EN&ad_curr=USD&ad_price=2.80&campaign_id=7203534630&gclid=Cj0KCQjwsuP5BRCoARIsAPtX_wGj4y1LQxVXxcxMVN9oA5VB1pMAx5FXH4iQl4HDng_lkknhmSG-fpkaAqFJEALw_wcB&share=web

Fun with Payphones, part 1

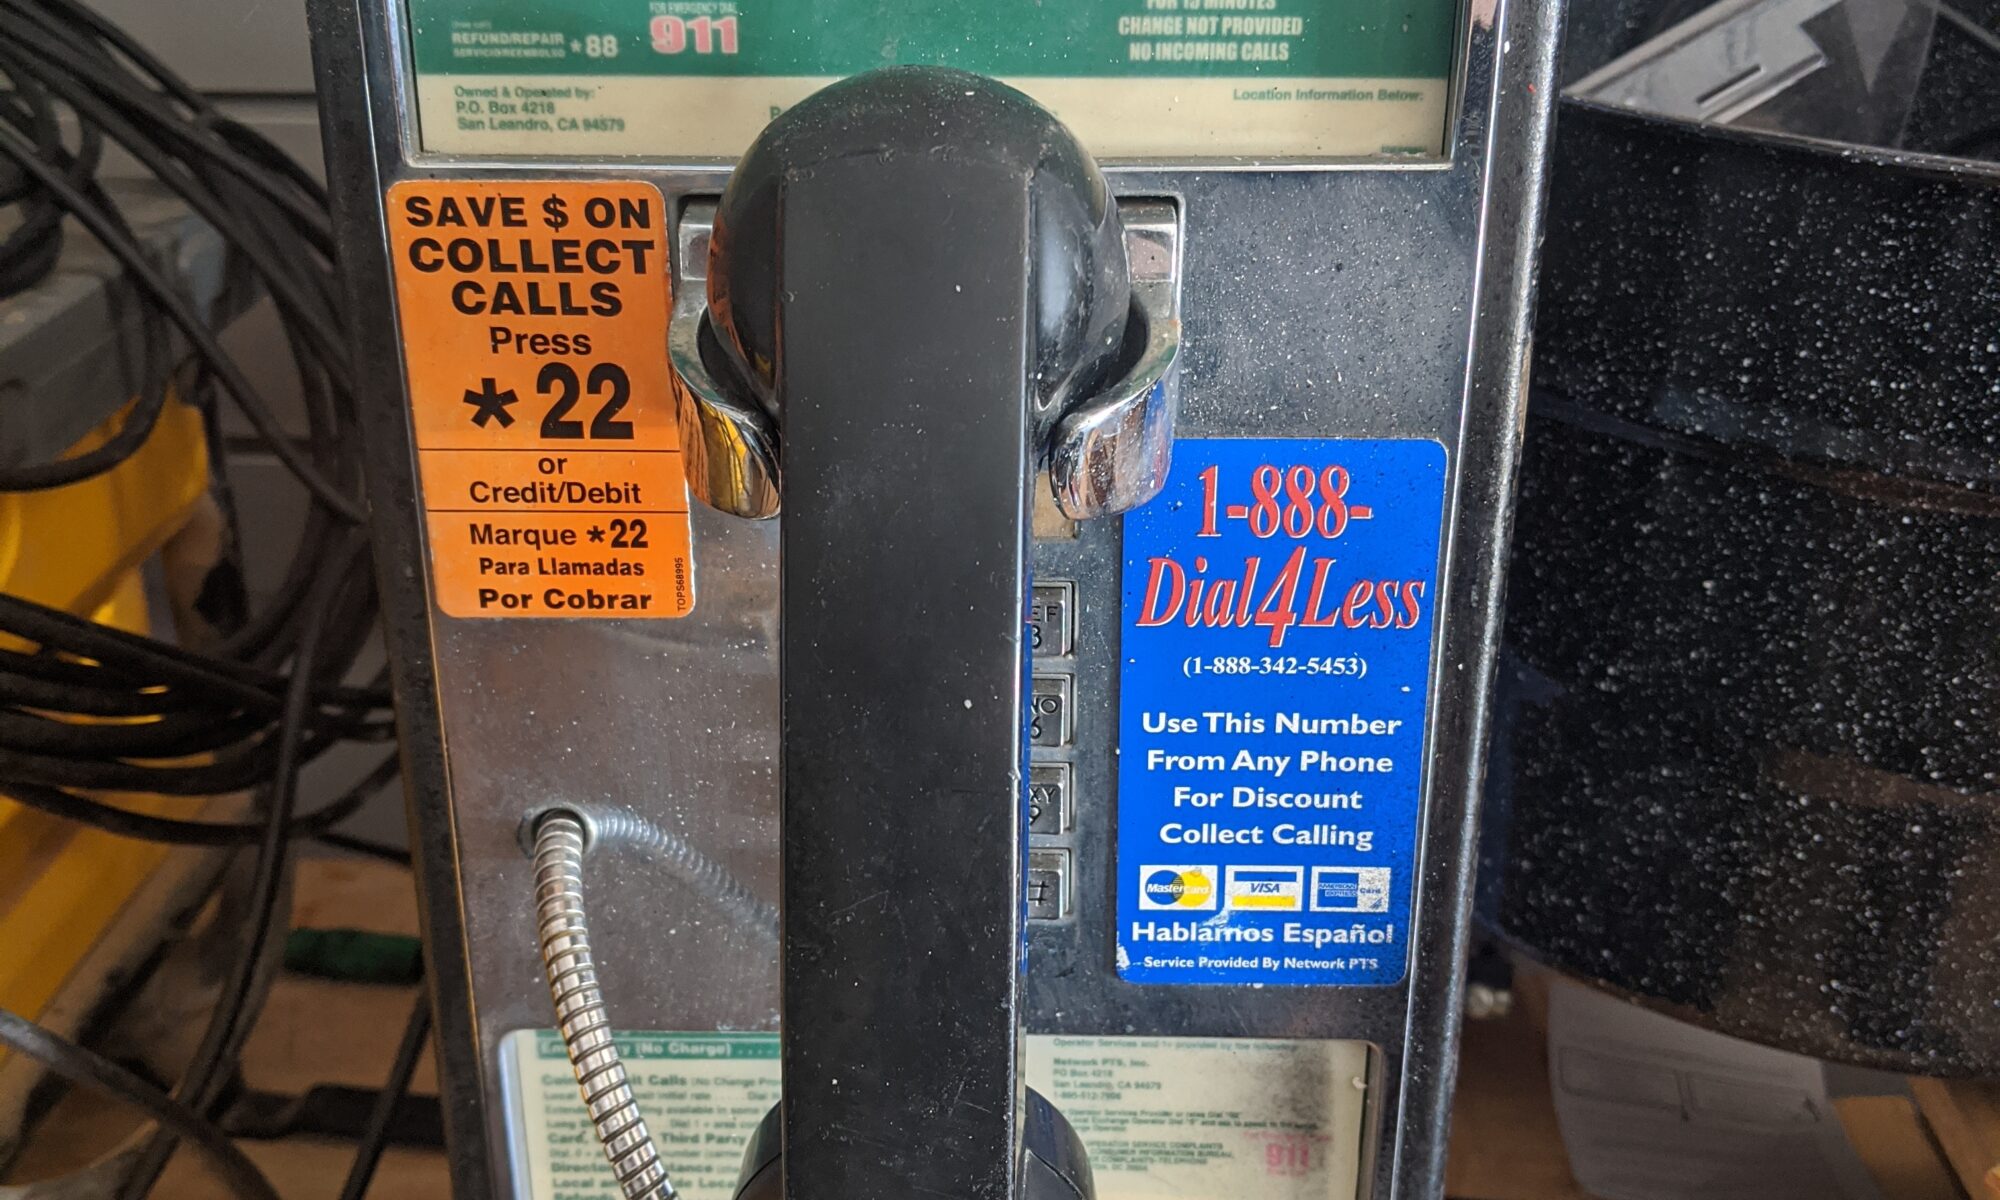
So I scored an old payphone. My “vintage replica” just wasn’t cutting it anymore.

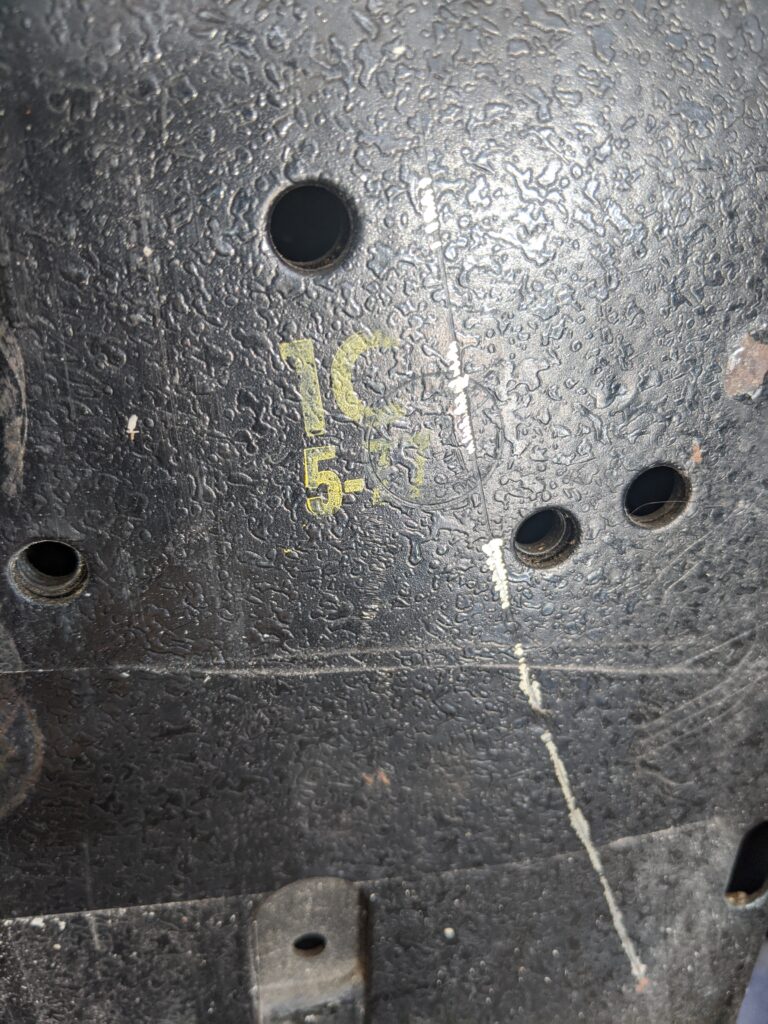
It appears to be a Western Electric single-slot 1C from May of 1977.

Decent cosmetic condition, but looks aren’t the reason I bought it. I bought it to learn, play, restore, and maybe even modify it.

It didn’t come with keys — this is problem .

There’s a reason these things stayed in service so long, and it’s not just because cellphones were invented and eventually became ubiquitous and disposable. It’s also because they were seriously armored and indestructable. Picking these locks when they’re in good shape is no joke. In fact, I found the restricted Bell document that shows what to do when you no longer have the key to the vault door (the shiny square door at the bottom) — basically you use a circle template and drill through the door so that you have direct access to the latch bolts internally. Then you replace the door and the lock assembly with one which has keys.

The problem is, step one in that process is “remove the cover assembly.” Which is also locked. So what if I ALSO don’t have keys to the cover assembly? Well, I guess I could maybe drill that lock out — BUT I found another tutorial that indicates that with 8-15 minutes of tapping with a dowel and hammer, you basically nudge the four screws securing that lock assembly out from the inside.

It looks like that would have to happen anyway, because these locks looks like shit, and might not be pickable even by a TOOOL expert on a good day.

Fortunately, replacement vault doors, coin vaults and lock assemblies with keys are available on eBay, so eventually this project may find itself nudged further along. I’ll update you.

$15 Lan Tap? You’re joking, right?

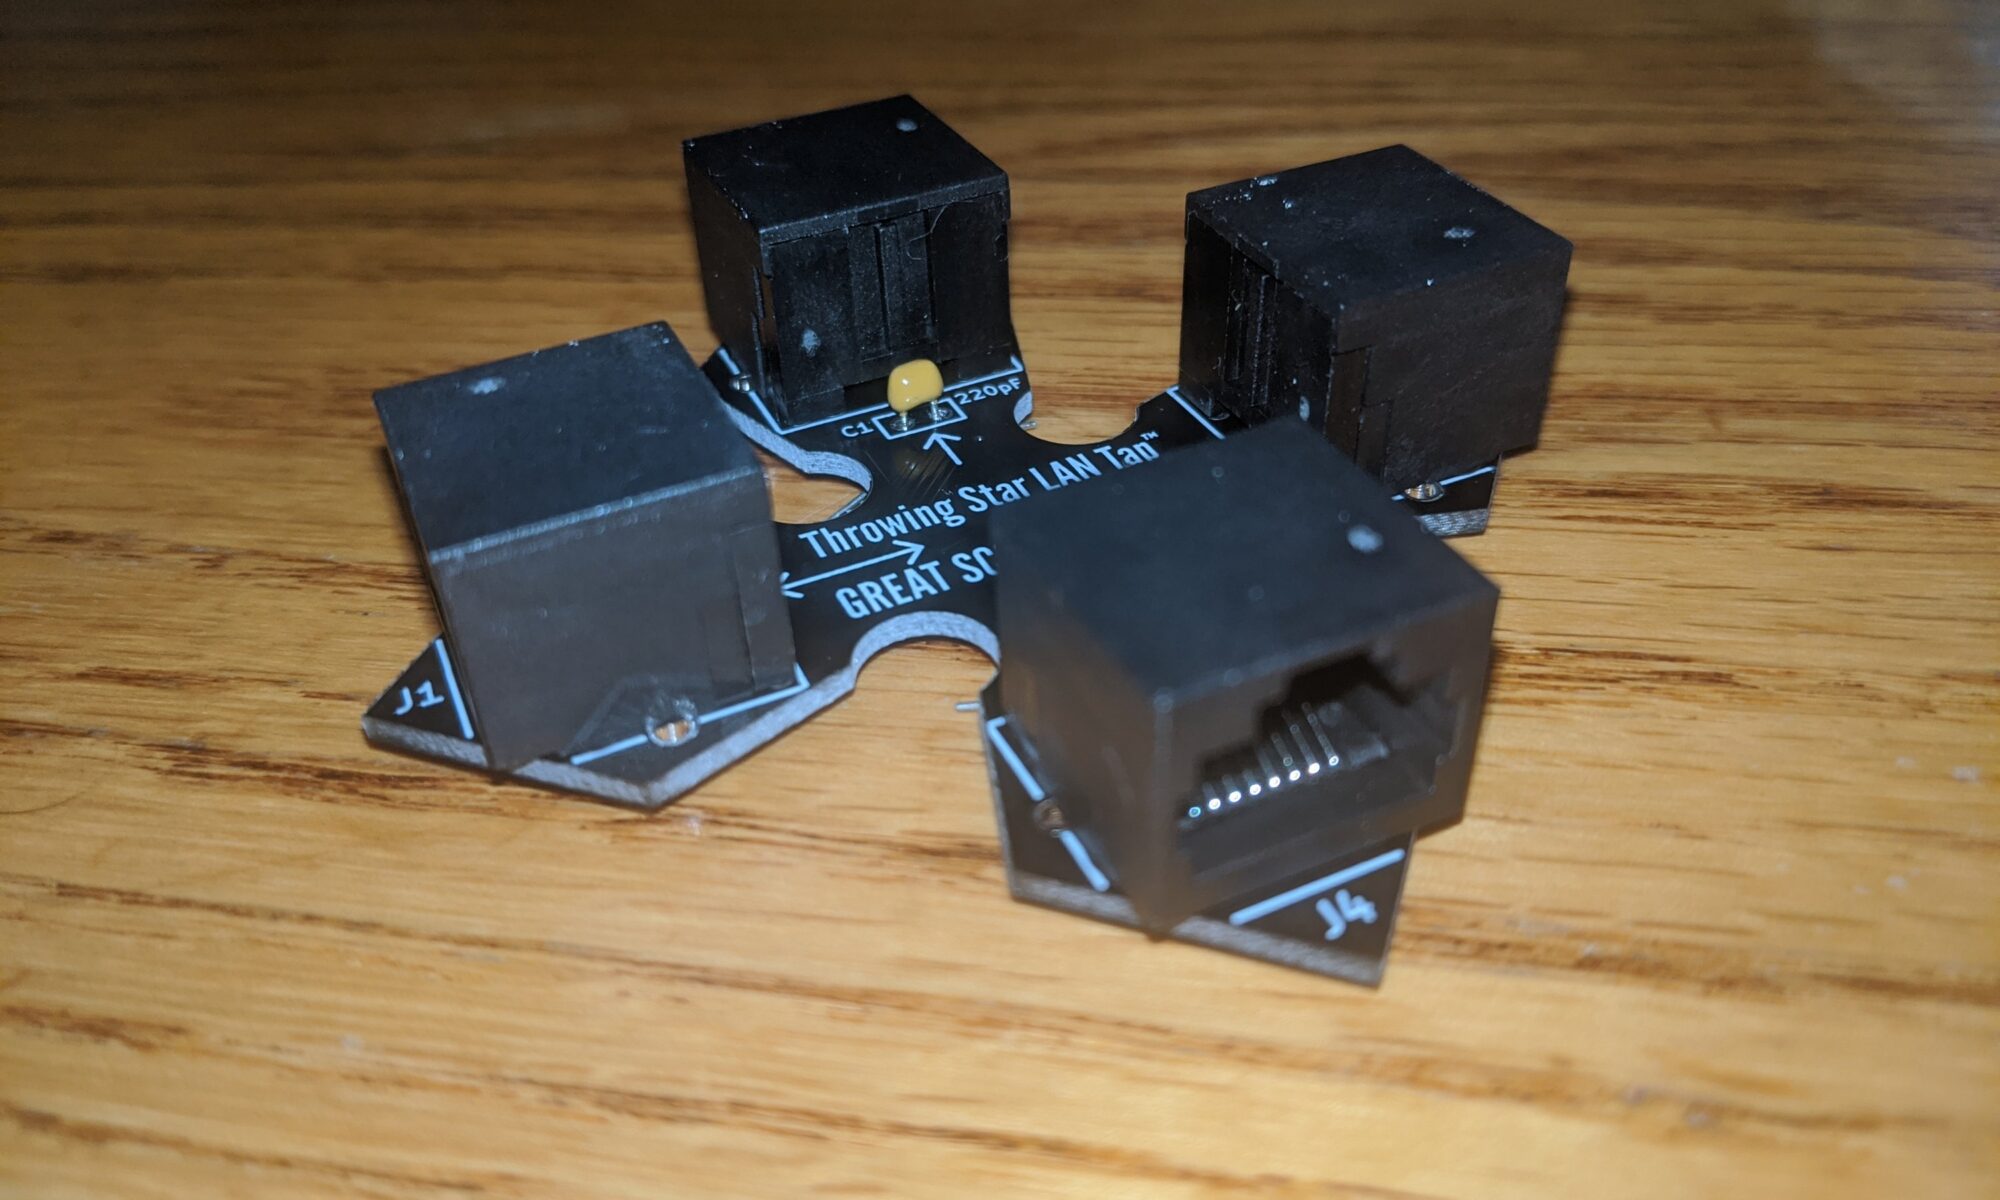
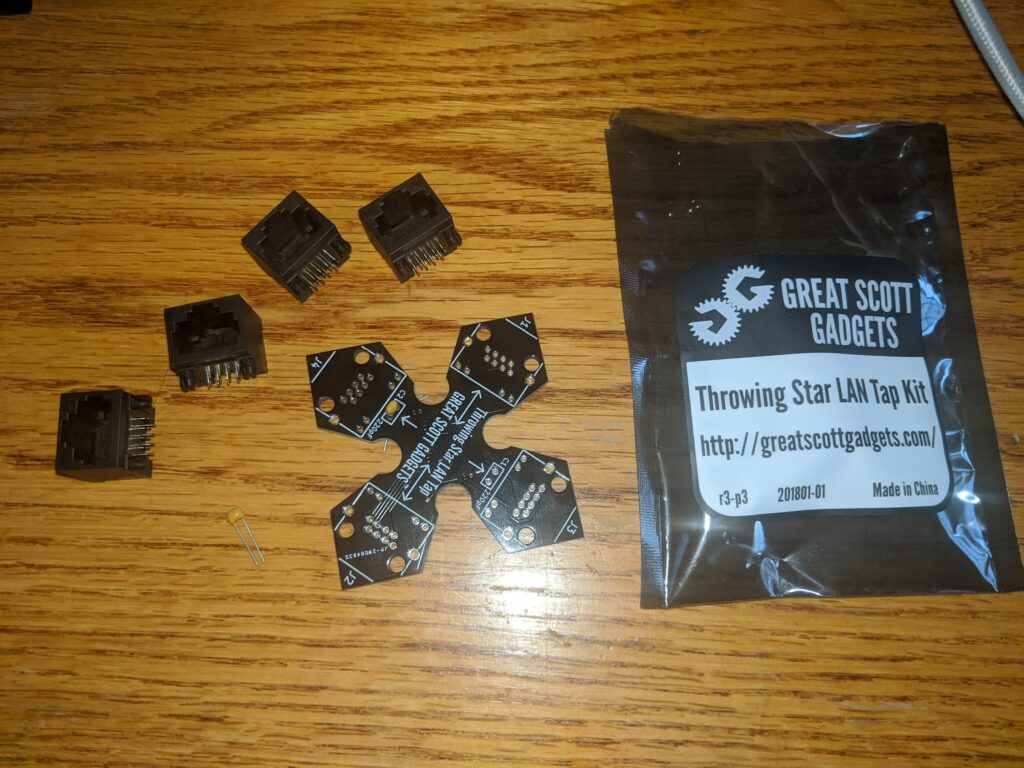
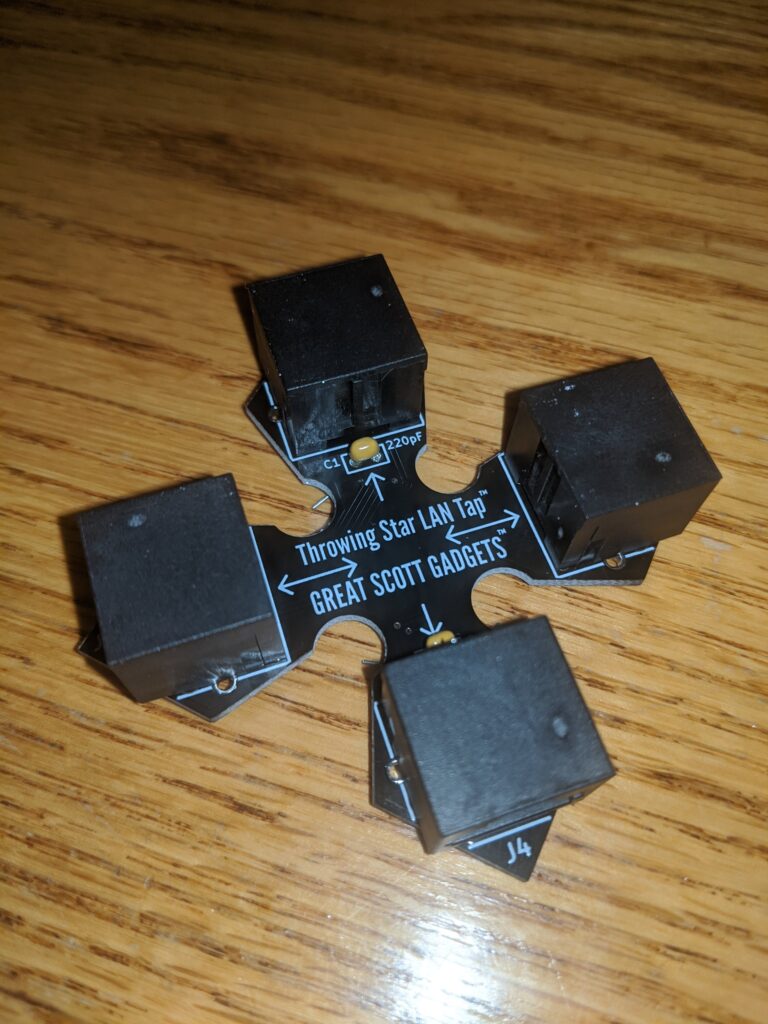
During the last meeting, we were discussing Zeek (formerly Bro) and narrowing down choices for sniffing accessories (tap vs span port). We settled on the Great Scott Gadgets lan taps. The pro version is enclosed and complete for $40, and the Throwing Star version is in kit form and just $15. Because I’m (a) cheap, (b) addicted to flux fumes, and (c) a ninja, I opted for the throwing star. I just slapped it together in about ten minutes, and it seems to be working just fine.

December Meeting update…

Things are rolling right along for December’s meeting. I hope to see a bunch of you on the 16th.

  • I’ve got a healthy smattering of Kali and ParrotOS workstations on the long table ready for anyone who wants to do actual pentesting against the CTF server. (These were the HP All-In-Ones I picked up at the auction.)
  • The CDC book will be one door prize/raffle for one lucky winner, and I will also have a few decks of “Backdoors and Breaches,” a tabletop card-based game for simulating incident response using a D20 for other winners.
  • As I mentioned before, the LED Marquee parts kits are all here ($15 a set), and I built and tested one. It’s been up and running in my family room for a couple of weeks now. If you want to assemble one at the meeting, it’s super-easy, and if you want it programmed as well, I’ll leave the choice up to you whether you want me to push the programming from my Arduino IDE on my laptop, or if you’d rather go through the process of setting up Arduino yourself, for the learning experiences. There are a number of dependencies and modifications that need to be made, more than I’ve had to do in any other Arduino project. Most of them are well-documented, and some are just common-sense fixes, I trust all of you are capable of figuring it out. It’s just a matter of do you want to go home with a working device or a challenge. 🙂

I mentioned this on Twitter, but not all of you follow Twitter — I picked up the “Crash Course Electronics & PCB Design” course on Udemy over Black Friday weekend for just $10. I can’t say enough good things about it. I have a reasonable enough basic understanding of electronics to get by on mimicry and duplication with minor troubleshooting, but I’ve always wanted a deeper understanding and more foundational knowledge. This 100-hour course, taught patiently by Andre Lamothe, is really hitting the mark.

I guess the best way to characterize it is, come for the PCB design, stay for the best approach to electronics foundational knowledge I’ve seen yet. I was going to skip ahead to the PCB design part, but I’m learning and enjoying the electronics portion so much that I haven’t been able to pull myself away. Already I’ve added a few more things to my wishlist (a signal generator, a set of thru-hole diodes, etc.) and acquired a renewed sense of vigor and enthusiasm for my portable payphone project, which fell by the wayside in the old house when I ran into issues trying to power it properly. Exciting times indeed. It’s one thing being able to troubleshoot a circuit by trial and error. It’s another thing to understand the math and theory behind it and be able to make it right — or even make it better.

Be sure to register for the meeting so that I can be sure to have enough beer chairs for everyone.

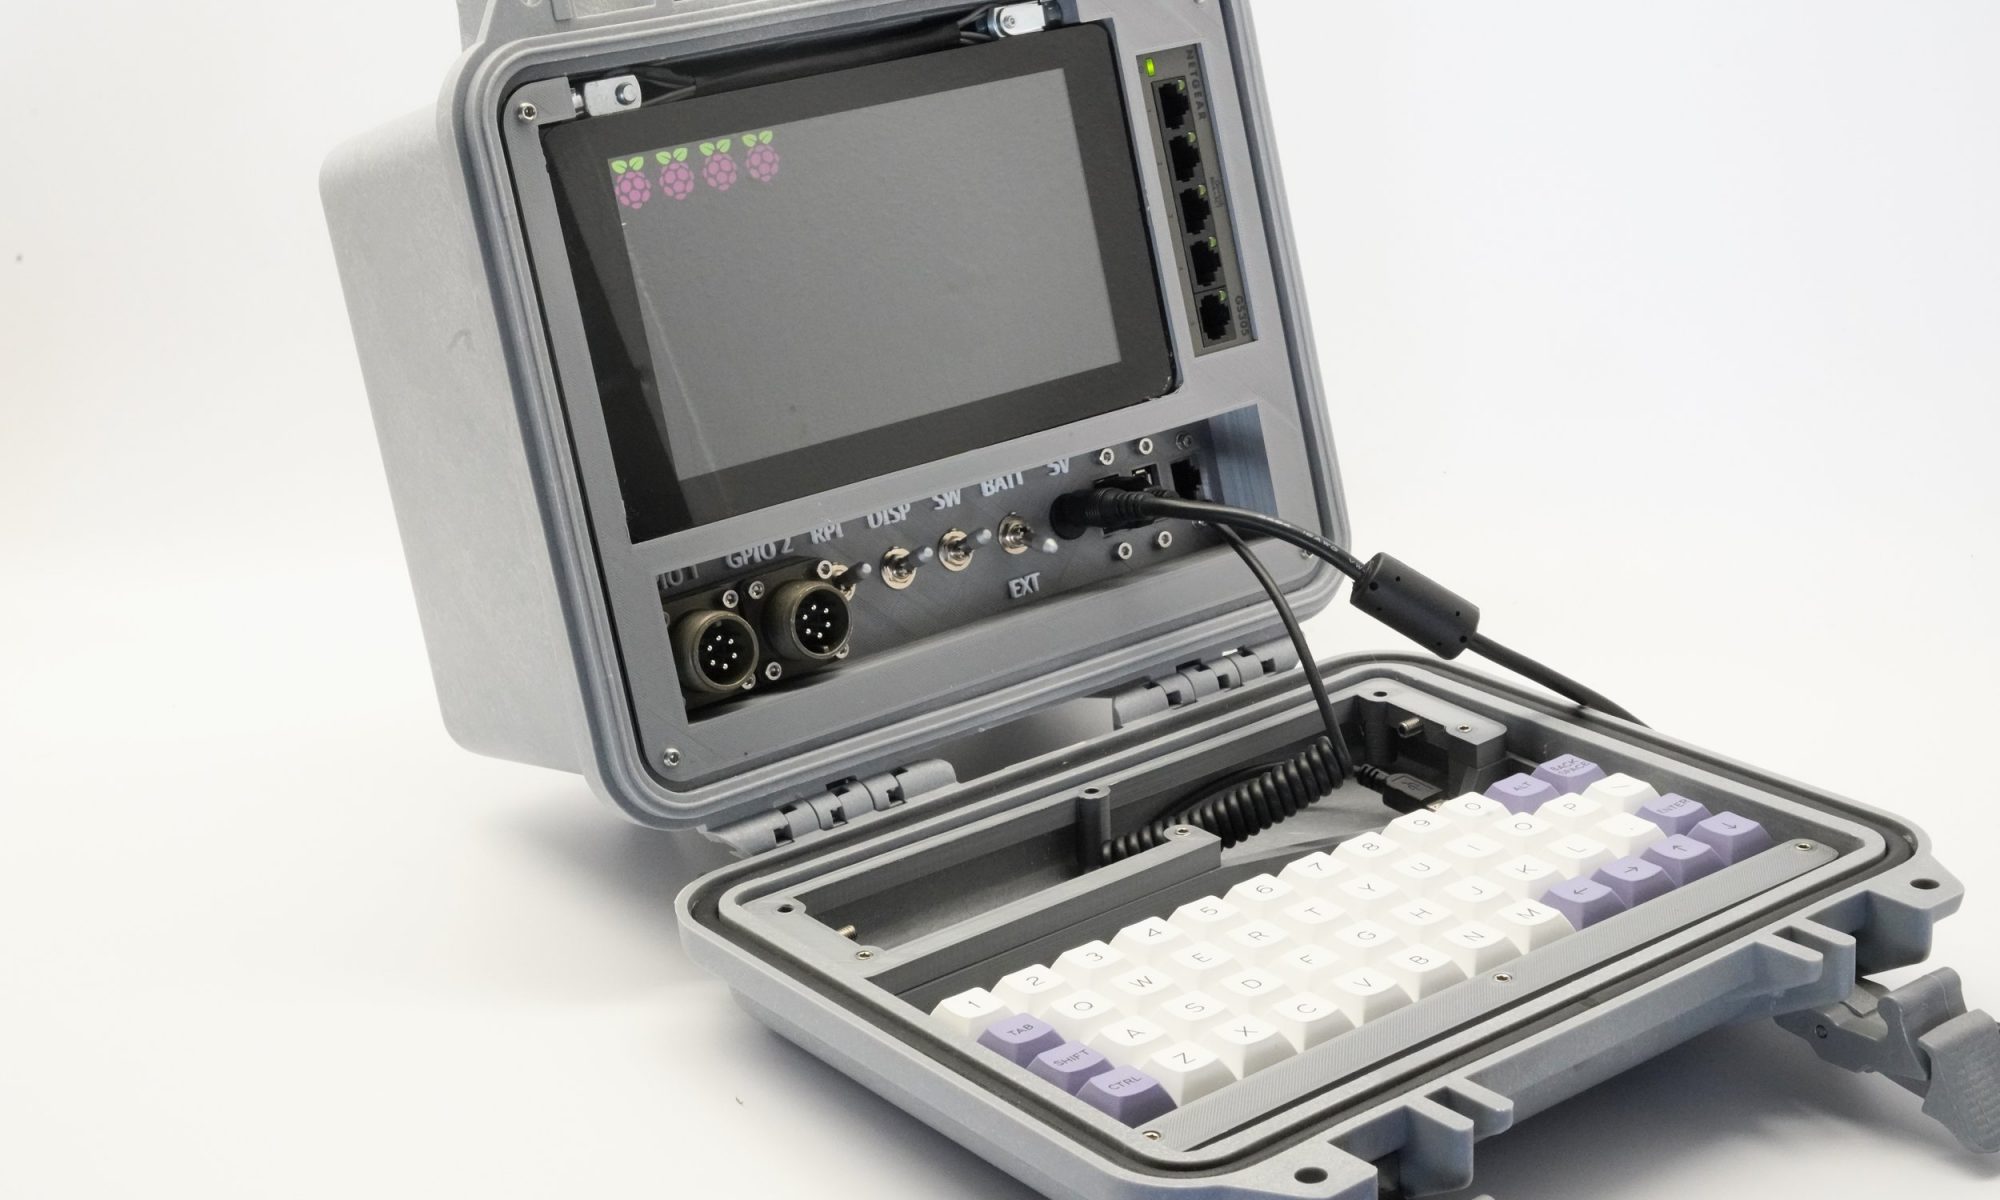
Off-Grid Cyberdeck…

I’ve been staring at this tab that I’ve left open on my browser for days now. Do I really need another project? I mean you guys don’t know half the projects I’ve got going on already.

I try to push it out of my mind, each time there’s a new amazing project on the table, but my FOMO kicks in, and tells me, “BUT I NEED IT!”

I really don’t.

I didn’t need the VIC-20.

I didn’t need Project GoCube.

I didn’t need the Project MF Blue Box.

I didn’t need the Altairduino or the PiDP8/i.

Nor do I need this. BUT I NEED IT!

https://back7.co/home/raspberry-pi-recovery-kit?fbclid=IwAR2LUJ-xywP6IGLfai3GQk88Qt2MHkmunbk4tQ4ZduYxbJCiI5X36f7gM6M

New group project for December meeting…

Thanks to 801Labs @_bashNinja for a wonderful holiday gift idea.

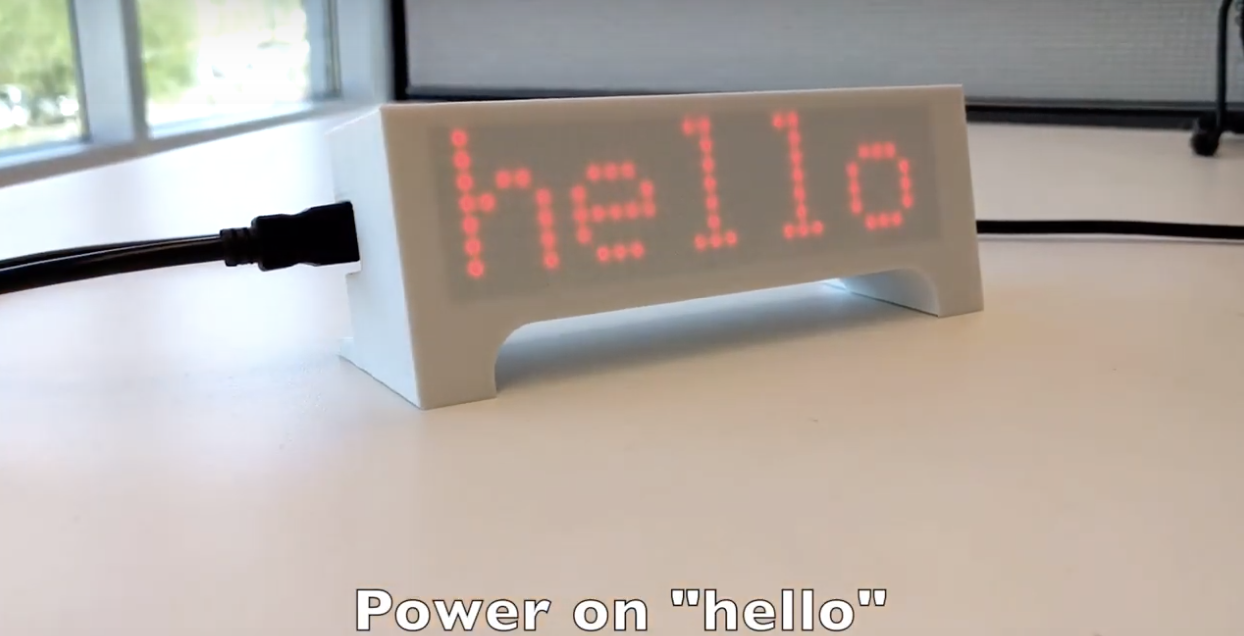
I’d love to do this at the November meeting, but I sincerely don’t believe the parts will be here in time. 801Labs announced they are doing this project as a December group build, and they are offering the kits for $10. I thought I’d play along and do it through our group as well.

I couldn’t justify sourcing enough to get the price QUITE that low. I can do them for $15/each. If there’s enough interest.prepayment I’ll order more. Like 801, this is a group build in person, I’m not doing shipping for these.

So if anyone wants to participate in the group build for these, I should have all the parts in time for the December meeting. Any leftovers will be held for future meeting attendees.

It’s a simple but elegant LED marquee display in a 3d-printed case using a Wemos D1 mini Wifi IOT module and a 4-in-1 dot matrix LED module. I ordered them in white PLA and red LEDs, just like the photo. By default it will display time, bitcoin price, random advice, weather, maybe a few other configurable things, but once you get it in place, you can likely make it do display anything you want. I was thinking it might be fun to add in a display when someone logs into the DC540 Citadel BBS.

Success!

I emailed Waveshare indicating my problem getting anything to display on the 2.13in epaper. They were VERY quick to get back to me, and suggested I try running the tests for another size, the 1.54in model, just to see what it did.

Turns out, that worked. So I started looking closer…

drwxr-xr-x 2 root root 4096 Sep 10 00:11 .
drwxr-xr-x 5 root root 4096 Sep 10 00:11 ..
-rw-r–r– 1 root root 2801 Sep 10 00:11 epd_1in54b_test.py
-rw-r–r– 1 root root 2657 Sep 10 00:11 epd_1in54c_test.py
-rw-r–r– 1 root root 2976 Sep 10 00:11 epd_1in54_test.py
-rw-r–r– 1 root root 2969 Sep 10 00:11 epd_1in54_V2_test.py
-rw-r–r– 1 root root 3756 Sep 10 00:11 epd_2in13bc_test.py
-rw-r–r– 1 root root 3020 Sep 10 00:11 epd_2in13d_test.py
-rw-r–r– 1 root root 3026 Sep 10 00:11 epd_2in13_test.py
-rw-r–r– 1 root root 3097 Sep 10 00:11 epd_2in13_V2_test.py
-rw-r–r– 1 root root 4006 Sep 10 00:11 epd_2in7b_test.py
-rw-r–r– 1 root root 3017 Sep 10 00:11 epd_2in7_test.py
-rw-r–r– 1 root root 3851 Sep 10 00:11 epd_2in9bc_test.py
-rw-r–r– 1 root root 3760 Sep 10 00:11 epd_2in9d_test.py
-rw-r–r– 1 root root 3822 Sep 10 00:11 epd_2in9_test.py
-rw-r–r– 1 root root 3981 Sep 10 00:11 epd_4in2bc_test.py
-rw-r–r– 1 root root 3147 Sep 10 00:11 epd_4in2_test.py
-rw-r–r– 1 root root 3859 Sep 10 00:11 epd_5in83bc_test.py
-rw-r–r– 1 root root 3154 Sep 10 00:11 epd_5in83_test.py
-rw-r–r– 1 root root 3981 Sep 10 00:11 epd_7in5bc_test.py
-rw-r–r– 1 root root 3147 Sep 10 00:11 epd_7in5_test.py

I had been using epd_2.3_test and the epd_2.3_V2 test, neither of which worked. After seeing it function properly on a couple of the 1in54 tests, I went through them all systematically. Turns out both epd_2in13bc_test and epd_2in13d_test work.

So I generated some red and black bitmaps, and using the example code as a template, pulled them in and displayed them.

What I love about epaper is that it doesn’t require power to display, only to change the display.

Now I’m looking at a 1500mah RPiZeroW-sized LiPo. I have other battery banks, but I like the idea of a low profile unit that can fit in a small pocket and maybe even be enclosed with the assembly. I was looking at this one…

https://www.amazon.com/gp/product/B07Q2C6B5H?pf_rd_p=183f5289-9dc0-416f-942e-e8f213ef368b&pf_rd_r=8CNZ36Q9MAZKK3C3J5T4