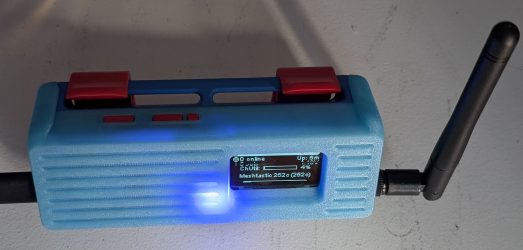
So I spent more time than I care to admit this weekend trying to prep a Pwnagotchi platform (RPiZW and e-paper). The code (by @evilsocket) hasn’t been released yet, but I want to be ready. My mistake was only ordering one e-paper HAT from Waveshare. I should have taken failure rates into account. At least I’m 75% certain it’s a DOA unit. I tried numerous approaches based on numerous experiences by randos on the internet, and I couldn’t get that damned thing to display SQUAT. If it fed me back any data, it was just “e-paper busy.” Not helpful, Waveshare. Not helpful.
On the plus side, I was watching a video comparing different levels of USB microscopes for soldering (GreatScott!), and noticed that it was sponsored by JLCPCB, and they were offering a too-good-to-be-true deal on new PCB orders. So I went ahead and placed an order for ten MultiPass boards. Some of those will be up for grabs when they arrive. WAY cheaper than expected. I remain cautiously optimistic.
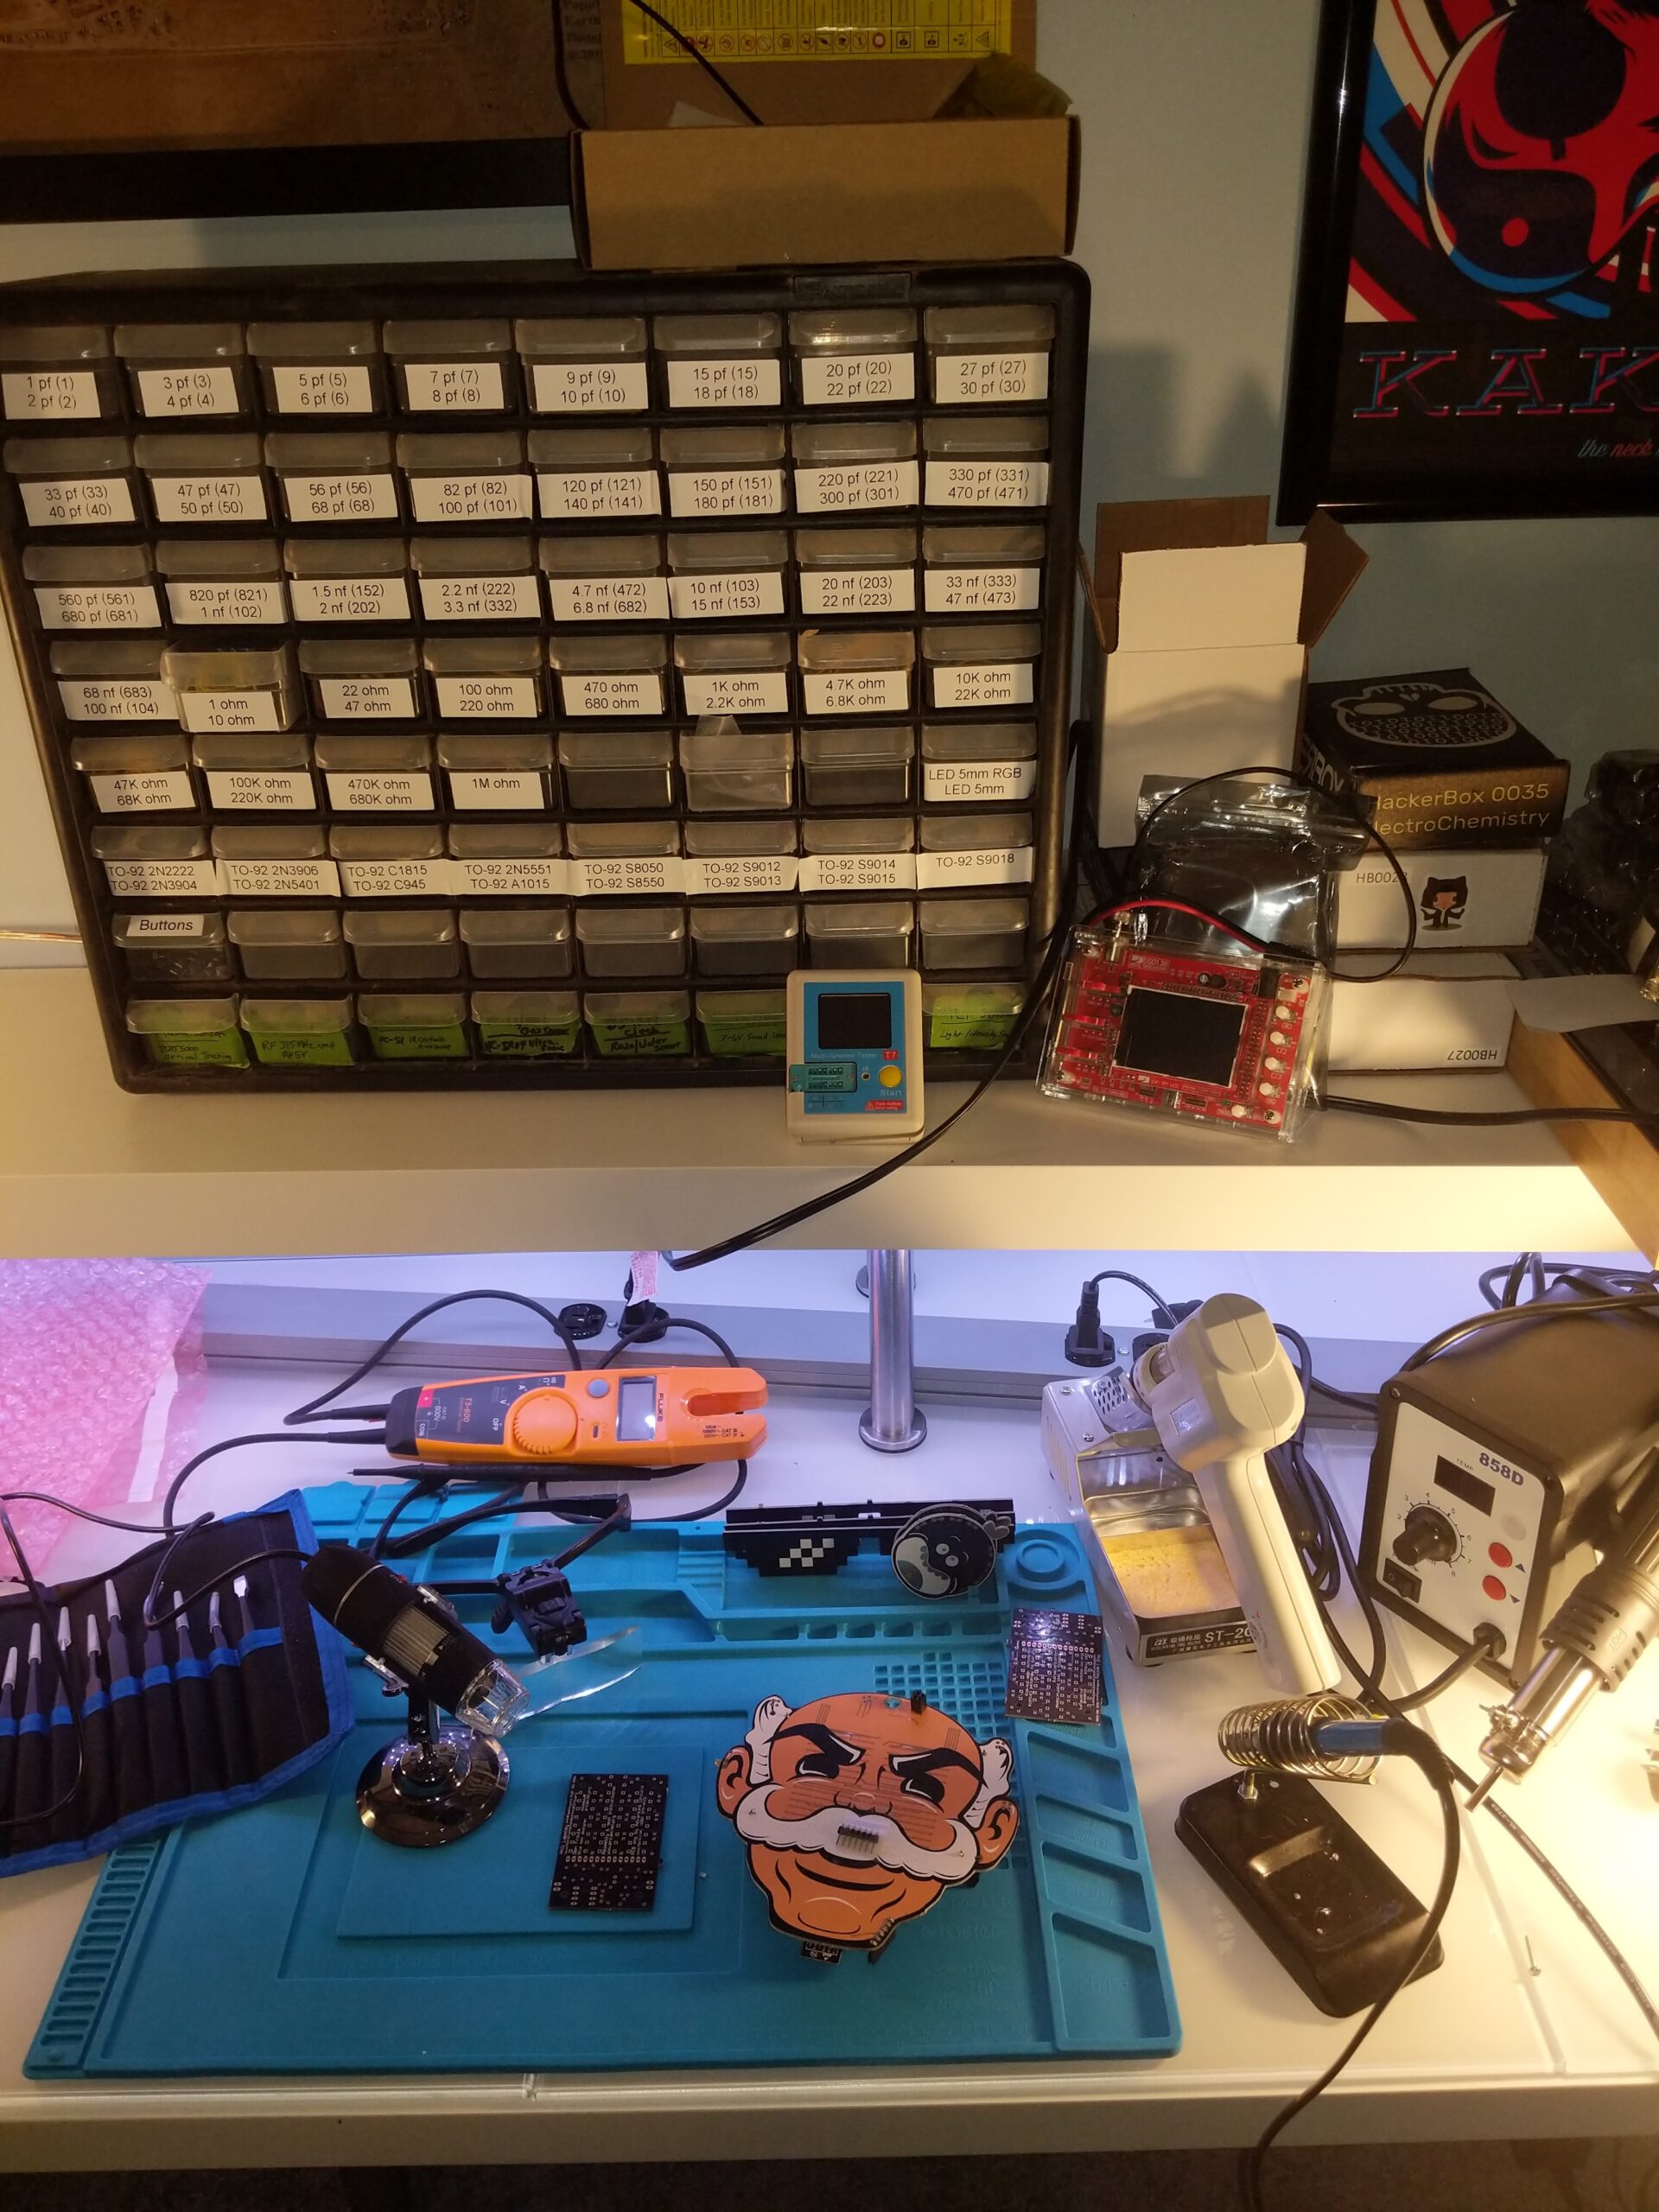
So a few of us came to a consensus of wanting to work on Hackerbox #0046 “Persistence” for the upcoming September meeting. If you want in, bring one, and bring soldering gear. I have specialty stuff, like an electric solder removal tool and a hot air tool, but bring your basics — iron, solder, etc.
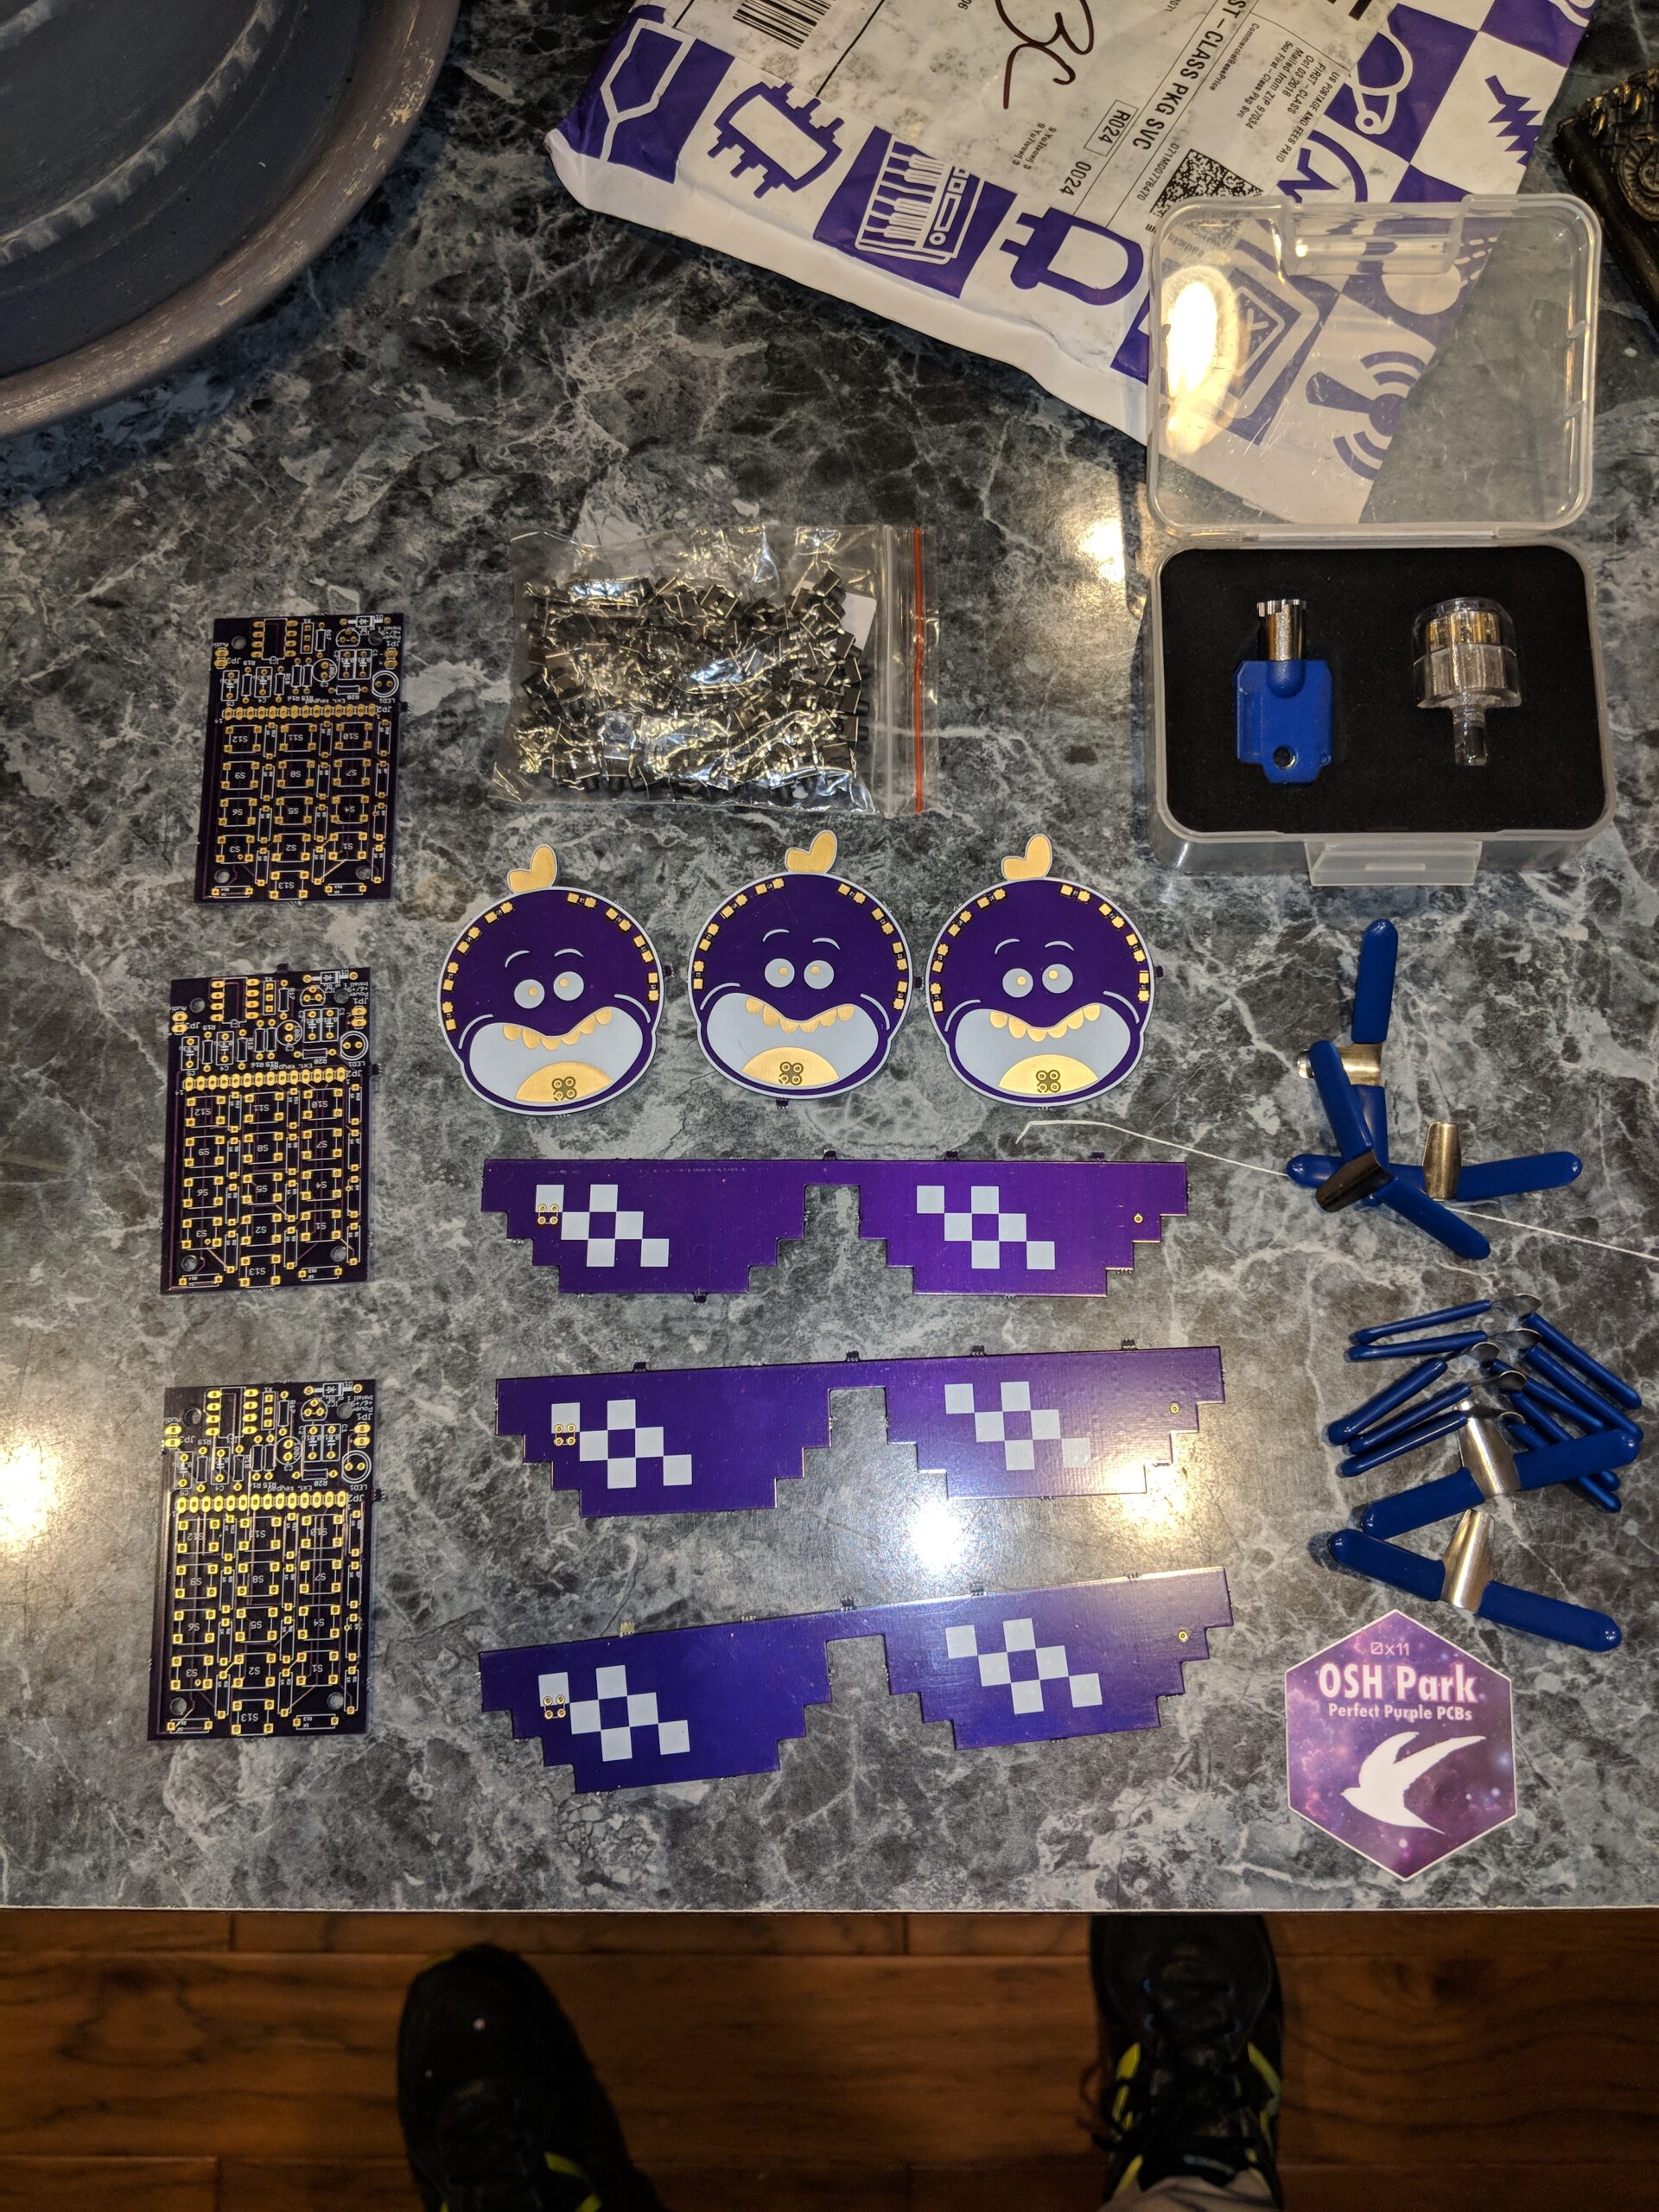
I am REALLY tempted to order boards and parts to assemble the DC27 Multipass badge, since the Gerber/Eagle files have been released along with the software. It will be a bit of a challenge for some — but we’re all about challenges, right? There are like 70 0603-sized SMD parts on it. I have more than half the parts in my lab already, but some parts I’ll need to order. If there’s enough interest, I can order stuff for the October meeting. Cost of the bare boards is about $36 each from OSHPARK, ordered in sets of three. If there’s enough interest I’ll price out the BOM and you can decide if it’s worth it to you to play.
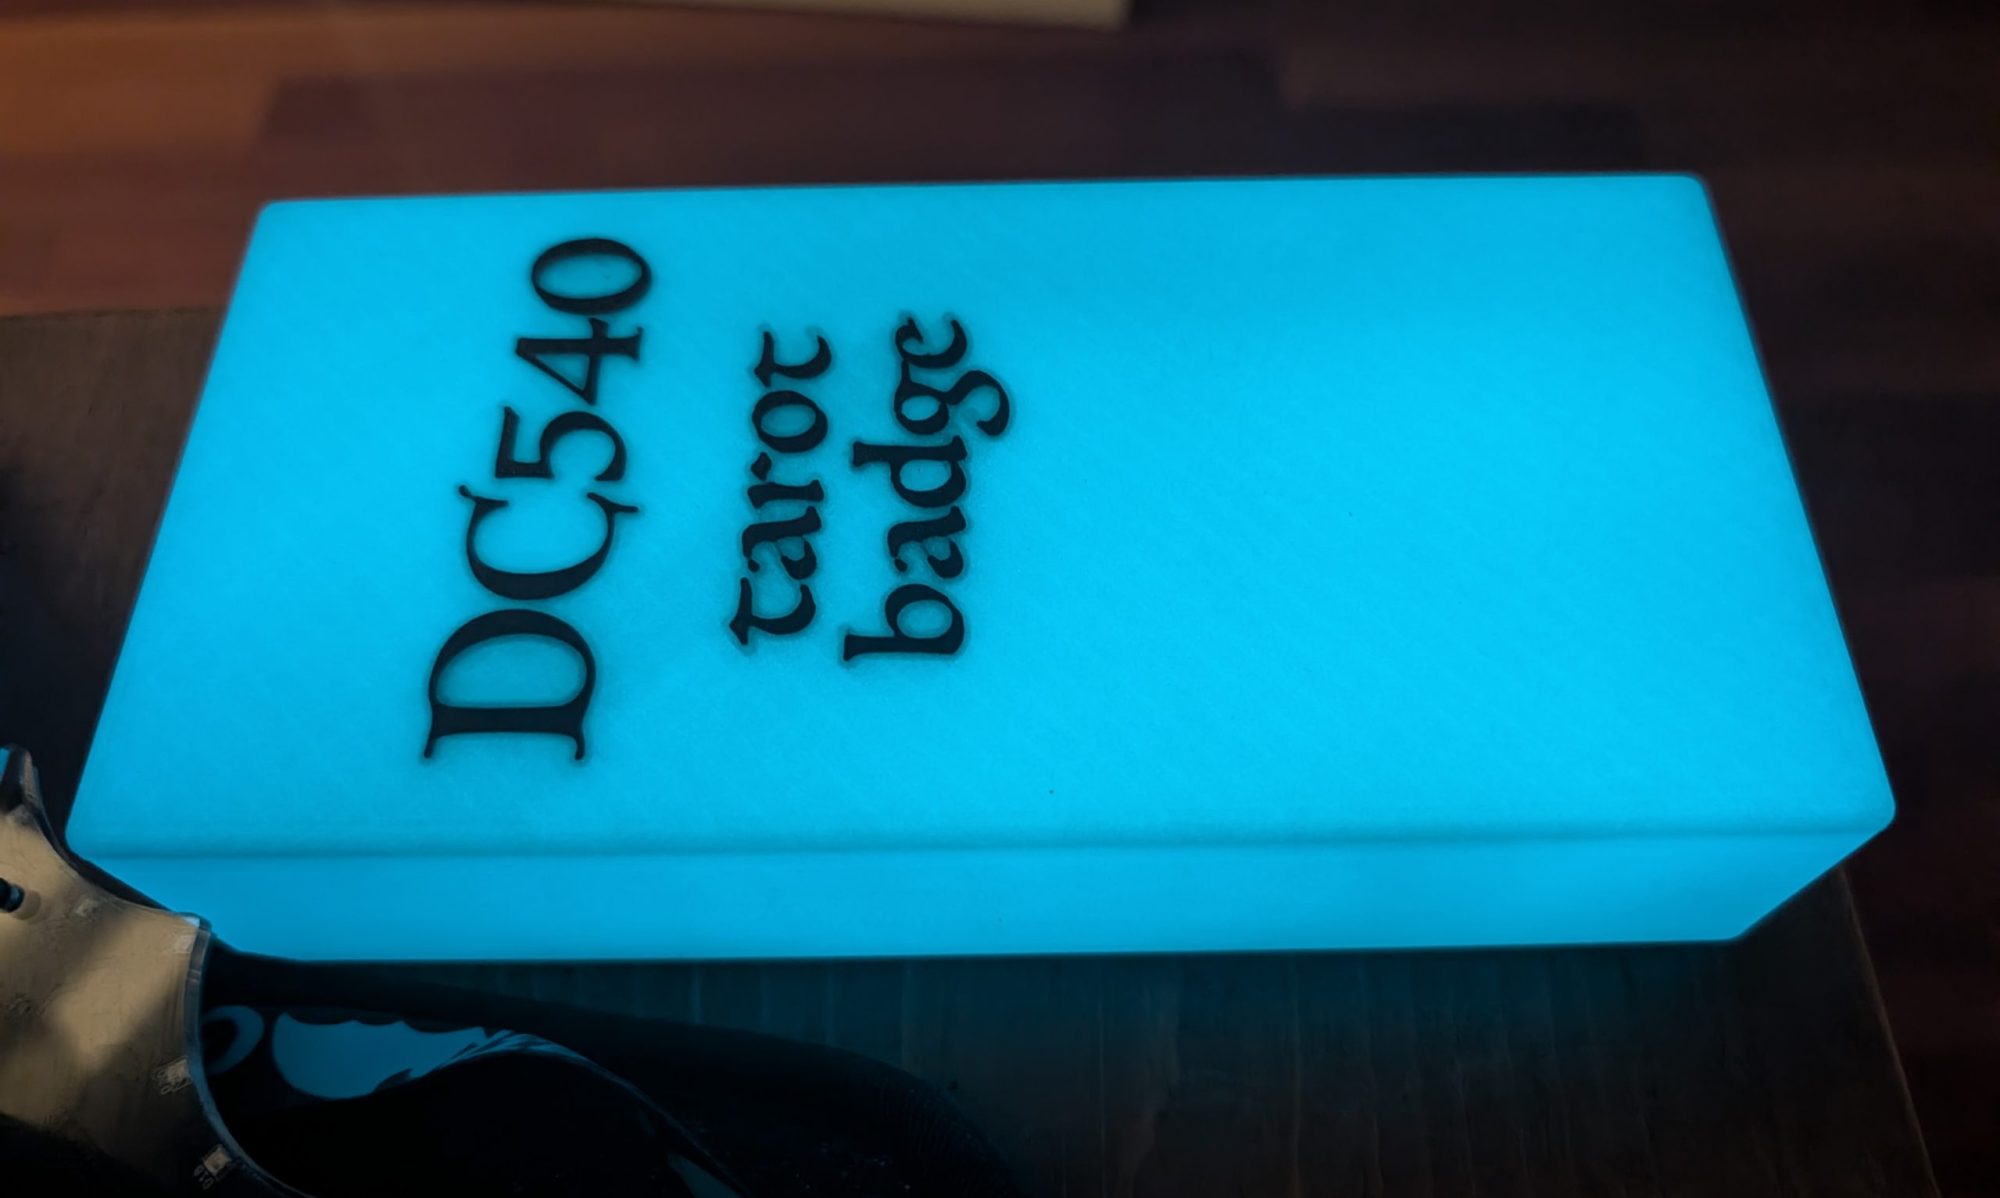
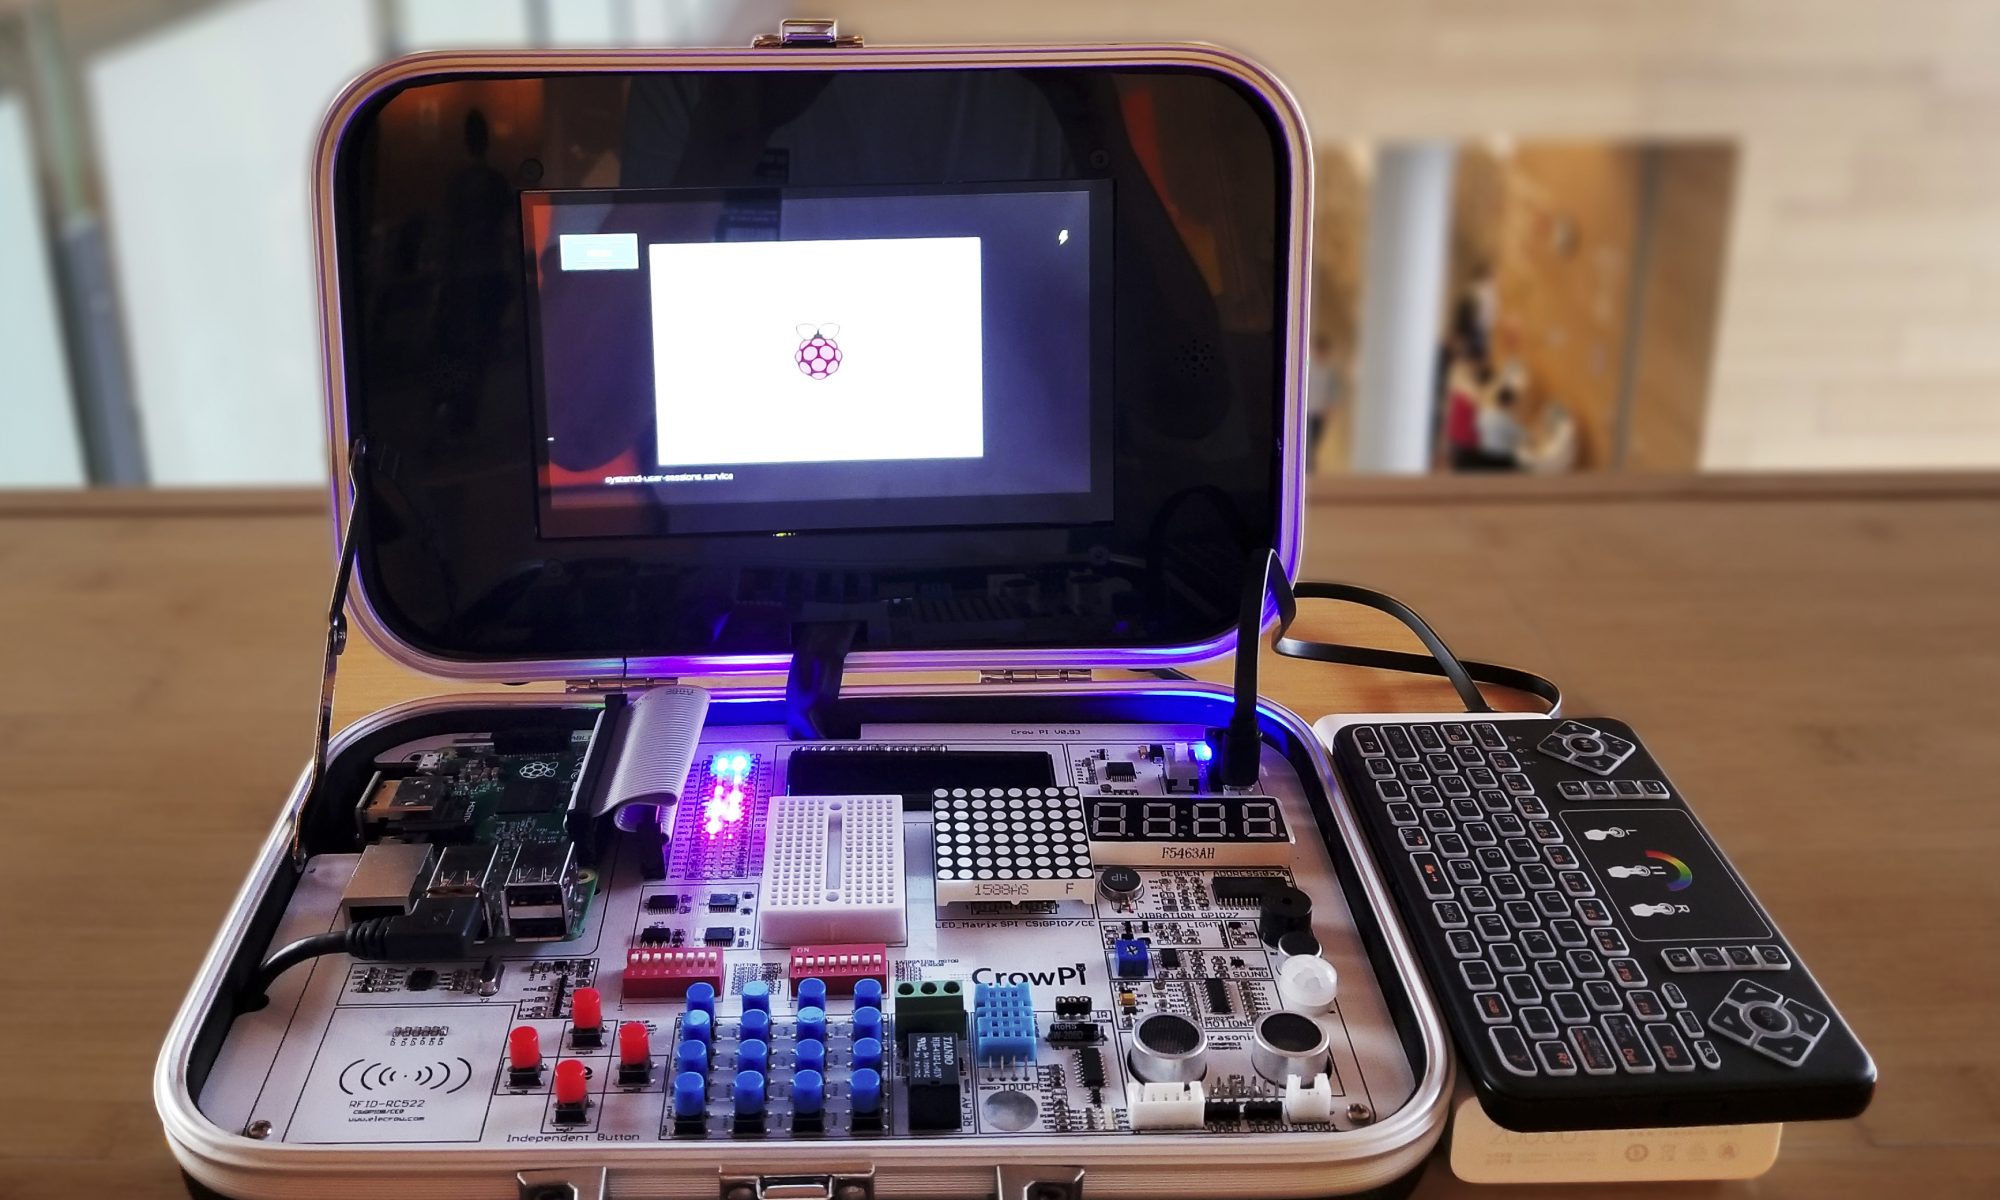
Tonight was another fun evening for DC540. Three of us pregamed at Red Dragon Brewery, then headed over to the library, where our three became five. We played show and tell with the CrowPi and the TS80 solder iron, and shared our experiences with the Pontifex crypto scheme, designed by Bruce Schneier for Neal Stephenson’s excellent book Cryptonomicon.
We decided that even though there’s no meeting on the 4th Monday of December because the library is unavailable for Xmas eve, that we’re going to go ahead with a social meeting at the brewery on Tuesday, December 18.
Interesting upcoming events: Shmoocon tickets – next round Friday. BSides Philly February 1. If anyone has extra Shmoocon barcodes and is looking for worthy buyers, look no further.
When I first started taking solder seriously, I used household tweezers when I needed. That took about ten minutes before I realized they sucked. So I bought a manicure set, hoping those tweezers would be better. After one session, the two arms broke apart.
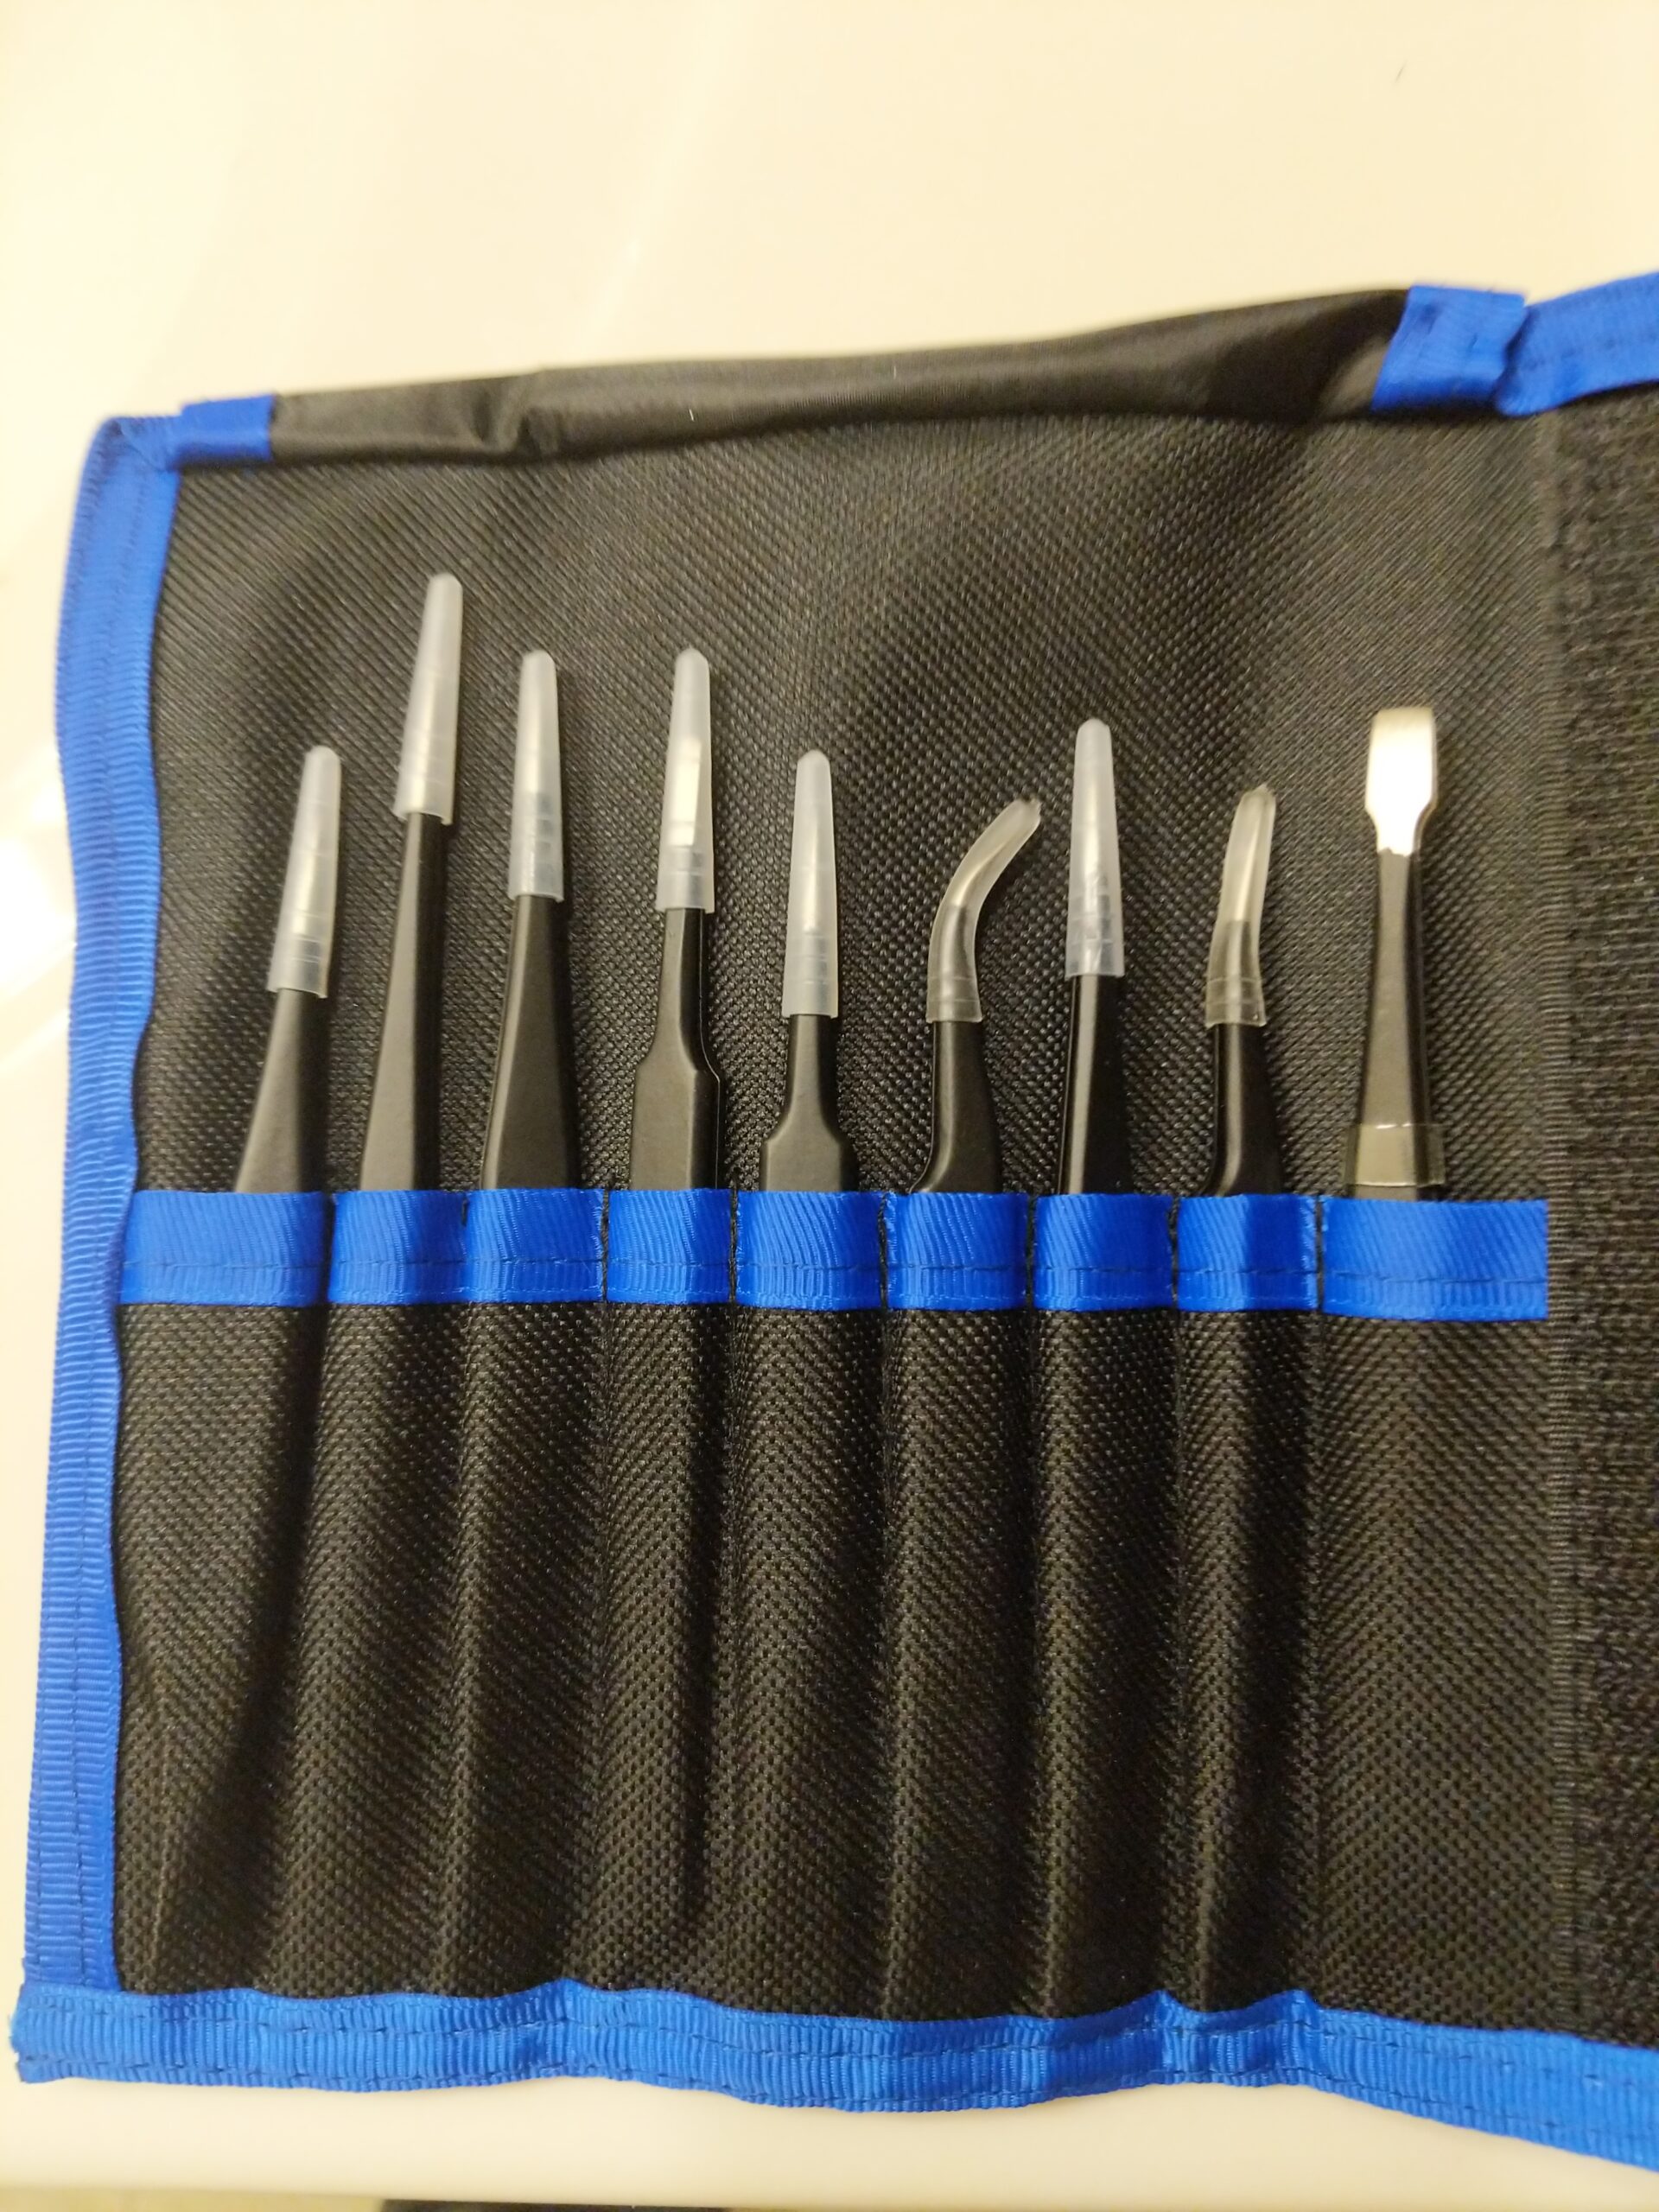
So I bought a generic set of “technical tweezers” from Amazon. Then I was told by a good friend that you really need to look at “precision tip” tweezers, and he sent me a link to McMaster-Carr’s stainless steel tweezers page. I ordered a set of Aven Technik tweezers ($33) for comparison.
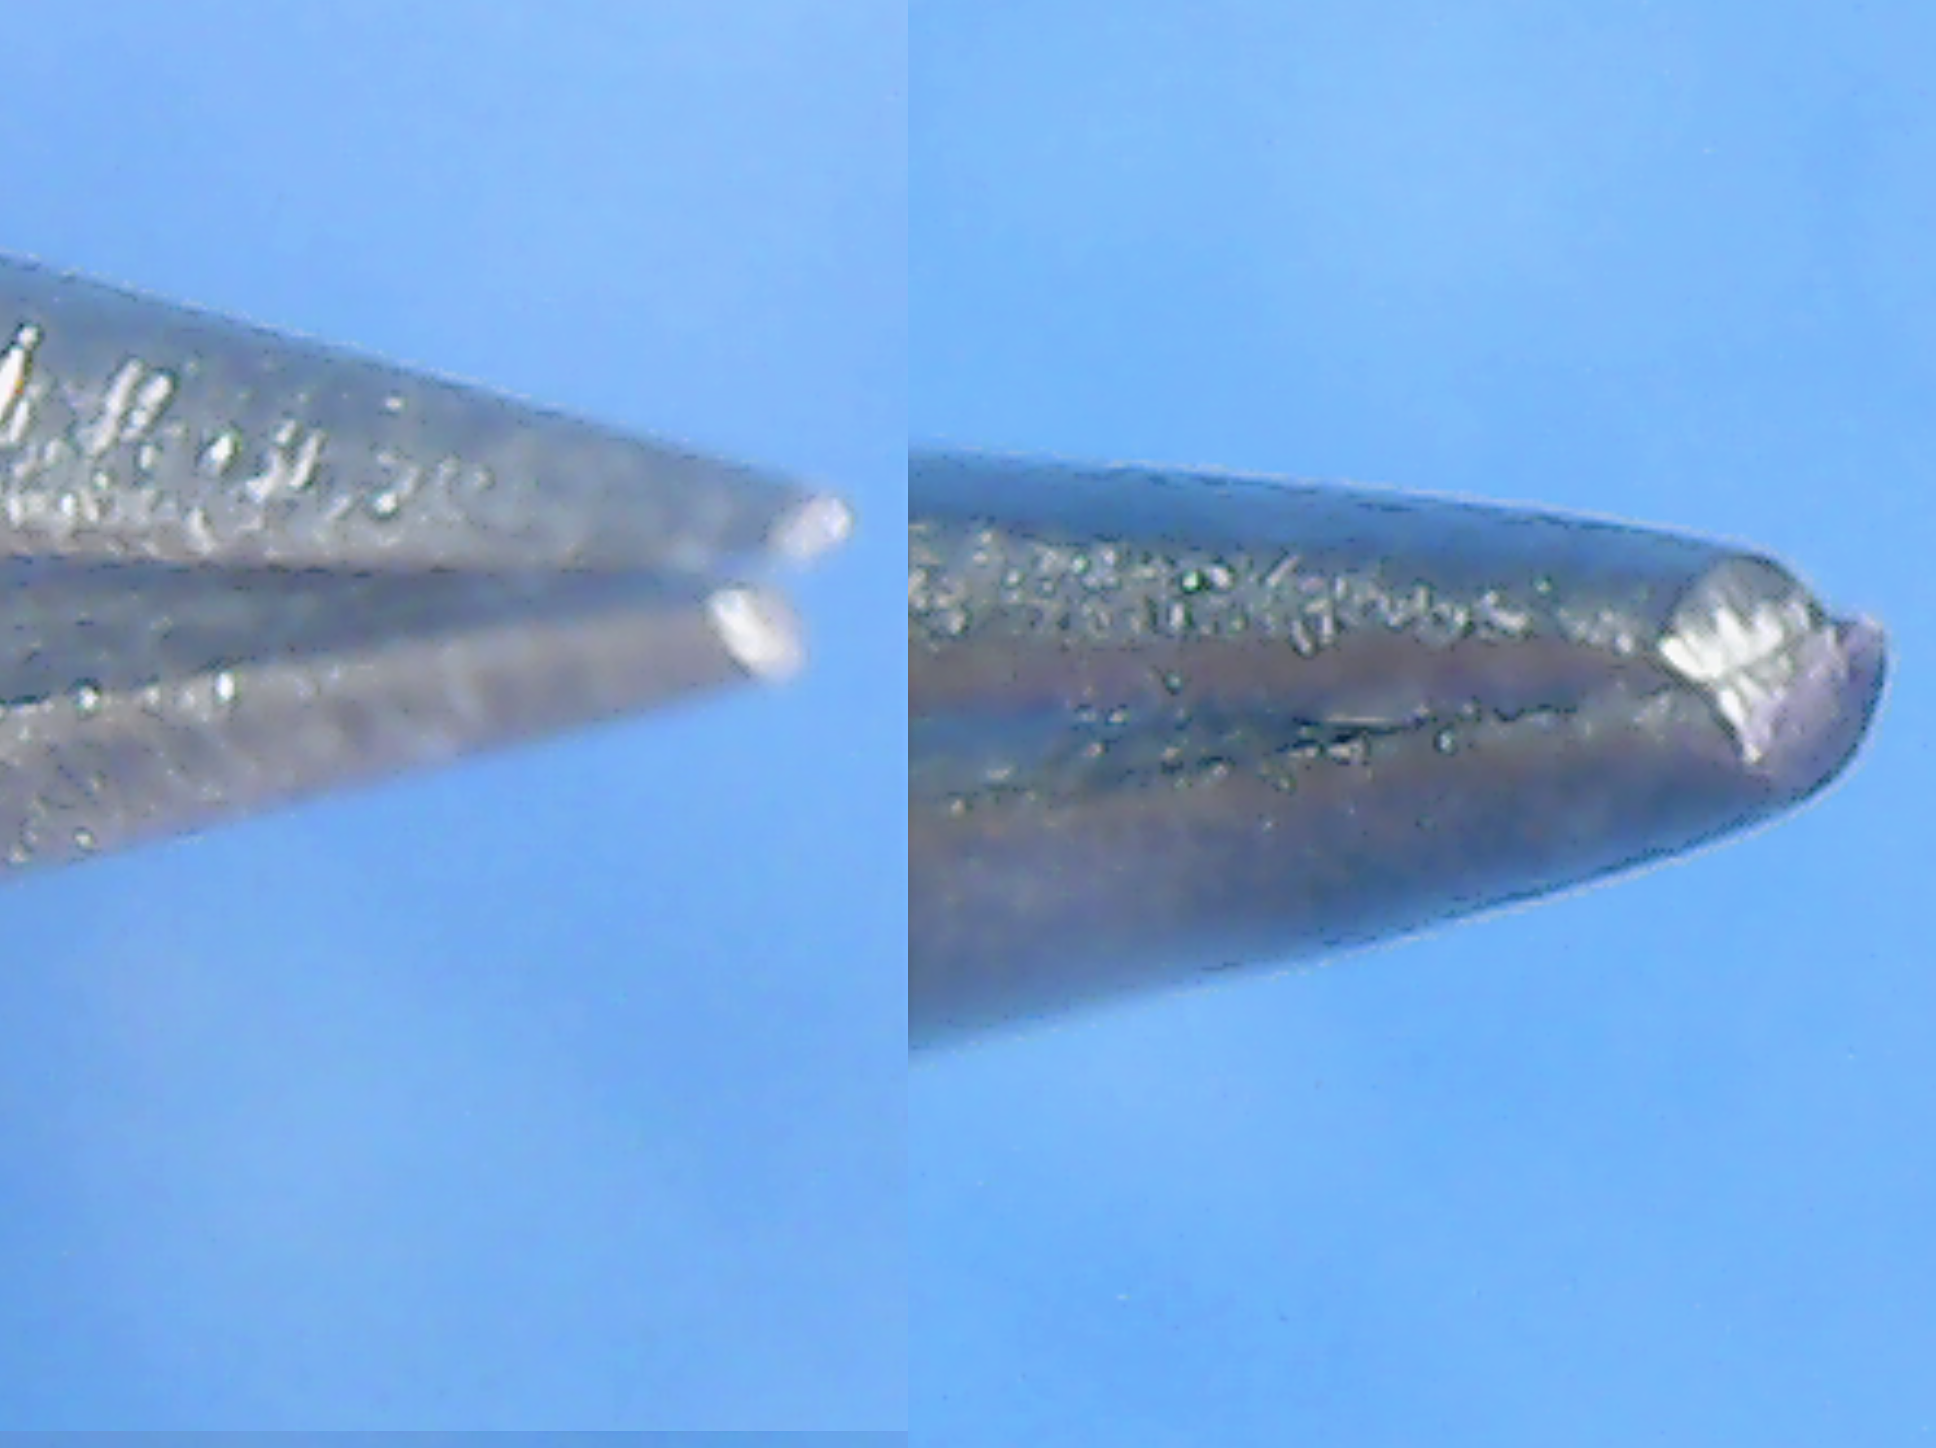
On the left is the bite of the generic Amazon tweezers, which are clearly simply far lower quality tweezers designed and marketed to look like precision-tip tweezers. Look how misaligned the bite is, and how little surface area is actually making contact at the bite, compared to the Aven Technik on the right. When dealing with near-microscopic parts, the Aven will grip the part solidly, while the tweezer on the left is likely to twist it around and send it flying across the room like a clipped fingernail.
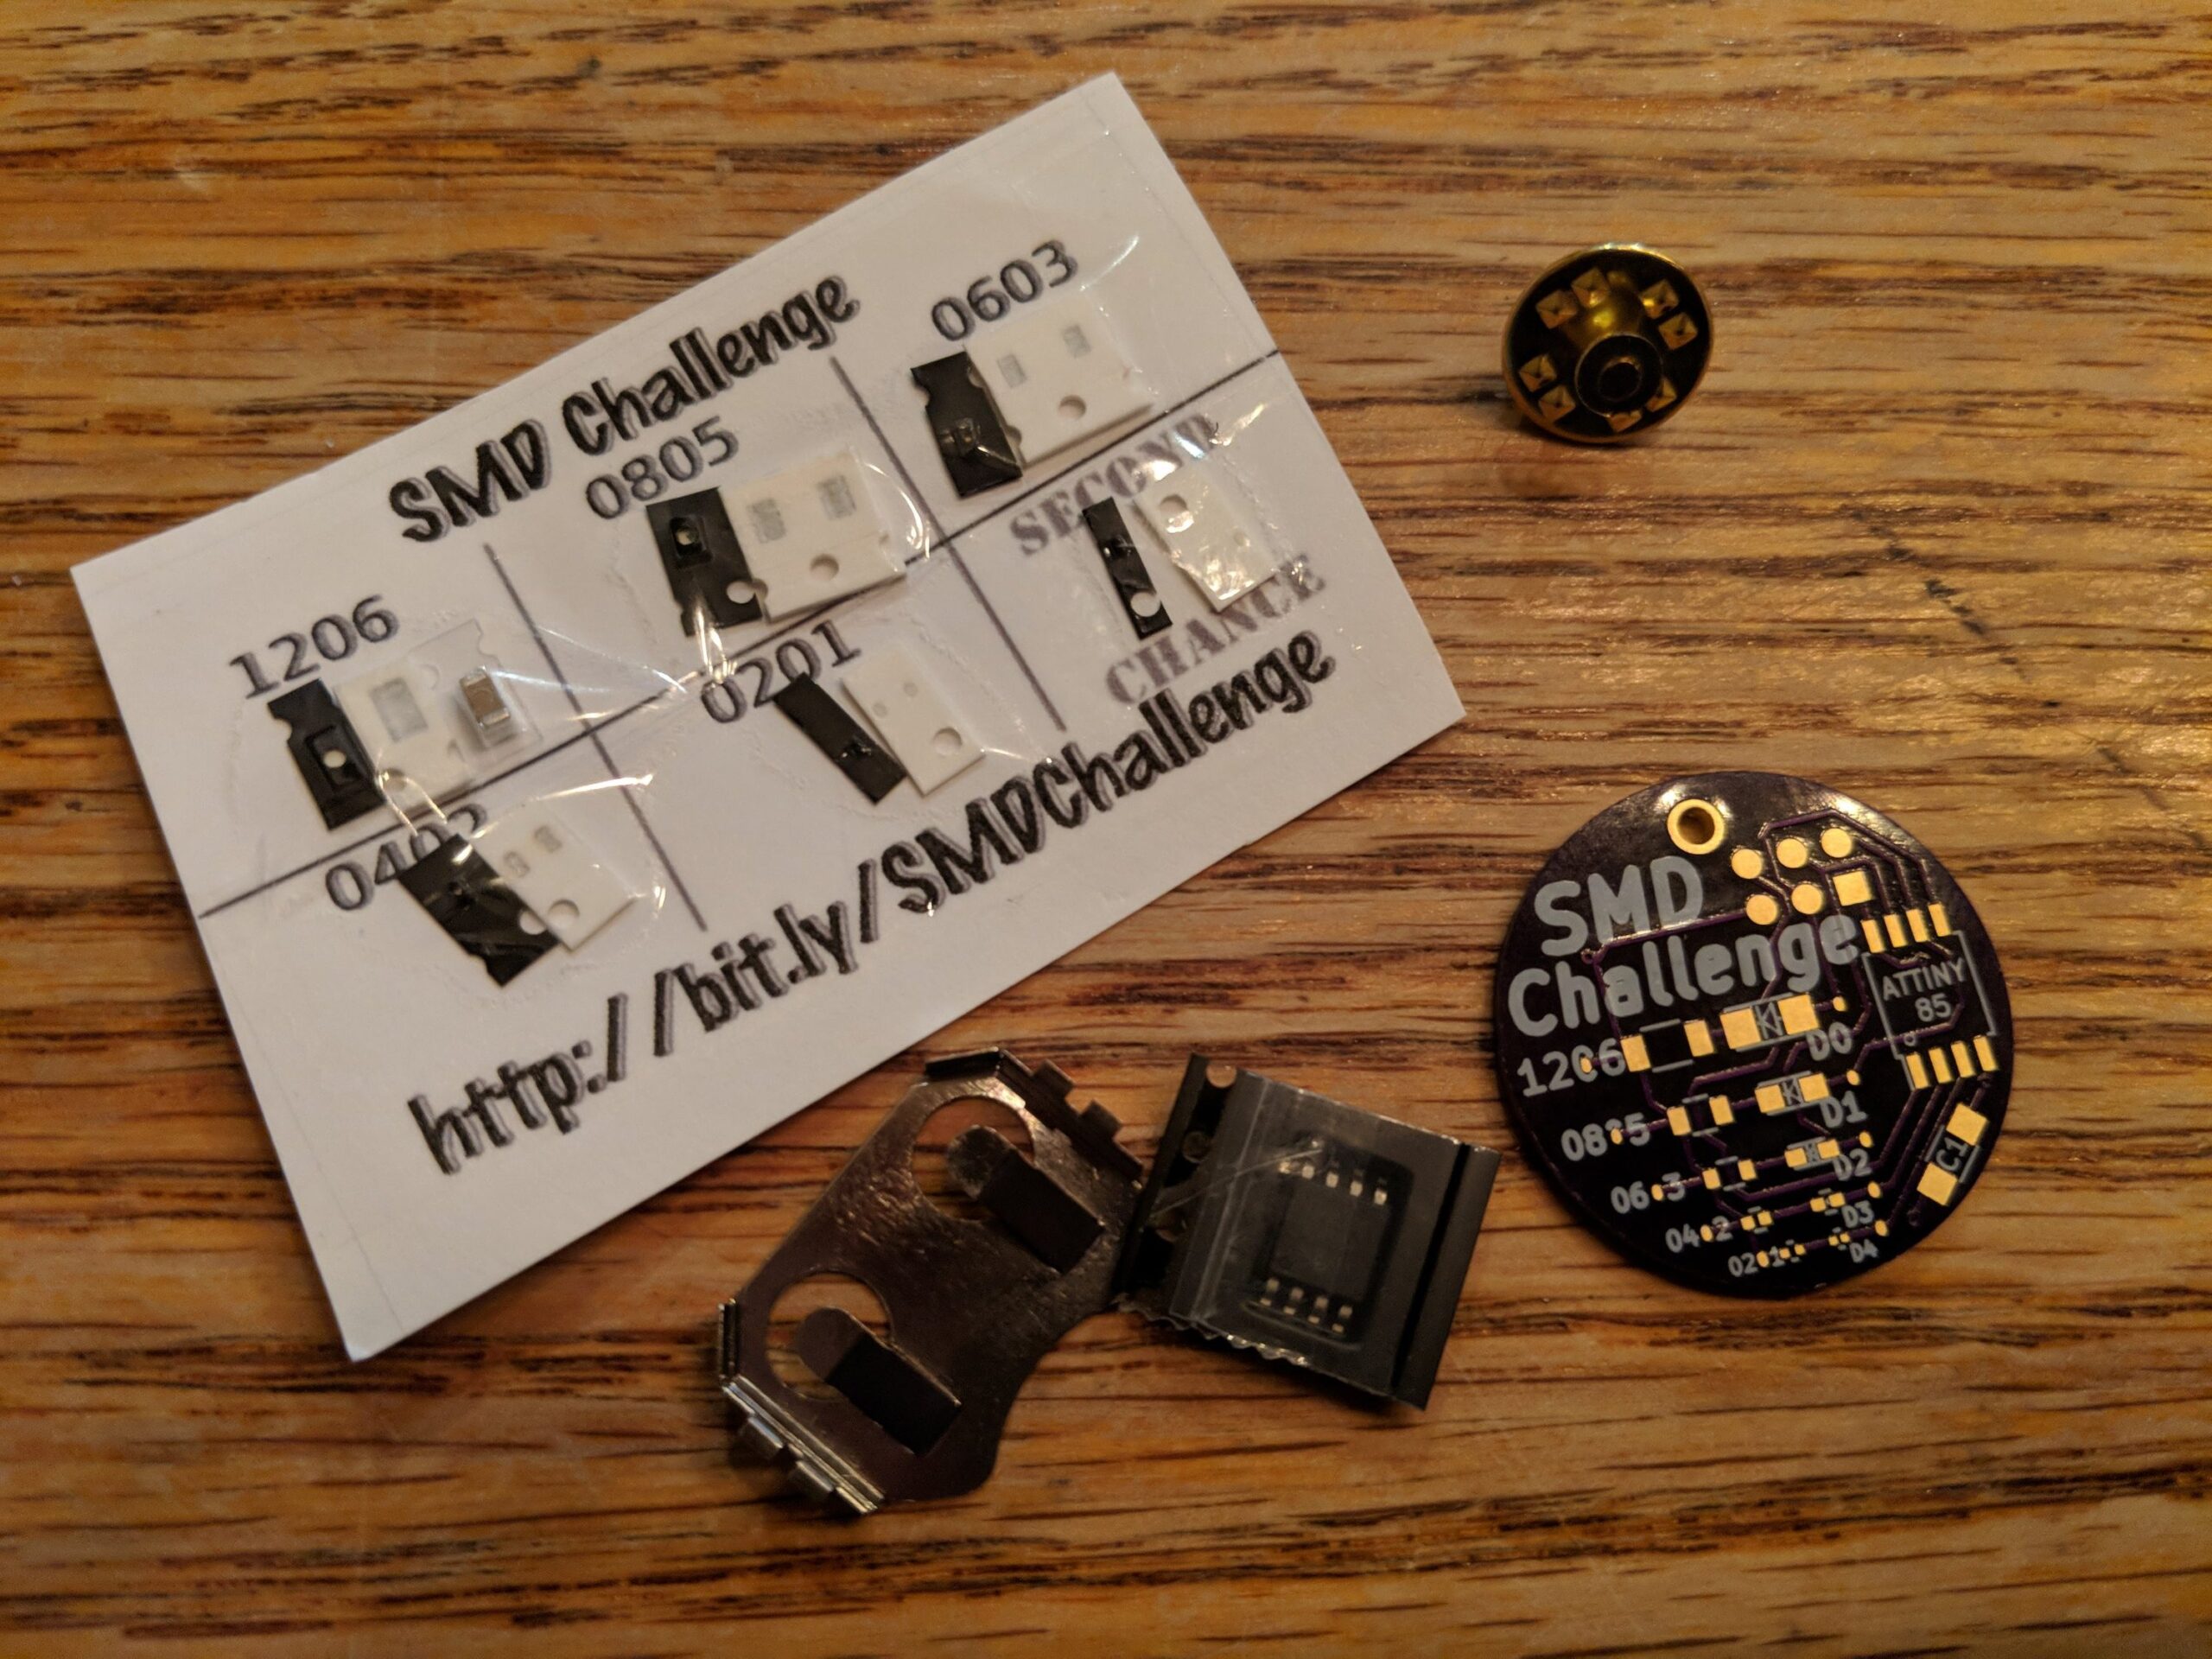
One of last month’s meeting attendees, bless his heart, and I will hereafter refer to him as HE WHO SHALL NOT BE NAMED, because I haven’t asked his permission… Gave these lovelies out at the meeting. I finally got around to looking at it, and SAVAGE! Good thing I got new tweezers.
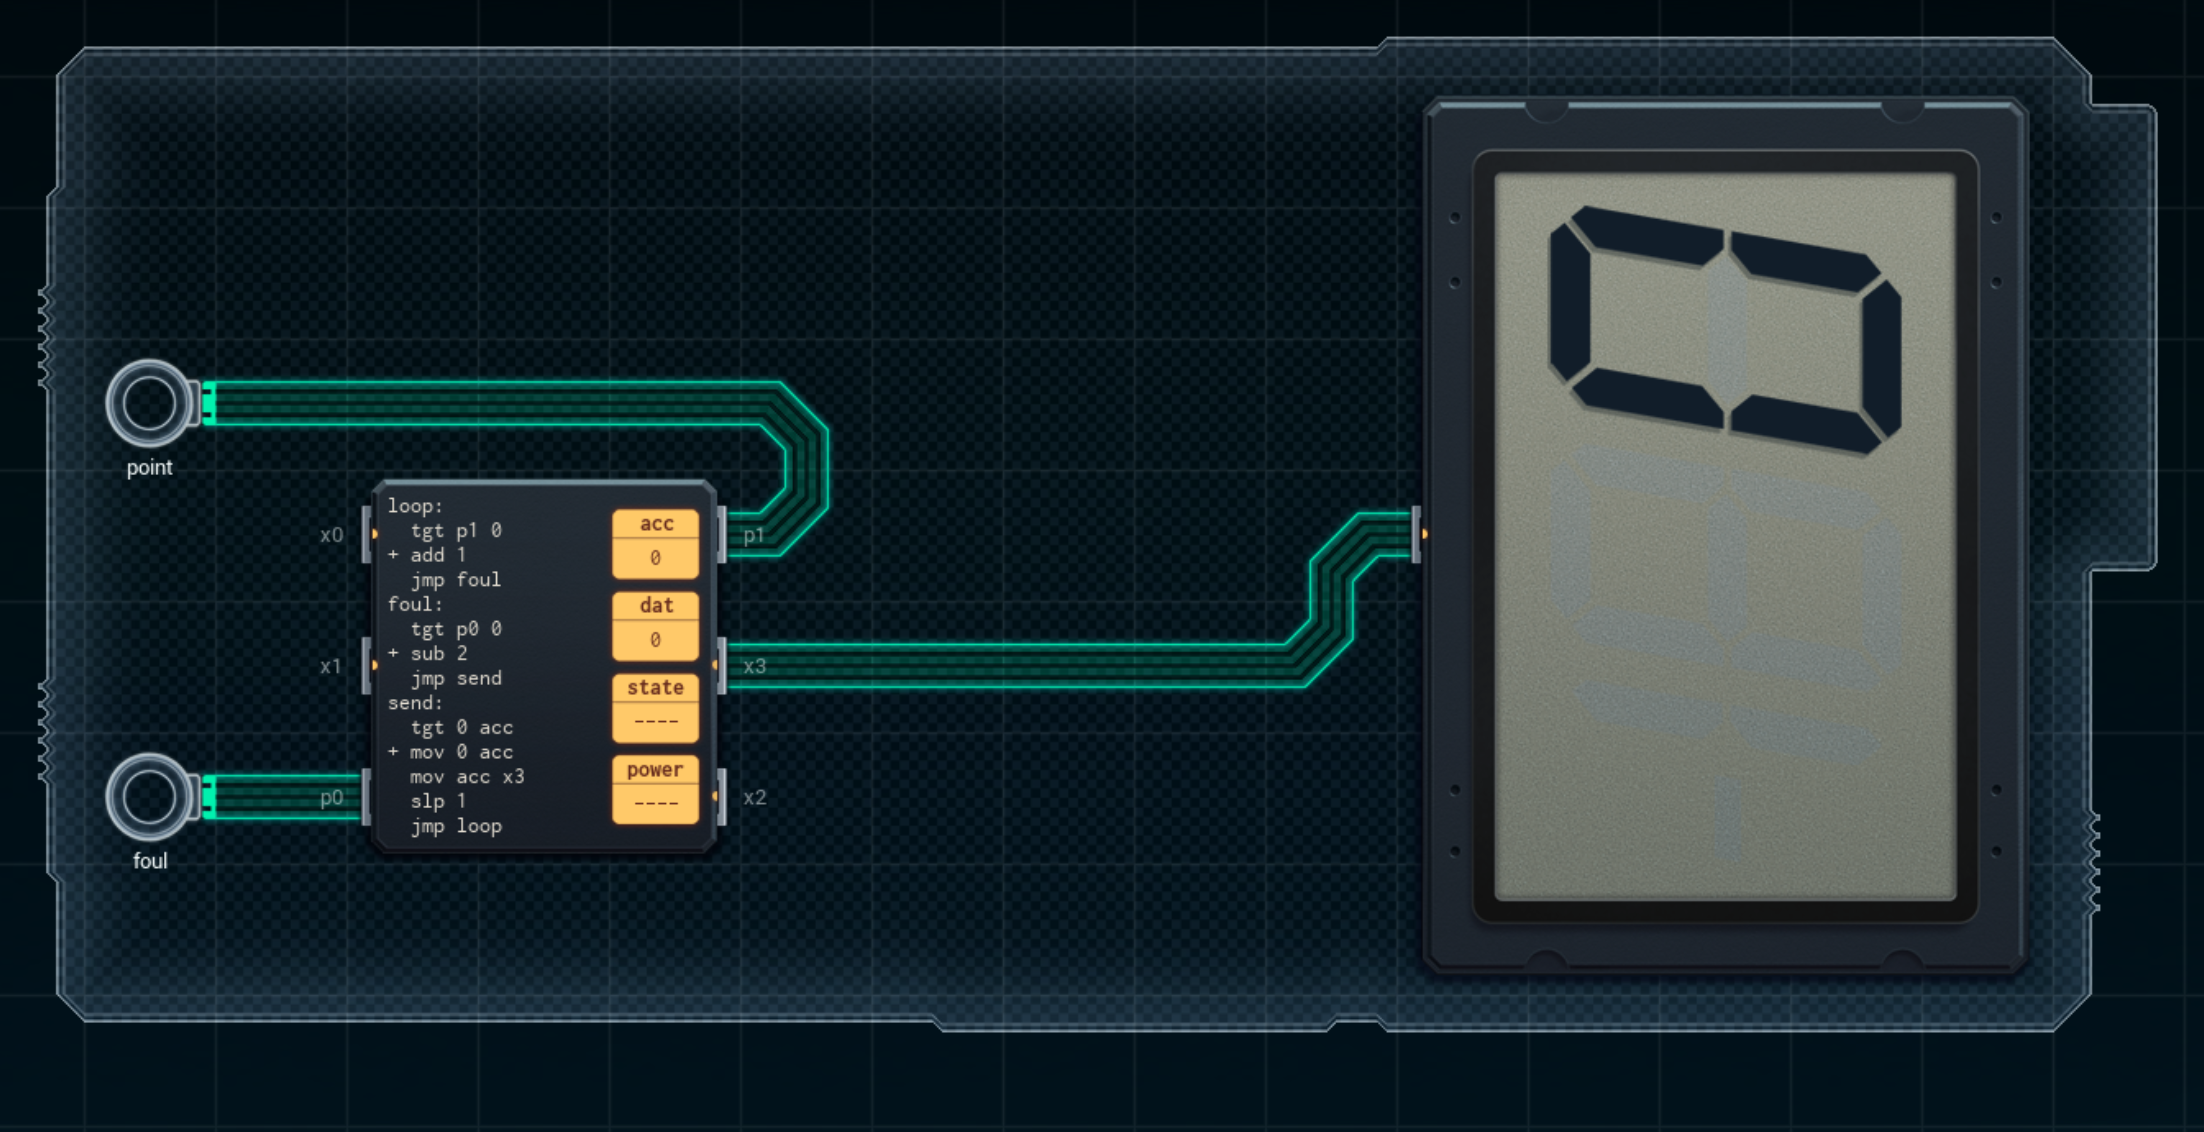
What a badass little game. Found it by accident on Steam. You’re a hardware hacker/coder taking over for someone who left or got fired, and you have to figure out how to design circuits and write machine code to make them meet specs. Fun and challenging, and well-designed. Exactly what I needed right now.
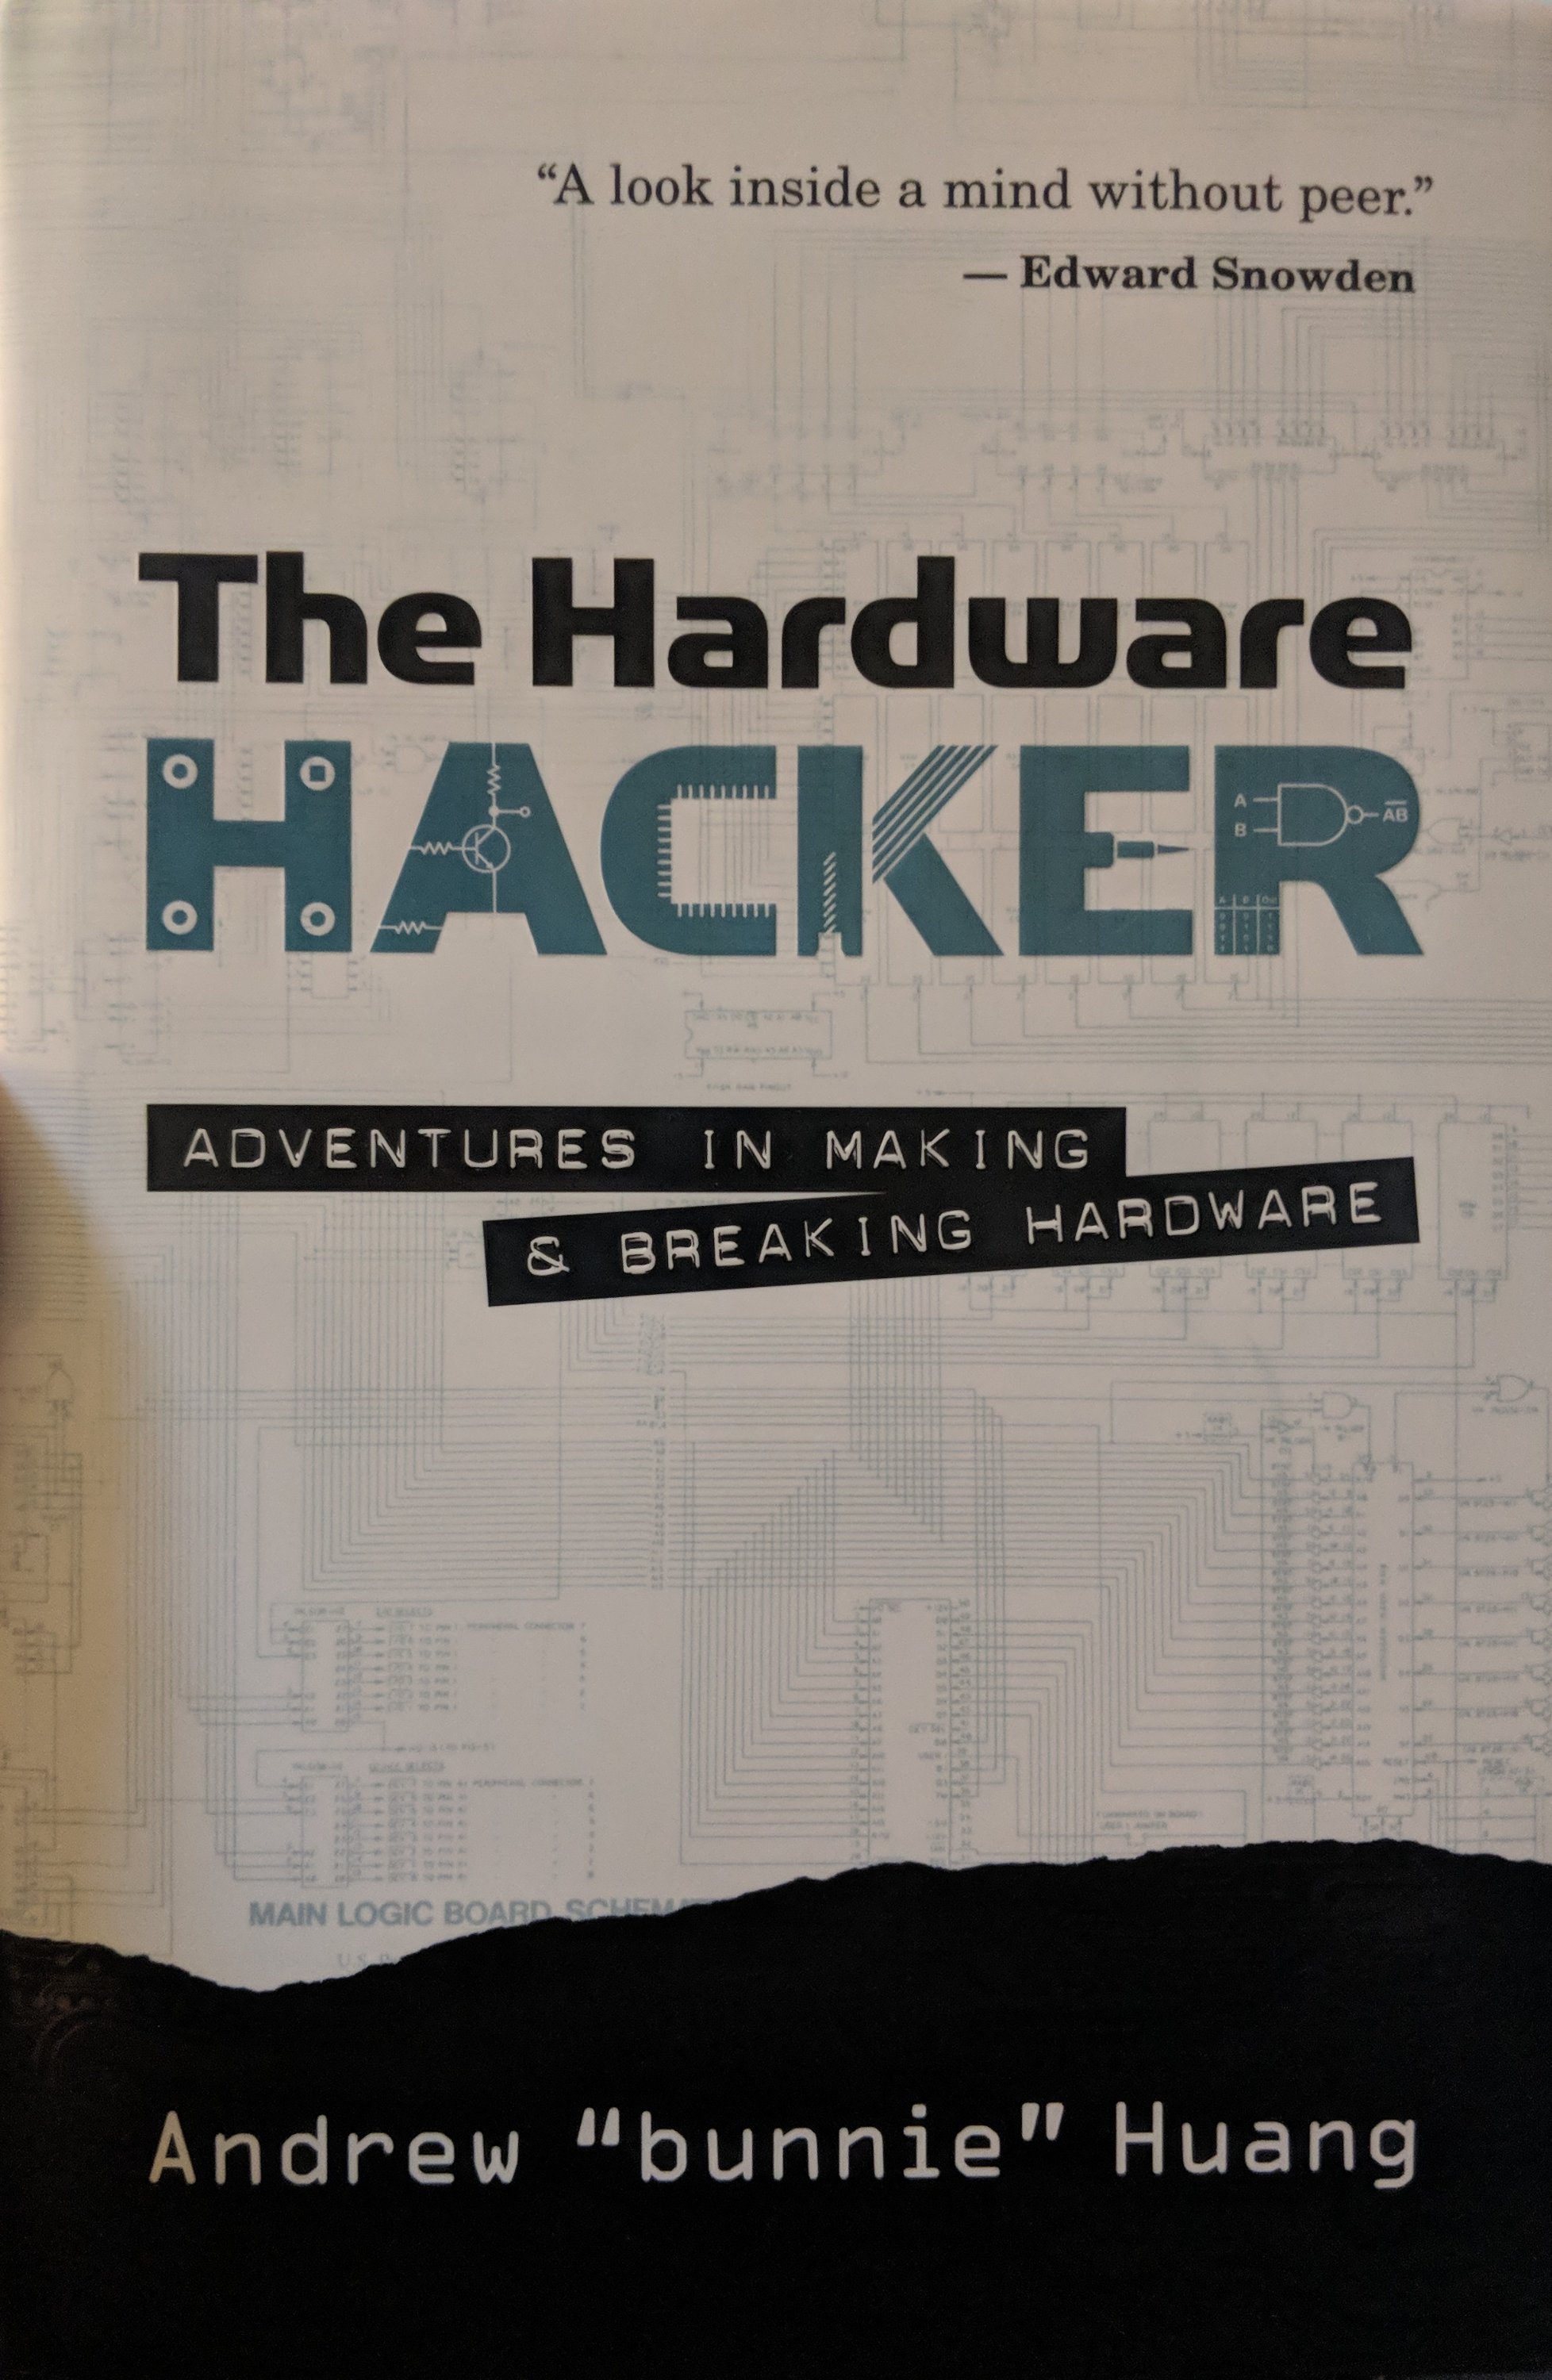
This book arrived at my doorstep yesterday. Color me excited. $12 something at Walmart, go figure. He goes way into Chinese factories, manufacturing and the supply chain before getting into the hacking part of it. Exciting if you’ve got some hardware ideas in your head.
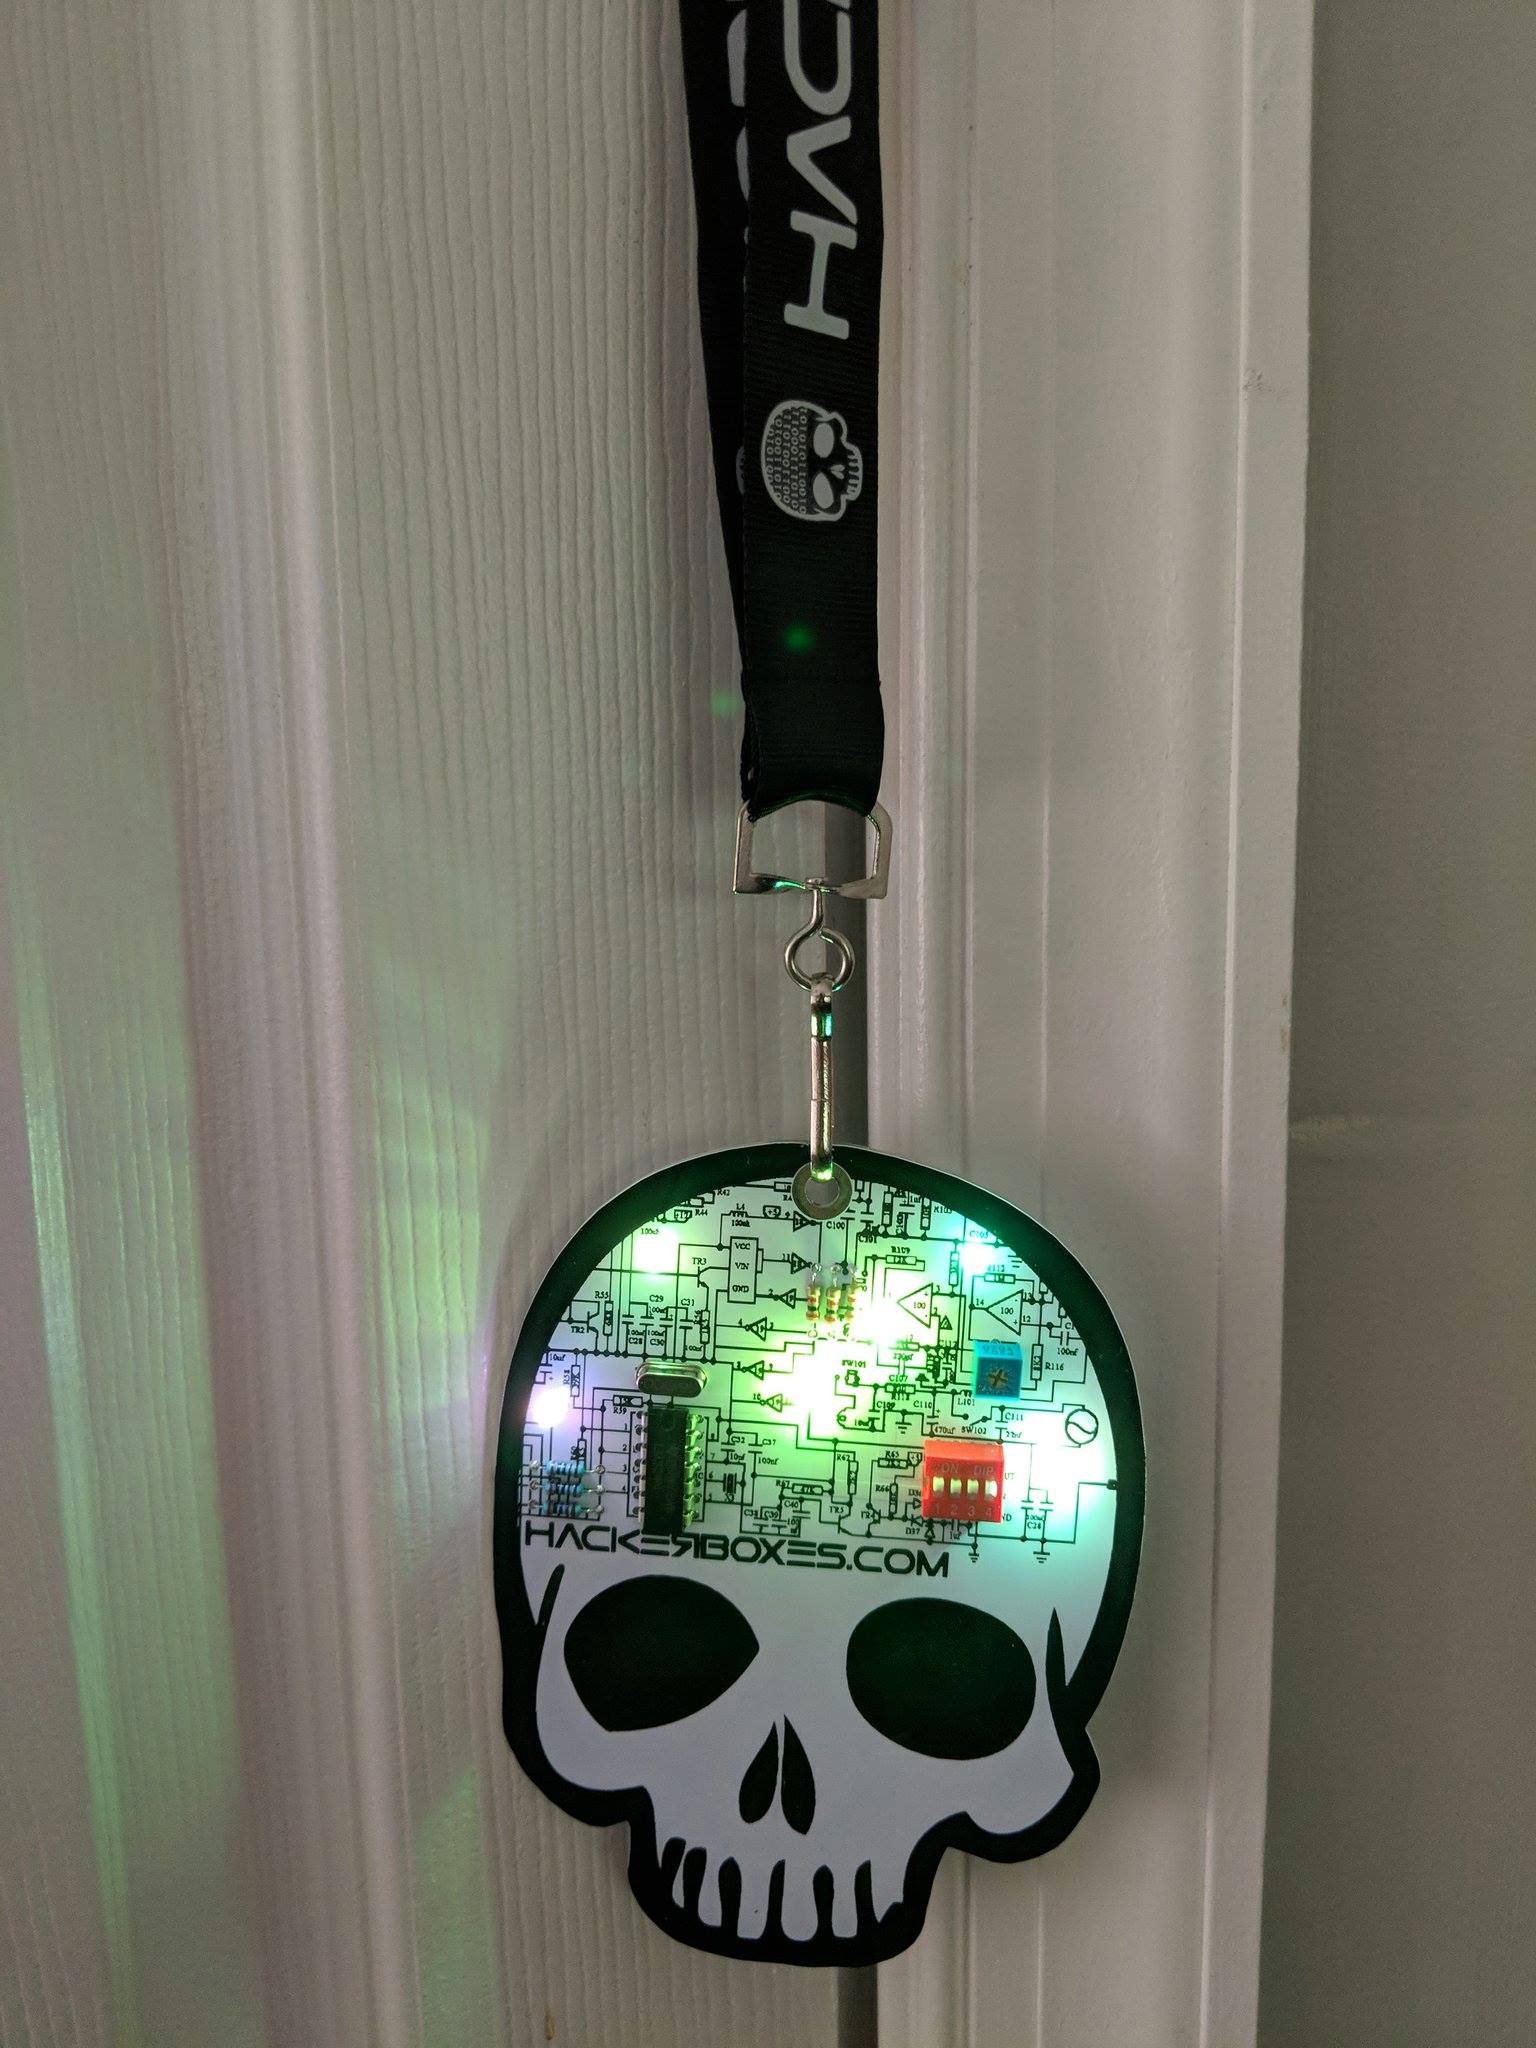
Better late than never. I think this one was released in time for subscribers to assemble it before Defcon. I slapped this together over the weekend. About the simplest project you can imagine. The switches turn the individual LEDs on, and the LEDs each have either a slow transition or fast transition IC built-in. The resistors are purely for decoration. It’s pretty and blinky, so I can’t complain.
The kit also came with a MicroPython PyBoard to experiment with. Going to have to steal some time to play with it, it really sounds like a lot of fun.
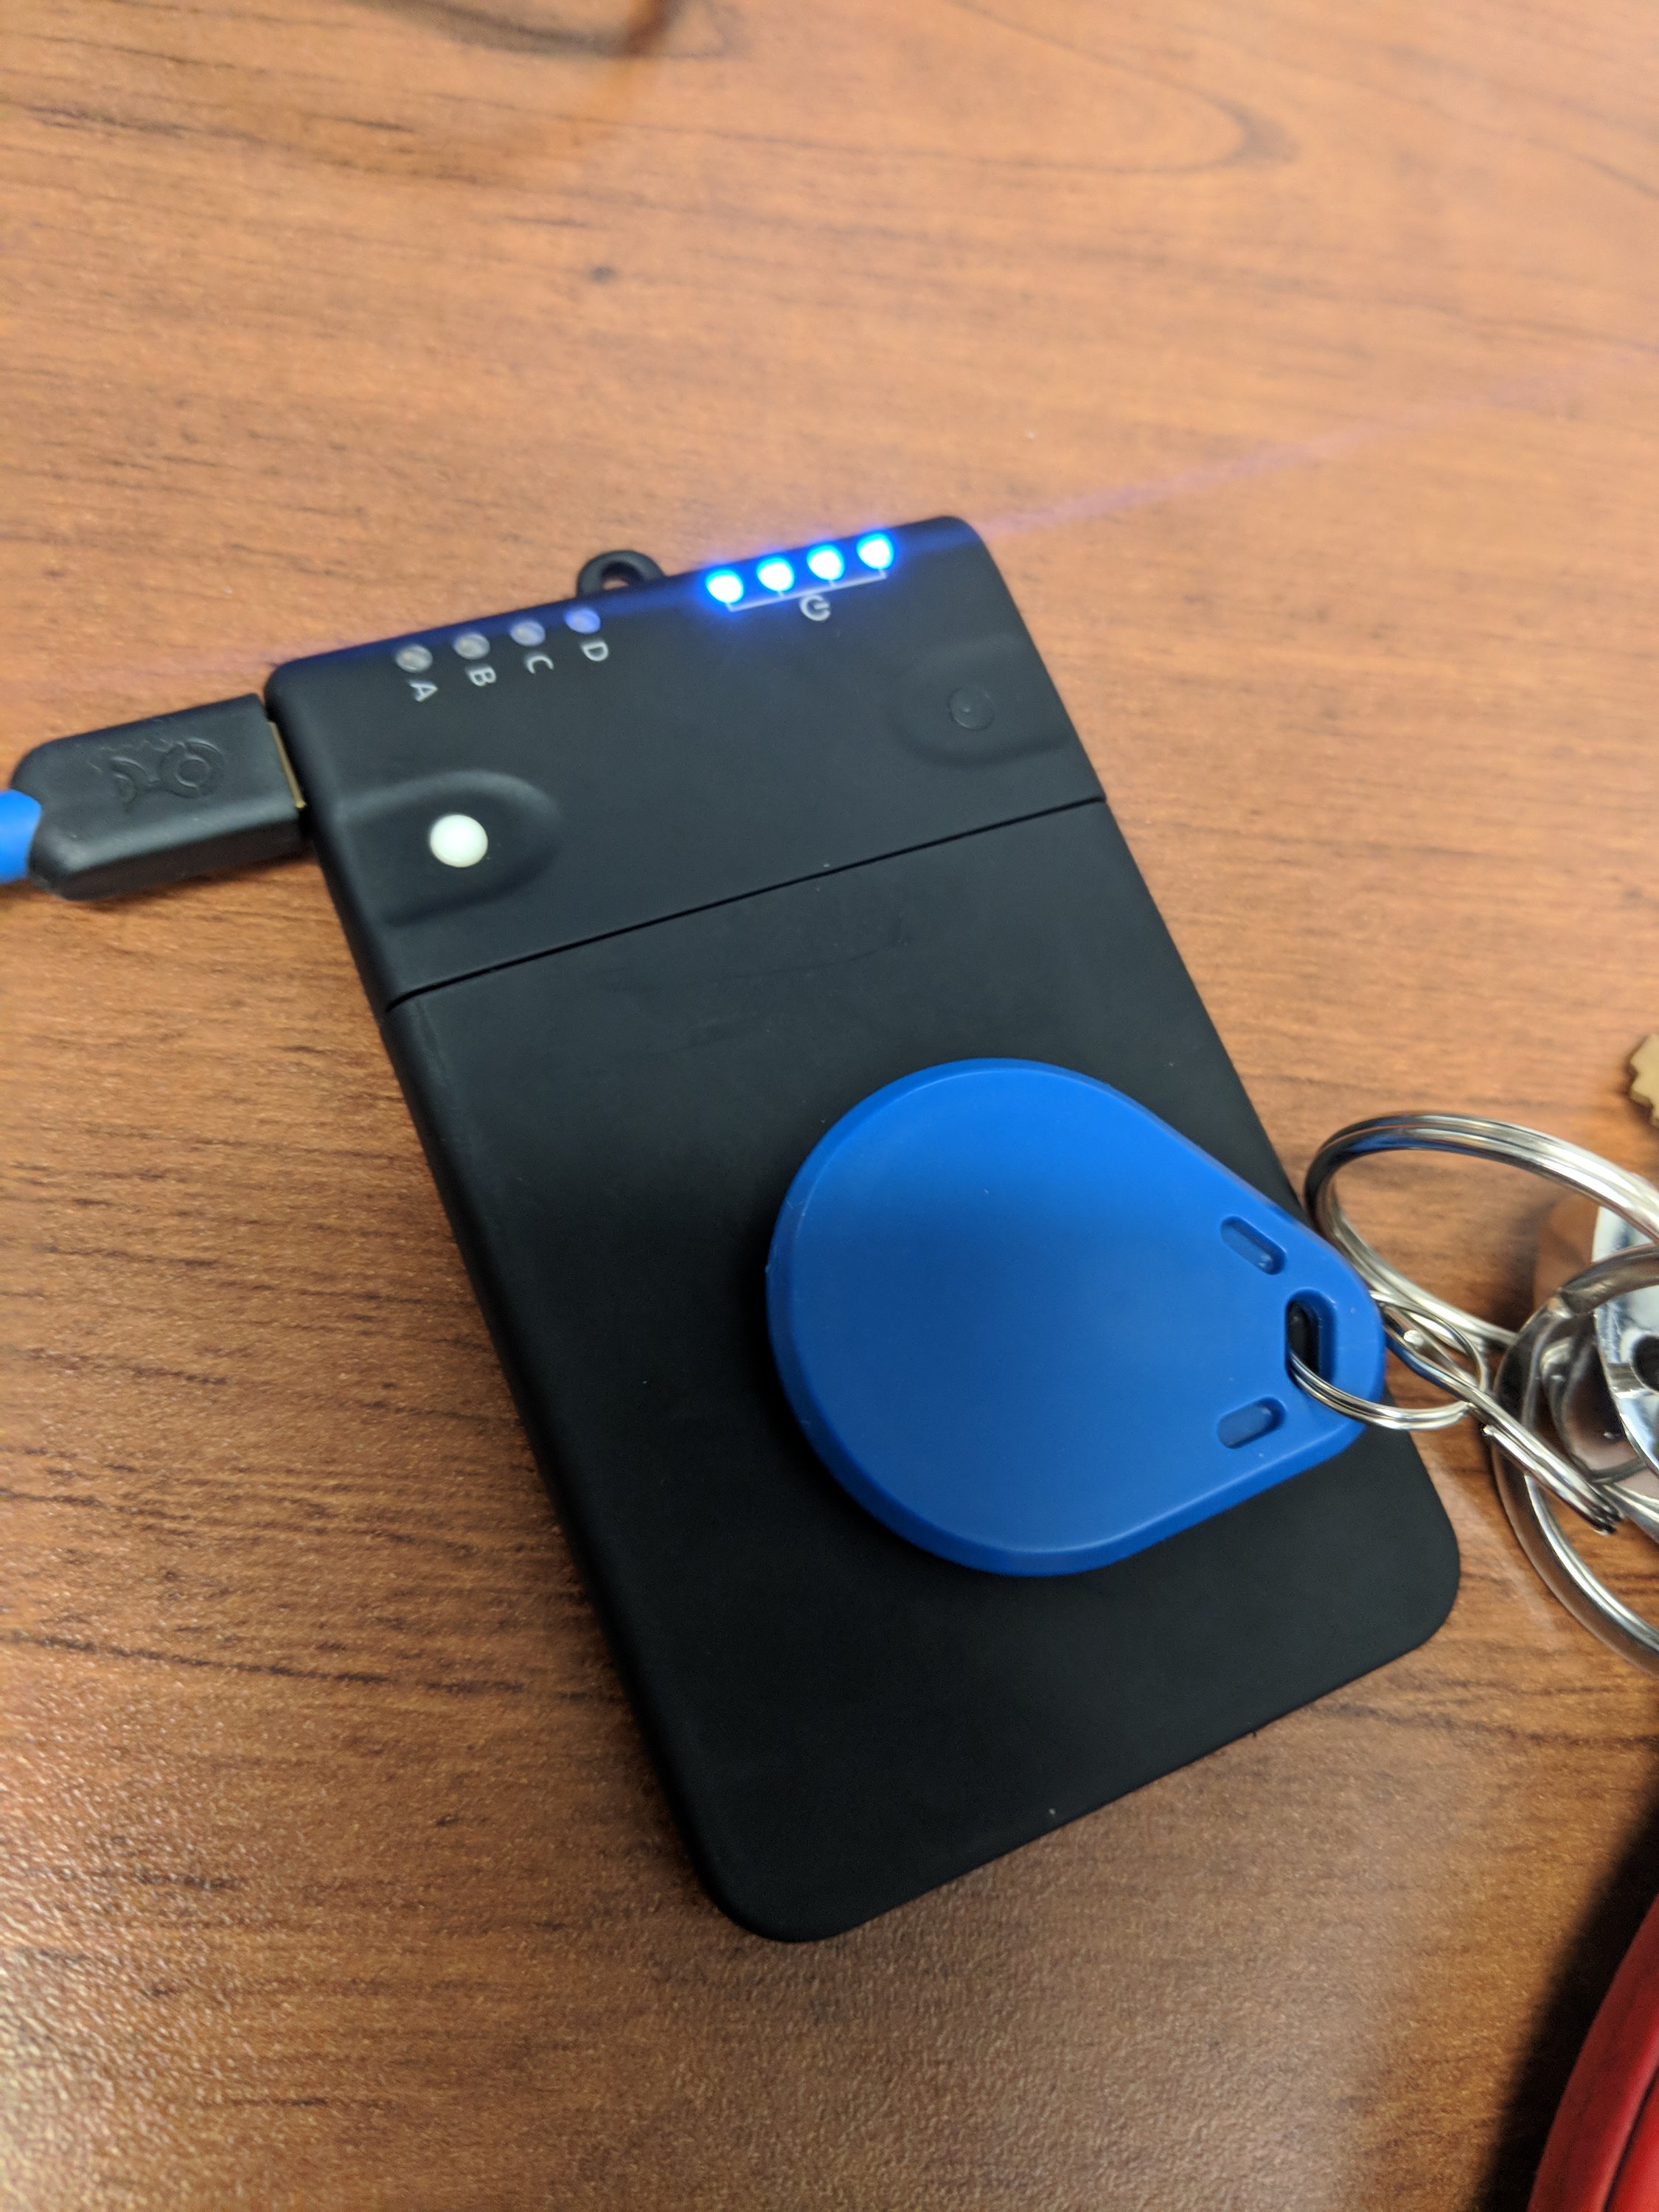
I was excited to pick up the new Proxmark 3 RDV4 from its Kickstarter, before the official, far more expensive release at Defcon 26. I’d been playing with it since I got it, cloned my office entry HID card, and tried out a couple of the Android apps to run it.
There are two Android apps that I’m aware of. Walrus is the one that seems promising to me. It leverages the ability to read, write and simulate (playback) RFID cards native to the Proxmark, and supposedly a feature under development is to brute force readers using bulk-collected tags. Sounds like a fun tool for physical pentesters. Collect cards in a crowded elevator, then try to get into offices using the cards you’ve collected. I haven’t checked for an update since downloading the software, so I have no idea whether it’s been implemented yet. The other one, AndProx, is a standard Proxmark CLI, and I’m not much for typing on phones. It’ll work in a pinch, but I prefer my trusty Macbook for that. Also, it didn’t seem to recognize the Proxmark from my phone. Maybe I need an OTG cable.
I picked up some keyfob tags on Amazon, because I have this annoying habit of forgetting my work card every once in a while and having to borrow a temporary card from the receptionist, and I figure if I have one on the same ring as my car keys it’ll be far less likely that I’ll leave it at home (or in the car). However, my RFID tag knowledge isn’t super deep, and apparently just looking for T5577 cards isn’t good enough. They read as “Indala” in the Proxmark, and I’m unable to clone my HID card to them as I could with the included Proxgrind card, or other random cards in my collection.
So I looked a little closer this time, and ordered another set of fobs that one reviewer claims he was able to clone HID with. Science is all trial and error, right?
If you’re considering getting a Proxmark, I’ll share a couple of experiences. Trying to update the bootloader and firmware from a Linux VM was problematic. The update hung and bricked the Proxmark. This was easily fixed by holding down the button on the unit while powering it up, and while re-uploading the bootloader and firmware directly from MacOS. If you get weird command errors, it’s because your client and firmware versions are out of sync. Once everything’s in sync, it’s like clockwork.
Side note: I’m getting to be known as “that guy” at work. A coworker asked me if I could pick tubular locks today. Gotta dig out my tubular pick set to bring in tomorrow. He wants to replace a drive in a locked drive array and doesn’t know where the key is.
Indala Update 2018-09-09: I somehow managed to get the “Indala” card to work. Hints from iceman gave me confidence that the reader may have just been misreading the tags, so I played around with t55xx commands until I managed to get it right. I will try to duplicate the process in my spare time so that I have a documented solution. The good news is that it does work. Now what to do with these 19 extra fobs. 🙂
The soldering for this one was a piece of cake. Everything was nicely padded and spaced. Big pads make soldering way easier than a tiny ring.
EXCEPT for the potentiometers. The strain-relief legs didn’t fit into the PCB holes, and Hackerboxes just suggested shaping them into a tube to make them fit, without any real guidelines on how to do that. Anyway…
I hadn’t yet installed the Arduino IDE on my primary Macbook. No issues there. Had to install the ESP32 board into the Board Manager. Then I had to install the VCP USB UART driver so that the serial port would show up in the Arduino IDE.
Then, BAM. My sketch uploaded and works.
Yes, I know I didn’t install the pots yet. I also didn’t install the DAC yet. Maybe tomorrow. I just wanted to light up the MAX7219 8x8s.
I built this proof-of-concept last year. There are lots of people doing circuit-bending experiments, and the older model of the Alesis SR16 is a somewhat popular platform. It’s affordable, if you can find the older through-hole model (the surface mount version runs about the same price, and there are more of these out there on eBay et al, and it might be difficult to tell the difference. But most circuit-benders are happiest with traditional analog switches, knobs and patch cables. I wanted something a bit more flexible, and for lack of a better word, fluid.
So I set about connecting all the available/usable pins of the sound module IC to opto-isolator relays, and connecting all of the relays to a common “ground.” Then I set up a Raspberry Pi to control the relays via the GPIO pins. Then I added the 7″ RPi touch screen and slapped together a quick Python GUI for controlling the relays through the Pi, stealing some on/off switch graphics from somewhere on the net to populate the GUI.
This isn’t what I consider an end result, it’s a jumping off point. From here I can easily figure out which pin combinations generate my preferred sound modifications. I can then add buttons that apply those pin groupings as “mood” combination settings. I can add a MIDI controller so that I can automate it from my keyboard or DAW. The possibilities are limitless. Flexible, fast pin coupling changes, automation, etc.
Now that my soldering skills have leveled up a few points, I’m going to spend some time revisiting this project, and maybe mount it in a more permanent housing. What other fun things can I do from here? Oh yes, blinky LEDs? That’s a must.