

When I finally got my hands on some Pico microcontrollers, I was excited to see what they could do. But I was used to the Arduino infrastructure and wanted to explore the Pico on its own terms.
Obviously MicroPython is the easy choice. Once the Pico is flashed with MicroPython firmware, you can write your code in Thonny and just save it straight to the Pico from within Thonny. Easy peazy.
Coding in C requires a bit more effort, especially at the start. You need to get the compiler installed, which varies by OS, and since I develop on a Mac with the M1 Silicon chip, it’s even more obscure for me. Fortunately, it’s all right there in the docs. Specifically, the “Getting Started” document, chapter 9, page 37. An architecture flag allowed the brew command to work, and I was off to the races.
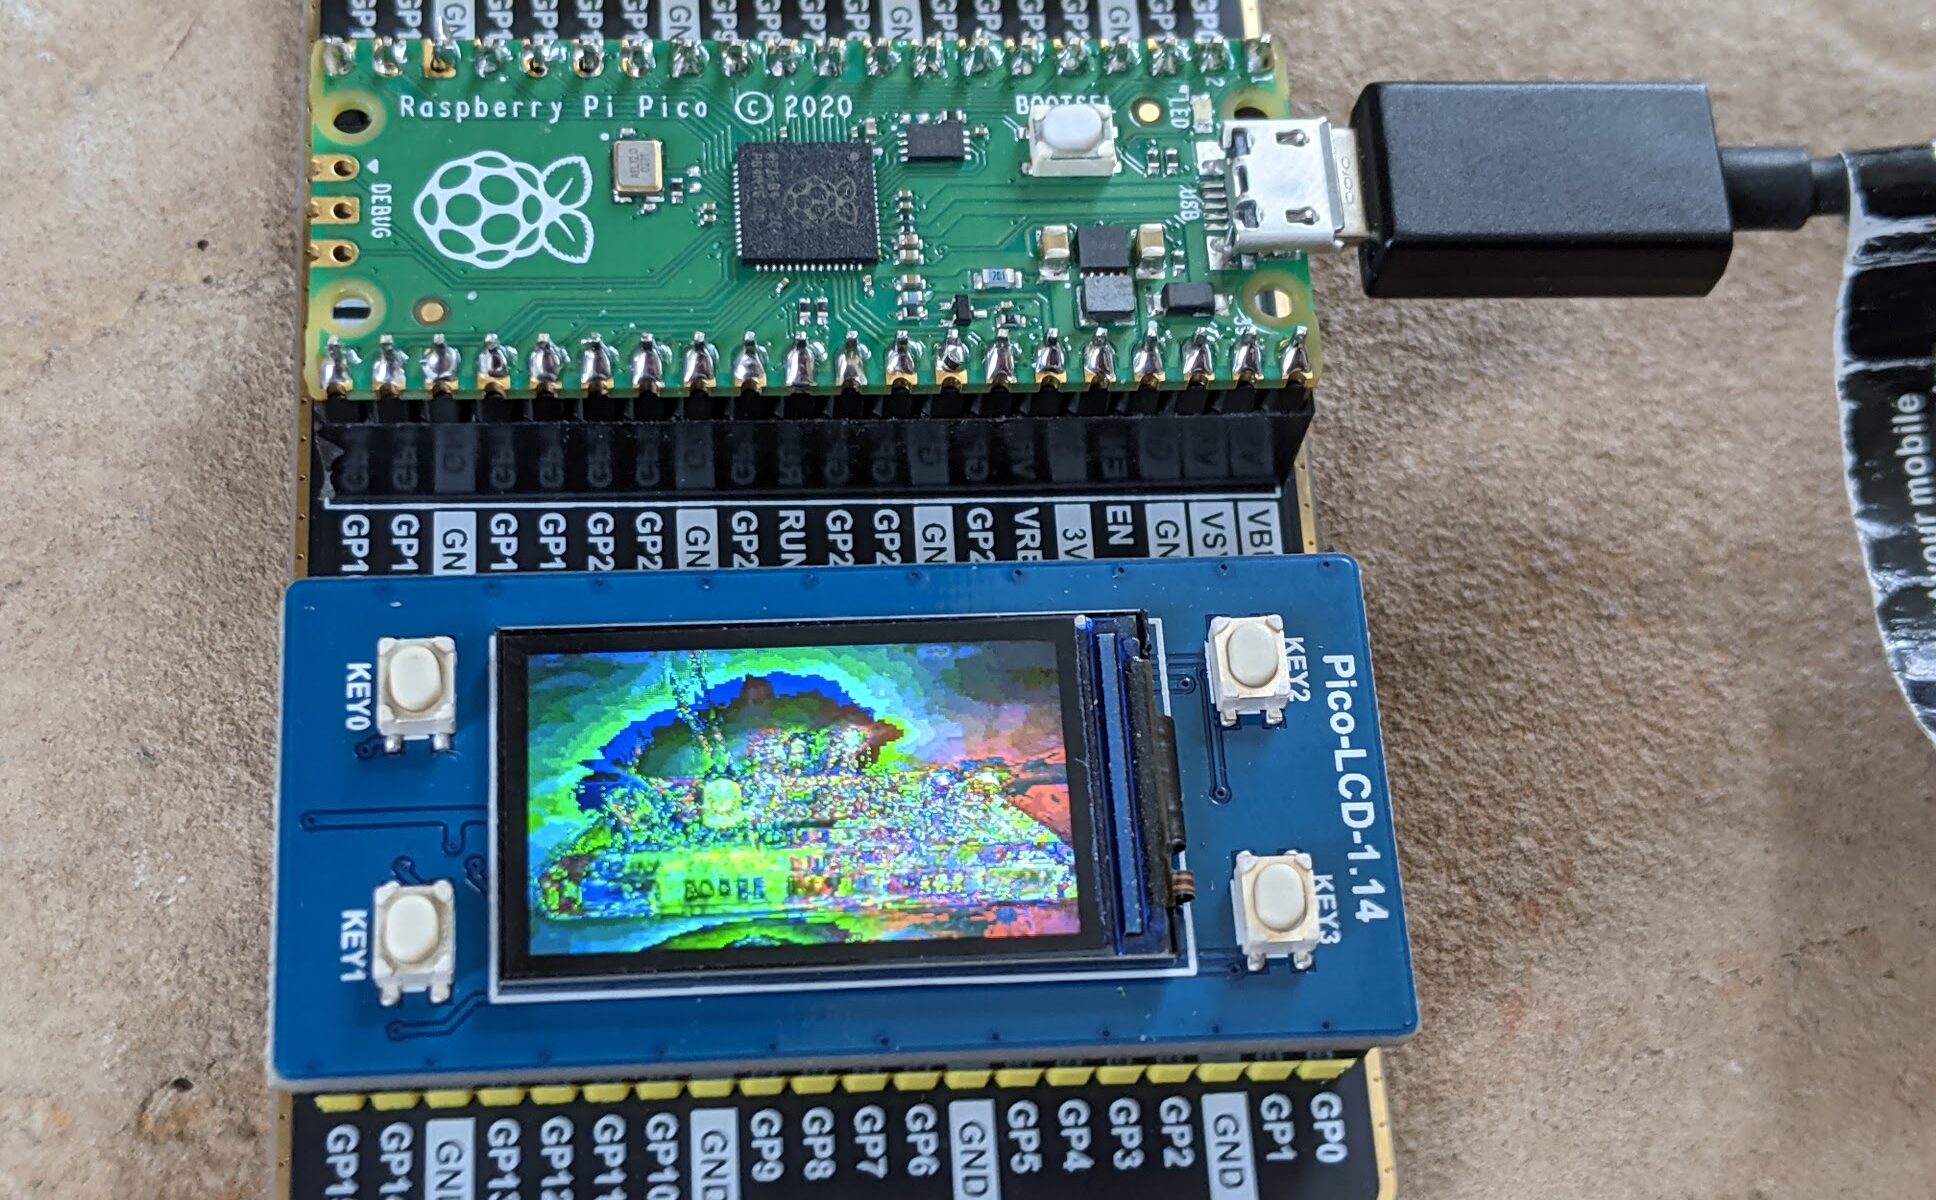
Pin stuff is easy. I know I can do that. I wanted to skip to some wacky complicated stuff. So I started with the Waveshare demo for the Waveshare Pico-LCD-1.14 display hat with buttons. I decided i wanted to modify that demo to display my own image instead of the stock image. After some trial and error, I was sort of able to do so.
The image is stored as a c hex array. Getting that file exactly right was time-consuming. I didn’t see an image converter in their examples arsenal, so I found this one online. By tweaking the settings a bit I was able to get an image to display .. sort of. The color mappings are different somehow. Maybe 65K colors isn’t that many after all. I’ll have to mess with it with a more legible photo.
Original photo for reference:

The display is 240×135 and 65K colors. I’ll update this post when I figure out more. This is just to make it a little bit easier for those who want to get into C programming on the Pico but don’t know where to start.
Also, these kids will show you the general build environment / compile process completely if you live in Ubuntu-land. Amazing.