I’ve been working out religiously this year, and reading up on getting the most out of my workouts. I read something about optimizing the rest time between sets, and I started wondering how to best track that. The phone is a pain, because unlocking it, getting to an app, etc. is distracting and takes time. Laptop, same thing, plus I have to have a laptop in my workout area.
I started thinking, well, I have a whole bunch of unused Arduino Uno units and a 3D printer, maybe I could cobble something together. So what do I need? I want simplicity, so a box with buttons and a display.
I found this case shape on Thingiverse: https://www.thingiverse.com/thing:845415
It’s built for an Arduino Uno and the DFRobot LCD 1602 shield with buttons. The case even has 3D-printed button extenders that are used to press the buttons on the shield. Simple yet elegant. Ticks all the boxes.
I ordered the HiLetGo shield for $6.49 here: https://www.amazon.com/gp/product/B00OGYXN8C/ref=ppx_yo_dt_b_asin_image_o01_s00?ie=UTF8&psc=1
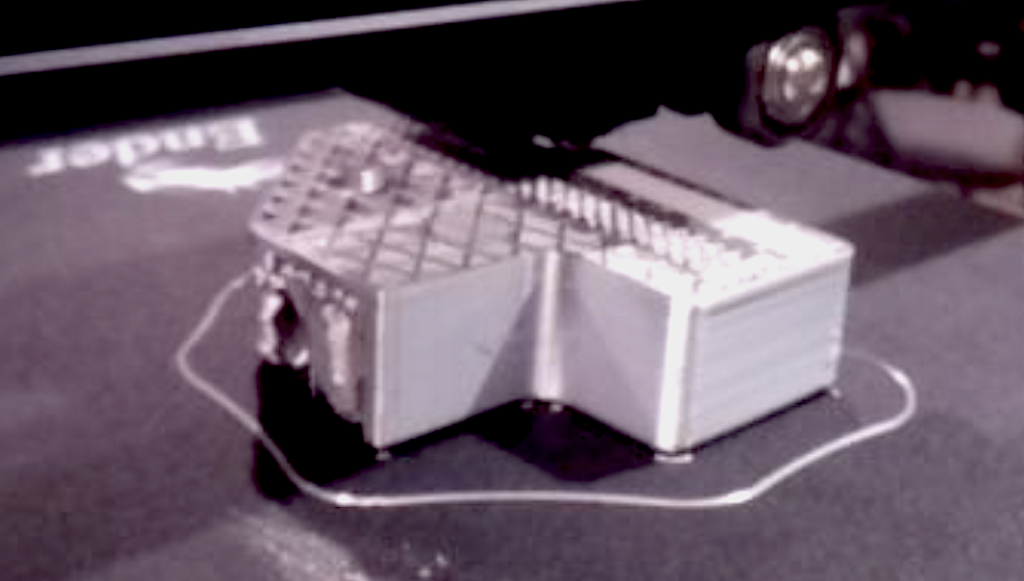
…and started printing the case. I decided to print in two colors for cool points. Black for the bottom case and buttons, silver silk for the top. Came out OK. I might sand & finish it later.
The shield arrived today. I quickly cobbled together some test code, attached the shield to one of my spare Unos and uploaded the sketch.
Nothing on the display. The backlit was lit, but nothing on the display.
Turned on serial in the code and added some debugging. Uploaded again. OK, good news, the Arduino is working, it’s moving around in the code, my button presses are recognized.
I tried adjusting the contrast via the onboard pot. Nothing.
Went to the amazon reviews/comments for the device. Finally found the relevant comment: “Adjust the ‘pot’ for contrast just realize this style pot takes ALOT of turn to get to the other end.”
So, with my tiny screwdriver, I turned and turned, for way longer than I would have expected, and eventually my sample text showed up.
Now I just have to write a quick sketch for button-initiated 60- and 90-second timers, and I’m good to go! Quick, no-fuss timer with customization capabilities and a simple interface and display. Might add a sound feedback in a future iteration.
UPDATE: Here’s my first stab at a script. Up gives a 60-second countdown, Down gives a 90-second countdown, and the screen shuts off when it’s done so you don’t even have to watch it closely. Screen shuts off after initial display, SELECT to see the very few instructions again.
https://github.com/dc540/arduino1602ShieldTimer
UPDATE 2: Here’s a link to a buzzer that will fit in this exact case. It’s not super loud when wired directly. Supposedly a transistor might kick it up a notch. https://www.adafruit.com/product/1740