

I’m thinking we should meet in the backyard/basement this evening. Might be the last time in the season to enjoy a little bit of outdoor weather. I’ve refreshed the beer supply and improved the side path lighting. What say you? A little badd pizza & beer on the patio while discussing badgelife, job searches, and other relevant topics? Who’s in?
Explorations in Self-Hosted Password Managers
Nobody seems to get my niche.
There are many, many password manager apps out there, but none of them tick every box for me in my particular situation.
I don’t think I’m asking for much:
- I want a self-hosted password manager app.
- Not in the cloud. Obvs.
- LDAP capability (for an IT Team to be able to share passwords, for example)
The closest I’ve found is BitWarden. Or more specifically, VaultWarden. I was so excited about BitWarden for so many reasons — Organizational capabilities, delegation, data structures for more than just passwords (credit cards, identity info, etc.), etc. And one of their enterprise features is… wait for it… a directory connector which includes AD, LDAP and others.
But it’s expensive. Their enterprise product runs between $3 and $6 per user per month. Doesn’t sound like much, but it adds up. I was a bit let down by the pricing, but then I found out about VaultWarden, which is I guess a “fork” of sorts of BitWarden which includes the enterprise features. I’m not sure of the mechanics of why it exists, but I decided to give it a try.
It was only then that I realized the fatal flaw in my plan. Both of these products are part of the new breed of password managers, billing themselves as zero-knowledge password vaults. And the great selling point of these is the way the encryption works, which is apparently by encrypting your vault with a key derived from your personal password. With me yet? That means it’s fundamentally incompatible with LDAP authentication. The LDAP features provided (in a most difficult manner) by BitWarden and VaultWarden only provide user and group synchronization, not authentication. They provide this by syncing the directory at admin-defined intervals, deleting inactive users and adding new users on each sync, and then sending those users an email inviting them to use the app (and setting their password).
As far down the road as they took me, it was sad to learn I wouldn’t be able to leverage my existing LDAP authentication on this particular app. And i get it. In a zero knowledge world, it’s unacceptable for an admin to reset a user’s LDAP password and then inherit knowledge of all of their stored passwords. But I’m not in a zero-knowledge world. I’m in a shared knowledge world.
I’ll probably use it anyway, with the complication that my users will not have their BitWarden password updated when they are forced to change their LDAP password. Because the organizational features and data structures seem to outweigh that complication. For now, anyway.
By the way, there is an SSO feature included with the enterprise version of BitWarden ($) that solves(-ish) the problem by offloading the key encryption/decryption to stored key pairs in an external database using a complicated, rickety scaffolding of tubes and wires. VaultWarden doesn’t seem to be leaning toward replicating that functionality, and neither do I.
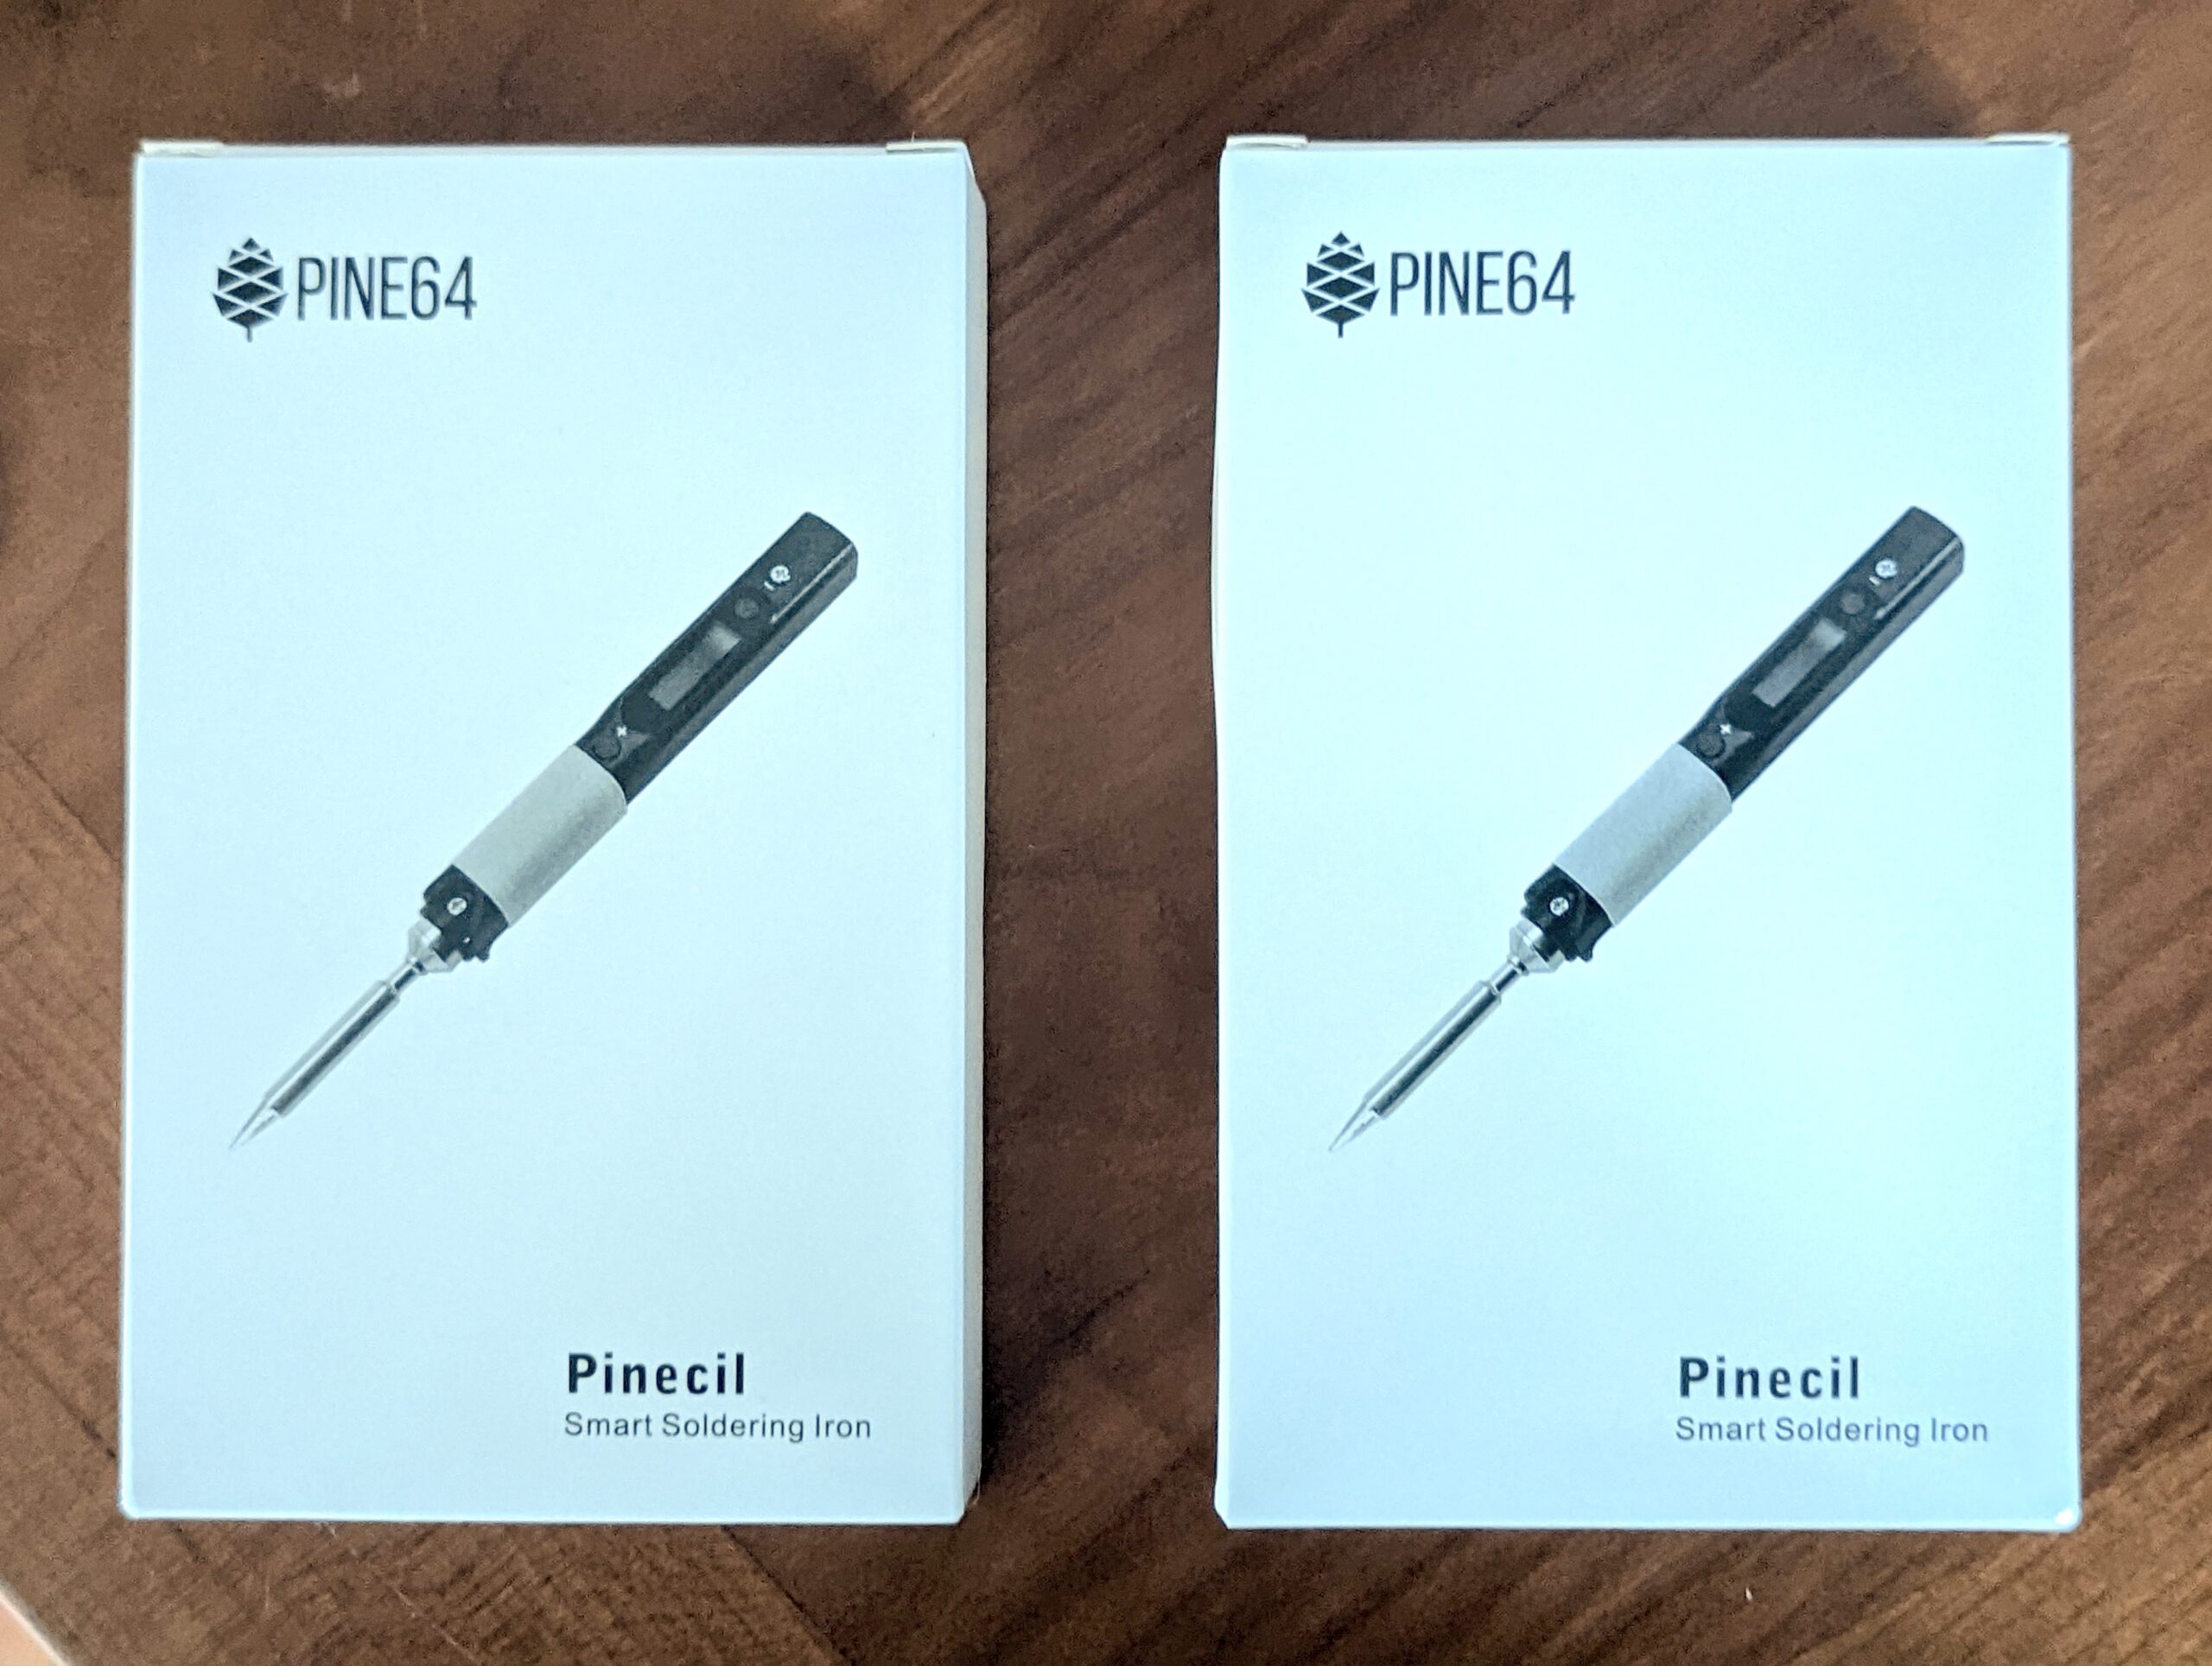
The New Pinecils are Out.
I saw a deal pop up for Pinecils, and took a gamble. There’s been a little bit of buzz about their next generation model, but they don’t seem to be making a big deal of it on their website. So when I bought them, I wasn’t 100% sure I’d be getting the V2 product.
But since the offer did mention “short tip,” I assumed it was probably the V2 product, because the increased power and short tip are what distinguishes V2.
Here’s the V2 next to the previous version. You can see the difference in tip length and the difference in power spec.
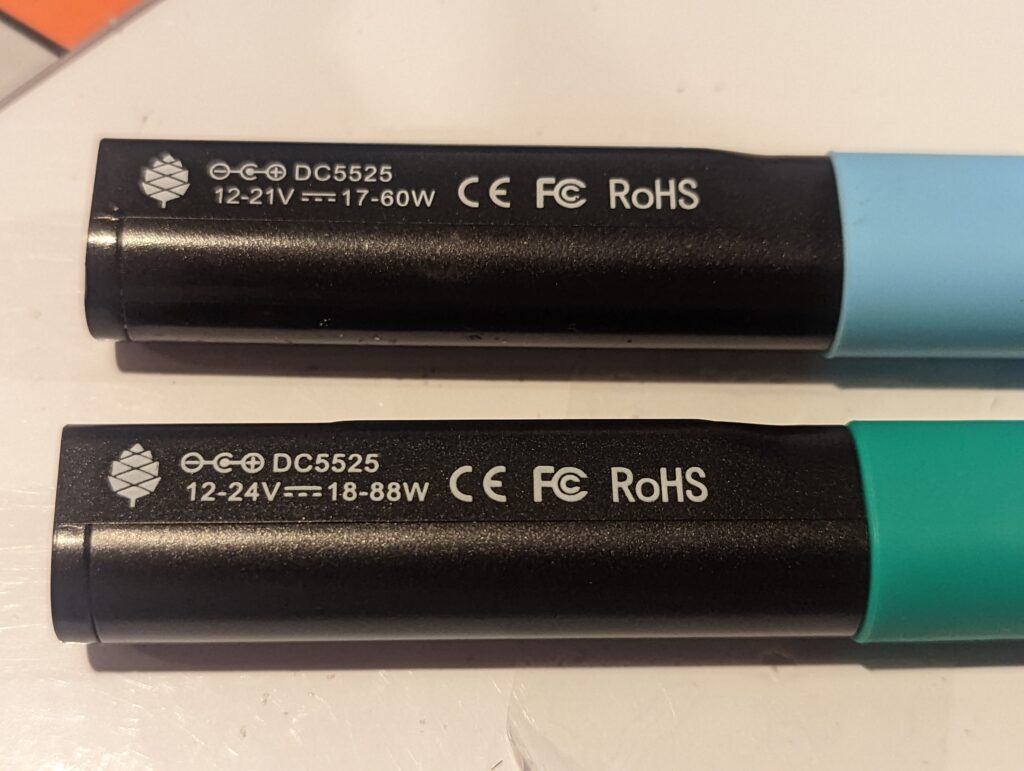
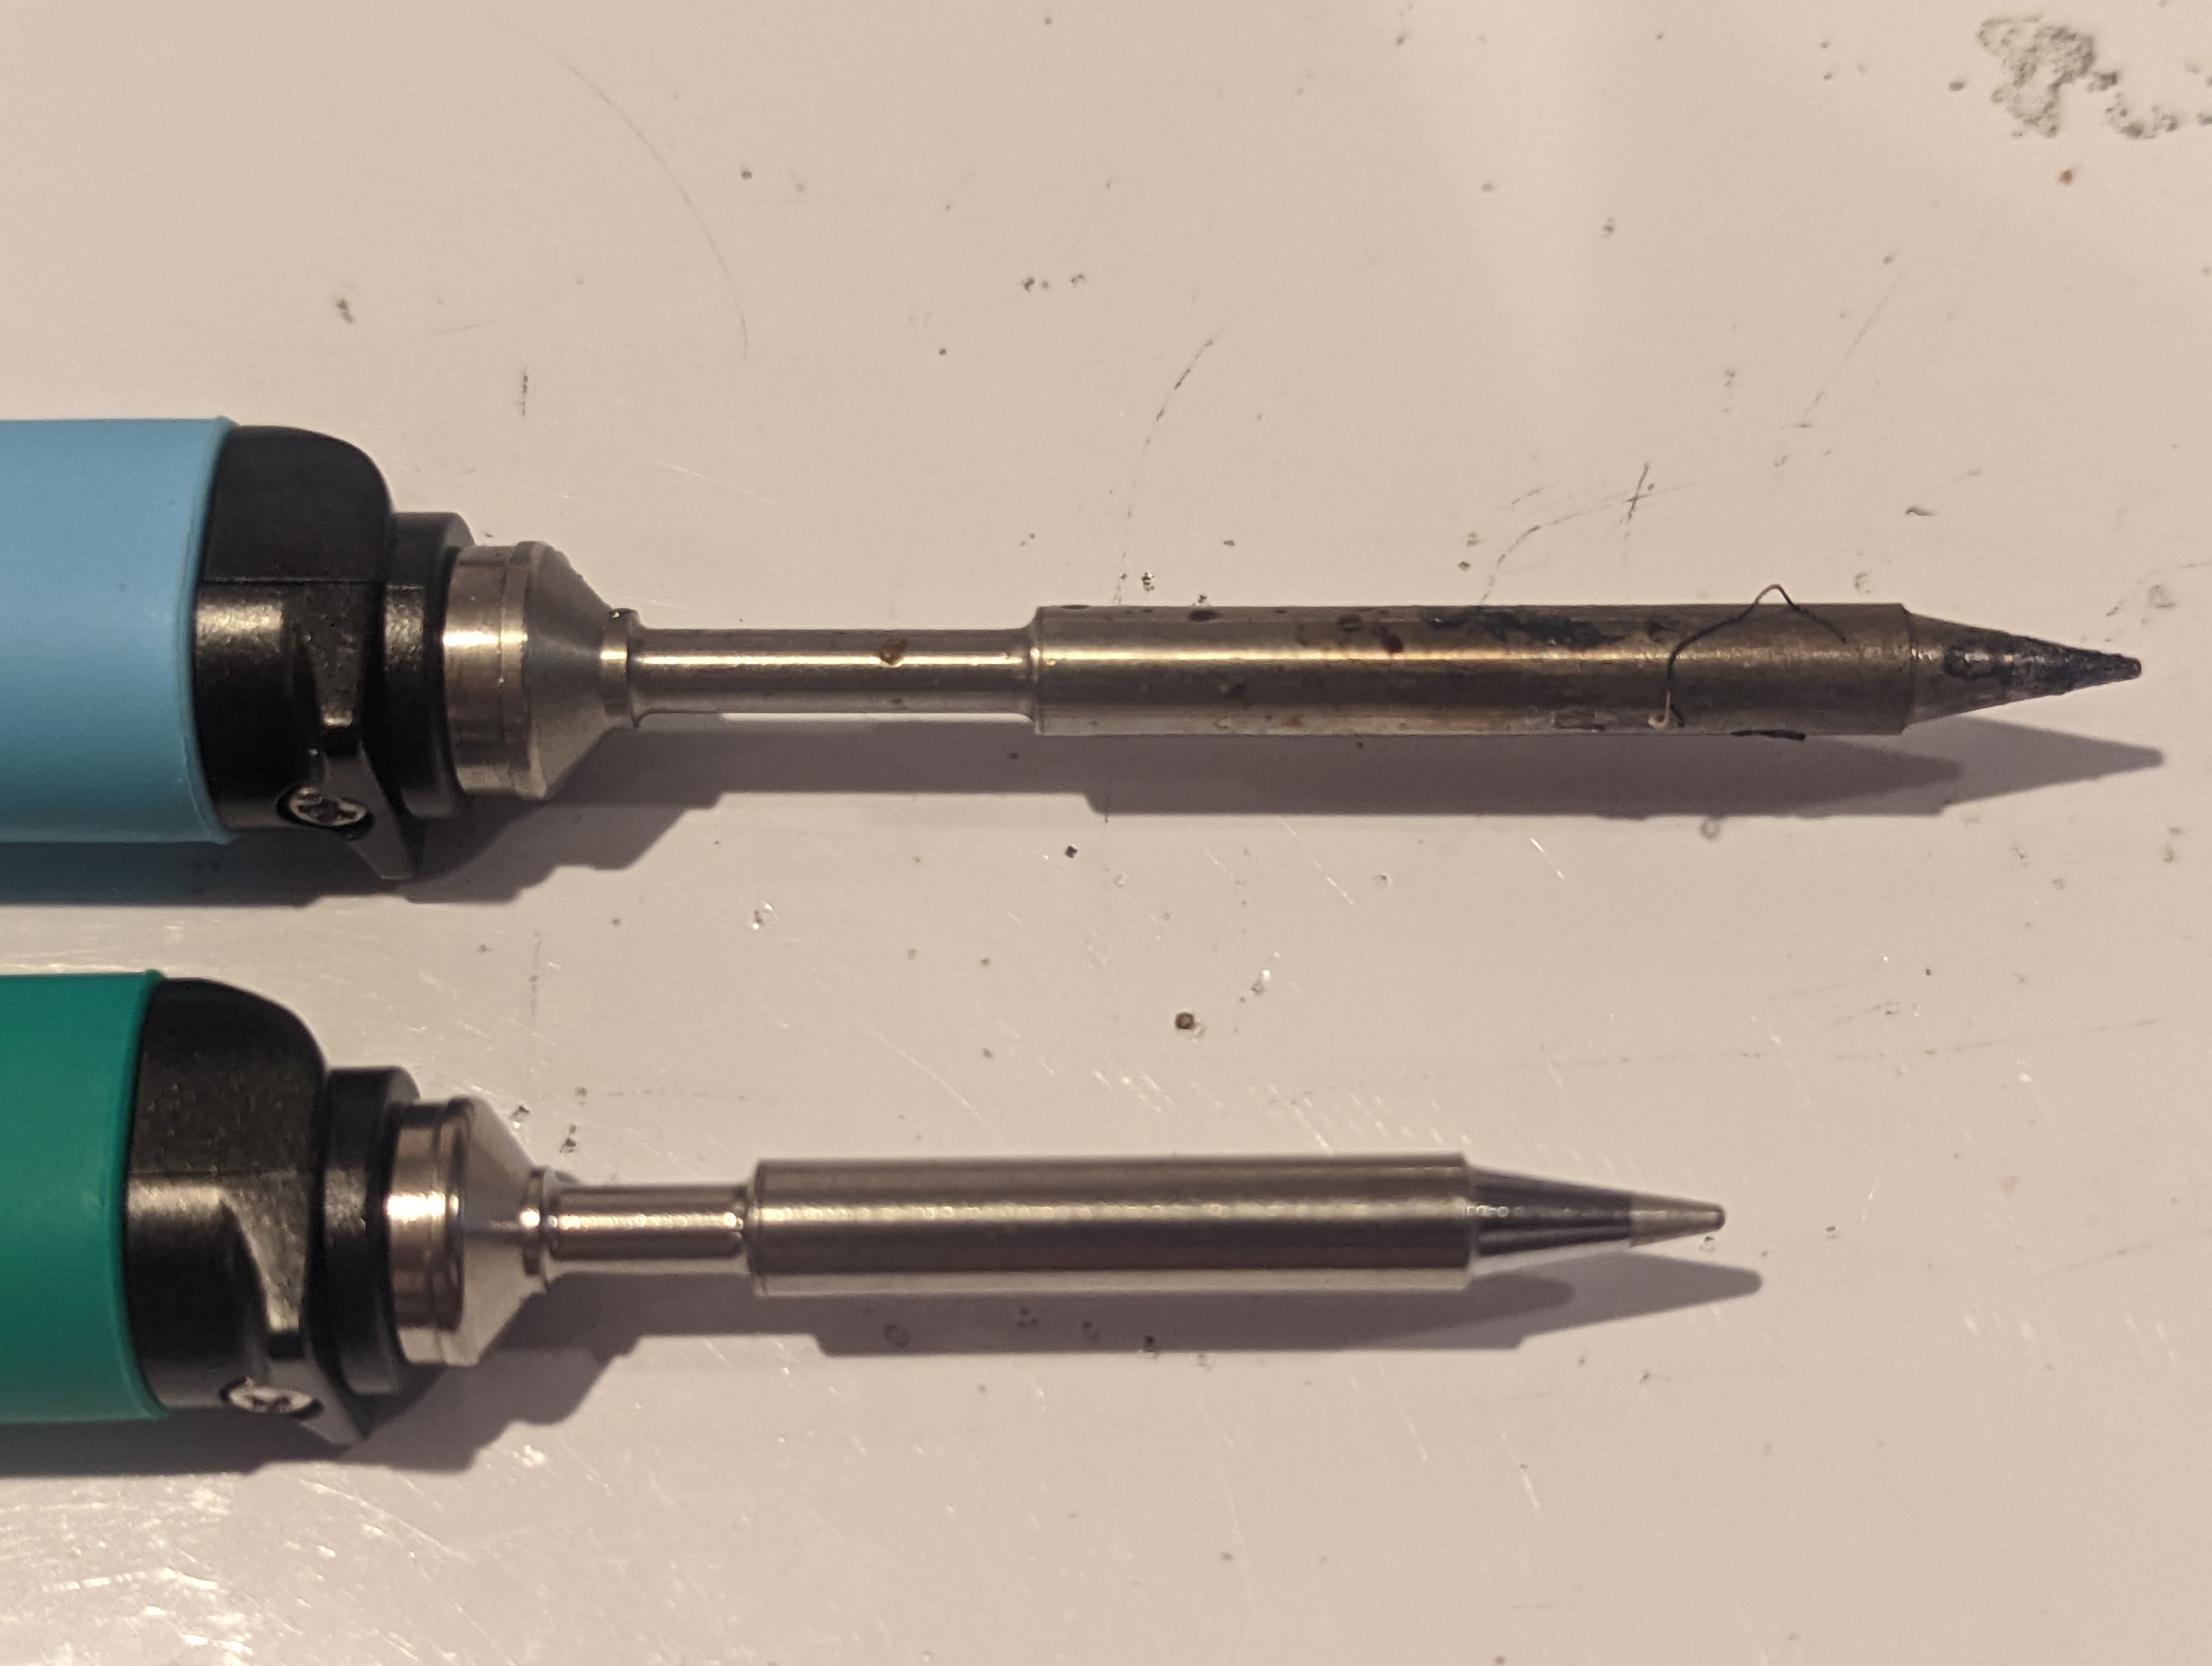
From one write-up I found, the combination of increased power and short tip (less mass to heat up) results in ridiculously fast heat-up time. And yes, it has definitely improved. With my battery bank (EasyLonger 65W PD) heat-up time is down to about 6 seconds. As you can see, it will happily accept more PD power now. I have a 100W PD bank from a Kickstarter coming soon. Some reports indicate that with the right power, heat-up time is down to near-instant, which is amazing.
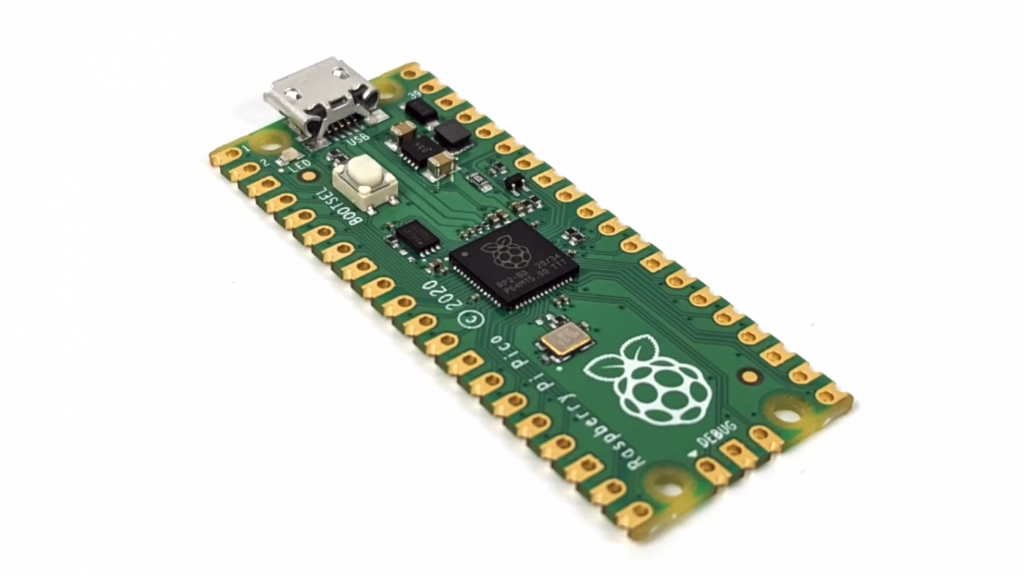
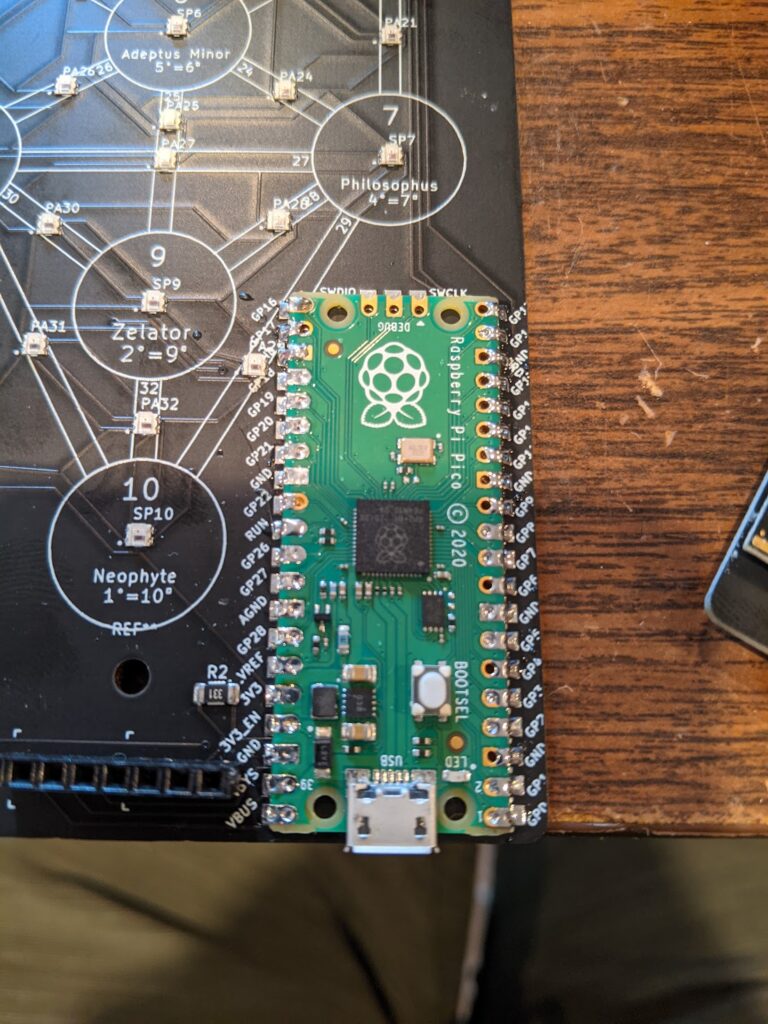
RPi Pico MCU and SD cards deep dive
For our Tarot Badge this year, we chose a display with an onboard SD Card slot. The flash amount on the Pico was nowhere near sufficient for storing even one tarot deck at the display resolution, much less the three decks we included in the badge.
Early on, superdev Kevin had major success in coding our routines. Everything pretty much worked, loading cards wasn’t super fast due to limitations of the hardware, but splitting off the animations to their own core while card loading happened made things appear more seamless for the user.
Of course in badgelife we count our pennies and look for deals, so I bought bulk microSD cards and adapters — in the quantities we were buying, even bulk retail was at least triple the cost of what we ended up with, which was a whole bunch of 512MB Nokia cards that appeared to be pulled from phones and surplussed.

Then we started noticing anomalies. Sometimes they would work, and sometimes they would simply fail to mount. We spent a lot of time troubleshooting this, and eventually bought a bunch of Gigastone MicroSD cards so that we’d have something to hand out at Defcon with the badges released there.
When we got back, however, we went into persistent mode. There was no way we were going to let this go without at least an explanation. SD cards are pretty low tech, and there aren’t that many variables in the mounting process — so why are they failing to mount when they read perfectly well on a PC.
The answer, it turned out, was baud rate. Kevin and I patiently sorted through numerous iterations of code with various cards, working with different variables until we found it. Turns out when you drop the baud rate down low enough, it mounts. And it doesn’t seem to really drastically affect the image load time. So it’s usable.
But we wanted to drill down even further. Because some Nokia cards worked and others didn’t. Eventually we came up with an iterative mount sequence, which is implemented in the current version of the release firmware. Basically, we try mounting at 4M. If that fails, we try at 1M. Then 500K. Then 100K. Then 50K. Then 4K. If it fails to mount at 4K, we call it a failure and toss that card.
try:
    sd_card_spi = SPI(1, baudrate=4000000, polarity=0, phase=0, bits=8, firstbit=SPI.MSB, sck=Pin(10, Pin.OUT),
                      mosi=Pin(11, Pin.OUT), miso=Pin(8, Pin.OUT))
    sd_card = SDCard(sd_card_spi, cs=Pin(9, Pin.OUT))
    vfs = uos.VfsFat(sd_card)
    uos.mount(vfs, '/sd')
    sd_card_status = 'sd_card: PASS (4M)'
So when you boot your badge, it tries that entire sequence described above behind the scenes, and reports the results once it settles on an acceptable baud rate.
I’d like to explore further and understand what determines the usable baud rate on a card, especially given that they are all, by all appearances, very similar models with the exact same capacity. If time permits, I may do a correlation of actual model numbers with detected baud rates.
If anyone knows, feel free to get in touch for further discussion. Meanwhile, I hope this helps anyone working with SD cards in the RPi Pico or RP2040 platform.
DC540 Meetup: Social House Chantilly 1830 Mon 9/12.
Seems like we’re all recovered from C19 now. Some of us went to BSidesNova yesterday. First batch of post-con Tarot badges about half sold & shipped, the rest will probably be ready later this week and stocked (some on Tindie for those still on the waitlist that haven’t found our site shop yet, and the rest on the site shop).
There seems to be momentum for an in-person meetup this week. The basement is in shambles right now with all surfaces taken up with badge parts, so I’m proposing a Social House meetup tomorrow evenings.
I will probably have both the LilyGo and PineTime watches with me to compare and contrast. The LilyGo is running the AND!XOR software under MicroPython. The PineTime is stock right now. Someone will likely have both of our badges if anyone needs to pair.
All are welcome. To quote Infinite Jest:
Obesity. Obesity with hypogonadism. Also morbid obesity. Nodular leprosy with leonine facies….
The acromegalic and hyperkeratosistic. The enuretic, this year of all years. The spasmodically torticollic….
Those with saddle-noses. Those with atrophic limbs. And yes chemists and pure-math majors also those with atrophic necks. Scleredema adultorum. Them that seep, the serodermatotic. Come one come all, this circular says. The hydrocephalic. The tabescent and chachetic and anorexic. The Brag’s-Diseased, in their heavy red rinds of flesh. The dermally wine-stained or carbuncular or steatocryptotic or God forbid all three. Marin-Amat Syndrome, you say? Come on down. The psoriatic. The exzematically shunned. And the scrofulodermic. Bell-shaped steatopygiacs, in your special slacks. Afflictees of Pityriasis Rosea. It says here Come all ye hateful. Blessed are the poor in body, for they….
The leukodermatic. The xanthodantic. The maxillofacially swollen. Those with distorted orbits of all kinds. Get out from under the sun’s cove-lighting is what this says. Come in from the spectral rain…. The basilisk-breathed and pyorrheic…. All ye peronic or teratoidal. The phrenologically malformed. The suppuratively lesioned. The endocrinologically malodorous of whatever ilk. Run don’t walk on down. The acervulus-nosed. The radically -ectomied. The morbidly diaphoretic with a hankie in every pocket. The chronically granulomatous. The ones it says here the ones the cruel call Two-Baggers—one bag for your head, one bag for the observer’s head in case your bag falls off. The hated and dateless and shunned, who keep to the shadows. Those who undress only in front of their pets. The quote aesthetically challenged. Leave your lazarettes and oubliettes, I’m reading this right here, your closets and cellars and TP Tableaux, find Nurturing and Support and the Inner Resources to face your own unblinking sight, is what this goes on to say, a bit overheatedly maybe. Is it our place to say. It says here Hugs Not Ughs. It says Come don the veil of the type and token. Come learn to love what’s hidden inside. To hold and cherish. The almost unbelievably thick-ankled. The kyphotic and lordotic. The irremediably cellulitic. It says Progress Not Perfection. It says Never Perfection. The fatally pulchritudinous: Welcome. The Actaeonizing, side by side with the Medusoid. The papuled, the macular, the albinic. Medusas and odalisques both: Come find common ground. All meeting rooms windowless. That’s in ital: all meeting rooms windowless….
Nor are excluded the utterly noseless, nor the hideously wall- and cross-eyed, nor either the ergotic of St Anthony, the leprous, the varicelliformally eruptive or even the sarcoma’d of Kaposi….
The multiple amputee. The prosthetically malmatched. The snaggle-toothed, wattled, weak-chinned, and walrus-cheeked. The palate-clefted. The really large pored. The excessively but not necessarily lycanthropically hirsute. The pin-headed. The convulsively Tourettic. The Parkinsonially tremulous. The stunted and gnarled. The teratoid of overall visage. The twisted and hunched and humped and halitotic. The in any way asymmetrical. The rodential- and saurian- and equine-looking….
The tri-nostrilled. The invaginate of mouth and eye. Those with those dark loose bags under their eyes that hang halfway down their faces. Those with Cushing’s disease. Those who look like they have Down Syndrome even though they don’t have Down Syndrome. You decide. You be the judge. It says You are welcome regardless of severity. Severity is in the eye of the sufferer, it says. Pain is pain. Crow’s feet. Birthmark. Rhinoplasty that didn’t take. Mole. Overbite. A bad-hair year.
Post-Con Tarot badges are making it into the wild!
So we got back, recovered from Covid, parts started arriving, and we started assembling and listing Tarot badges for after-con sales. The ones we listed were snapped up immediately.
There are a lot of folks still on the waitlist at Tindie. Well, Tindie flagged the sudden influx of orders as suspicious activity, and they held those orders up for a couple of days, suspended ordering and disbursements. Eventually they let the orders flow through, at which point they were packed into mailing boxes and prepared for shipment. But they still haven’t unlocked disbursements. Normally they release money for disbursement as soon as we provide tracking. Maybe they’re waiting for USPS to scan their arrival? (shrug).
In any case, we had been beta-testing our own e-commerce and shipping platform here at the website, and so far it’s much more pleasant to work with than Tindie — primarily because it supports shipping. Tindie has always been a hassle because of the manual process of getting the addresses from Tindie into the shipping software and the tracking numbers back into Tindie. The new shop here handles the whole process from start to finish. So if you haven’t gotten one yet, consider buying it here instead of Tindie. We will stock some on Tindie later this week for those on the waitlist that don’t get the memo.
Some notes on the badge:
- Touch and hold the Sun symbol, for longer than you’d expect to have to, to interrupt the demo and reach the main menu. Scroll the menu options using up/down, then select the Sun symbol again to choose the option.
- Yes, the front board has the outline for a SAO connector. No, don’t connect an SAO connector to it. The next batch will be fixed — the currently released batch has power and ground reversed and might fry your SAOs.
- Best practice, hole the board by the bottom half. Those headers that connect the front and back boards, the six pins on the left near the top, those carry the signals for the capacitive touch sensors. If your hand touches one of those, or some of the pico pads on the bottom of the board, it could interpret those touches as menu navigation and cause confusing results. If you hold it by the bottom half, it should avoid those situations.
- This is a new creation. If you notice anything that doesn’t seem to work right, let us know, and we’ll get our developer to look into it. We’ll probably release a couple more versions of the firmware.
Any questions? DM @dc540_nova on Twitter or join our Discord.
We have our own ecommerce now…
I got tired of Tindie’s lack of shipping integration, so I implemented an in-house shop. Then I put some of the new batch of Tarot badges in stock on both platforms. Tindie immediately suspended sales pending investigation of “suspicious activity,” which I guess, I don’t know, is the result of them announcing they’re back on social media, and then a sudden rush to purchase them. I mean, over 100 people on the waiting list, what did they think was going to happen? In any case, they’re also available here (click shop) — eventually the goal is to abandon Tindie as it’s far easier to fulfill shipping from this platform.
We worship at the cult of efficiency
Quite a while back, I posted an article about networking a scanner with a Raspberry Pi. At some point I added an inkjet printer to that configuration using cups, because the color laser in the house has a roller-induced wrinkle that I can’t seem to get rid of.
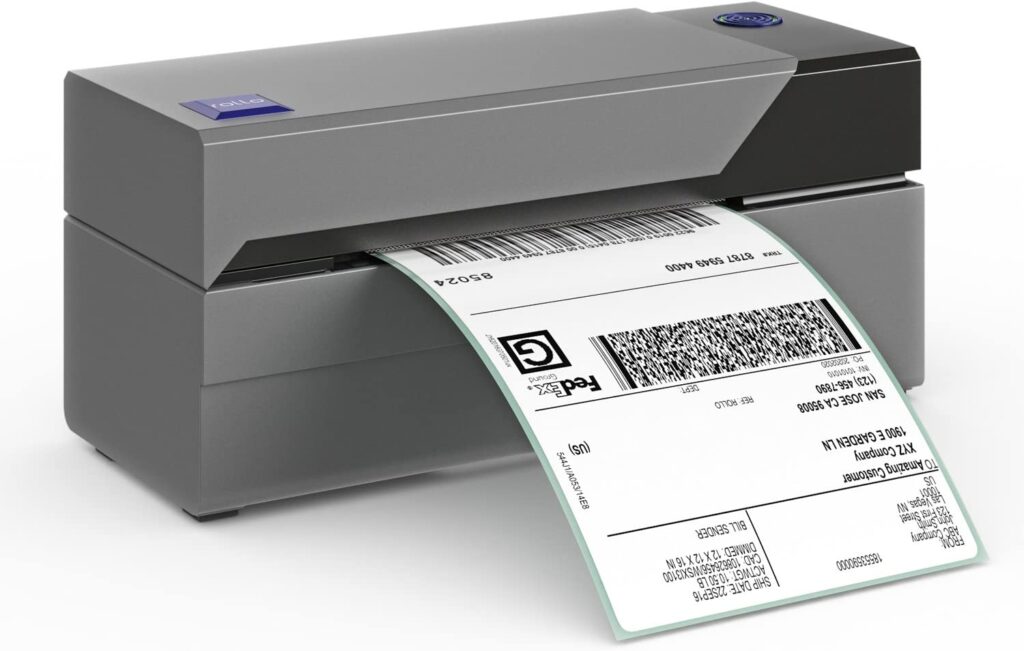
Yesterday, I received a Rollo 4×6 shipping label printer. The truth is, it’s about damn time. For years, I’ve just been printing labels on regular (sometimes with a wrinkle) printer paper, and painstakingly taping that folded piece of paper on outgoing packages. This would be fine if I was a normal citizen and my outgoing packages were limited to the occasional friends and family care package. But they’re not. My home is the nerve center of a group that creates electronics for distribution. In addition, I have a number of ever-morphing hobbies that have me buying and selling on ebay monthly at a minimum. So there are always packages coming and going, sometimes 20-30 at a time.
So a member heard that I’d been doing that and suggested the thermal label printer. Just print, peel and stick. Saves a lot of time, and a lot of tape, because with this, the tape is only used to seal the package.
I started with one of the Chinese knockoffs. The price was certainly right, and I picked the one with the lowest percentage of negative reviews. But either the reviews are stacked or I got a dud, because it makes spotty, unusable labels. It would be fine if it was just for print, but these labels have to have their barcodes scanned. I can’t be printing labels with spotty barcodes. So I ordered the Rollo, which is twice the price of the knockoff, but came well recommended.
Unsolicited recommendation: Rollo commercial-grade thermal 4×6 label printer
I don’t have a dedicated PC for shipping. My daily driver is a Macbook. The printer is not wireless. I had to figure out the best strategy for accessing it from the Macbook, while leaving open the possibility of accessing it by other means. I started down the path of sharing the printer from a gaming PC, but man, Windows printer sharing is ugly and painful without a domain.
Then I remembered the raspberry pi with the scanner and DeskJet attached. I determined that it still had a USB port free, and that Raspberry Pi drivers were available (WOW!) for the Rollo. I installed the drivers and plugged in the printer. I remembered that cupsd was already running to support the DeskJet, so I browsed to the cups interface and quickly added the printer and made it shareable. The MacBook immediately saw it via Bonjour and I printed my first label. I’m sitting here in awe thinking about how much time this is going to save in my upcoming shipping adventures, in which I’ll be shipping dozens of badges over the next couple of months.
My NExT Implant Works!
I took advantage of a spontaneous opportunity to get a NExT implant at summer camp. NExT = 125KHz T5577 RFID and 13.56MHz NFC NTAG combined into one bioglass cylinder.
I was able to put the DC540 website URL into the NFC tag and read and share it right away, but I had to wait until I got home to my RFID readers to test the T5577 in its natural habitat. I confirmed that the Proxmark 3 RDV4 was able to write to it as well as read it, but having a door reader read it is another thing.
I was a bit disappointed when my readers wouldn’t read it. I reached out on the forums and posited my theory, that inflammation from the implant might be blocking it, and that perhaps waiting would resolve it. A response immediately came back from another forum user agreeing that in some cases two weeks was a good amount of time to wait for internal swelling to go down and make it more readable.
And here I am at two weeks and three days from implant day, confirming that the T5577 side of the implant is actually working with a standard HID door reader (mine is connected to an Arduino Uno and an SSD1306 for this demo).
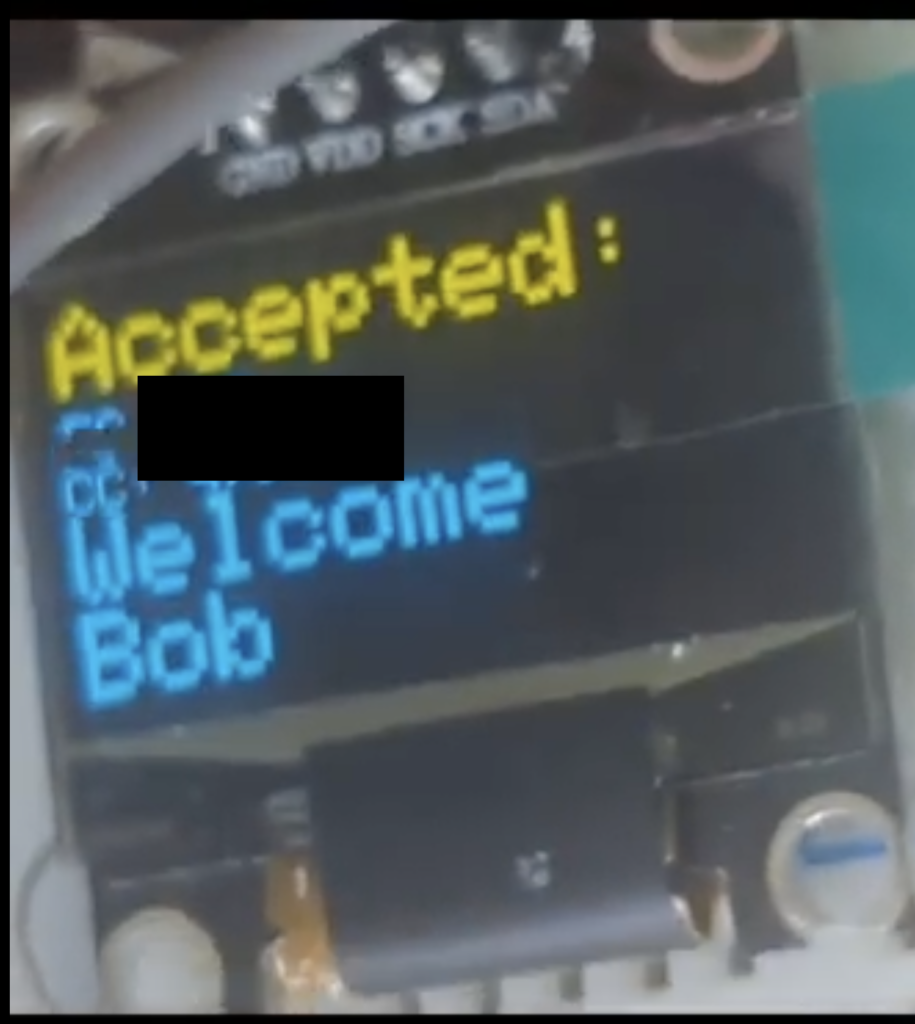
By the way, sample code and instructions for using an Arduino Uno with a reader like this can be found here: https://github.com/dc540/arduinohidprox

DC540 is launching a Pico to PCB Class!
As usual, we came back from DefCon inspired, energized, and diseased. Yes, some of us came home with Covid this year. But we’re recovering, and it hasn’t stolen our Big STEM Energy.
We decided to take what we’ve learned over two years of designing and manufacturing badges, and offer a course. This takes us a step closer toward fulfilling our mission as a non-profit, and teaching strengthens everyone all around. Students learn something, and teachers become better teachers.
This class will be in two phases. The first half will be an intro to MicroPython using the Raspberry Pi Pico microcontroller with breadboards and some basic electronic circuit elements (LEDs, a display, buttons, etc). culminating in cobbling together your own MicroPython game!
The second half will be taking what you’ve learned from the first half and turning it into a standalone PCB (printed circuit board) project, using all the elements and code you’ve mastered in phase 1, culminating in sending it off to a fab house to be manufactured. You’ll end up with a permanent keepsake of what you’ve learned, and hey — it might even WORK!
We’re looking to start this in October. The class will be virtual, so don’t worry if you’re not local. We’re trying to avoid requiring soldering skills until the very end, so don’t worry if you’re not skilled. The class fee will be nominal, and supports a nonprofit doing good things. If you’re interested, make sure to follow us on twitter @dc540_nova and Join our Discord — an invite link should be in the right column of this website somewhere. We’re going to cap the class at around 25 or so. The class will likely be held in a moderated Discord voice channel. There will be a parts list published in the coming days — actually two parts lists — one for those who have soldering capabilities already, and one for those who don’t. Once you’re in the Discord, request in the main welcome channel to be added to the MicroPython PCB class list — that will get you into the discussion channel, where we’re planning and staging the class. Once the class begins, those who sign up for it will be added to another group and will be able to join us one evening a week for live classes. We may record the lessons as well for those who miss a lesson or can’t meet the consensus-decided class evening.
If you get lost in the code and can’t keep up, don’t worry, we’ll provide some basics at each stage to make sure you have something that works. One of the great things about microcontrollers is that once you prove all your circuit elements work, you can go ahead and build it, and worry about the software later. It’s easy to apply new code to a device that has working access to all of its components.