For those who don’t have access to one of these, you can live vicariously through this video.
Message decryption using SAINTCON ENIGMA badge – VIDEO


A Virginia DEF CON community
For those who don’t have access to one of these, you can live vicariously through this video.
I recently blogged about obtaining Chinese UID-writable magic backdoor Hello Kitty MIFARE fobs to test cloning HF RFID cards. My hope was that I’d be able to clone my kid’s college card, so she wouldn’t have to dig out a card every time she enters a space, just use a fob on her keyring, just like I cloned my LF HID card to a fob for work.
At the time I ordered them, she was away at school, so I had no way of knowing what format her card was. If her student card was MIFARE, I’d probably have a fighting chance. I believe I have successfully cloned MIFARE cards. I say I believe, because I don’t have access to a testing platform until my next hotel stay.
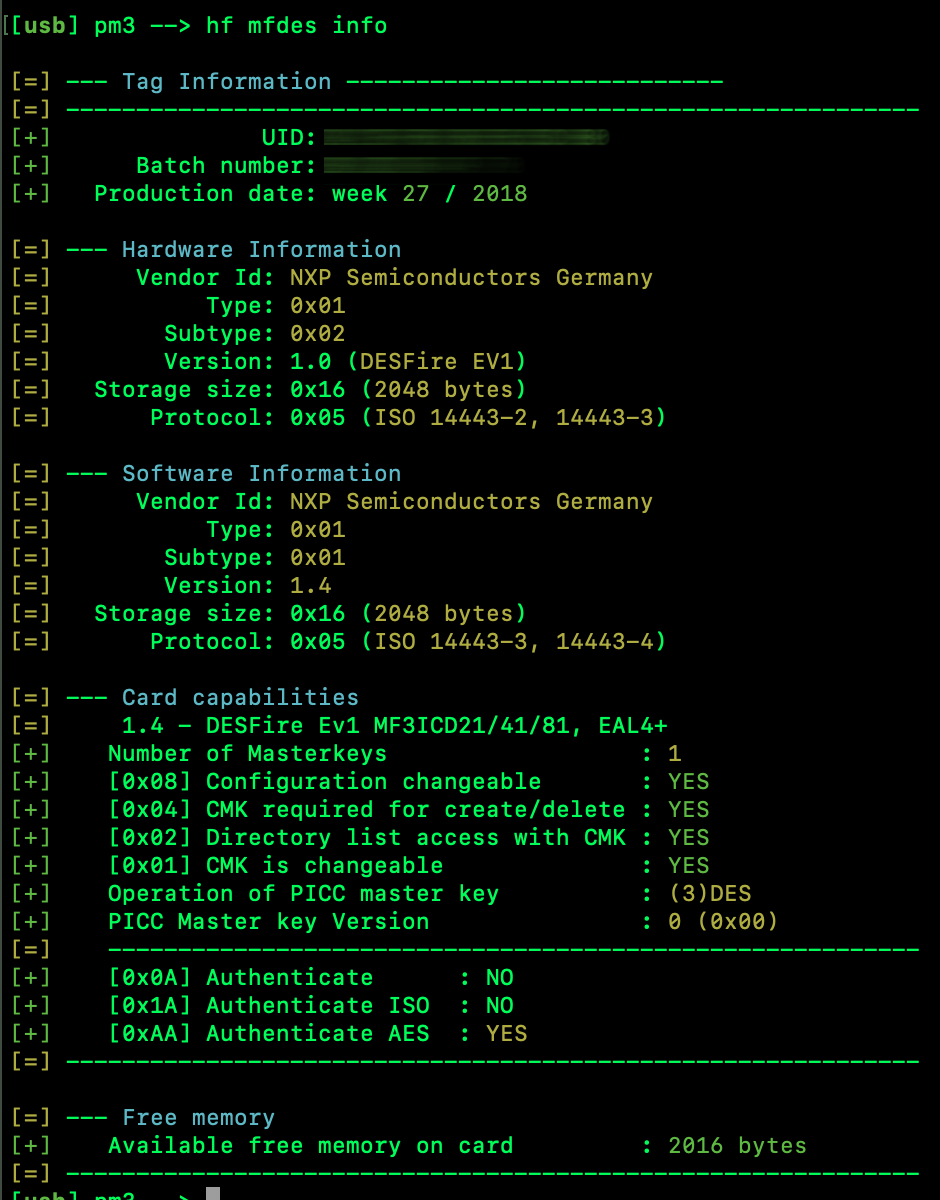
Alas, it seems like schools (at least her school) are a bit ahead of the RFID game compared to hotels. Rather than simple MIFARE, it’s DESFire EV1 2K, and from the searching I’ve been conducting tonight, it doesn’t seem like DESFire has been cracked as far as retrieving the master key. DESFire EV1 is not bleeding edge, though. According to MIFARE, it’s not recommended for new designs. Instead, MIFARE recommends DESFire EV3.
In any case, it’s a hell of a lot of fun to learn the ins and outs of the various formats, protocols, etc., and how these cards and readers work.
I’ll keep on it on the sideburner. I suspect if I do nothing and someone cracks it, it will make its way into the PM3 firmware rather quickly.
I did read something on the forums indicating that the master key might be derived through side-channel attacks involving response speed.
I’ve been wanting to slap this together for a while. Since we have so many members who have never seen the space (thanks Covid!), I thought I’d give you a taste.
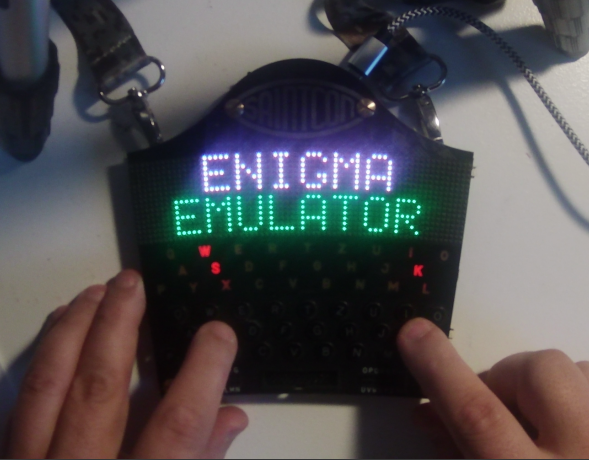
So thanks to Kyle, I’ve got a 2019 SAINTCON Enigma Badge to play with for a while.
I’ve been mildly frustrated by the fact that I haven’t gotten anything to decrypt on it yet using the 2019 instructions, sample messages and code sheet. I had just gotten comfortable with that fact when the Hackers Challenge CTF came up during this year’s SAINTCON. I lost quite a bit of time to trying to solve an ENIGMA challenge, because I HAVE the badge right here in front of me but still had a knowledge block that was preventing decryption. Had I learned before the CTF, I would have gotten another 300 to 400 points.
So now, even though the challenge is over, I was even more determined to see this through.
Here are the 2019 instructions, with my commentary following:
Okay. Instruction 1 says “Apply the daily key from the code sheet to your Enigma machine.” This is a sample of what the Code Sheet looks like. While it is unclear from the instructions AND the Code Sheet, I assumed that “daily key” refers to the “ring settings” or Ringstelling.

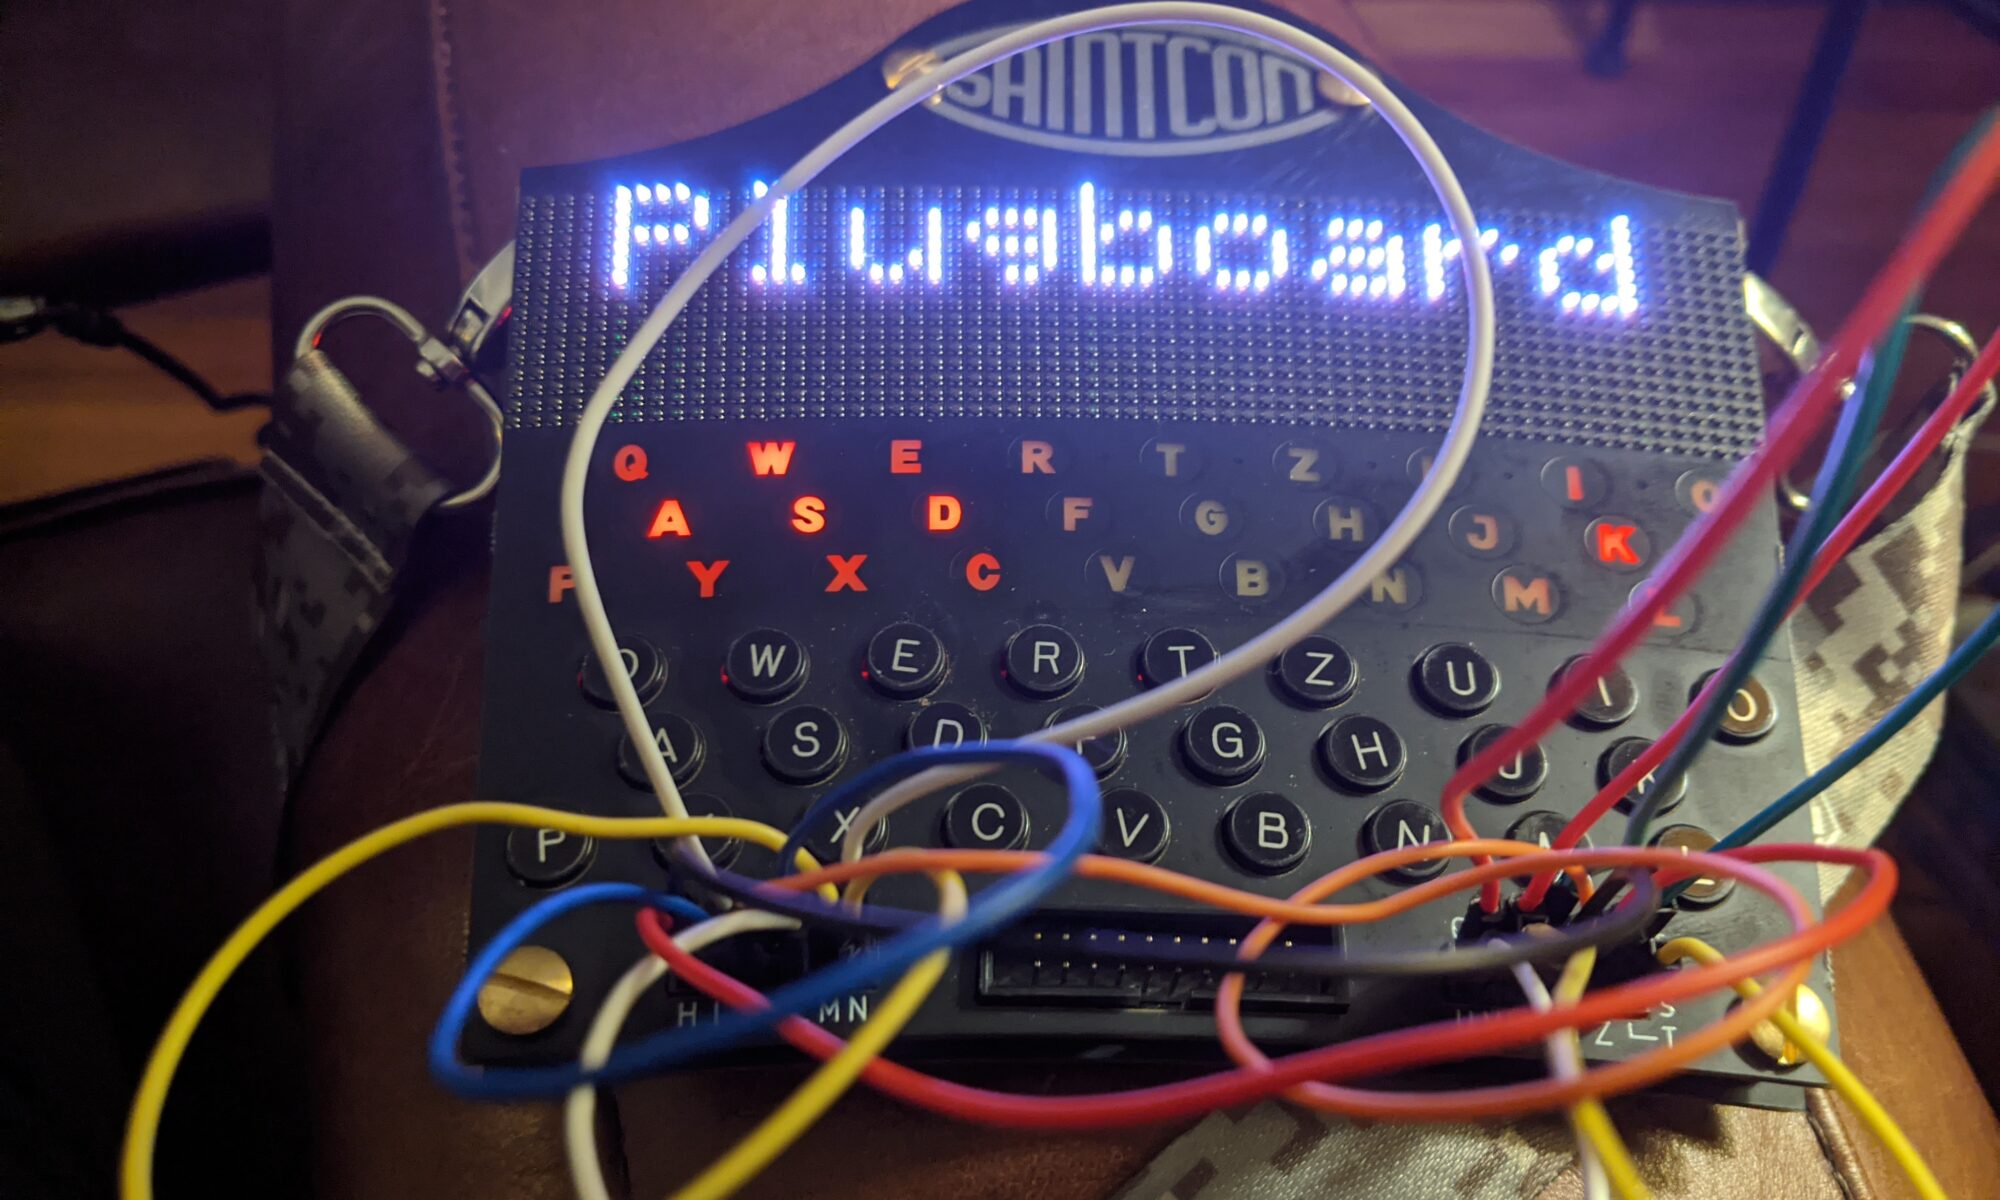
What threw me was the plugboard. When I entered settings, there was a PLUGBOARD section on the badge that wouldn’t accept any input. Naively, I assumed that was an unimplemented feature. Boy was I wrong. I wasn’t at SAINTCON last year, so I missed a critical piece — the critical piece is that the plugboard is a PHYSICAL plugboard on the badge, just as it is on the real thing.
Once that Eureka moment came (thanks to atru5 and kfeuz for clueing me in), it was smooth sailing all the way to the finish line. God I want one of these of my own.
Here’s the sample message and the code sheet for that day, followed by the images of the message decoding after setting all the rotors, ringsettings and encrypted message key, and connecting the plugboard up properly with jumper wires:
October 27 1942
0801 = 1tle = 1tl = 107 = SYN VAB

SCZOT GULGK VHBJQ WILJA CBSZG YUUYC VYLFV YPEFZ SMLNR DFPEO HYHNB JFSYV JFJJP QGKRV MUJLS TLESD IISMW POMJT JBYNL LLOIC YFNWK VU


If you want to play with the Enigma yourself, you can use the simulator on Cyberchef. For the SAINTCON simulations, you will need a custom rotor. When the code calls for rotor IX, use the following: BASHCOMPUKIDZERGYJWLQTFXVN
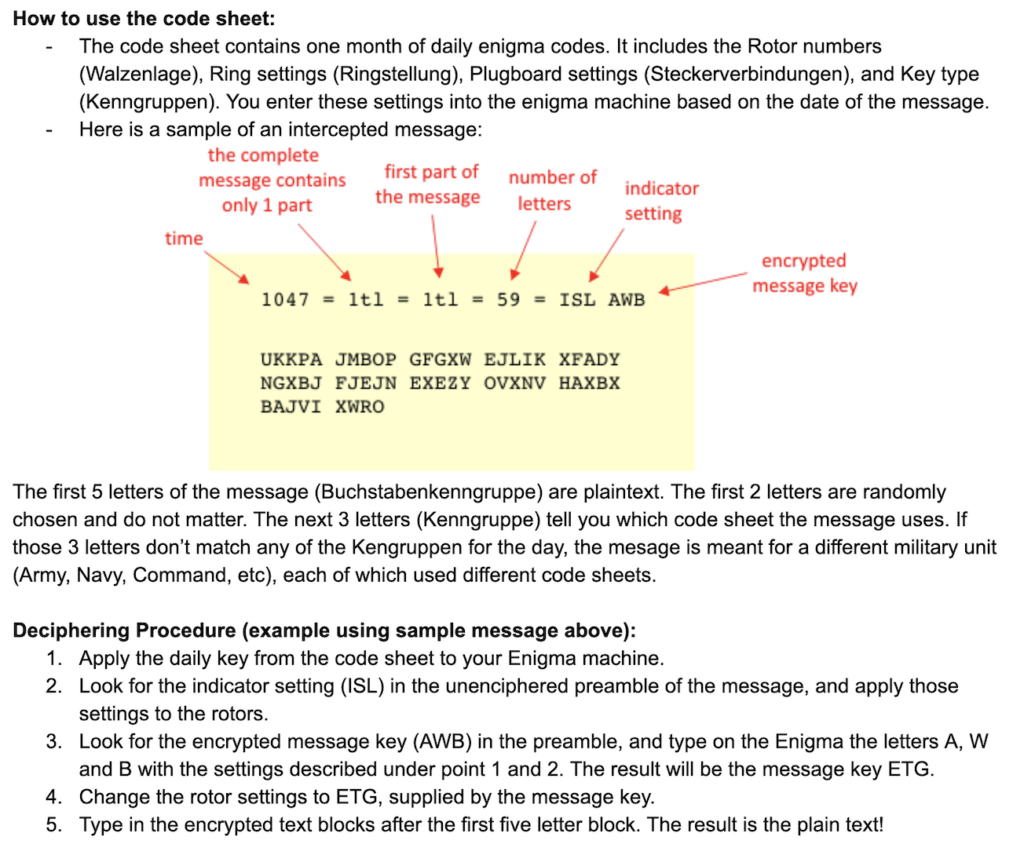
Today, one of the important accessories I was waiting for arrived. The SIM card reader extension. This extends a SIM card slot out via ribbon cable to a clear housing which fits, wait for it… a smart card. Inside the Proxmark3 RDV4 housing, in addition to all that delicious RFID goodness, is a SIM card slot. (If you didn’t already know this, SIM cards are basically the same technology in a different card profile.
So if you crack open the housing (and remove the BlueShark battery/BT module if you have one), you’ll see the SIM card slot. These adapters are less than $2 on aliexpress. Once you slide it in and slip a card into the housing (chip end first, of course, and chip facing the contacts), you have access to the sc commands in the Proxmark firmware (I’m running iceman’s fork, I don’t know how much of this is supported in the stock firmware).

I remember when I got my Hak5 kit, one of the things I thought was a nice touch was the custom flight tags — “REMOVE BEFORE FLIGHT” on one side and “TRUST YOUR TECHNOLUST” on the other.
Anyone who knows me knows I have a fetish for storage solutions, both permanent and portable/mobile. I really like the idea of everything in its place. When done right, finding things in the heat of the moment becomes a breeze. I wasn’t always like this.
So when I started enhancing my Proxmark3 RDV4 with accessories, most of which aren’t used at the same time, I realized I would have to assemble a kit and contain it somehow, because when going out and about for RFID research purposes, I might need any of the accessories. I happened to have a zipper bag similar to the Hak5 kit, so the thought came to me, “Hey, I wonder if custom flight tags are affordable in low quantities.” Turns out they are!
I found this on Amazon — two tags, two sides of messaging, choose your colors, under $10.
https://www.amazon.com/gp/product/B085772MFD/ref=ppx_yo_dt_b_asin_title_o02_s00?ie=UTF8&psc=1
I figured at $10 it was worth a shot. For a moment I struggled with what the second tag would be for, then I realized I could use it with my locksport Pelican.
I think they came out fabulous. 10/10 will purchase again.


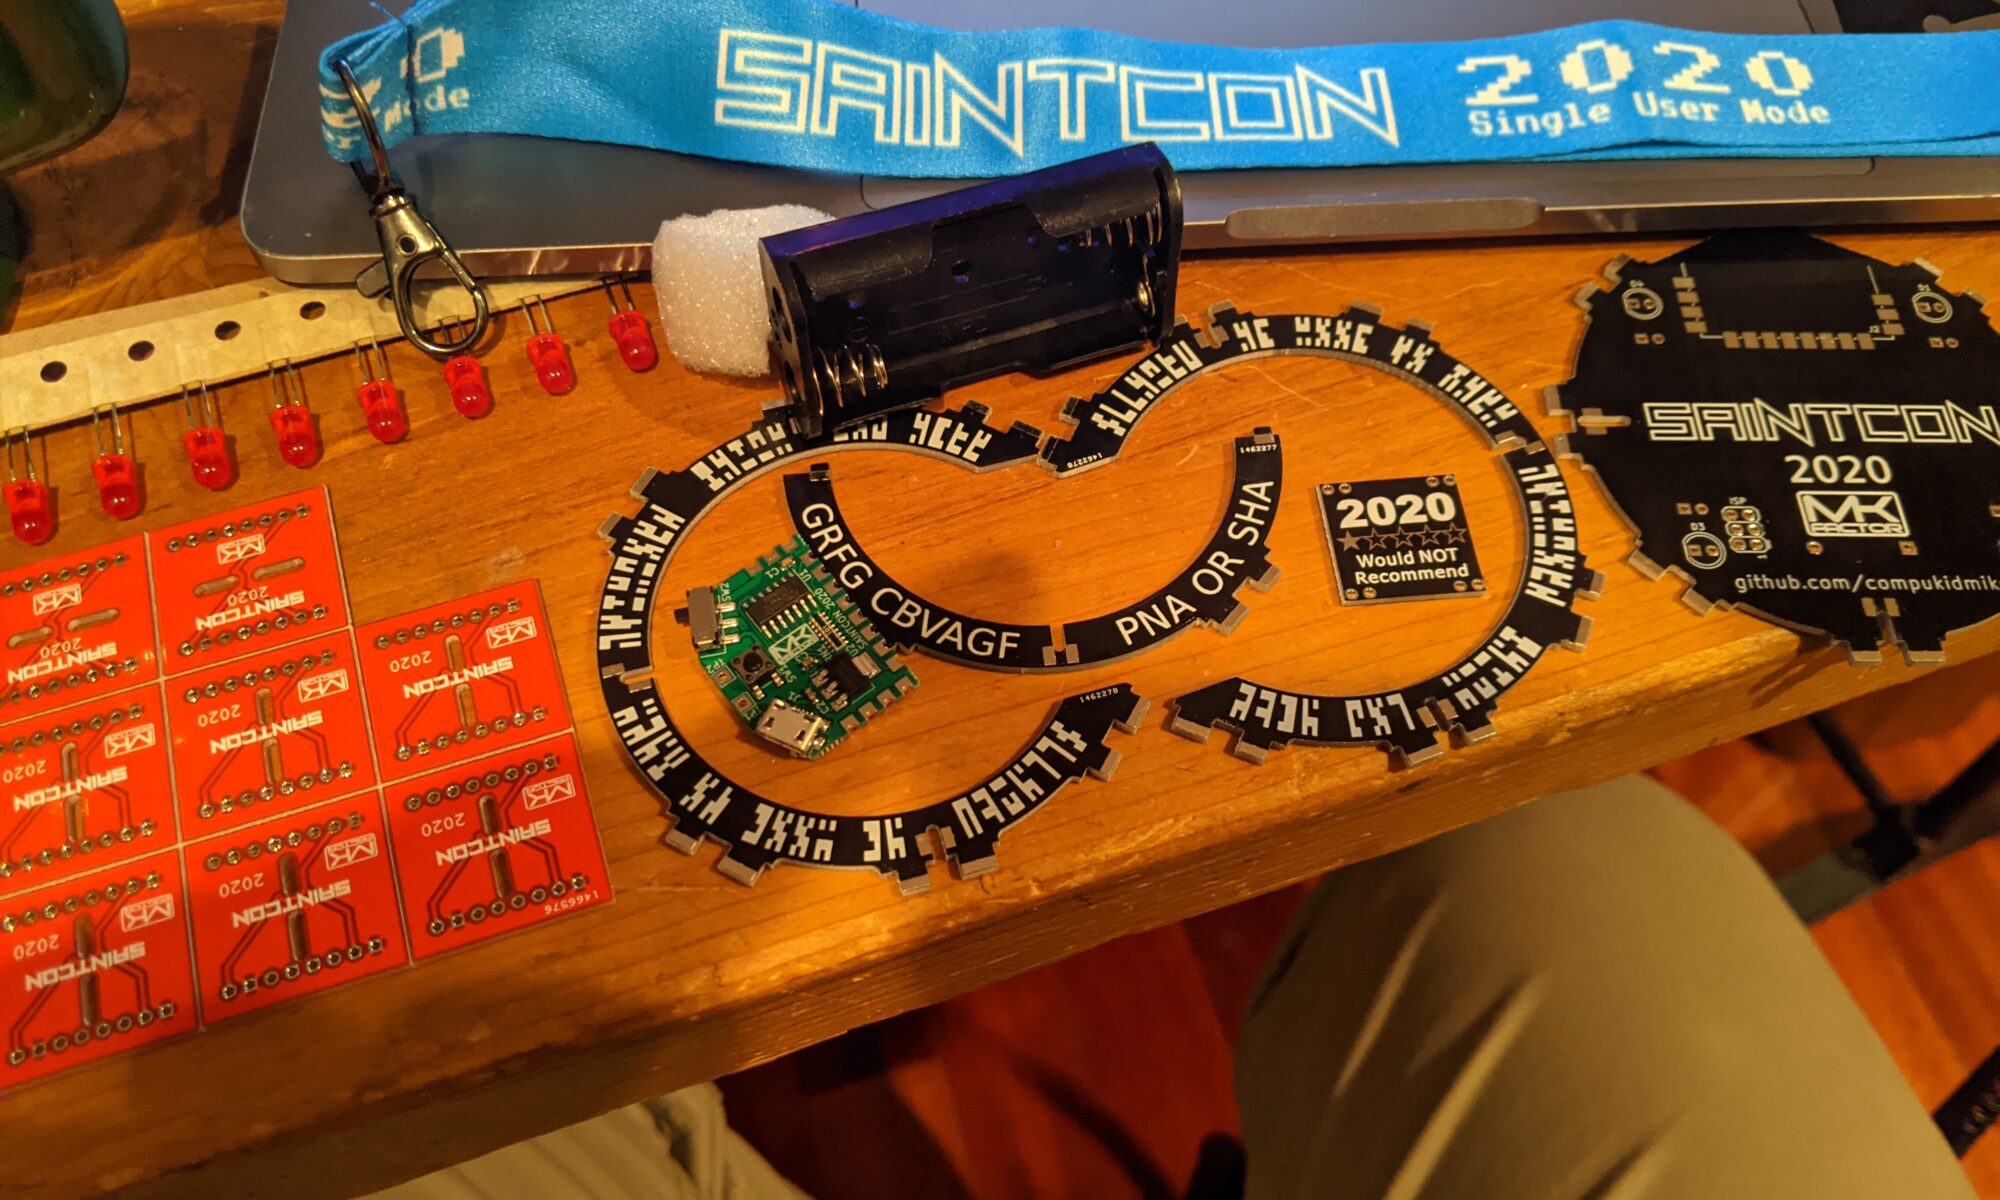
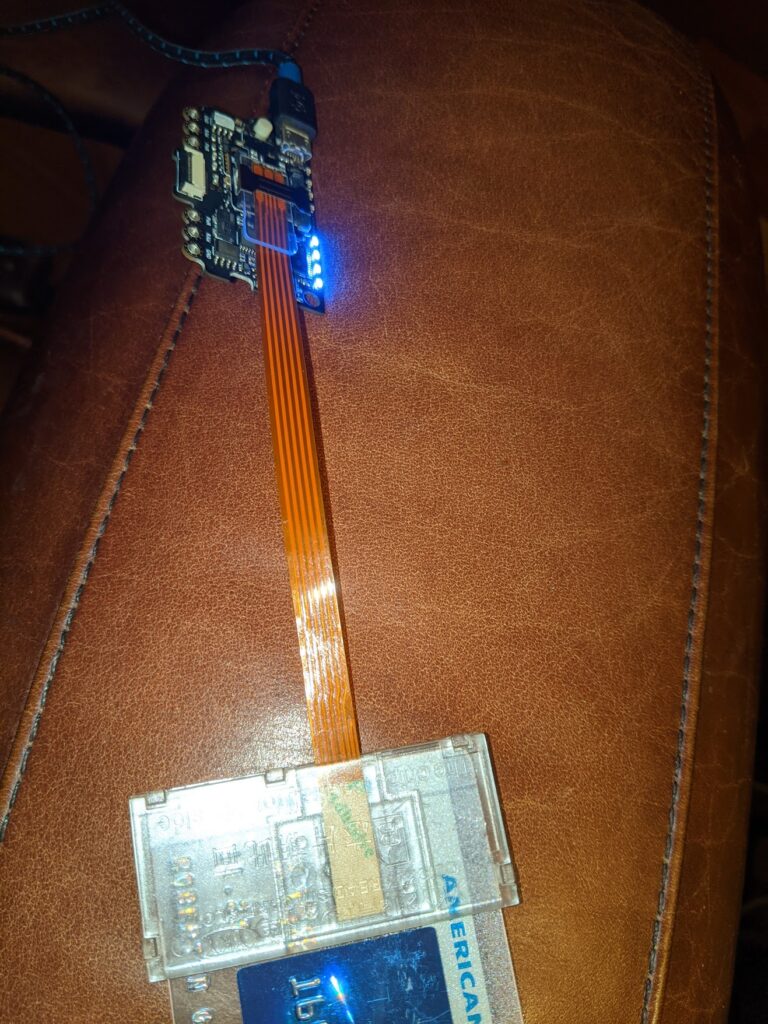
What an exciting time to be alive. The badge itself will be a really fun platform for collecting minibadges. A minibadge came with it, as well as a coupon for three copies of my own minibadge, which I designed today as part of the Hackers Challenge CTF that’s going on during the con. Strongly recommend y’all get one before they run out. Very affordable for the level of fun and creativity involved.
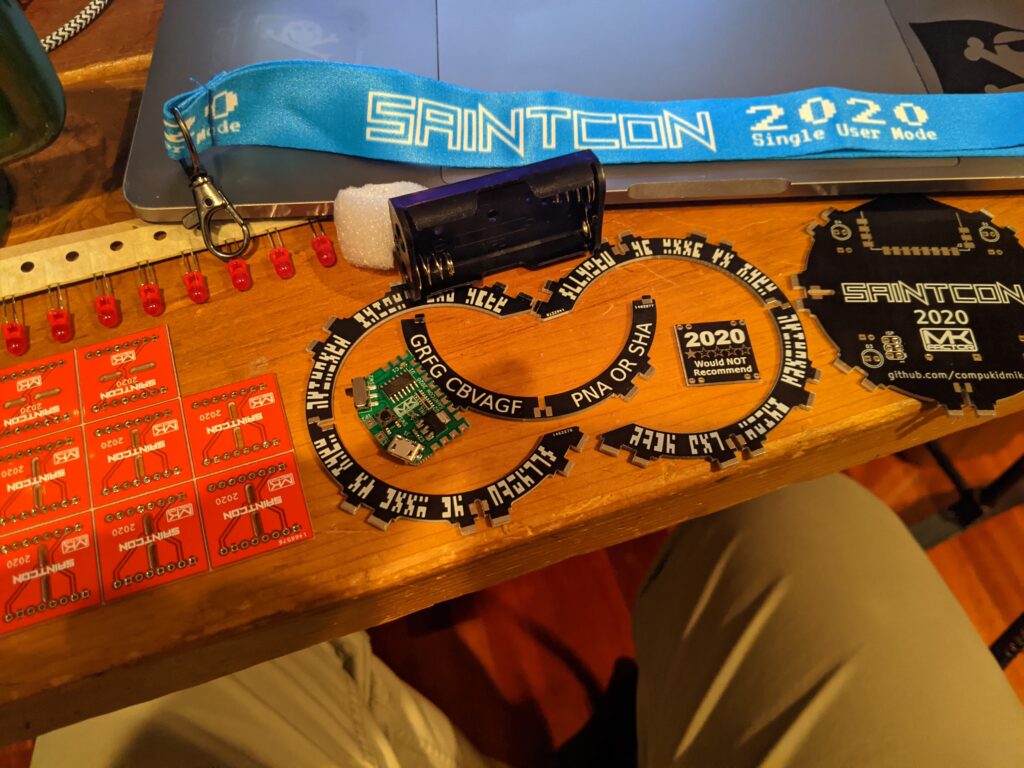

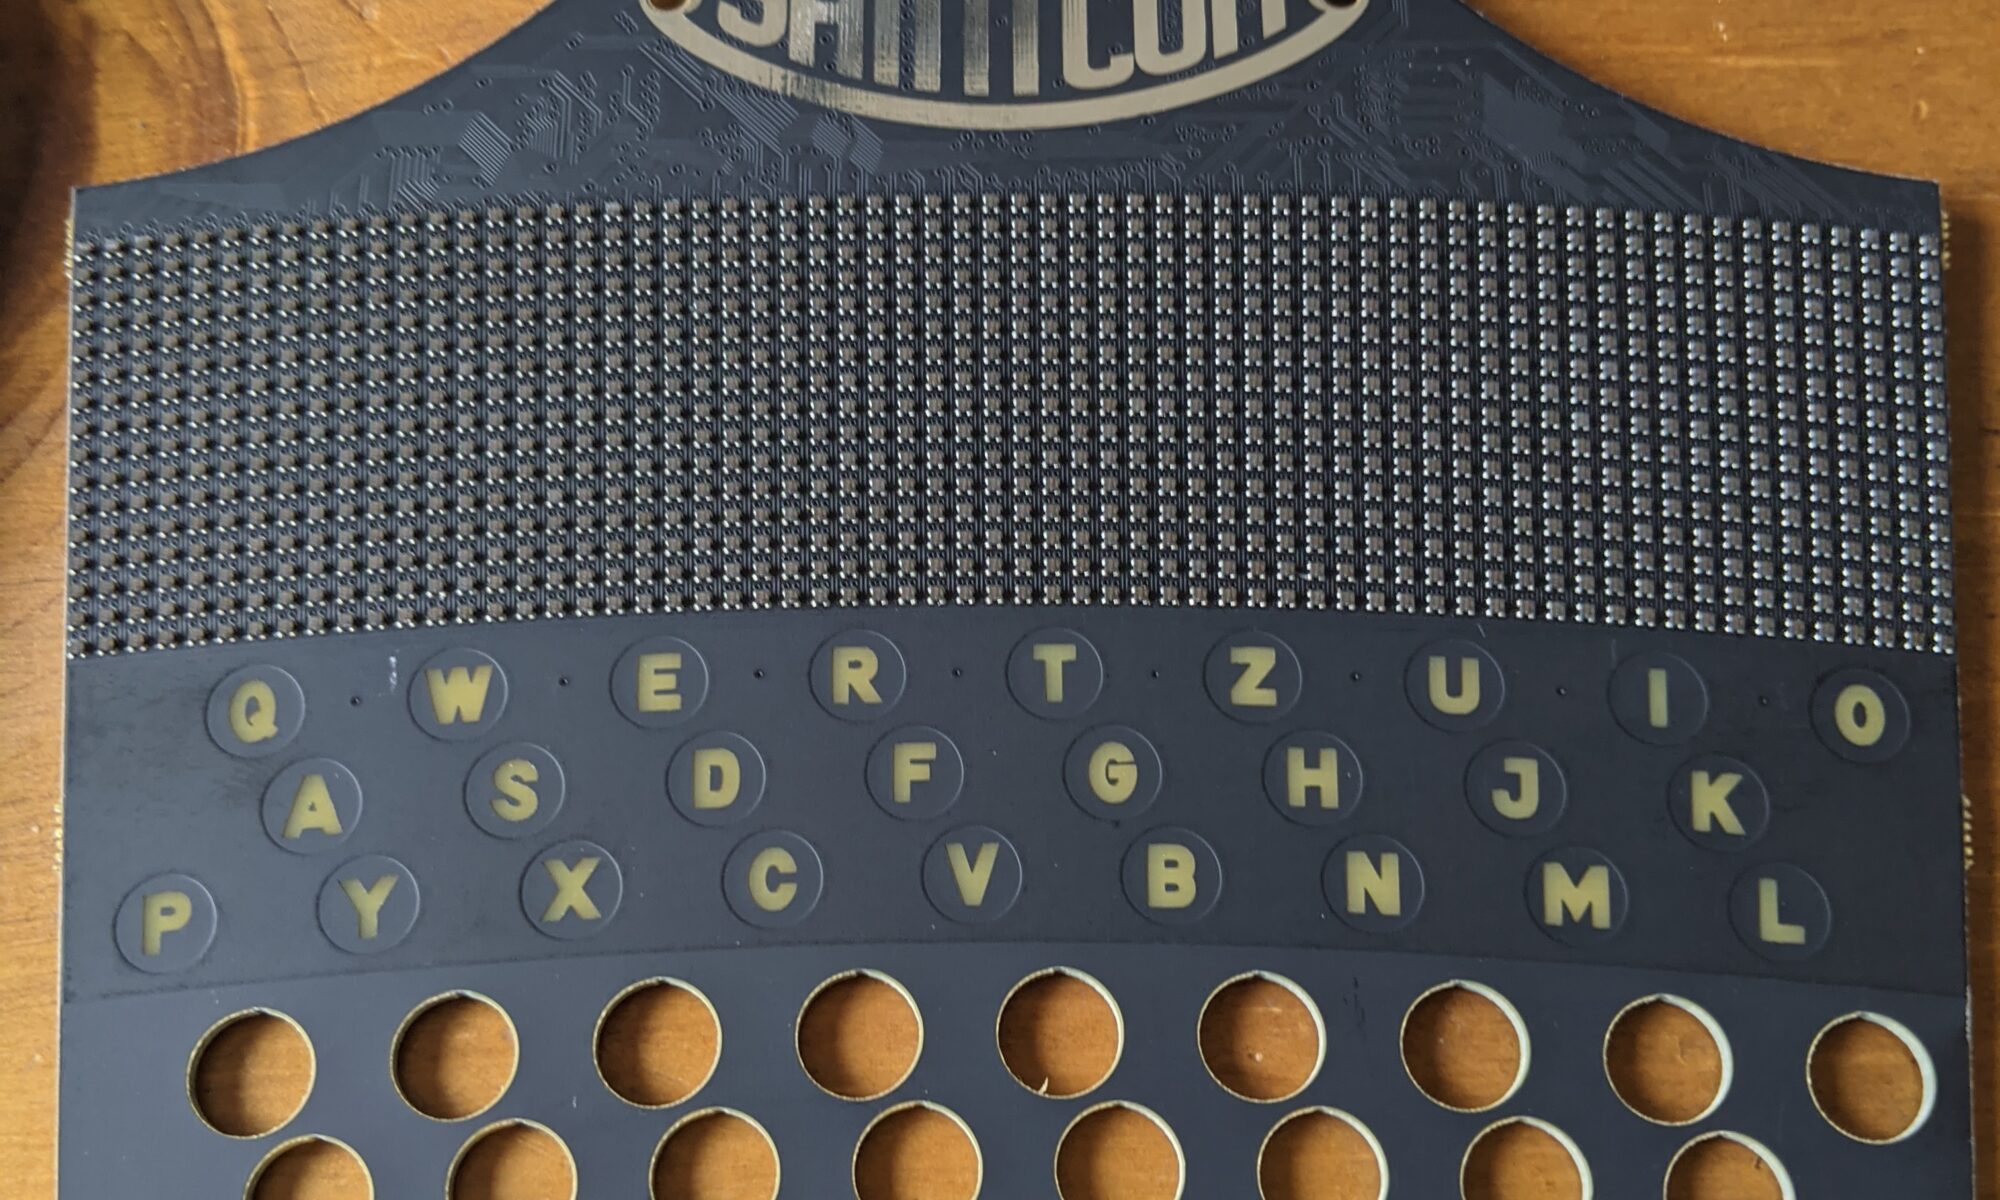
Just kidding. When I was lining up to buy this year’s SAINTCON badge, I saw they had the board/LED display available super cheap, so I bought one. If I can’t have the full ENIGMA badge, at least I can have a fun replica. Never mind that I have no earthly idea how to connect to it to light it up. All in good time, my friends.
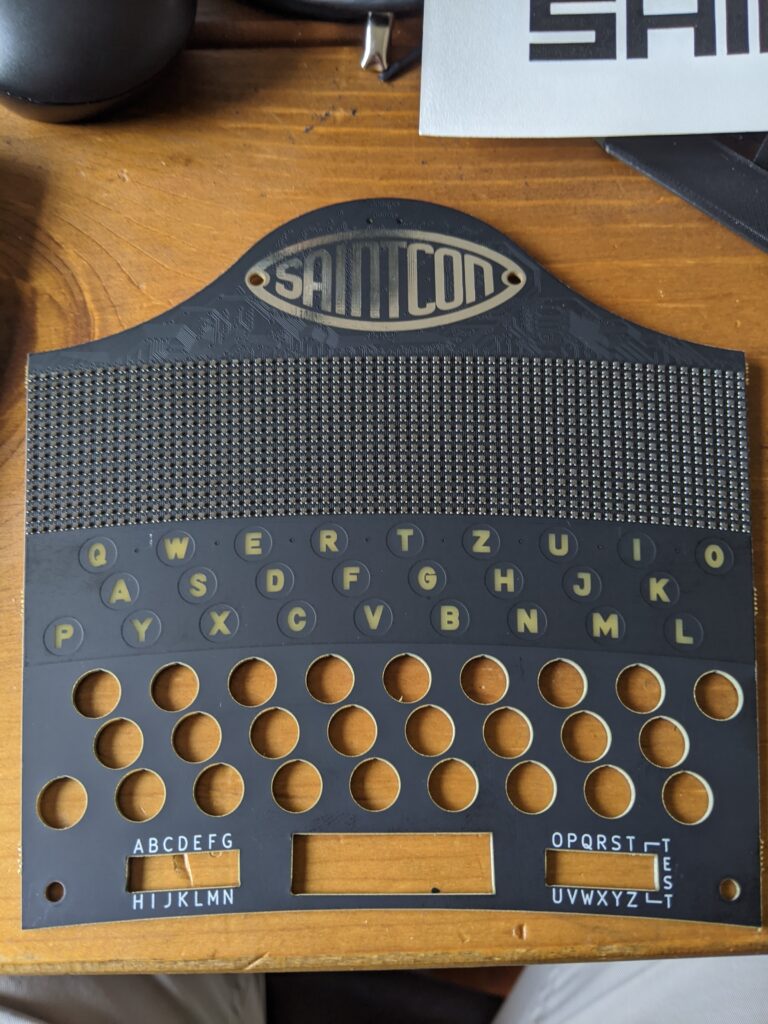
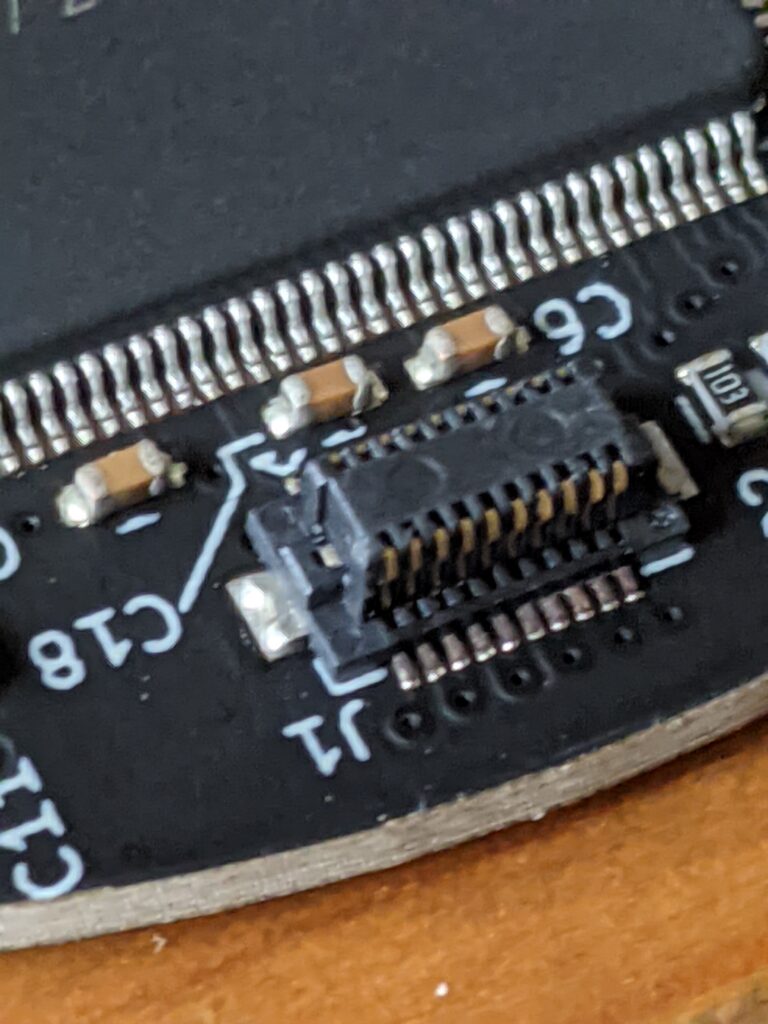
[Update] — OK, I figured out where it connects. That was easy. Just almost too tiny for my poor old man eyes.
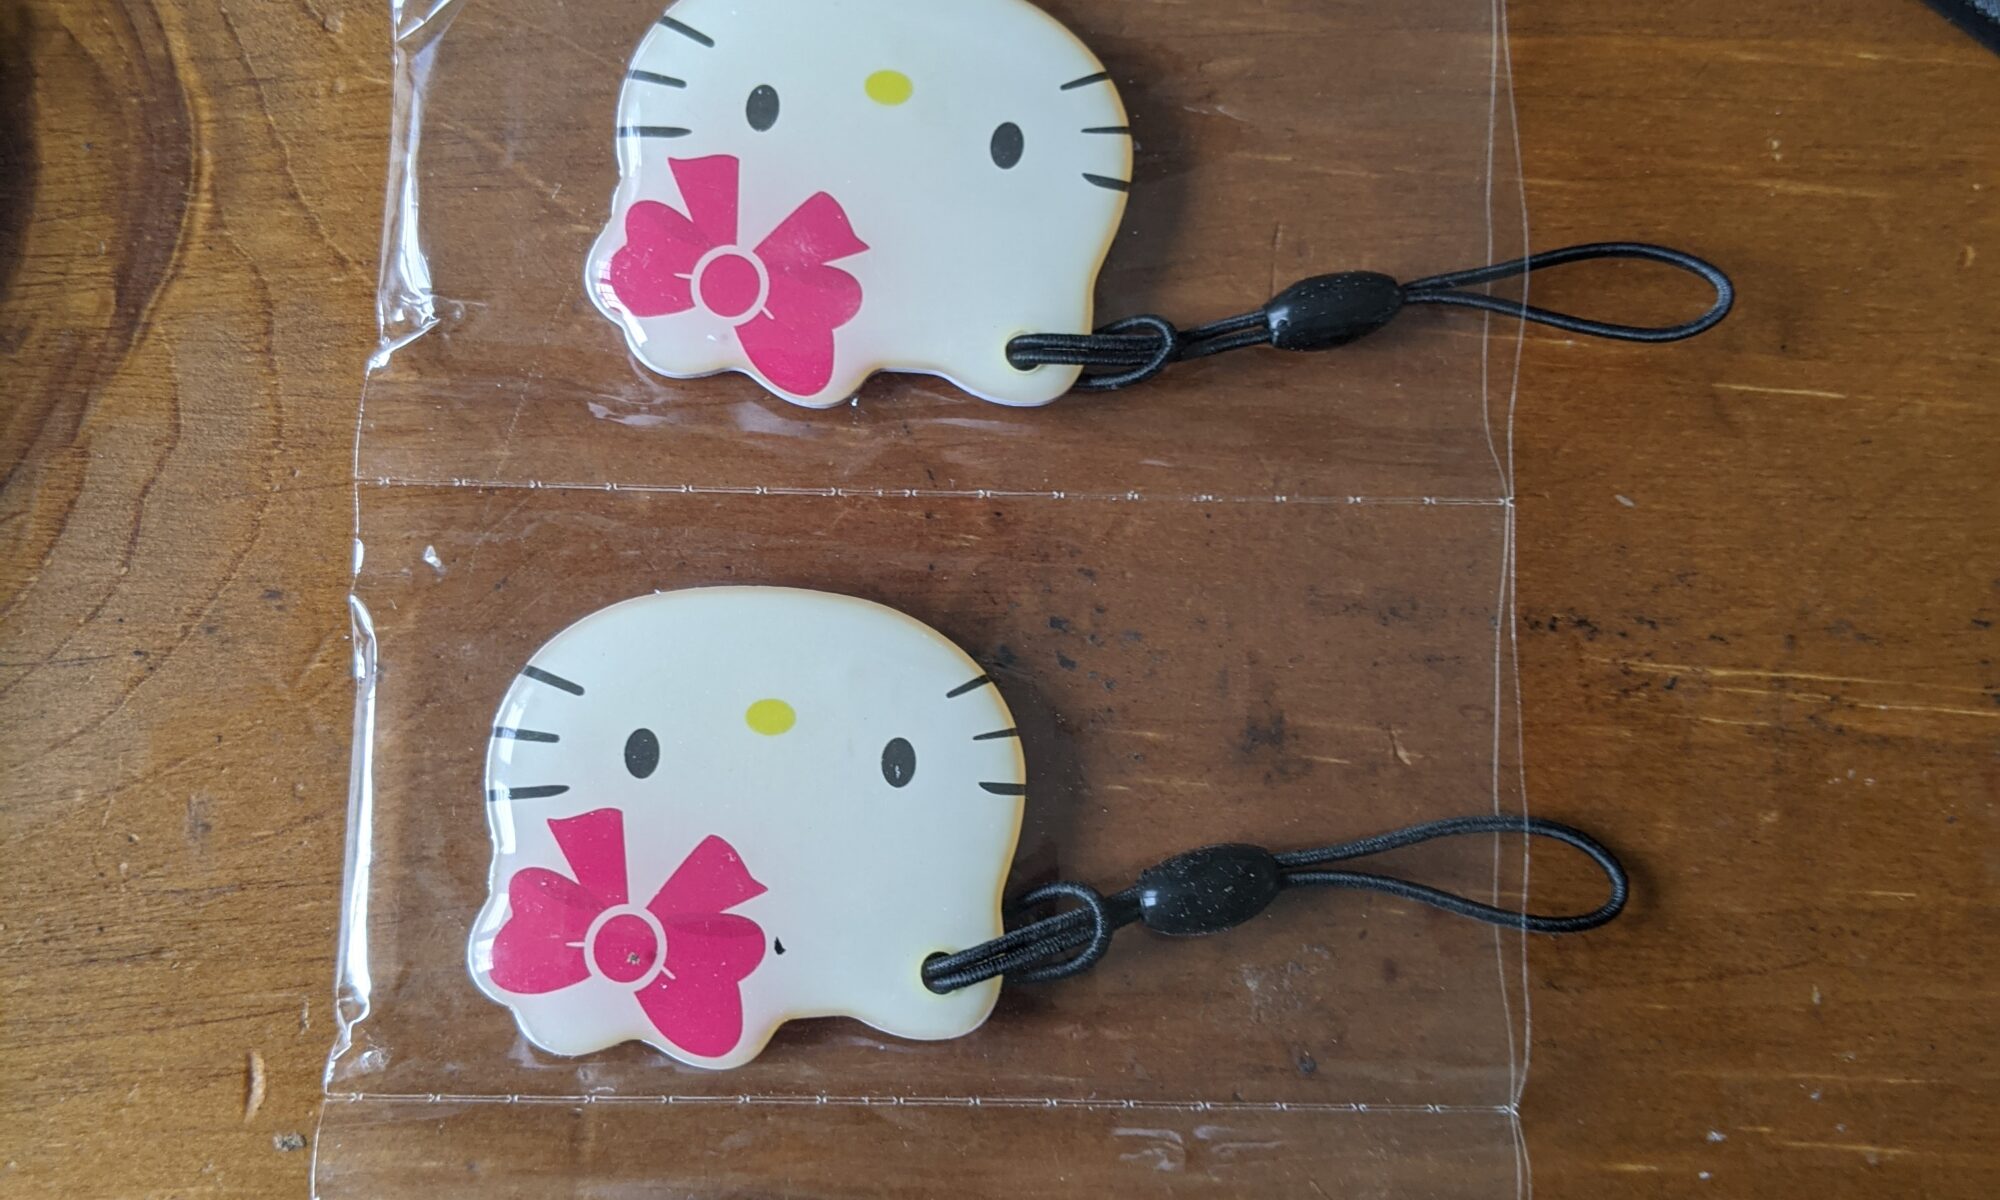
A while back I ordered some stylish (by my standards) Chinese magic writable MiFare RFID fobs. They were clear acrylic with a visible embedded chip. I was excited, even though they were a month away in China.
Well about a week after I ordered them, I got an email from the vendor saying they were out of that model, and gave me three other models to choose from. I didn’t like any of them, but I also didn’t want to start the shopping and ordering process all over again, so I just said, “give me whatever you have.”
They arrived today, and I have to say, I kind of like them. Especially since one of my first clone tests on these fobs will be my daughter’s access card at school. Wish me luck.
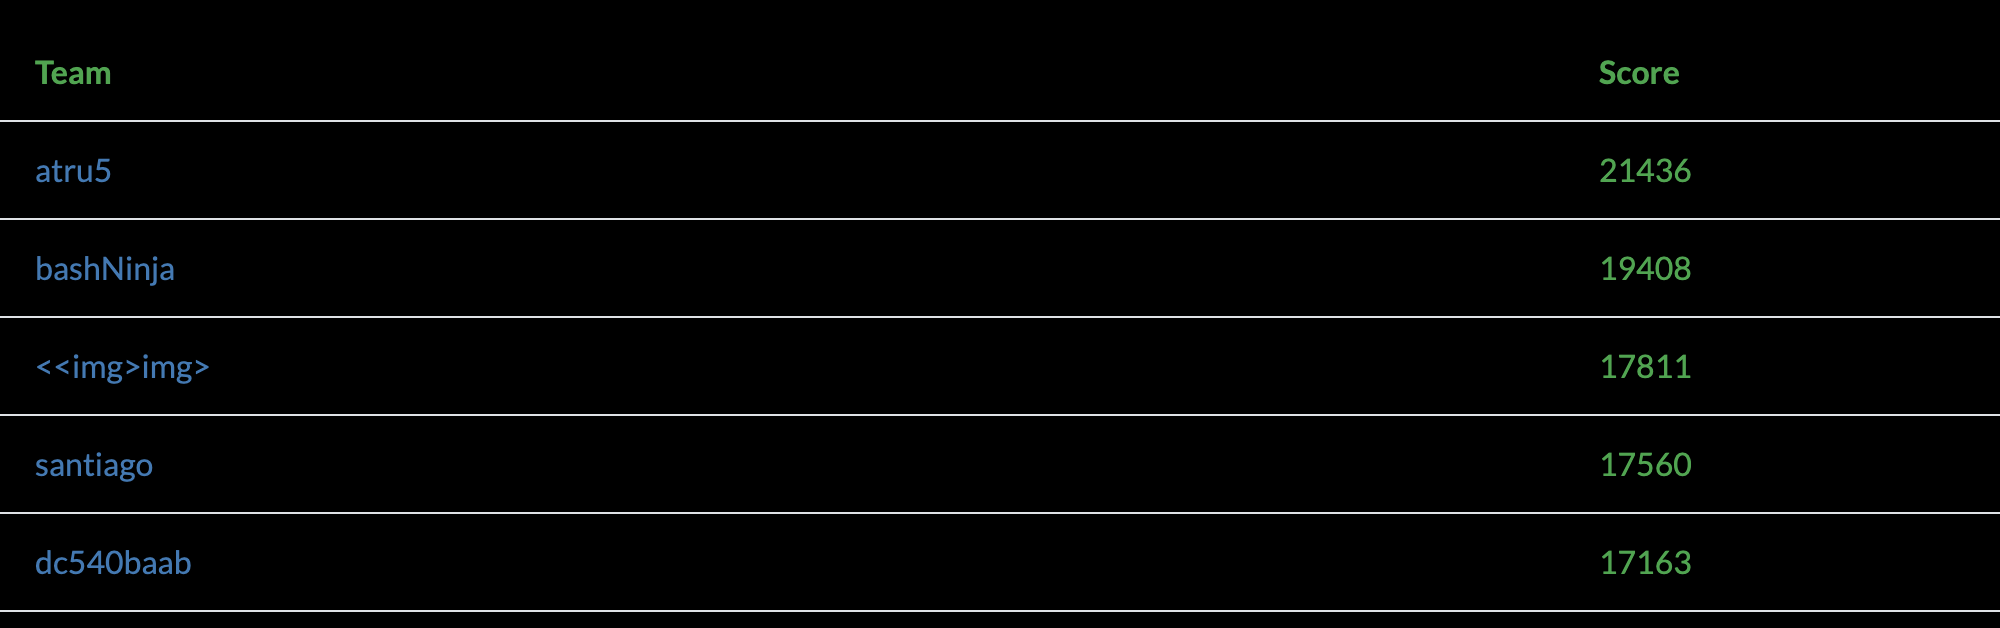
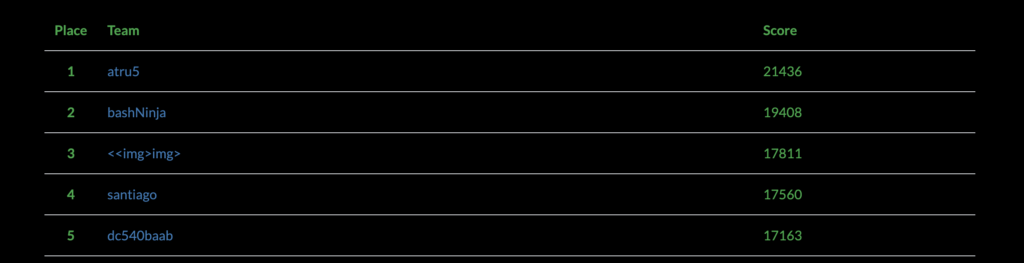
SAINTCON’s Hackers Challenge opened up today. I spent a number of hours on it. I nailed the Wireshark tasks, the DD tasks, most of the crypto, and I slayed at Hacker Jeopardy. My weak spots right now are binary analysis and web app exploitation. Might spend more time on it this week and try to get farther along. As of now I’m still in the top five By morning that will be stolen from me. 🙂