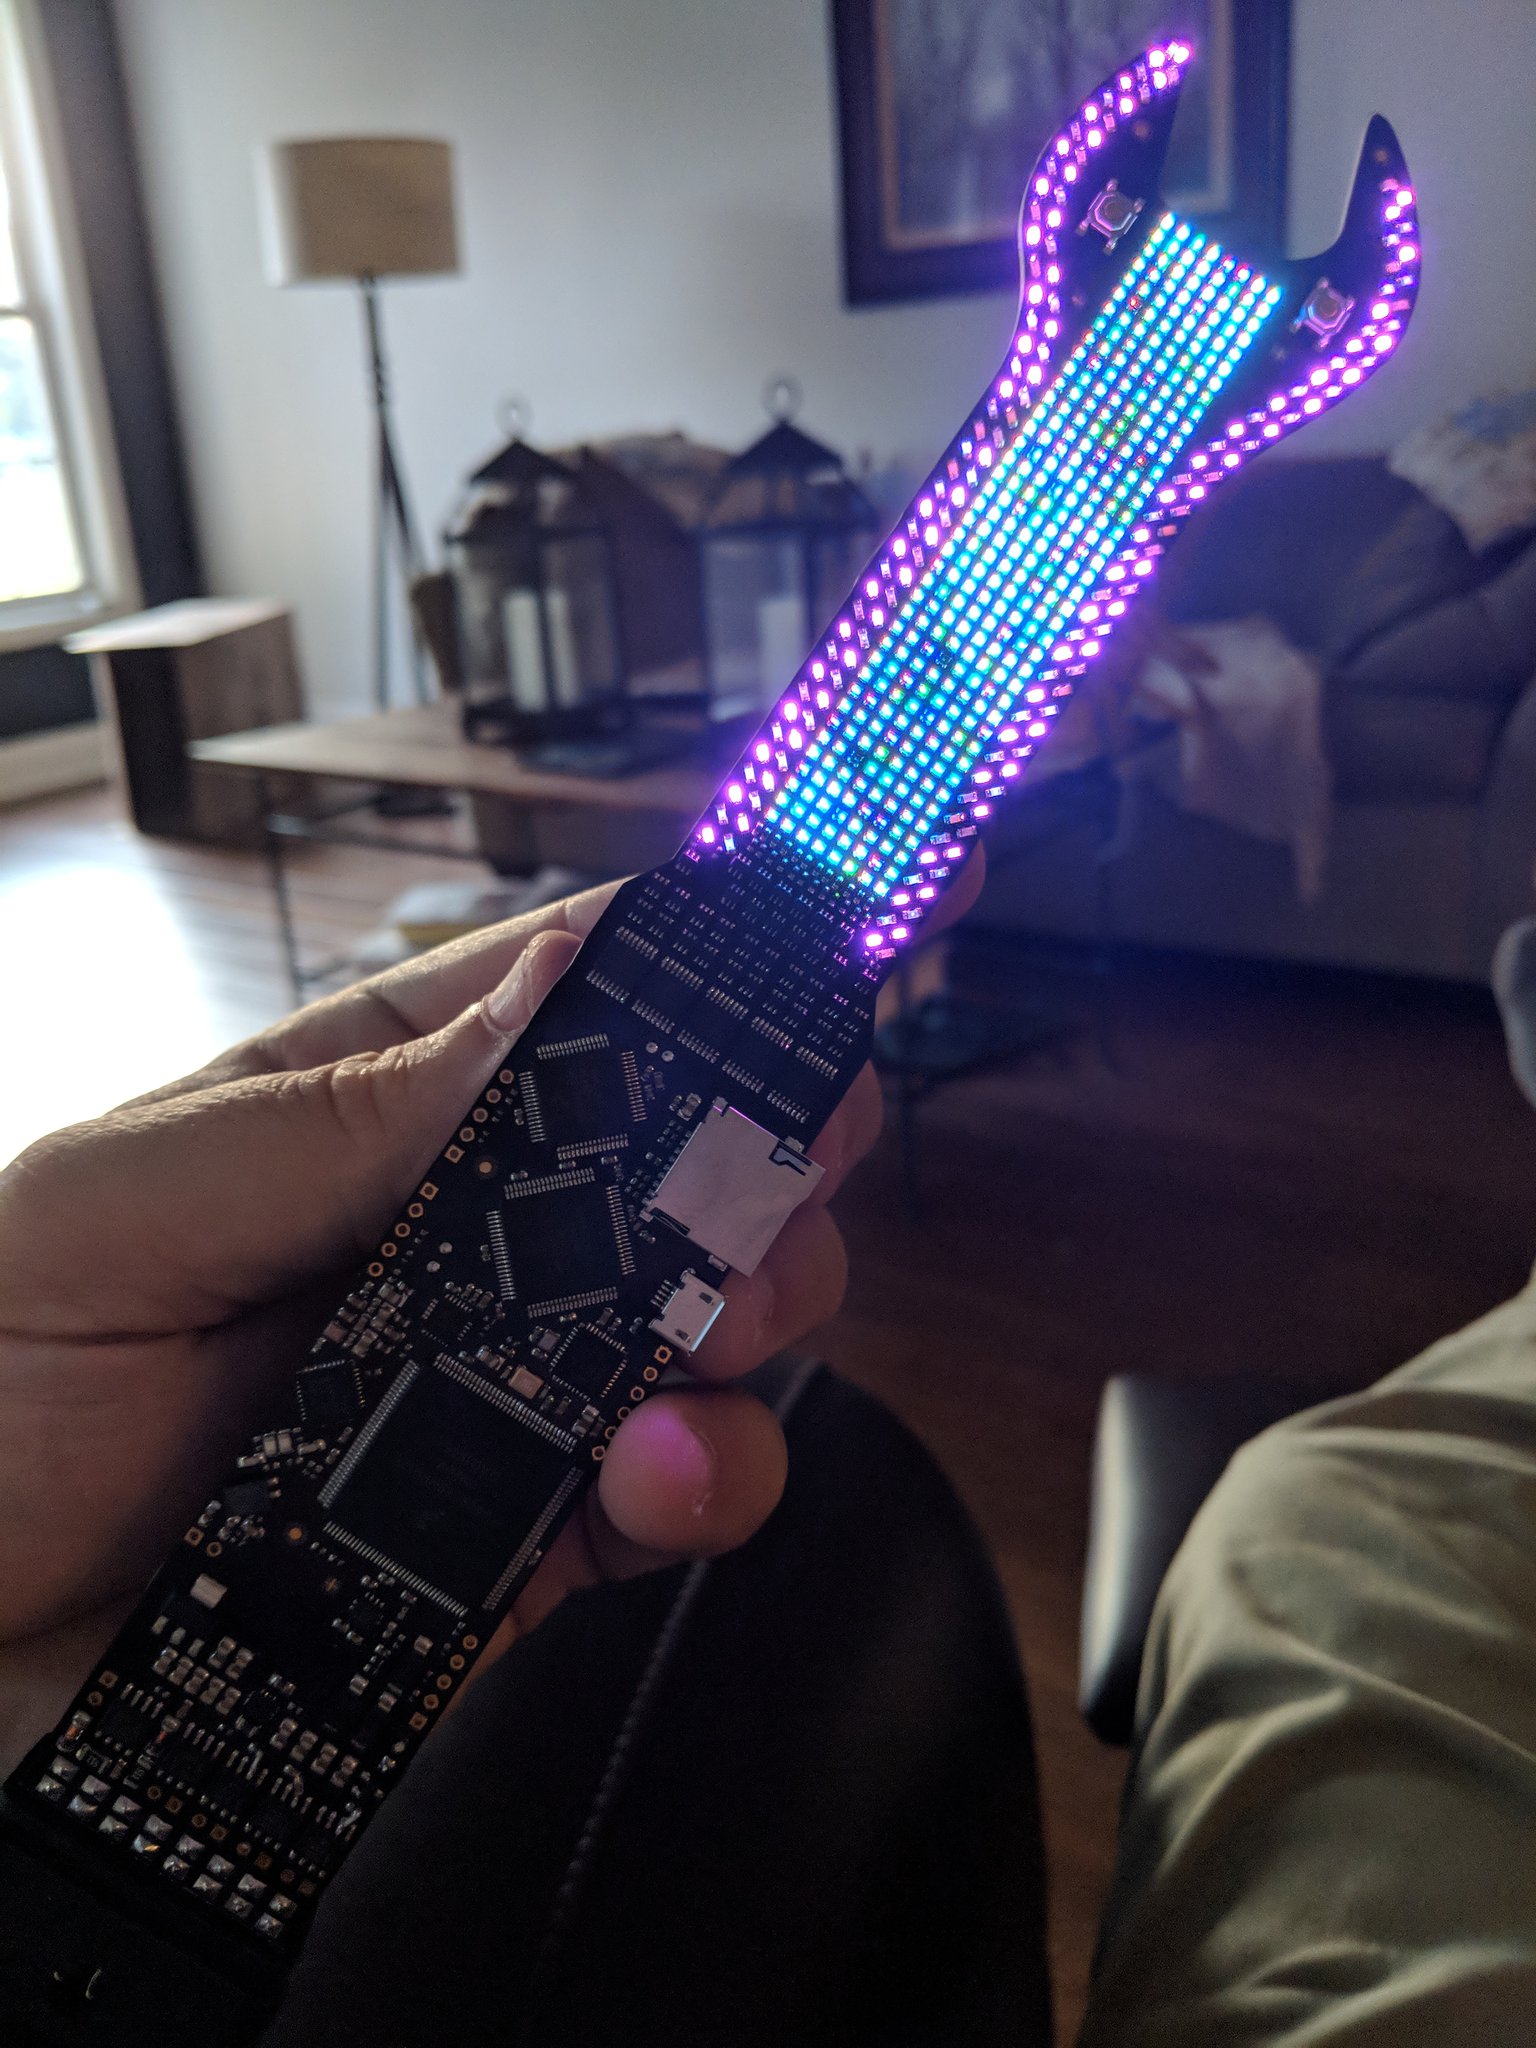
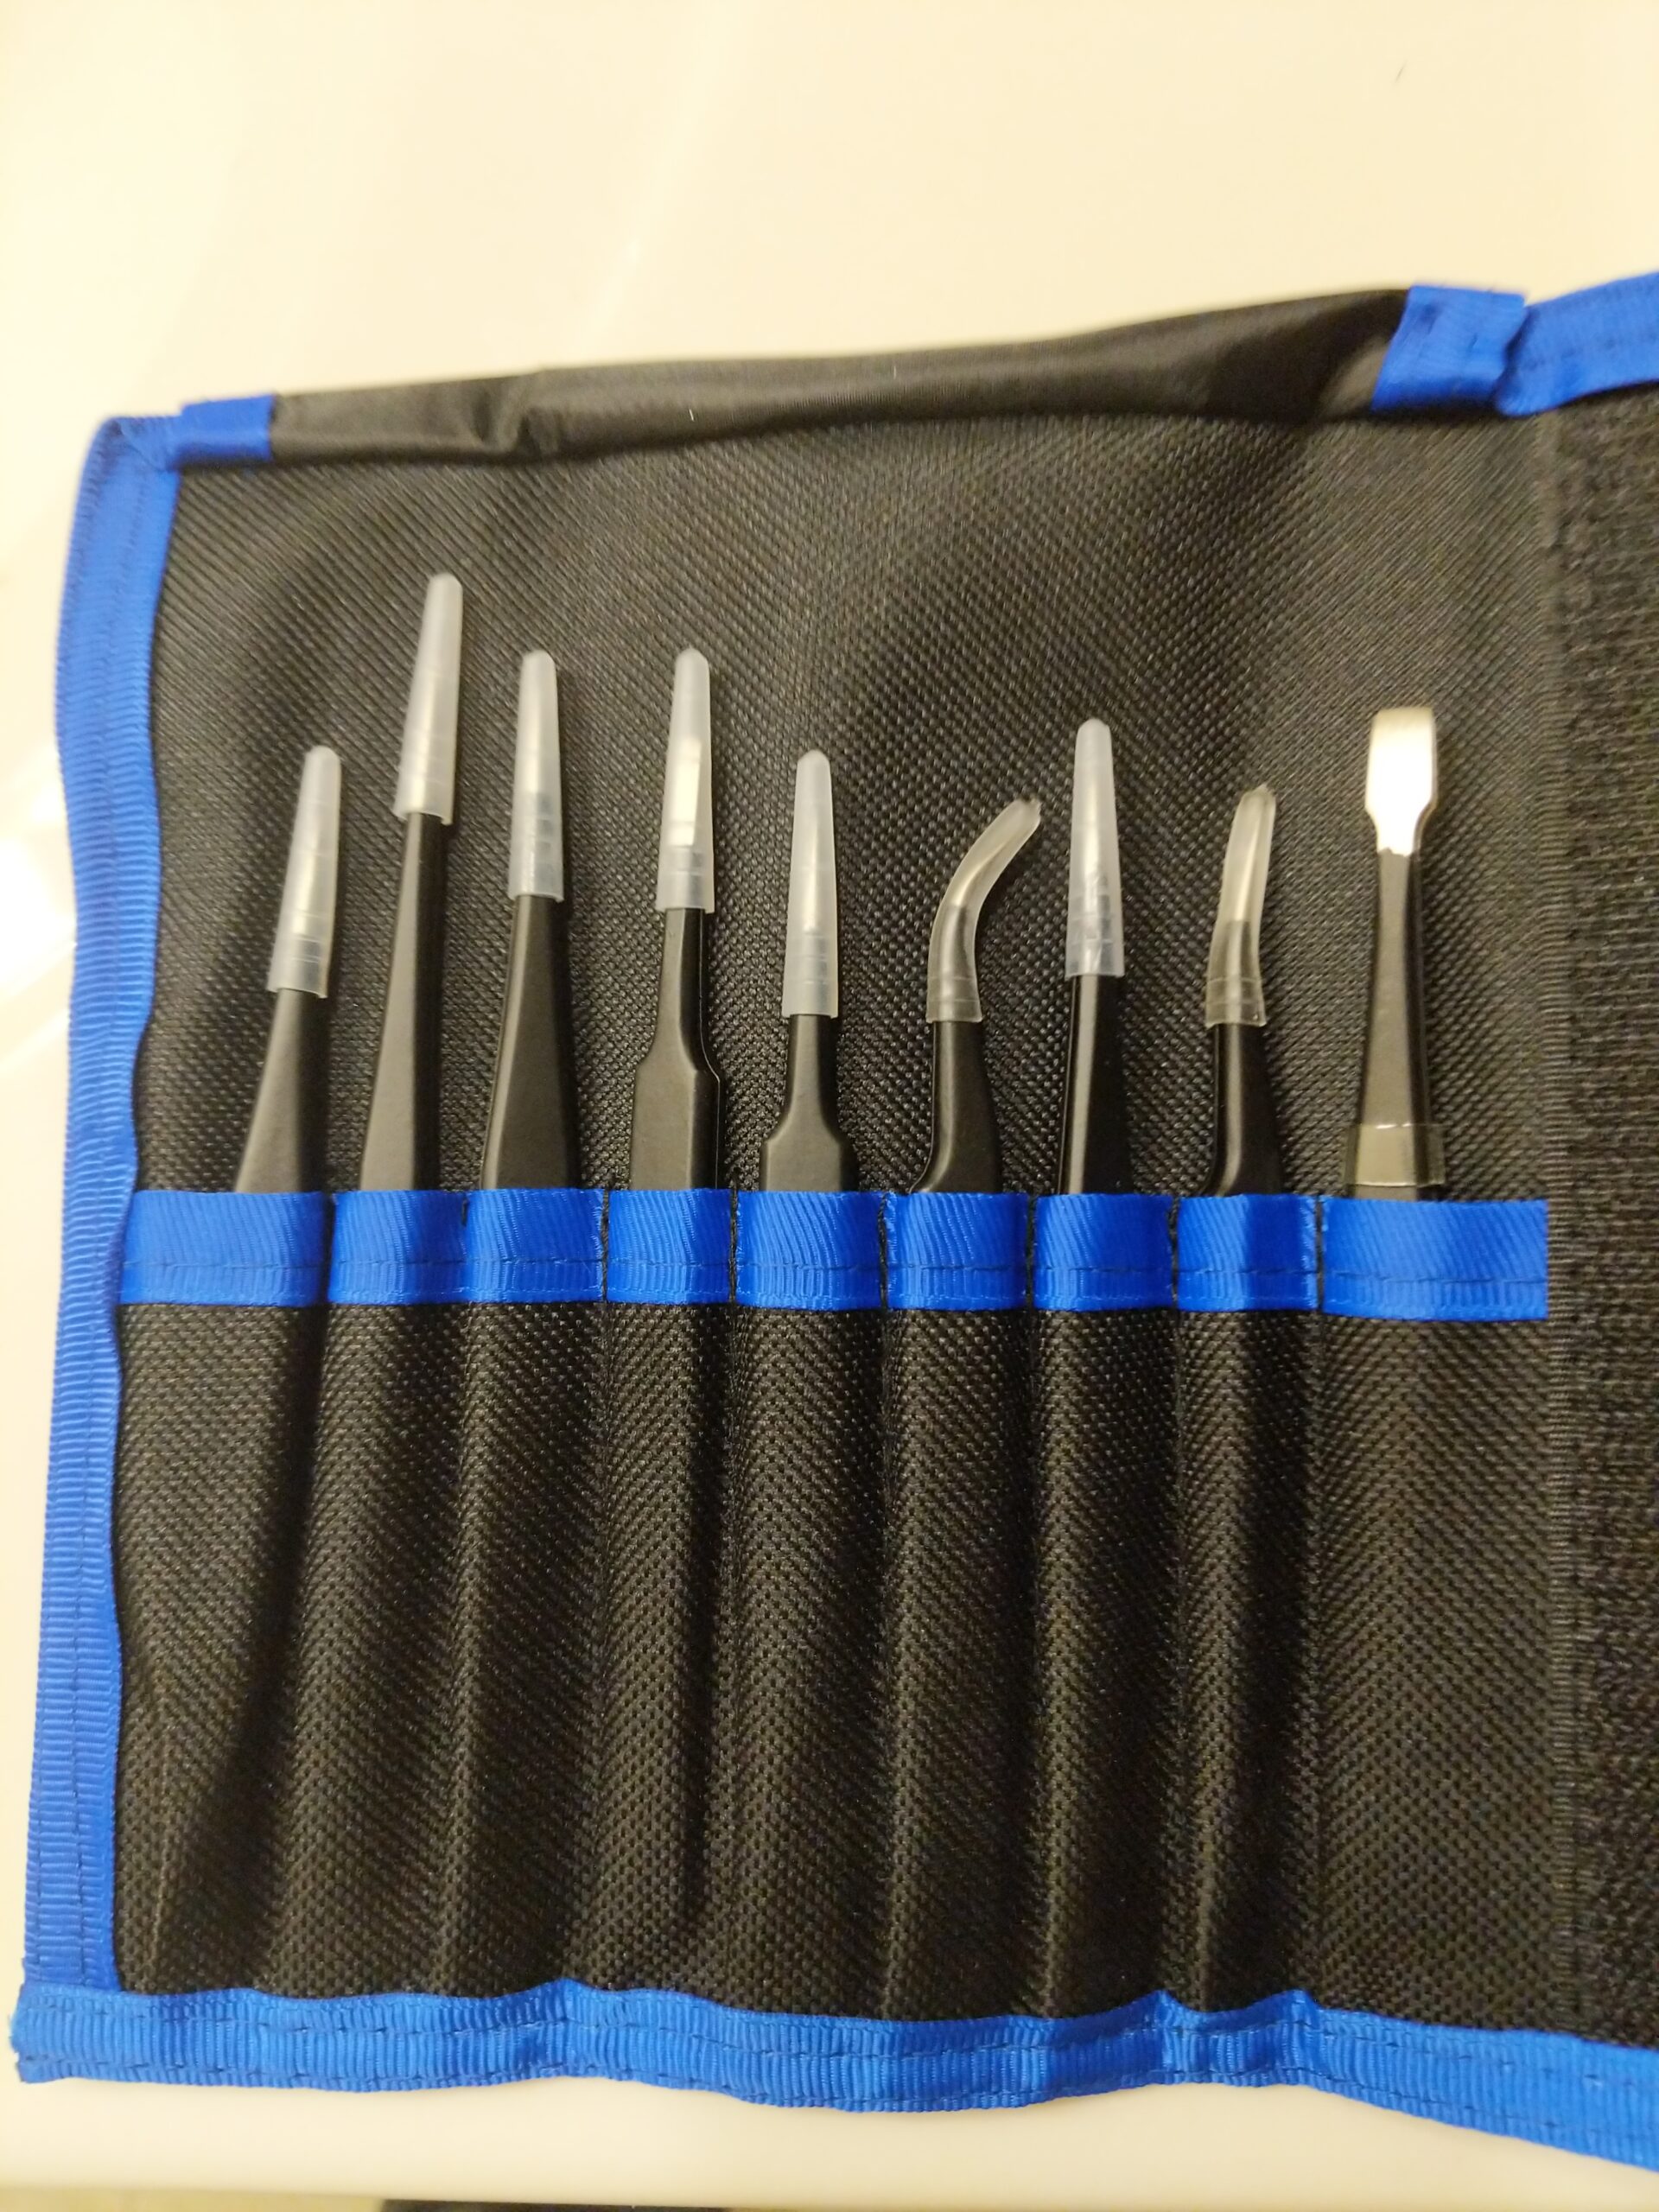
More SMD soldering means stepping up my tweezer game.
An outsider's exploration
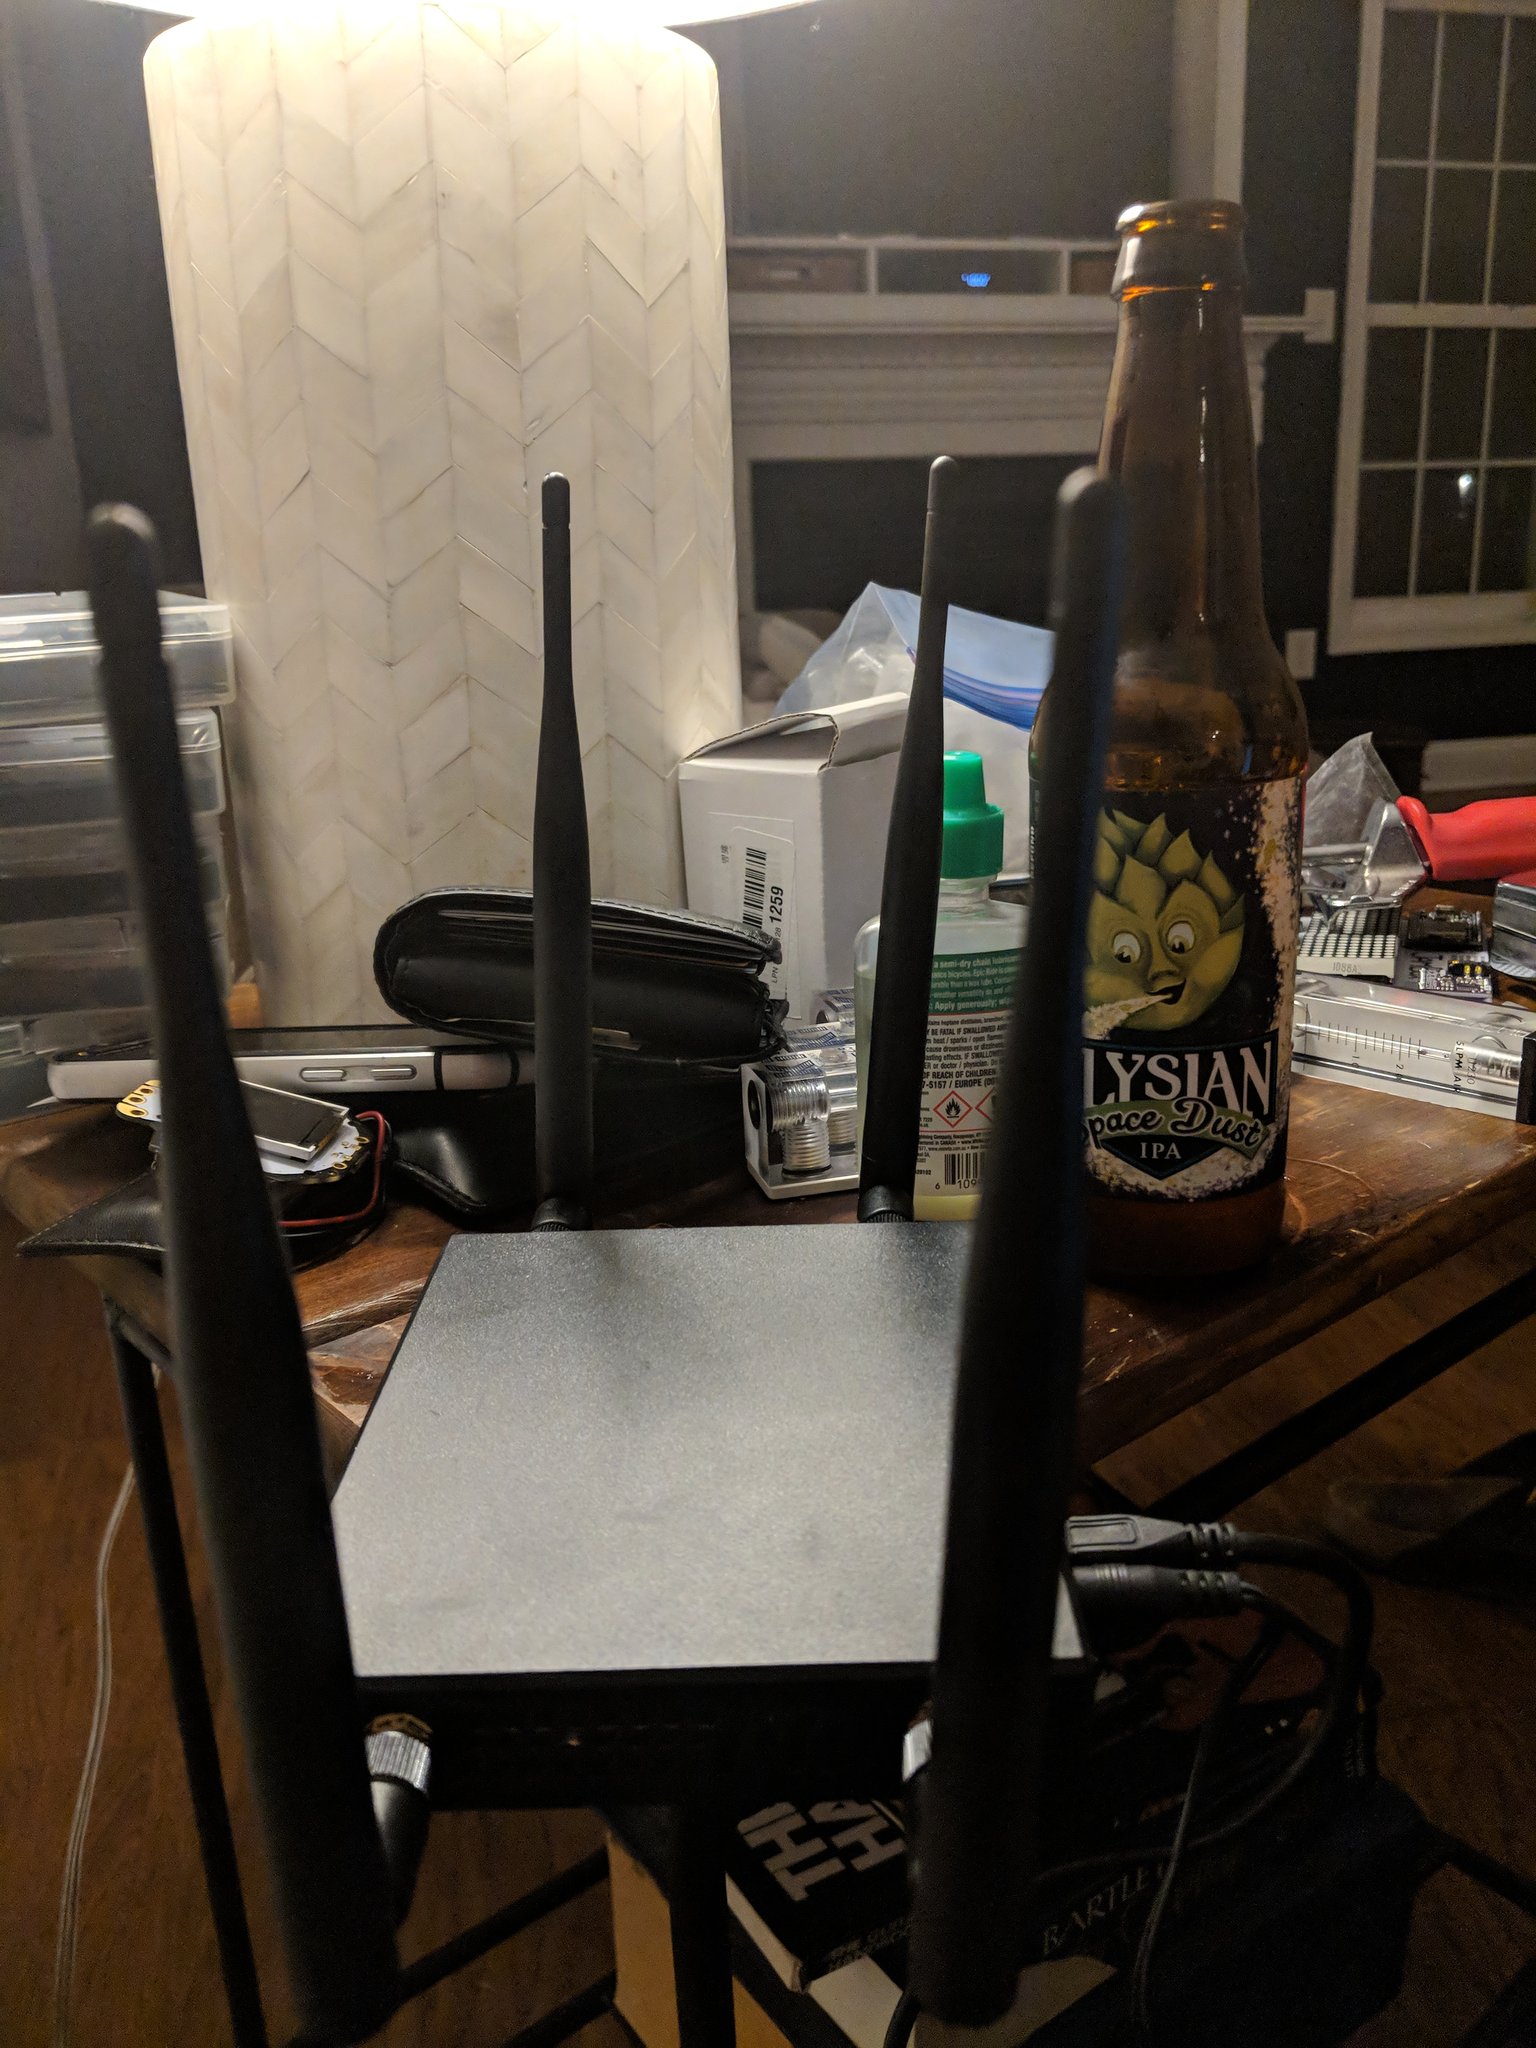
What’s everyone doing on this rainy Sunday? I’m prepping lock cylinders for tomorrow’s meeting and experimenting with my wifi Pineapple while listening to lofi.
The ONLY reason I didn’t walk away from DEFCON this year with a mohawk is that Kat resigned her position at MohawkCon. I waited too long, I guess, and then she told us down at the circle bar she had quit, and I was disappointed.
Requirements:
Schlage KIK lock cylinders
Following tool (comes with Schlage keying kit, along with pins and springs for the inevitable losses)
Tweezers
Shim(s) (very helpful)
I picked up a bunch of cylinders on eBay to use for lockpicking practice, because it was a hell of a lot cheaper than buying an already-assembled progressive cylinder set. For example, one progressive set I found was $80 for five or six cylinders, and I picked up 20 cylinders for around $2 each.
I decided to document the process, because there aren’t enough detailed tutorials on the web for this particular task, and if you’re going to pick locks, you should know how to repin them, because that will help you understand how they work.
First, here’s how standard tumbler locks work. We won’t get into advanced topics like security pins here.
In a Schlage KIK (key-in-knob) lock cylinder, each “pin” in is actually two pins and a spring. The top pin is spring loaded, and when the key is engaged, resides in the upper part of the lock cylinder — the squared extension above the keyway known as the “bible.” The bottom pins are engaged by your key. The length of each bottom pin, along with the measurement of the “peaks” of your key, provide the combination that results in the bottom pins being flush with the keyway, forcing the top pins completely into the bible, providing a gap and allowing the lock cylinder to turn.
[drawing to come]
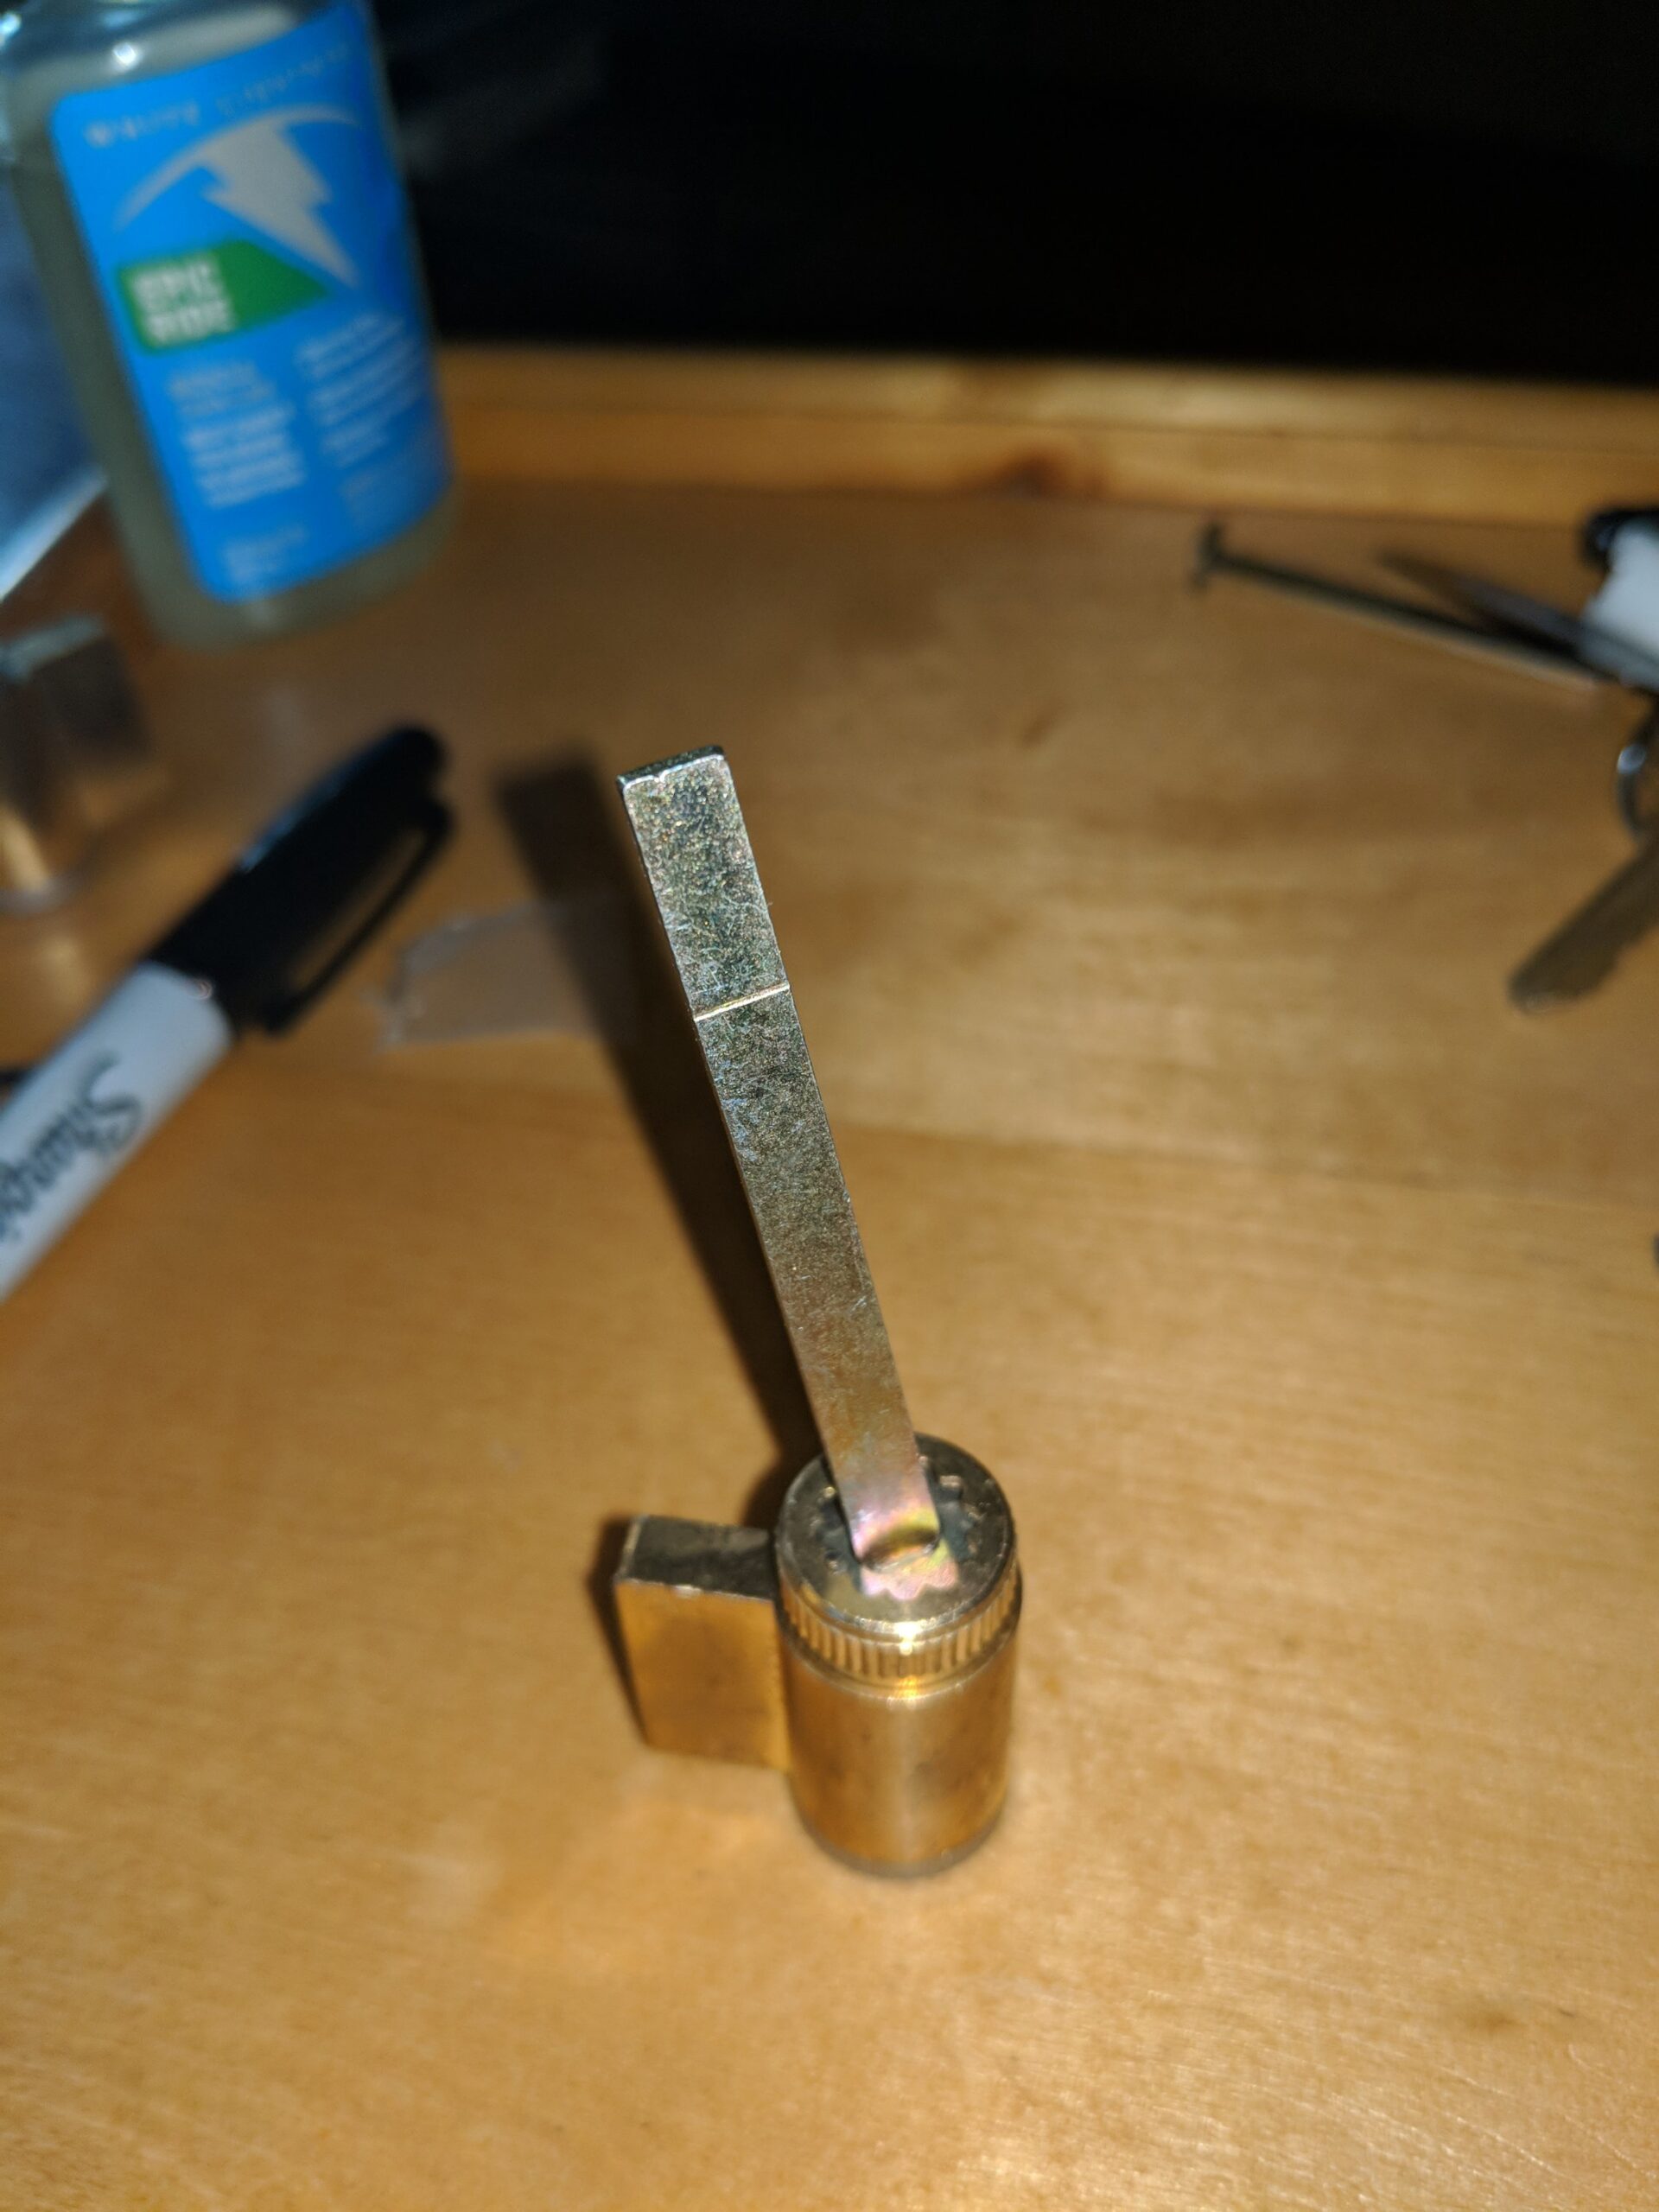
To begin, set the lock on its face on the table. Note the thumbscrew end cap.
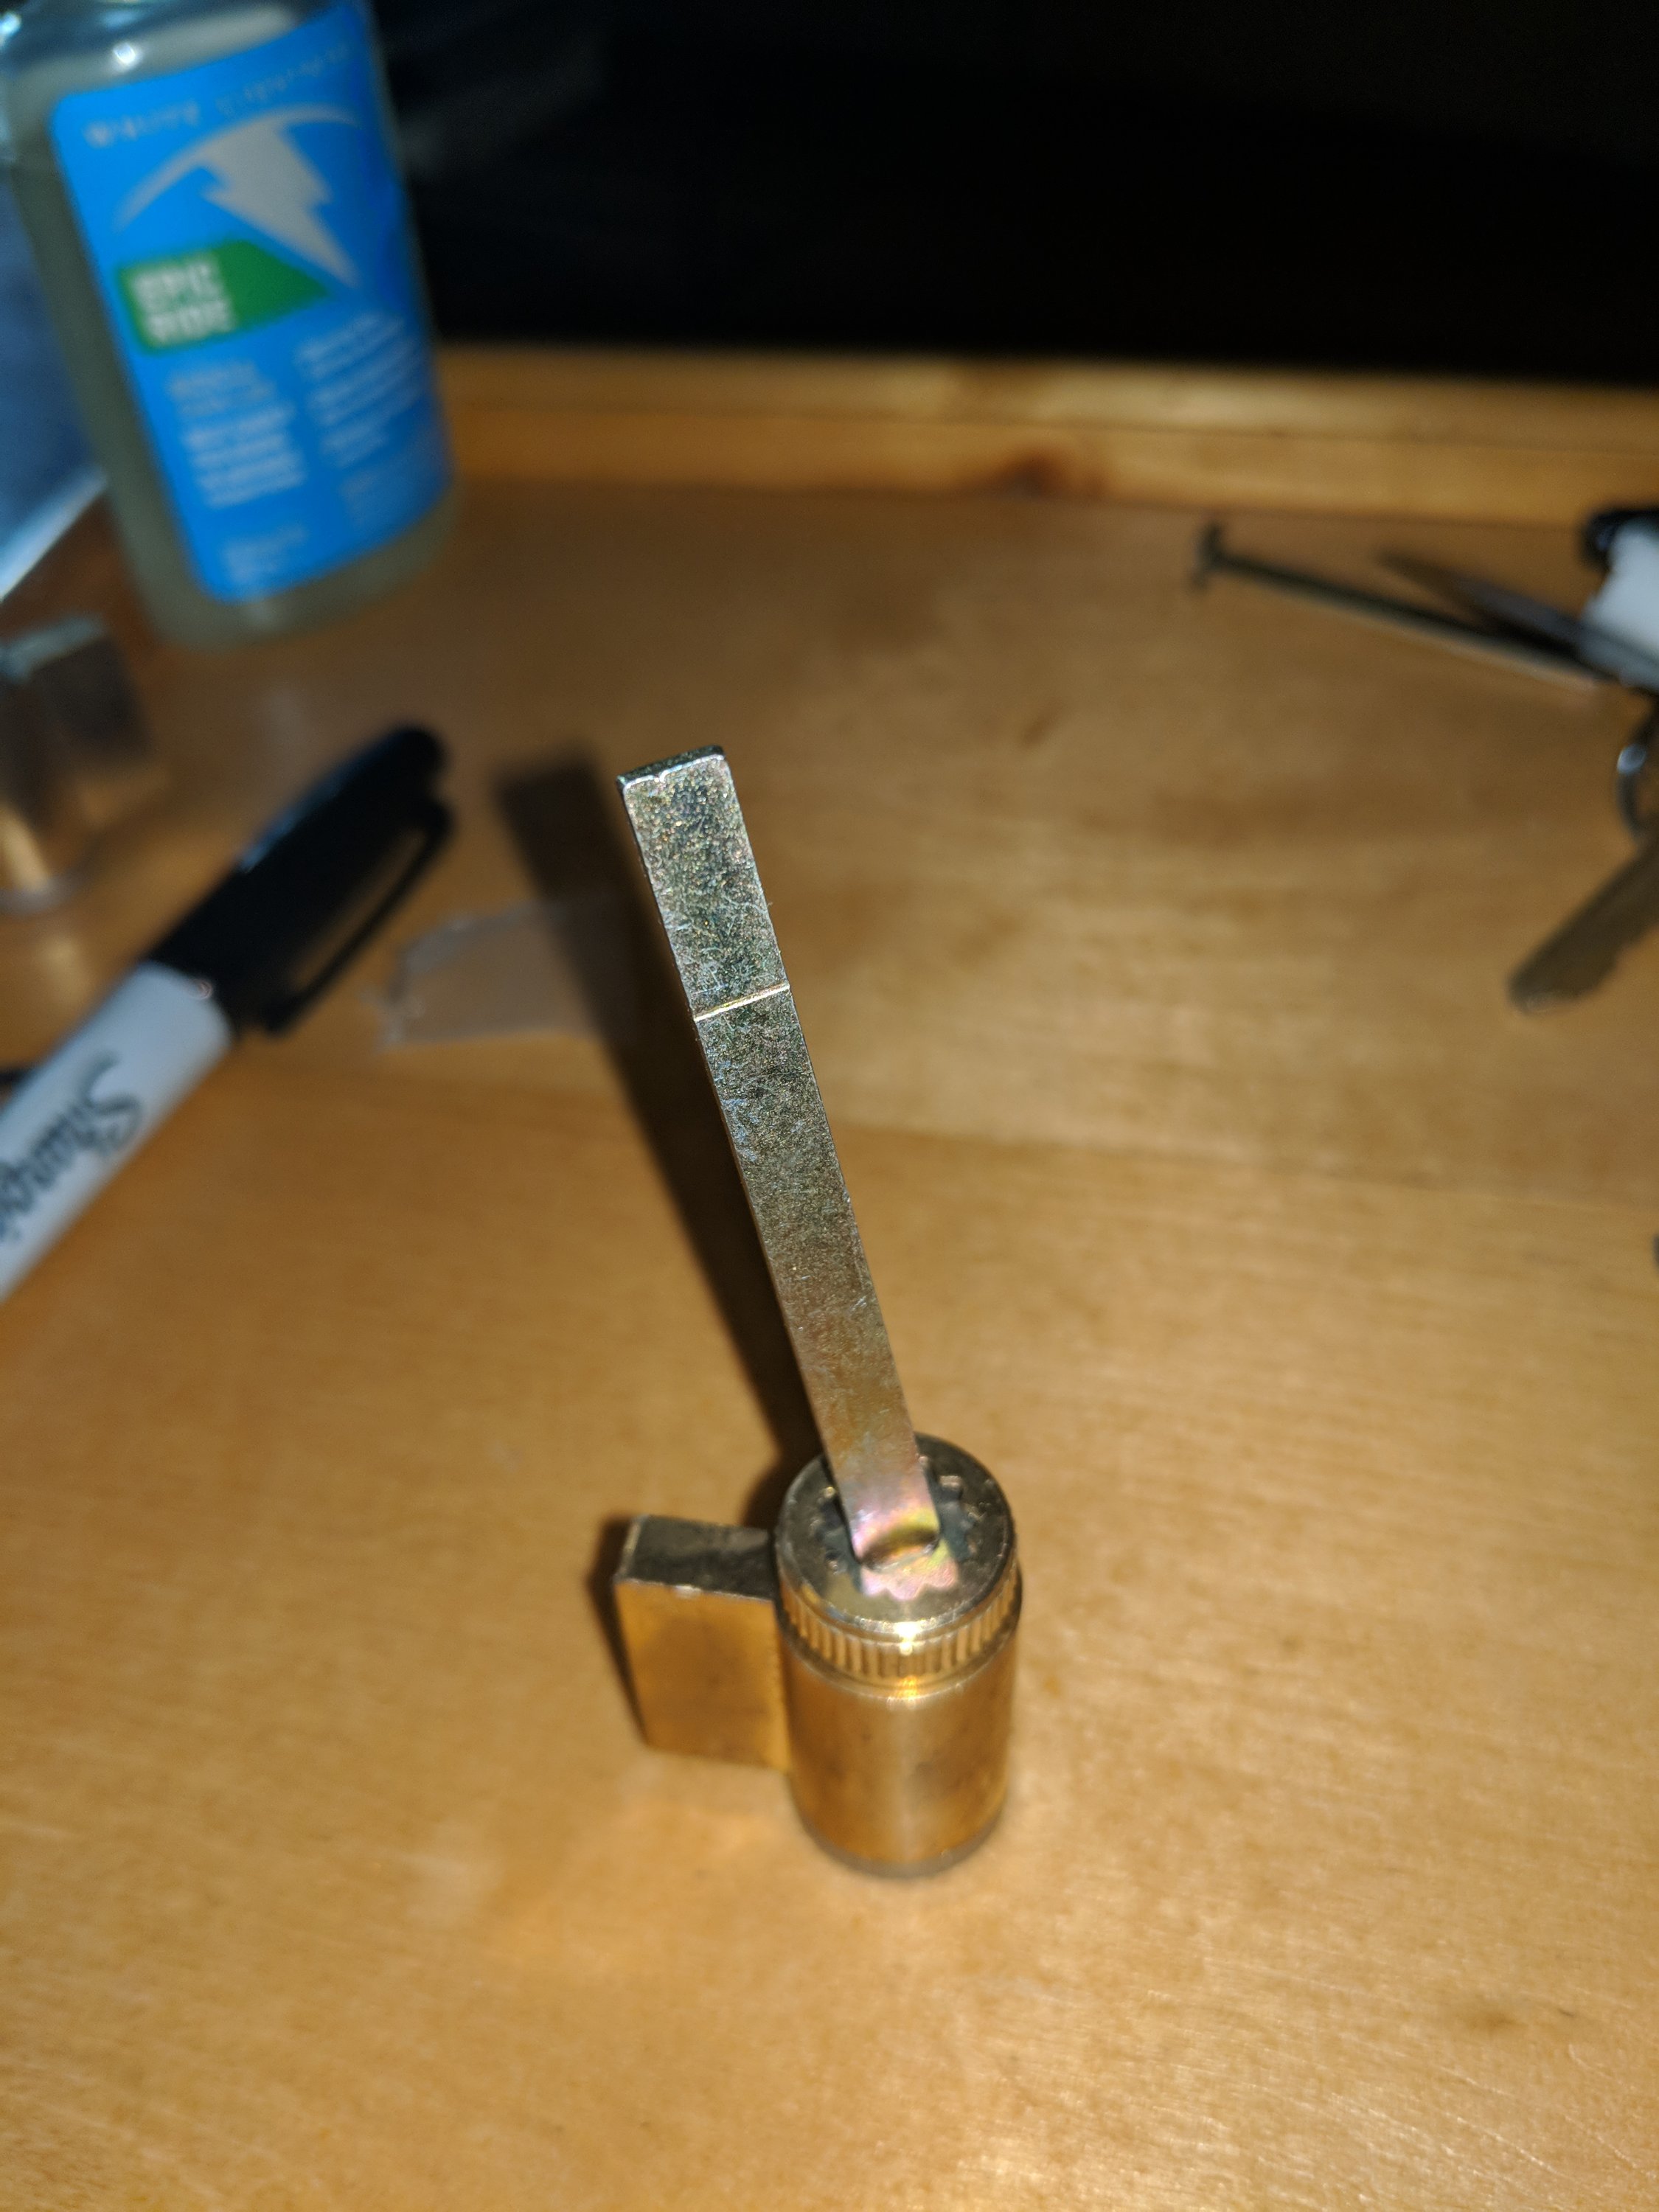
This must be removed for repinning. It is held in place by a capture pin. This allows the end cap to be tightened to a specification and then held there, rather than tightened all the way to the point where the cylinder won’t turn.

Step 1 is to remove that end cap. This is accomplished by pushing down on the capture pin with some sort of tool. This can be tricky, but once you get the hang of the motion, you can do it with just your two hands, one holding the cylinder steady and unscrewing the cap while the other holds pressure on the capture pin.
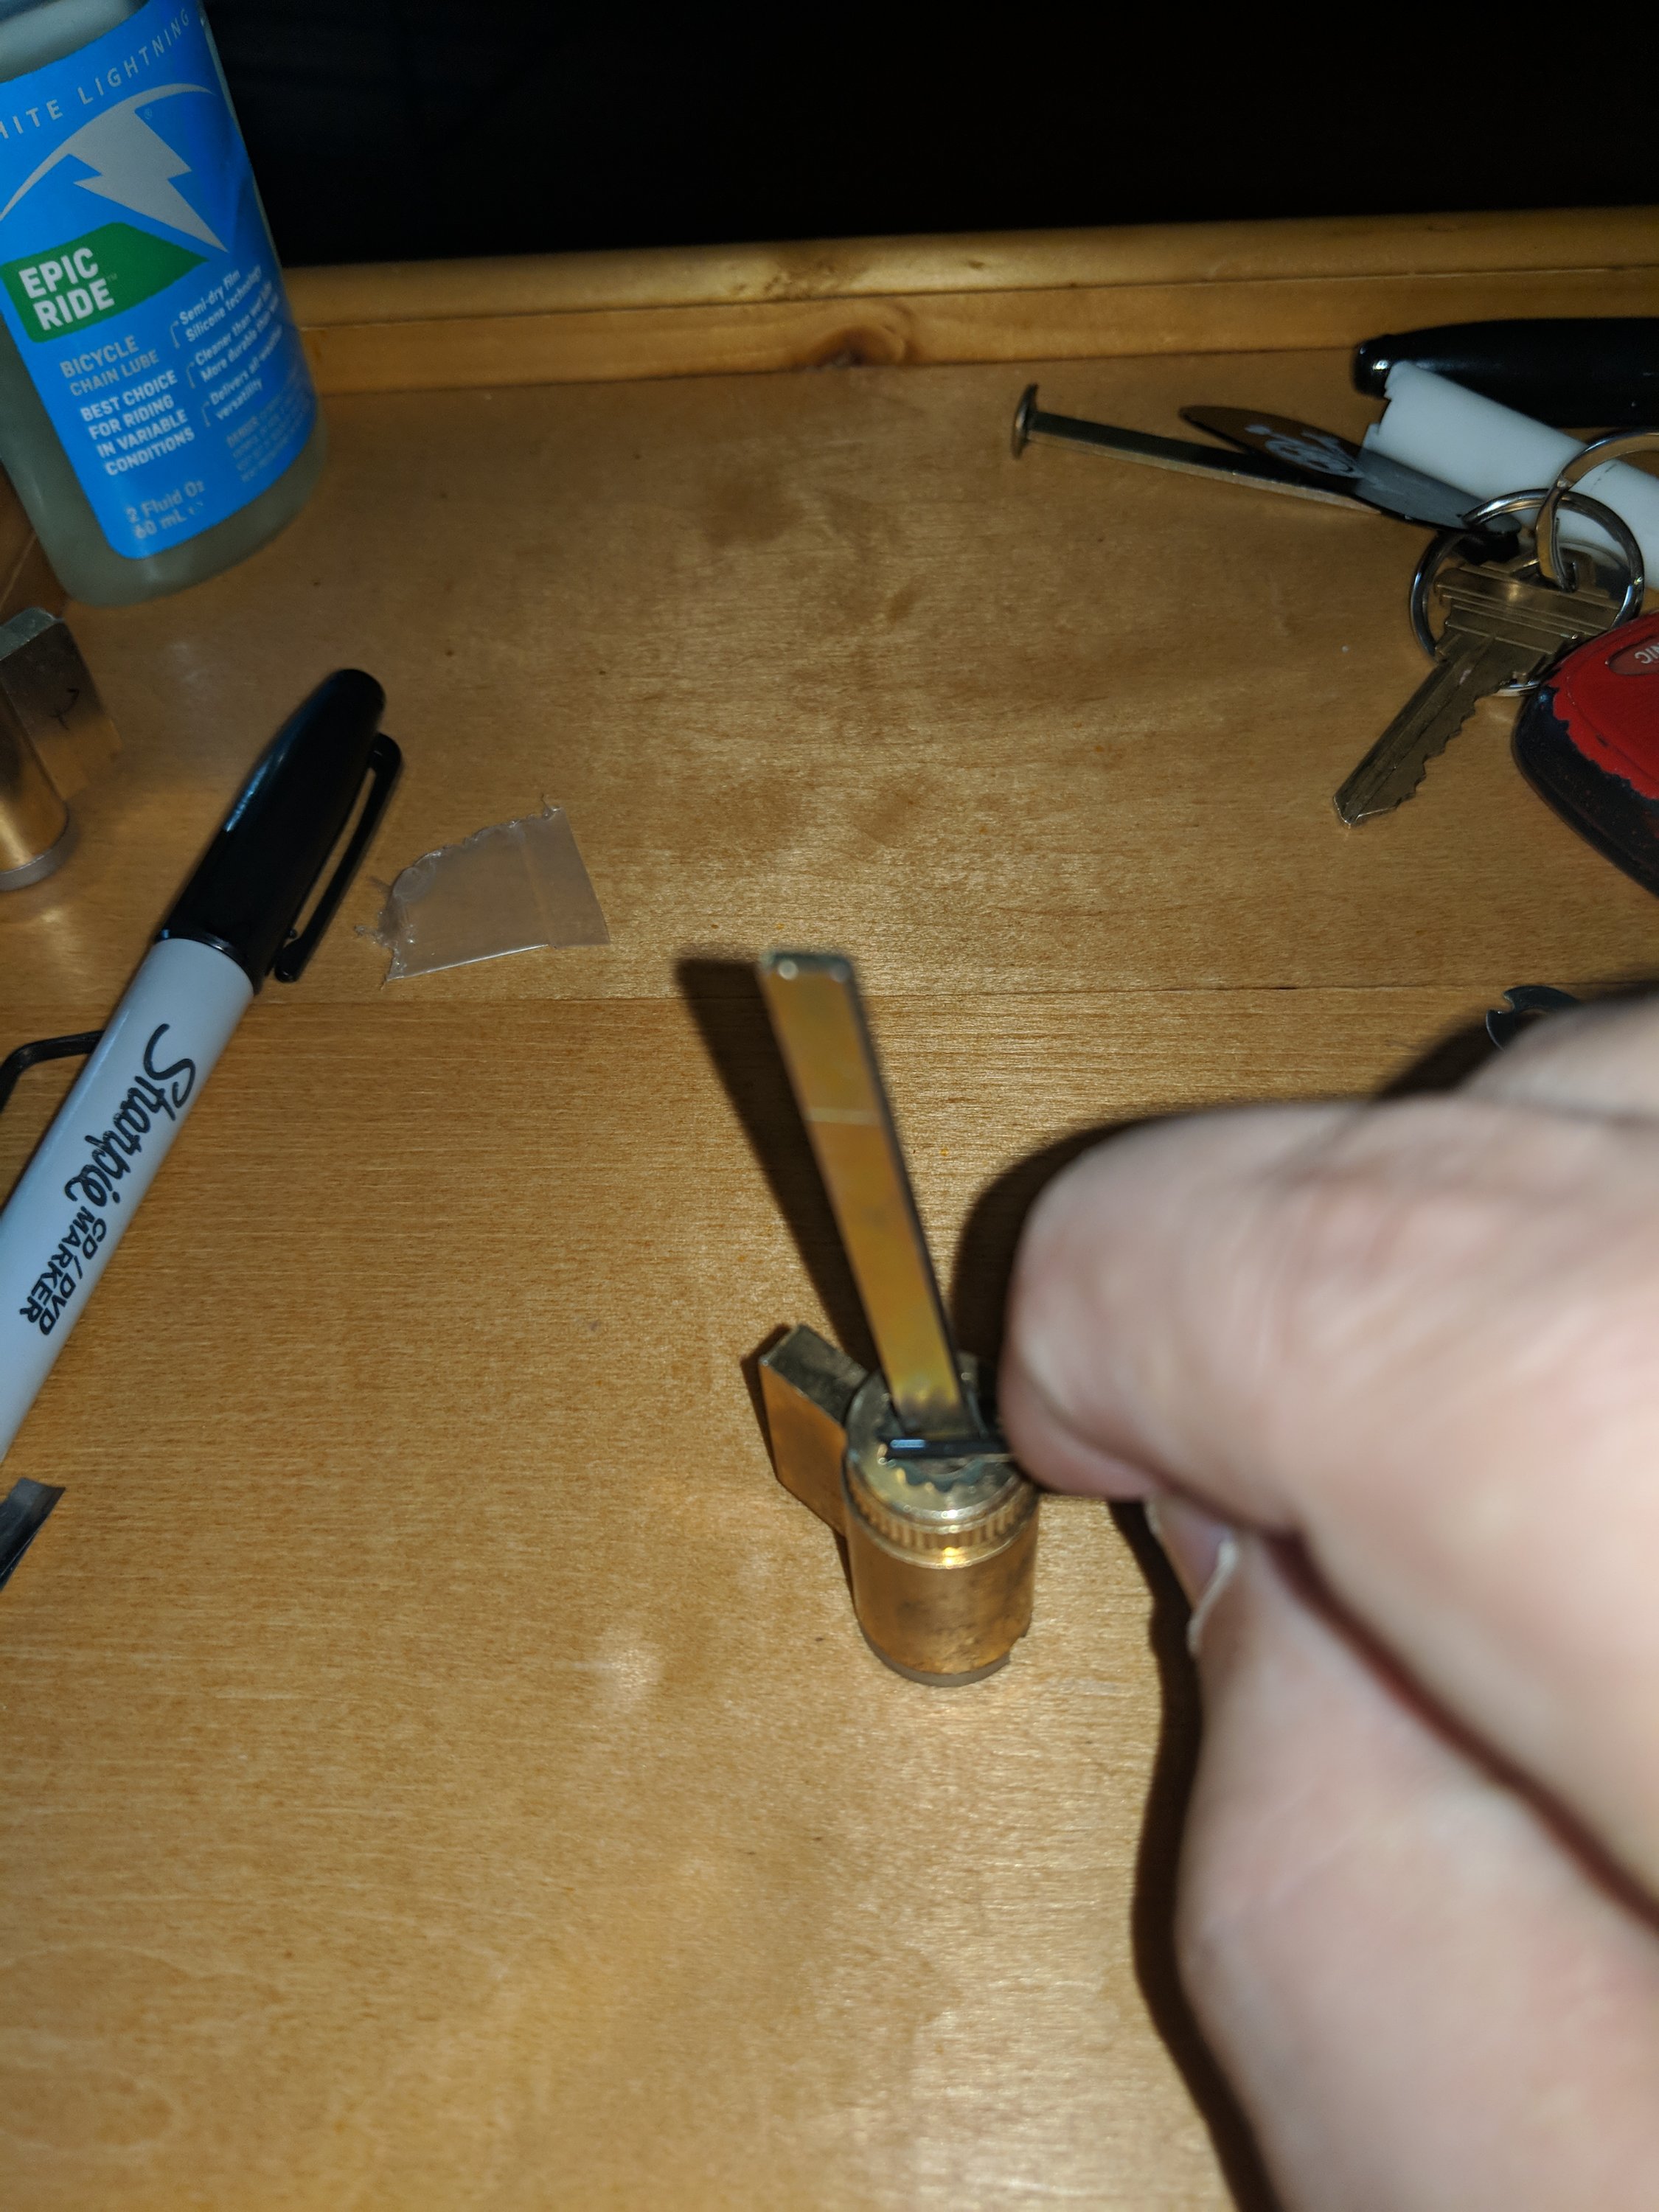
Once the end cap is removed, you’ll find a washer and a flat rod. The flat rod is used to open the actual door, and for our purposes should be removed.
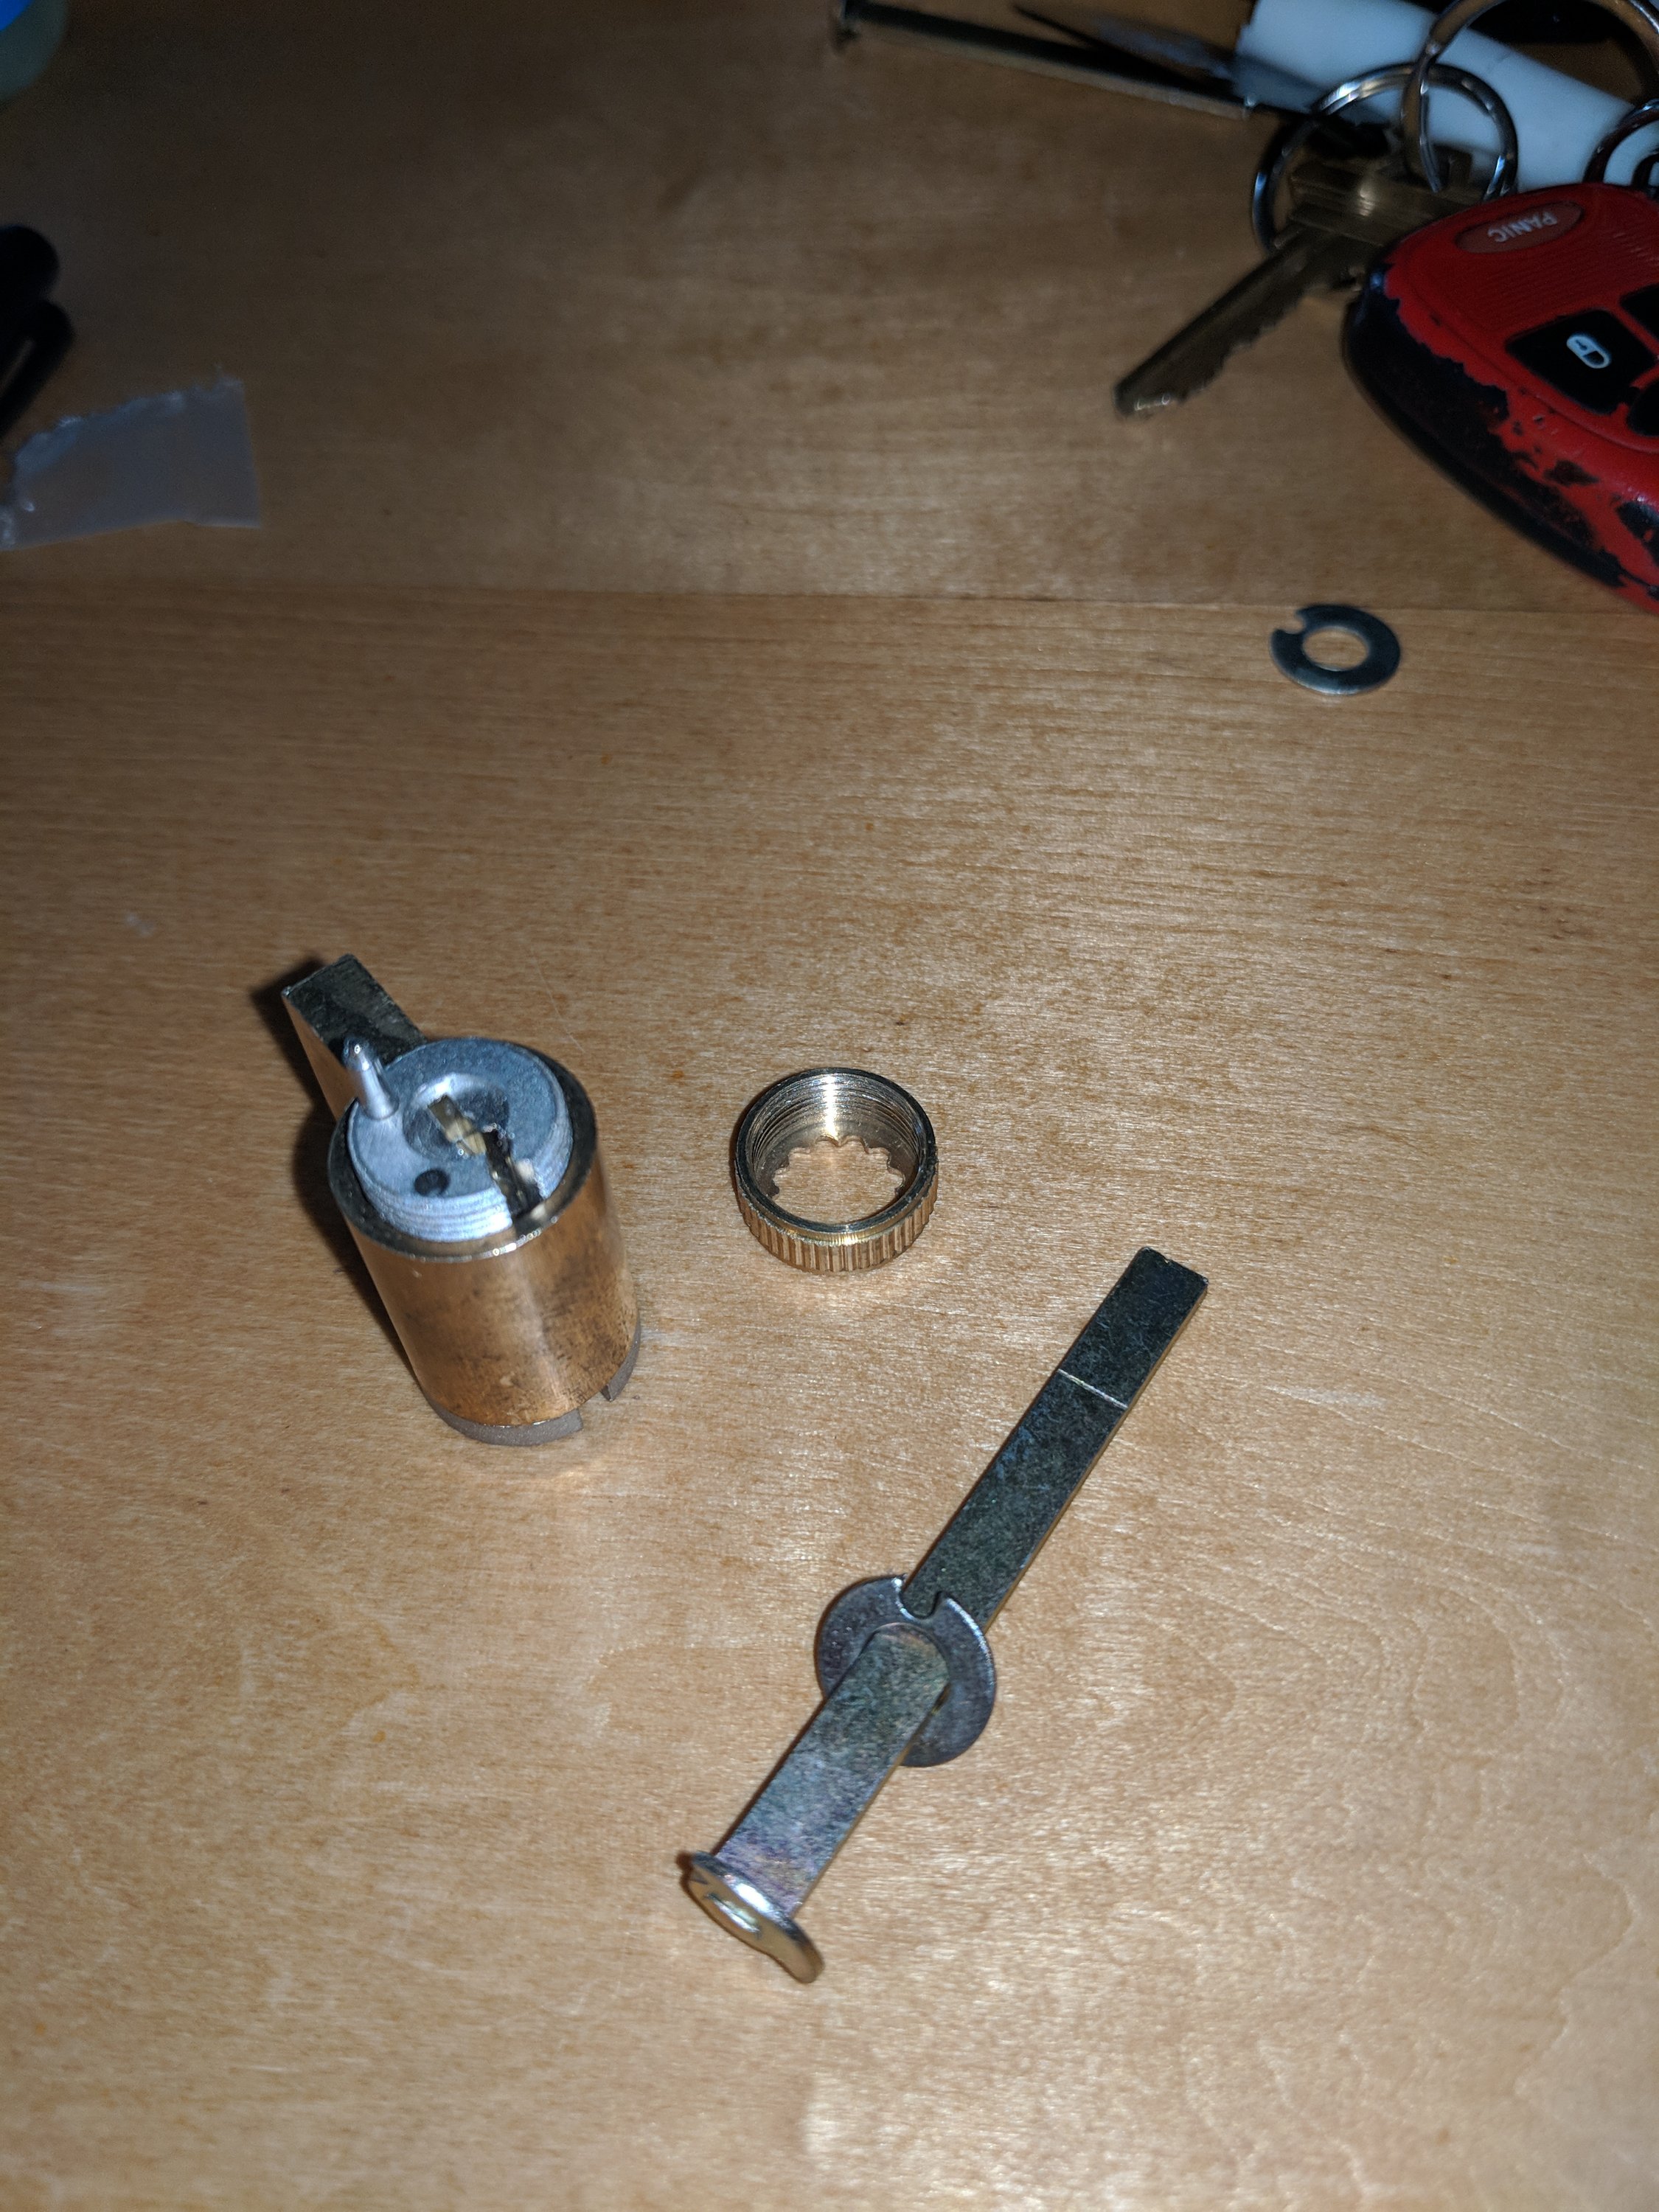
Carefully remove the capture pin and set it aside for safekeeping. Then carefully turn the cylinder upside down, and the capture pin spring will fall out. Set that aside as well. You will need all of these parts to reassemble the cylinder (minus the flat rod).
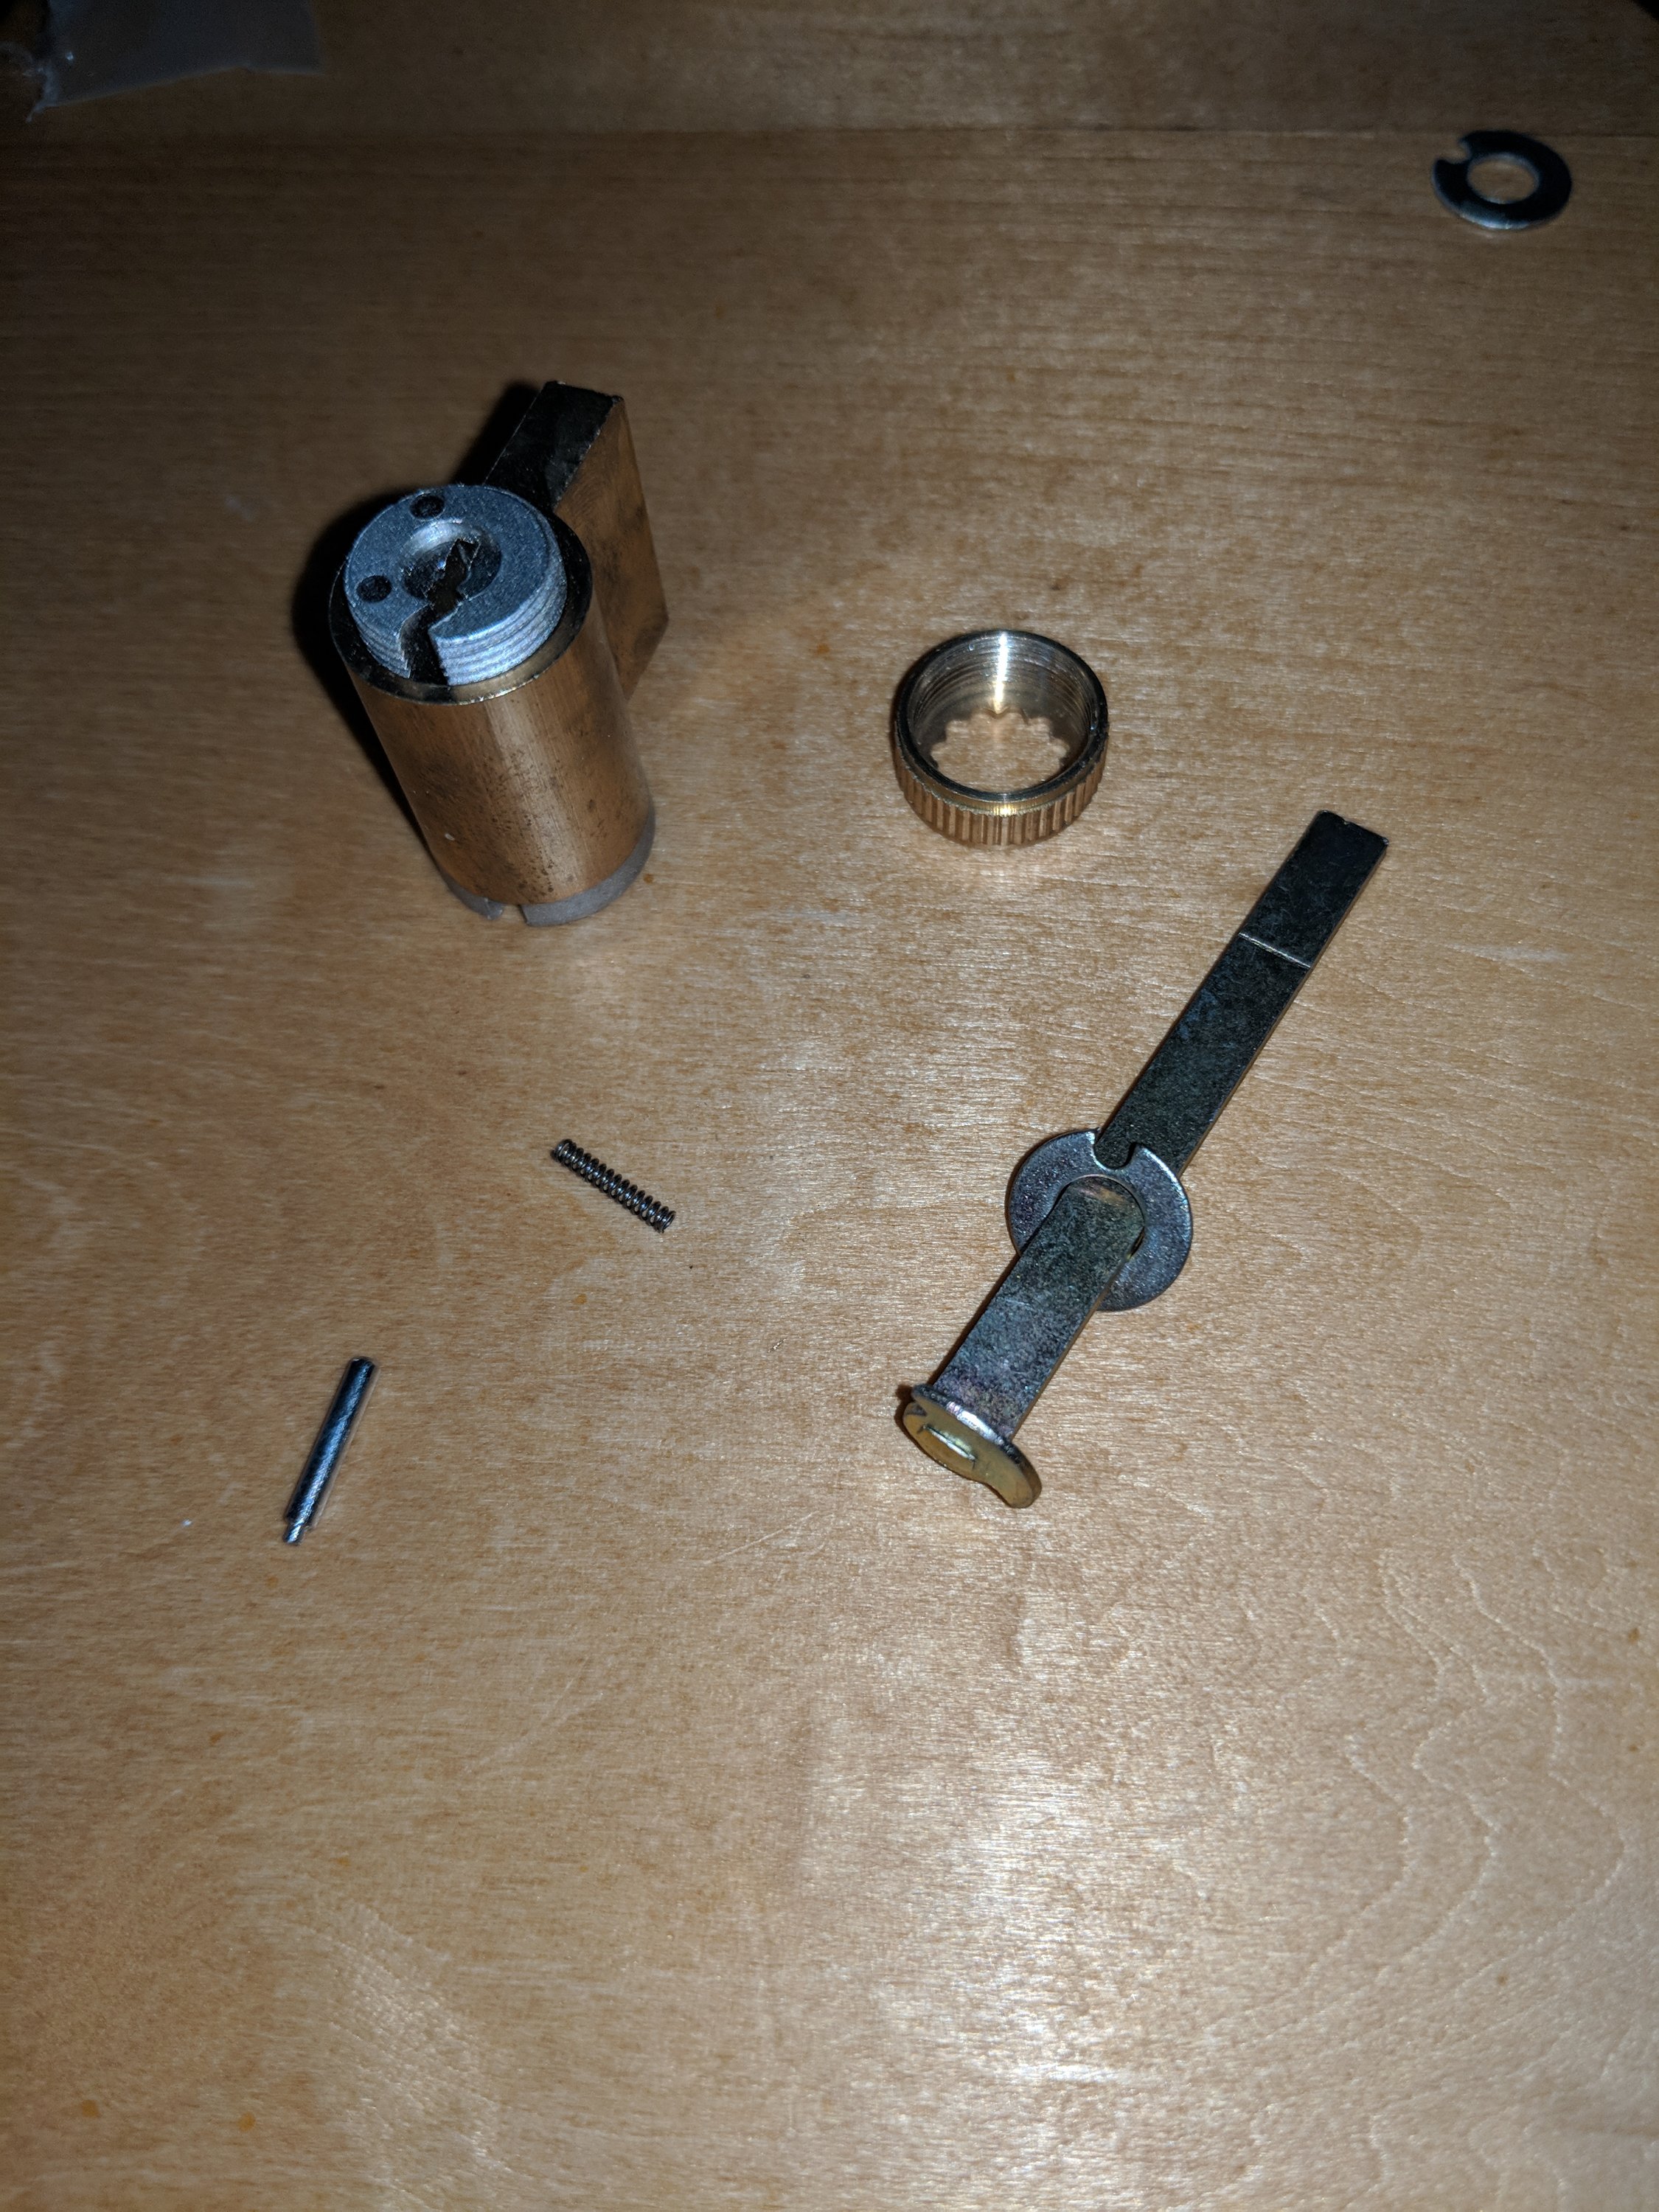
Now you need to unlock the cylinder to disengage the bottom pins from the top pins. If you have a key, use it, being careful not to pull the cylinder from its housing just yet.
In my case, I did not have a key. If this is your case as well, congratulations, you’re about to experience even more lockpicking fun. You can try and pick all five or six pins yourself the traditional way, but it’s far easier at this point to use a shim. Insert the shim into the rear of the lock (if still flat on the table, this is the top) where it meets the bible, and push until there is resistance.
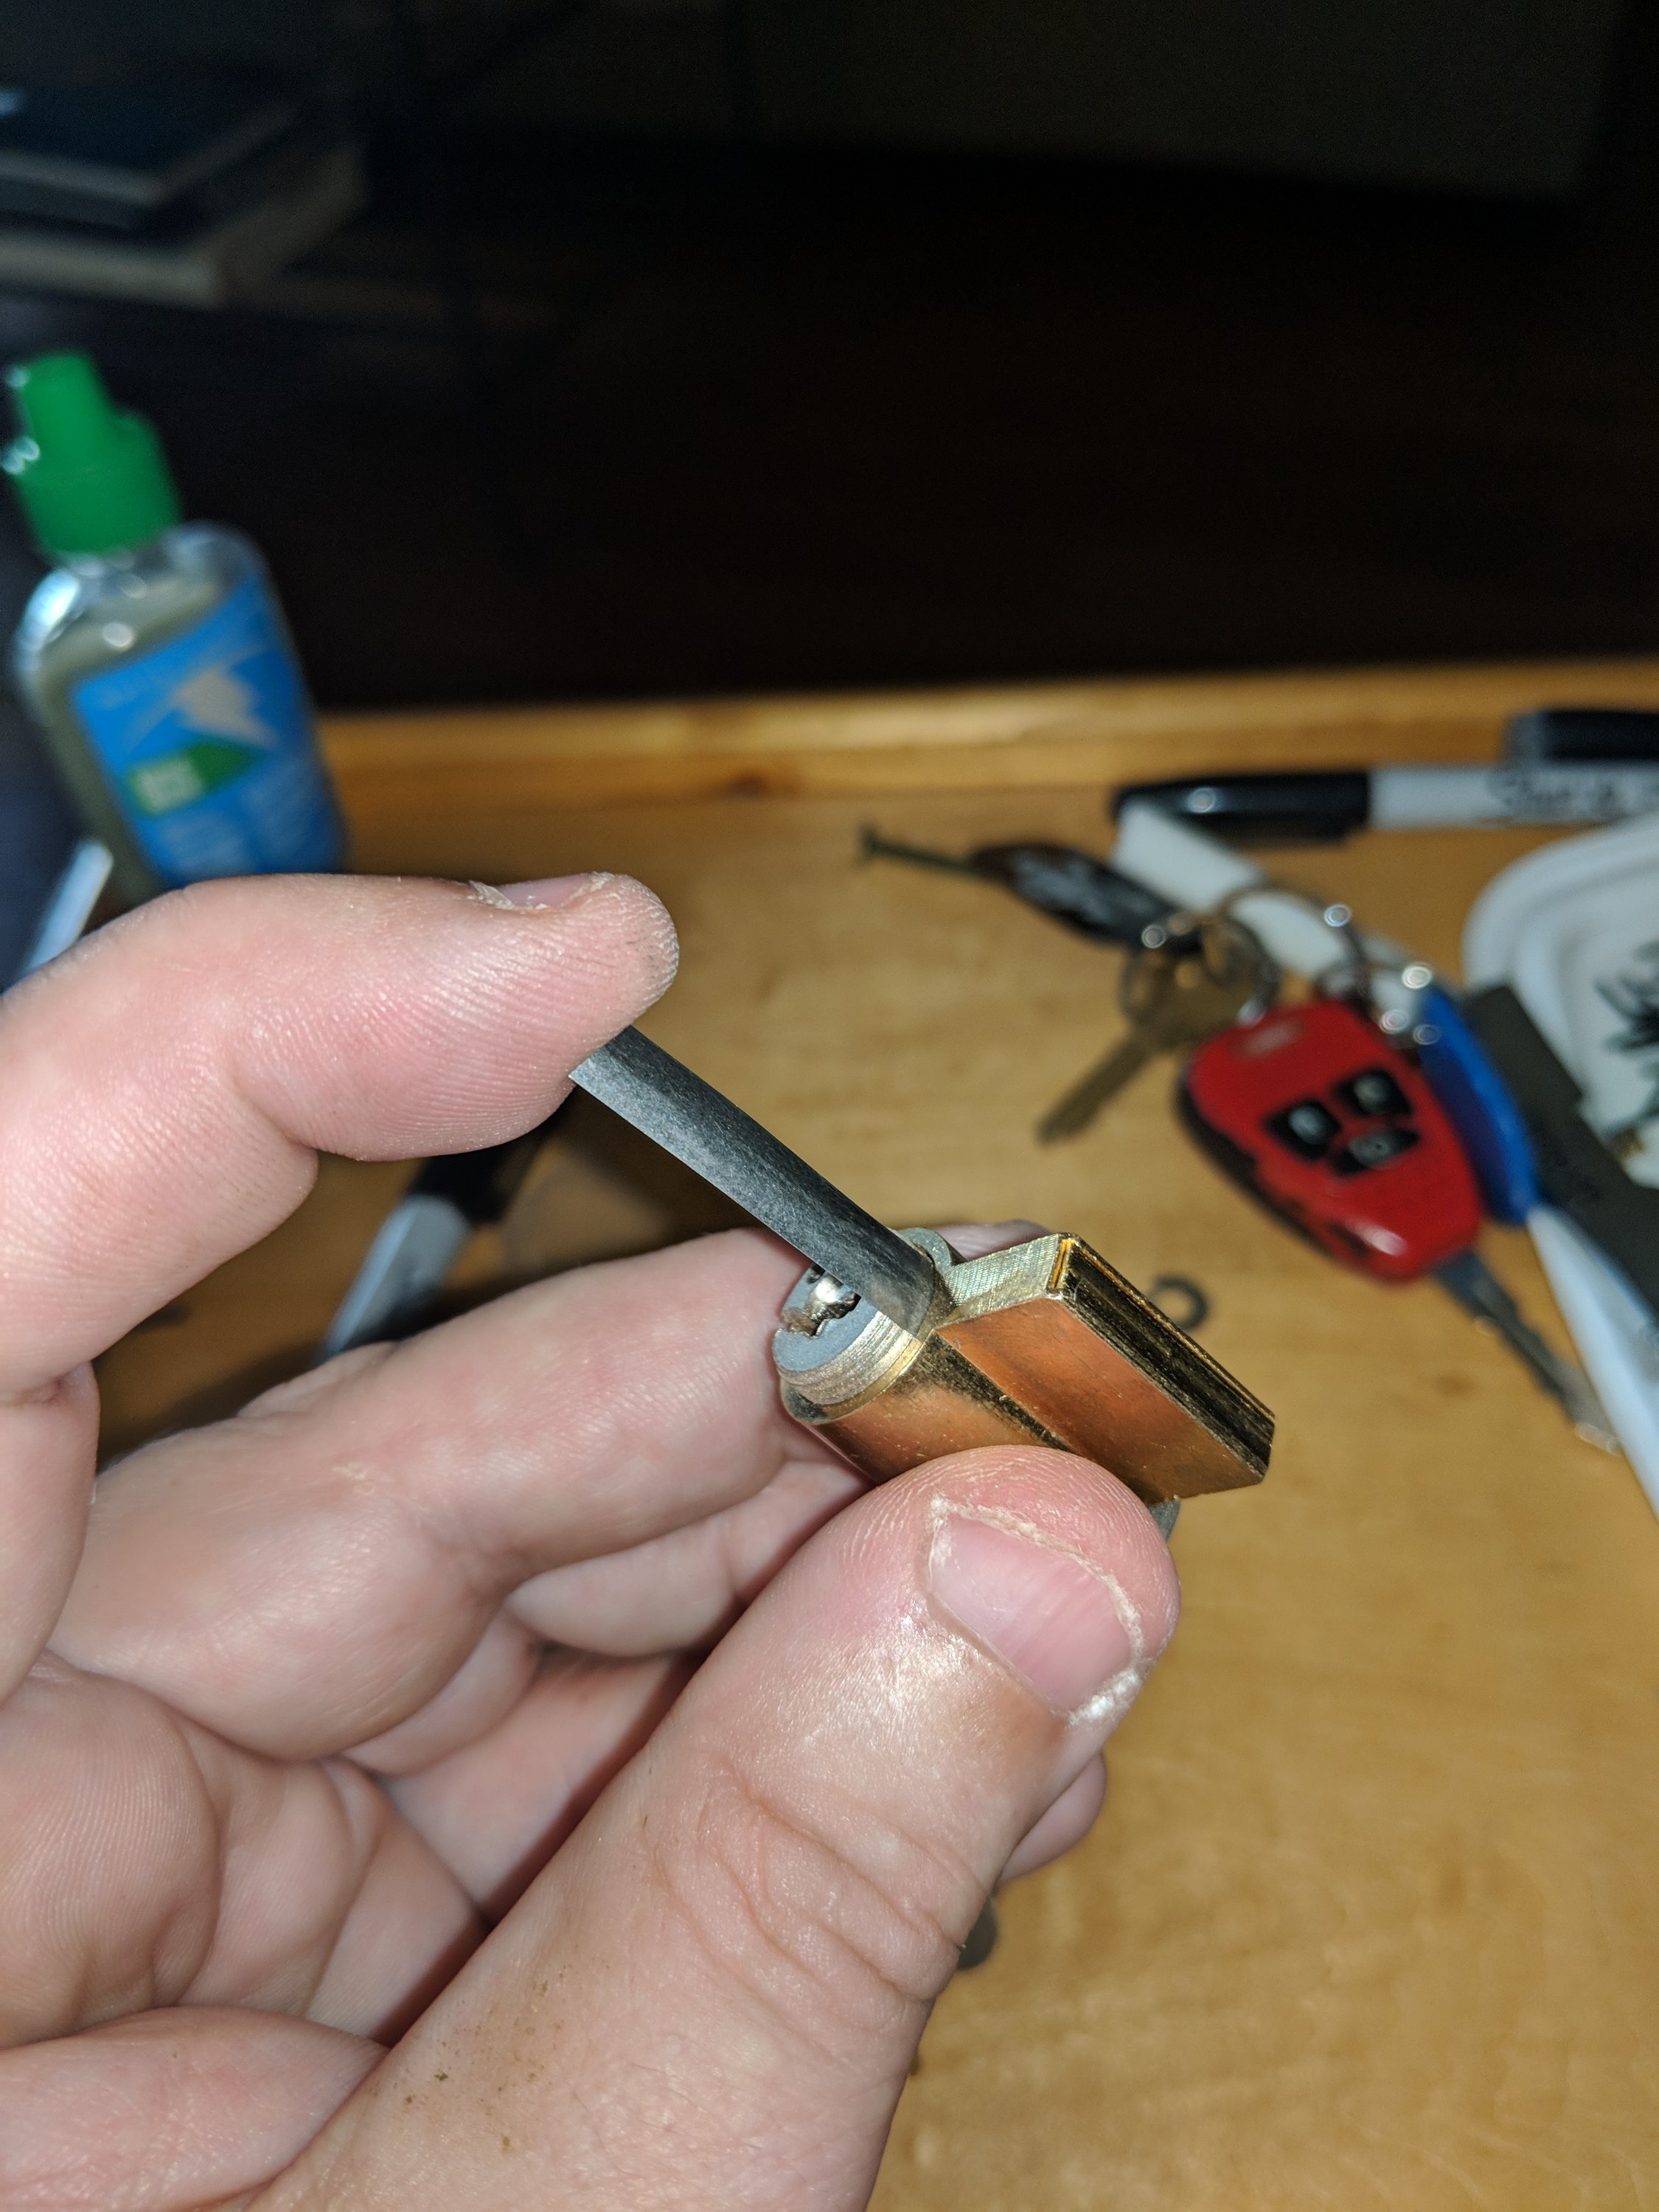
Then, take the cylinder into your hand, holding light pressure on the shim, and pick the pins from rear to front. Each successful pin pick will result in the shim moving in a few more millimeters. Assuming the shim hasn’t slipped to the side, once you’ve got all five pins picked, the cylinder should turn freely inside the housing. DON’T PULL IT OUT YET.
You’re going to want to turn it maybe 45 degrees to the right, while holding the shim in place. Once you’ve accomplished this, you should be able to remove the shim.
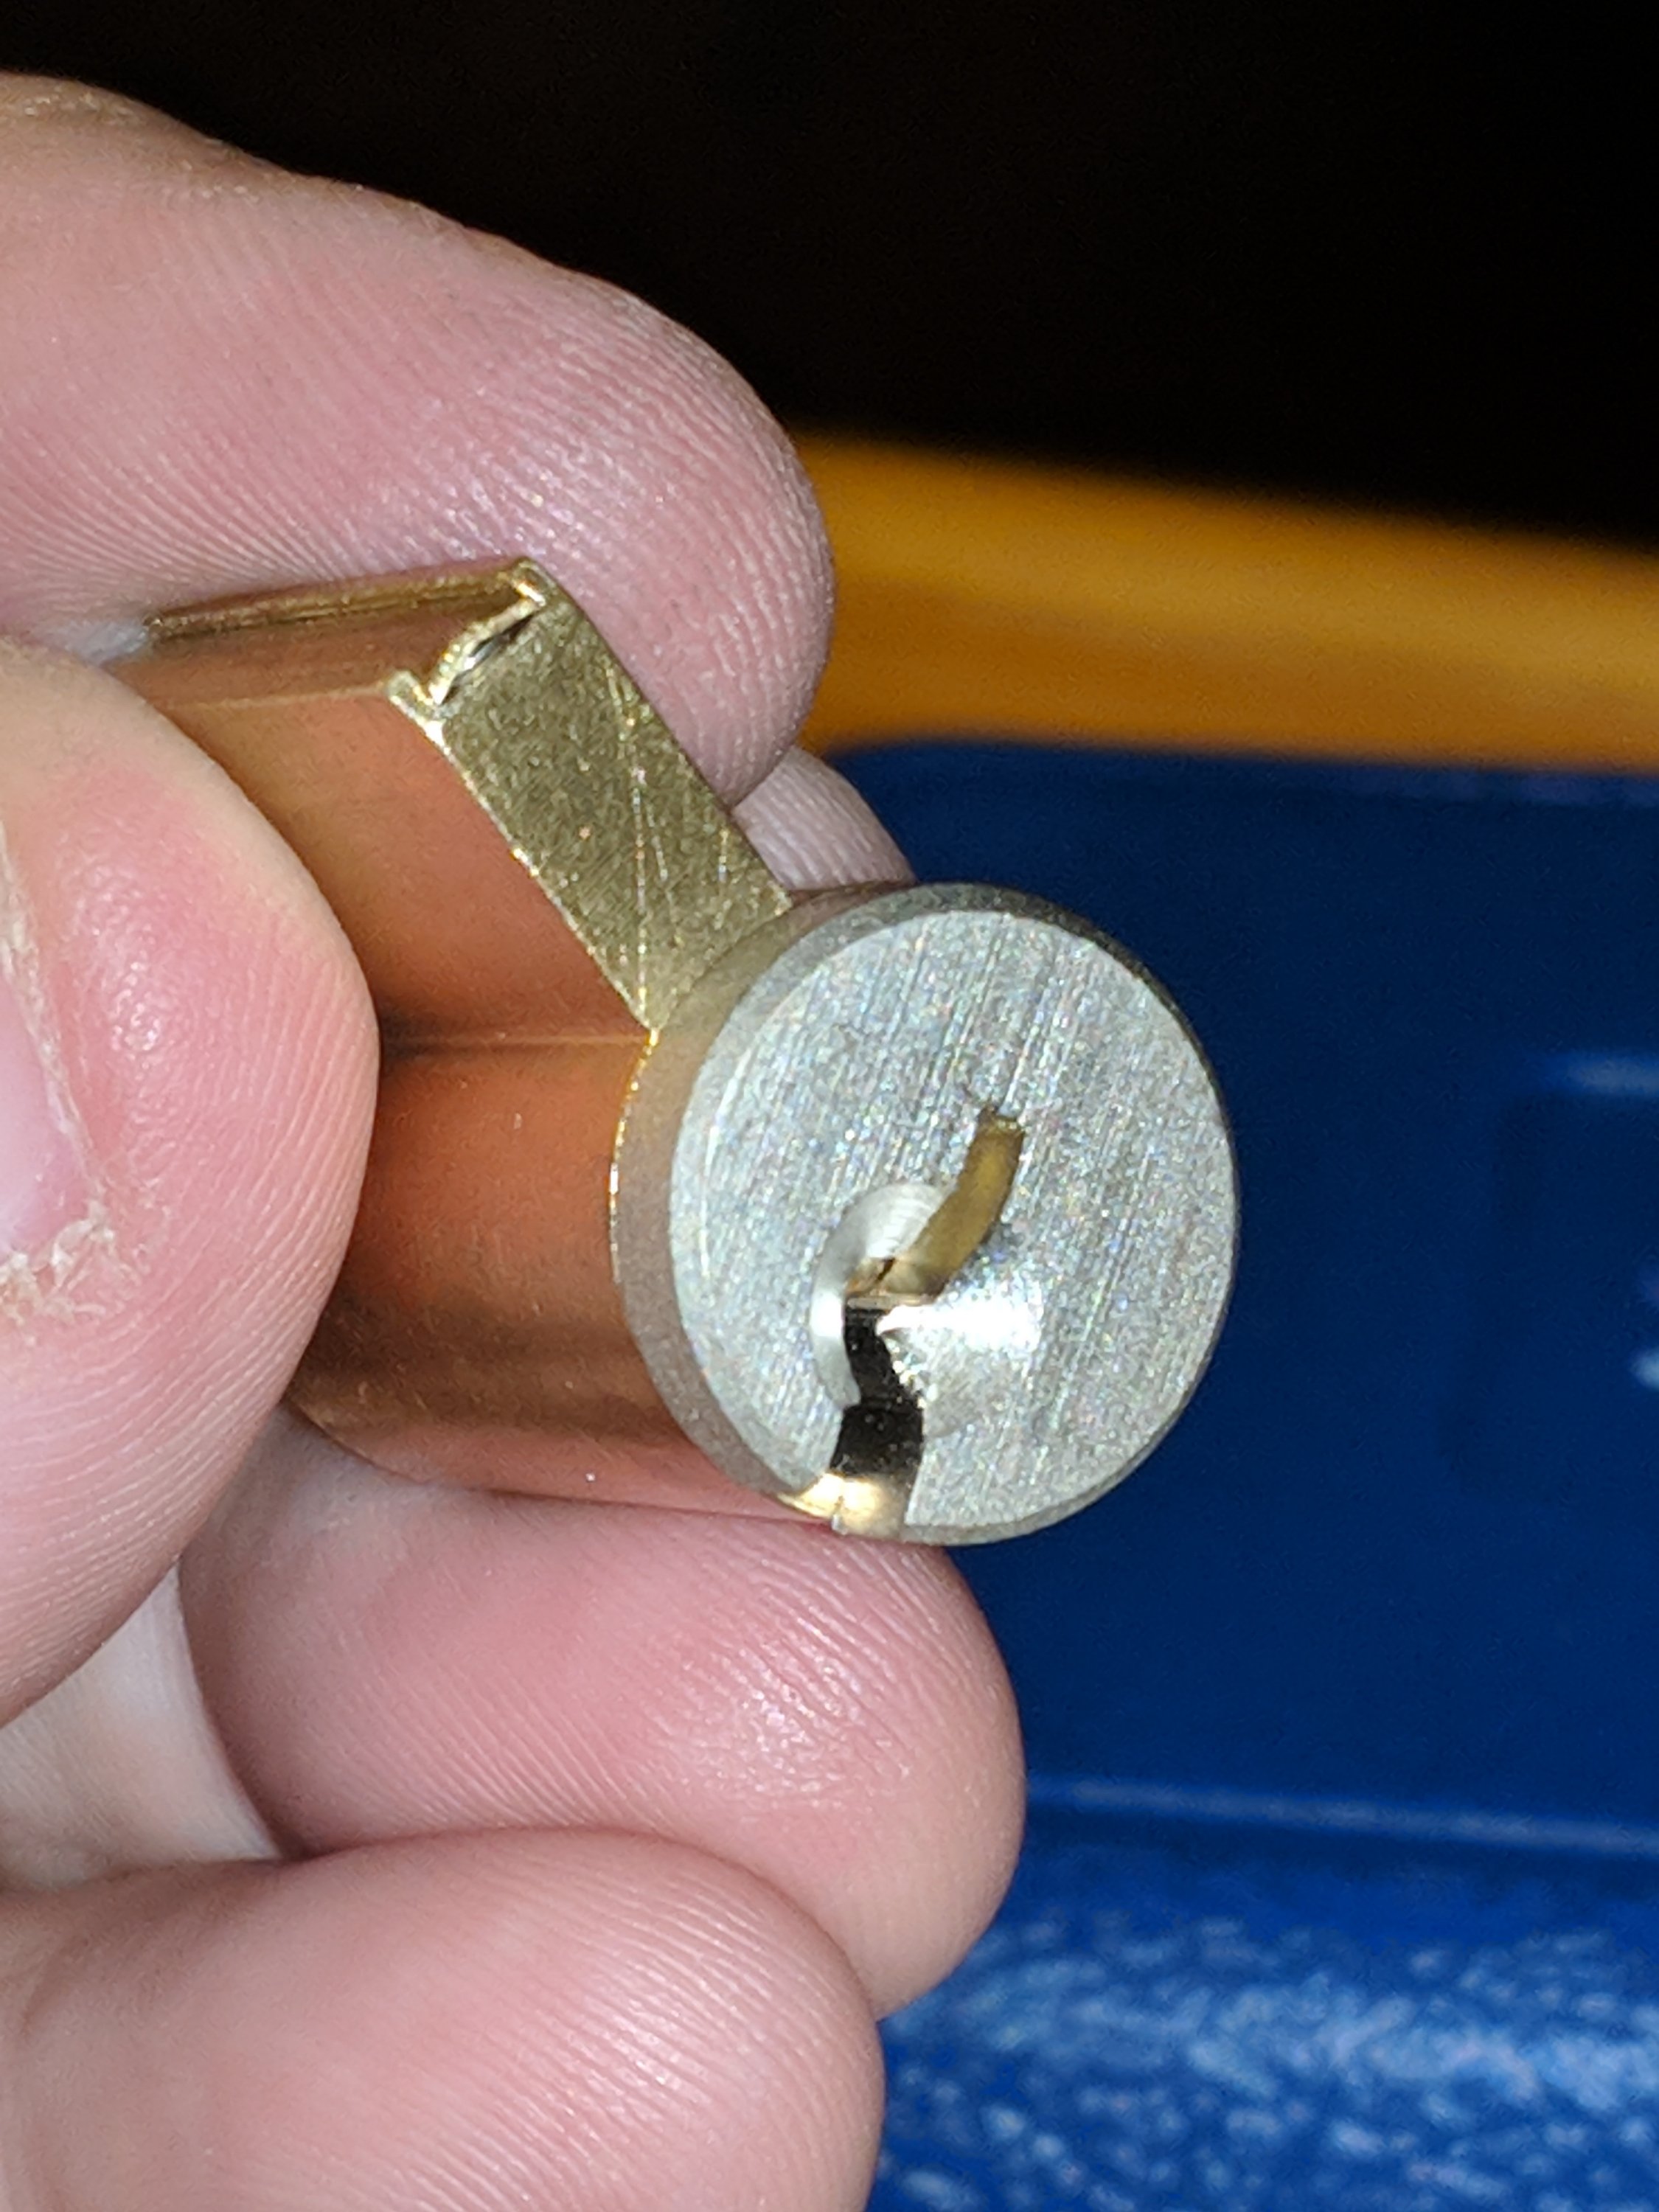
Now you need a follower tool, a cylinder the same width as the opening in the cylinder housing. Press it flush against the rear of the cylinder, and slowly guide the cylinder out, taking care that no openings in the cylinder or the follower tool fall under the bible. Your goal here is to retain the top pins and springs inside the bible, because replacing them is really painful.
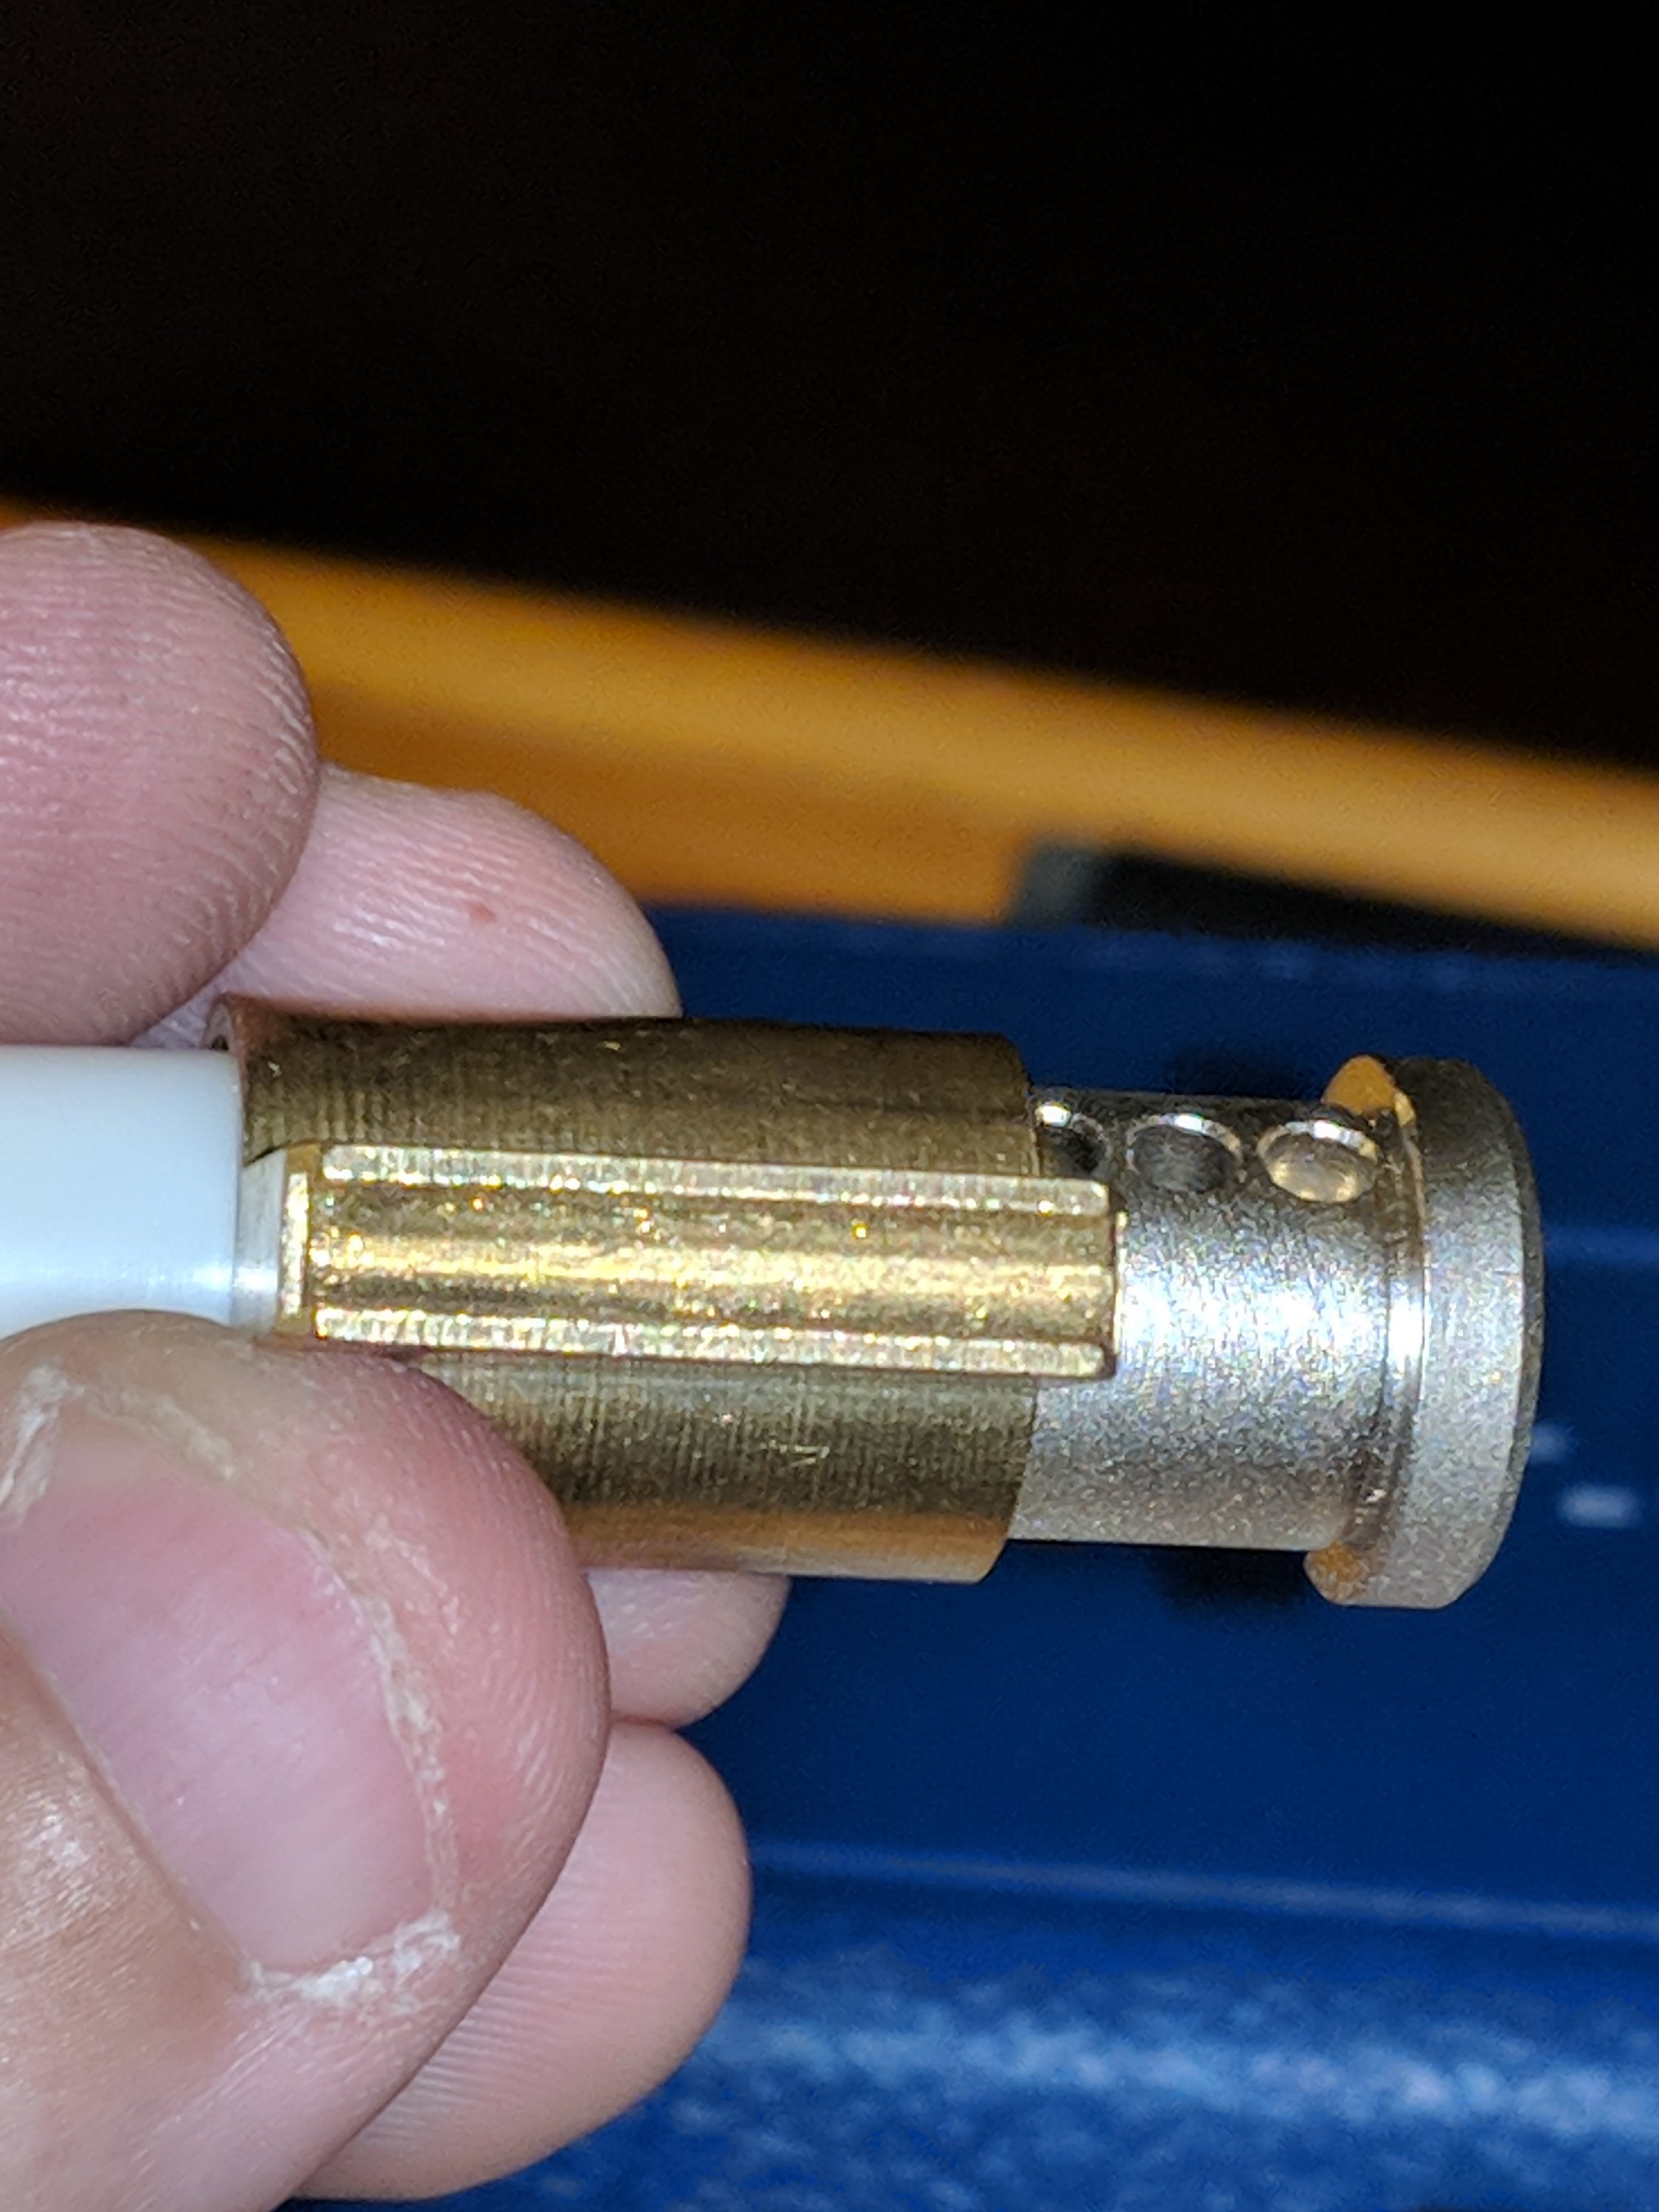
If you are successful thus far, set your cylinder down so that the pins are facing upward, because they will fall out as well.
The next step is assuming you are reducing the number pins for progressive lockpicking. You’re going to need to remove the top pins and springs from any holes toward the rear that won’t have bottom pins, or they will just fall into the bottom hole when you reconnect the cylinder, and fuck up your day. Ease it toward the front until the very last hole is just about uncovered, then catch the top pin and spring as they are ejected. Do this as many times as you need, but again, counting from the front, leave exactly as many top pins and springs as you will have bottom pins.
OPTIONAL: You can take this opportunity to switch out your bottom pins for a set that matches a specific key you’d like to be able to open some or all of your progressives with:
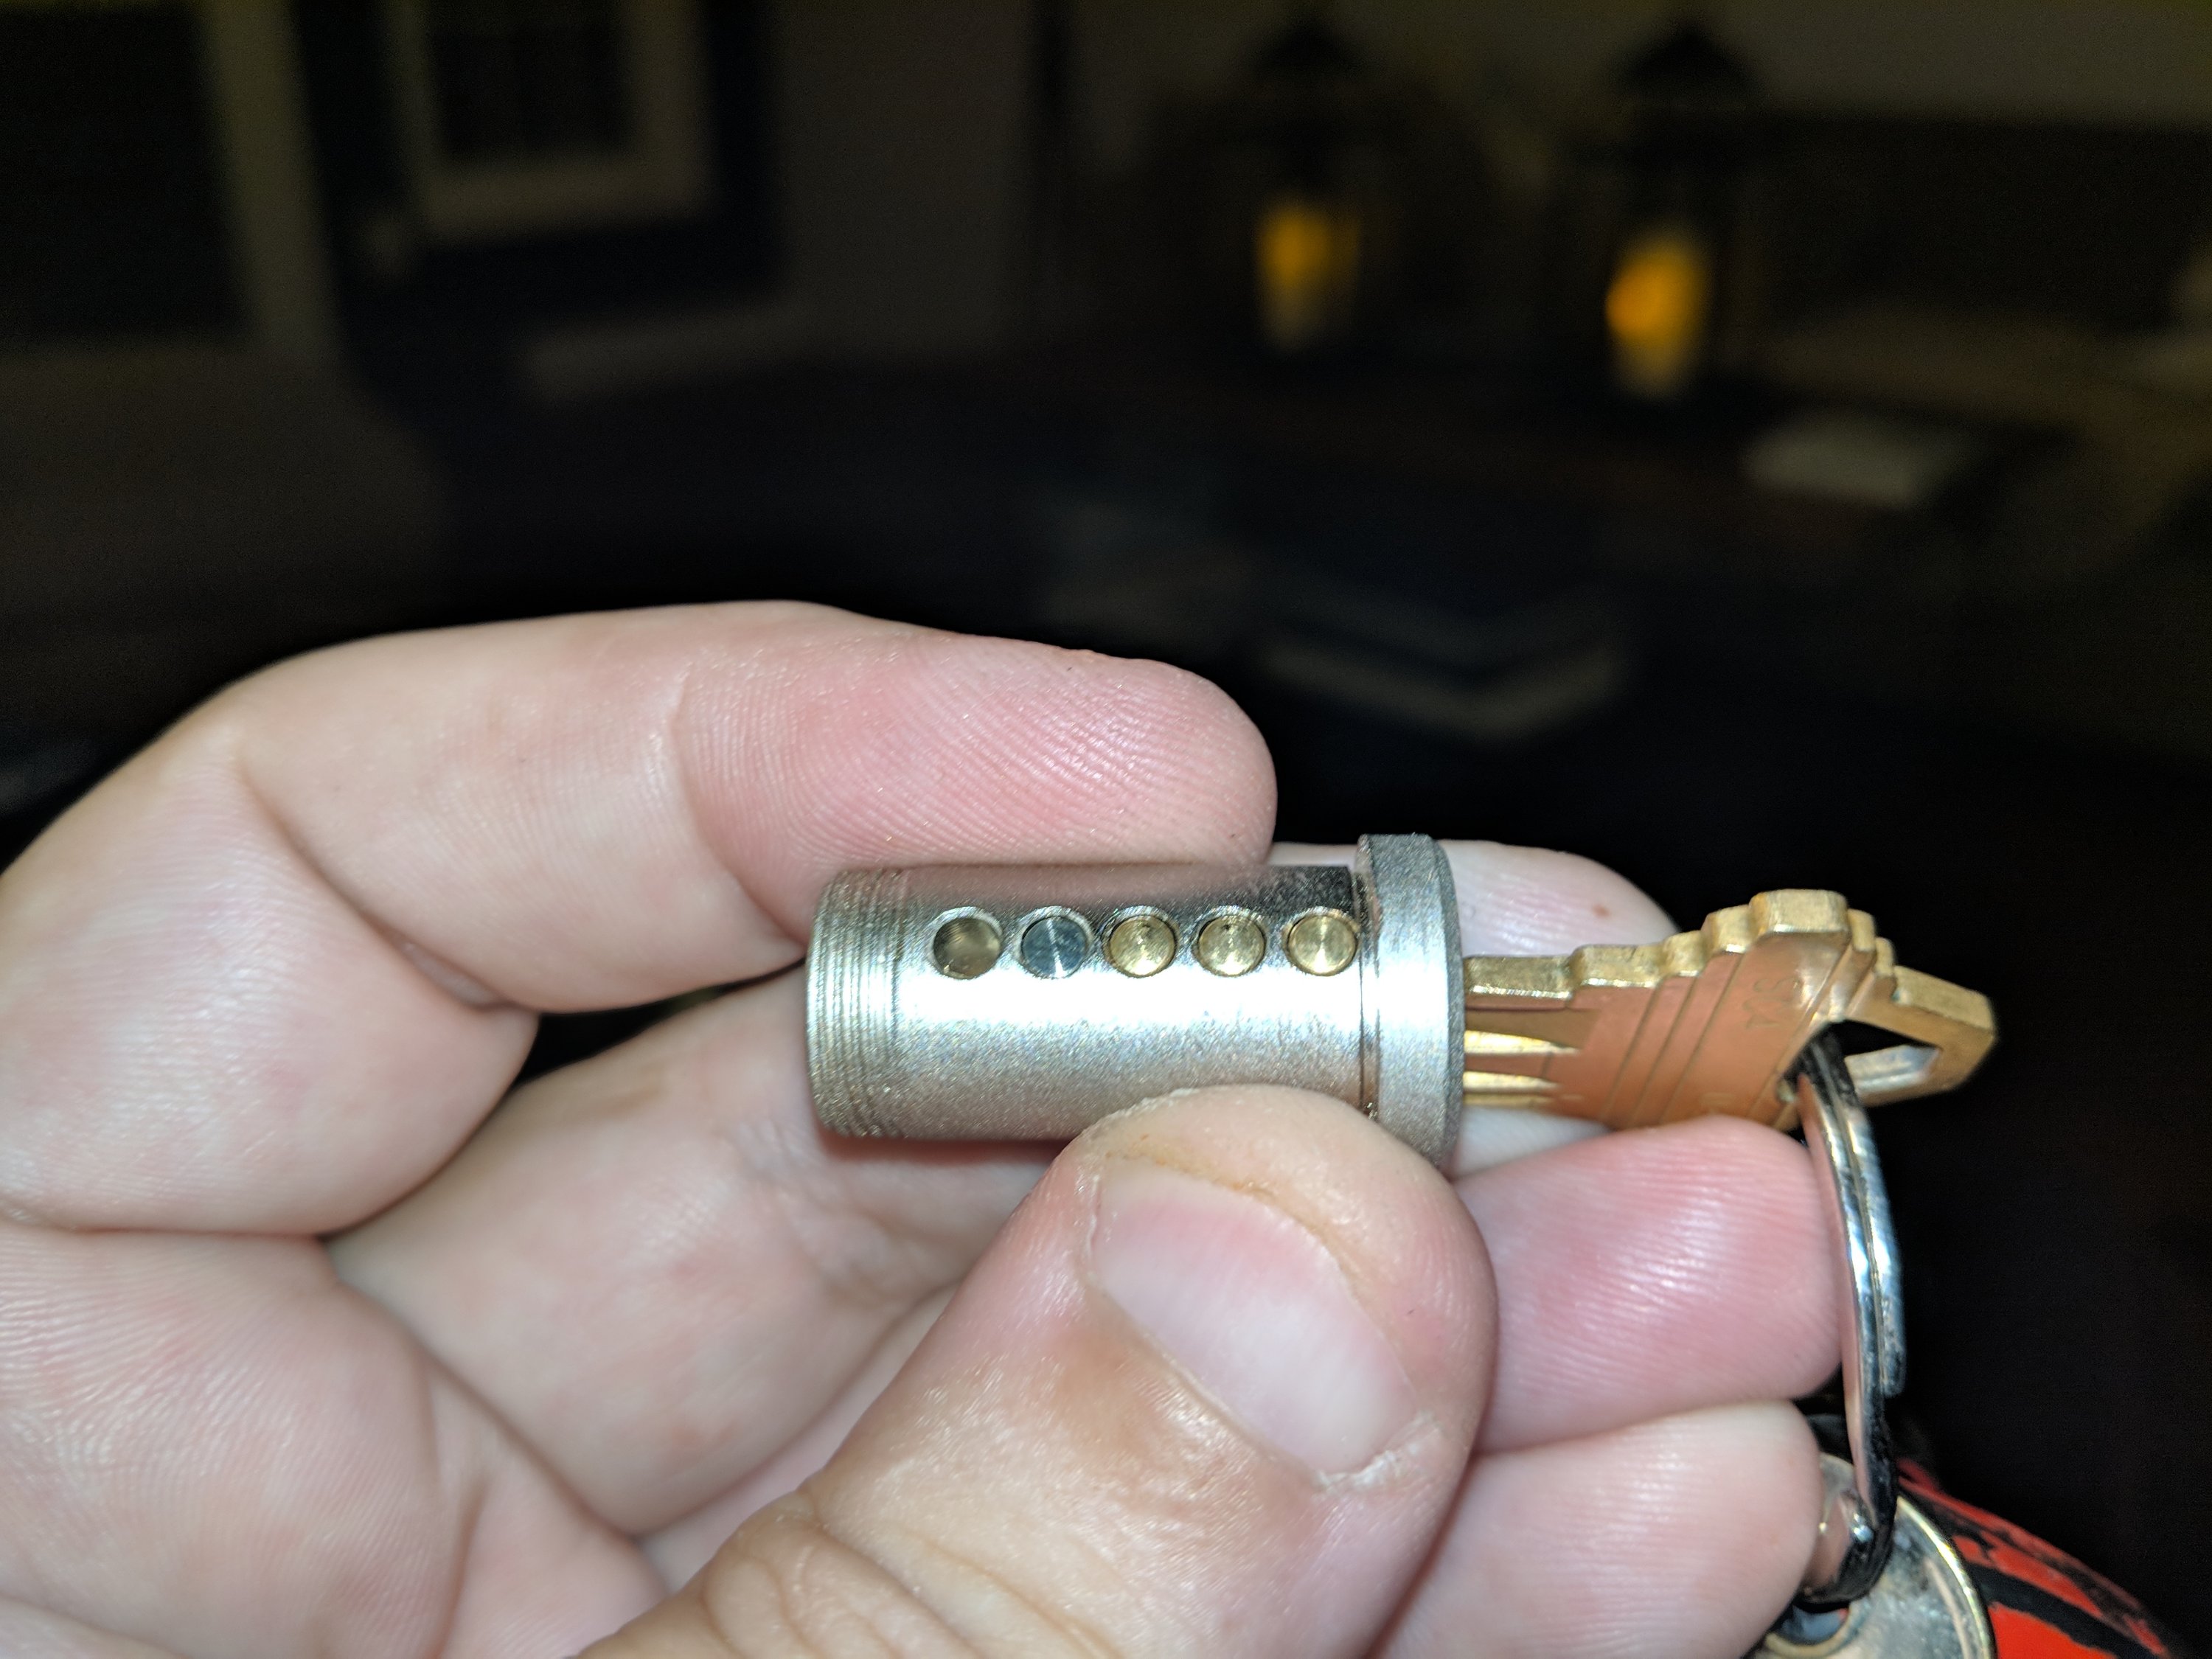
Now move your following tool back so your remaining top pins are no longer in danger, double check the number bottom pins in your cylinder, and get ready to reinsert the cylinder. To do this, bring the cylinder again flush with the following tool (from the front), be sure no gaps in the following tool line up with the bible, be sure your bottom pins don’t line up with the bible, but are 45 degress to the right to prevent them from catching or from falling out, and then insert. Once the cylinder is completely in, the following tool will be out and you can rotate the cylinder back to where the pins catch. At this point the cylinder should be locked in place.
Set the cylinder back down face down on the table, and reinsert the capture pin spring and then the capture spring (flat end first). Get the end cap washer and end cap in place, and hold down the capture pin while you quickly tighten the cap. This can be tricky.
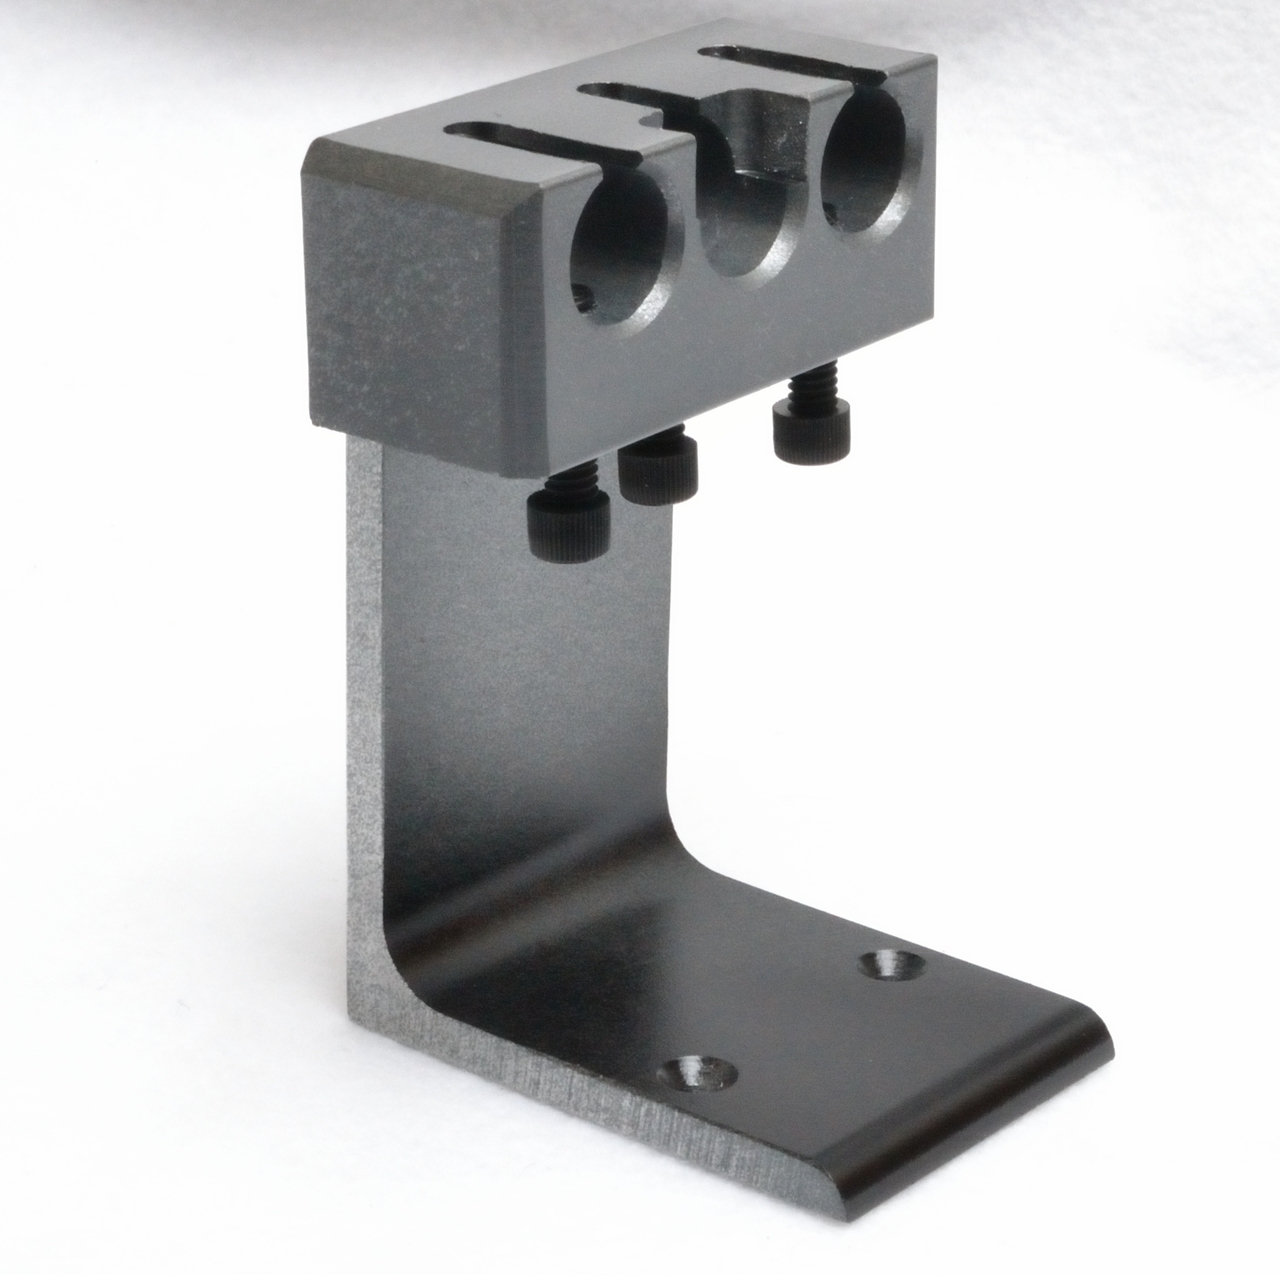
I’ve been tempted to buy a few of these, but I’m disappointed that it only holds three cylinders. I’d love to have one of these (or FOUR of these, preferably) that would hold five cylinders.
I built a trainer last year for five cylinders, but I built it with full deadbolts with the KIK (key-in-knob) cylinders installed into them, so it’s a bit heavy and unwieldy for portable use, especially if I had to lug around four or five of them.
If anyone has the capability to design a 3d model of something like this, please hit me up at [email protected].
Requirements:
* Five evenly spaced openings to fit KIK cylinders
* Each opening should have a tension screw below it with a thumb tightener, to snug the cylinder and keep it from slipping
* A nice wide base with four holes near the corners, so that it can be screwed to a block of wood or other heavier object and prevent tipping.
Update: Found the TOOOL Practice Lock Case by MikeyMakesIt, which would suit my needs wonderfully AND be even more portable, but the big players want like $50-60+ just for the bottom piece. Somehow I feel like this should be a lot cheaper than that.
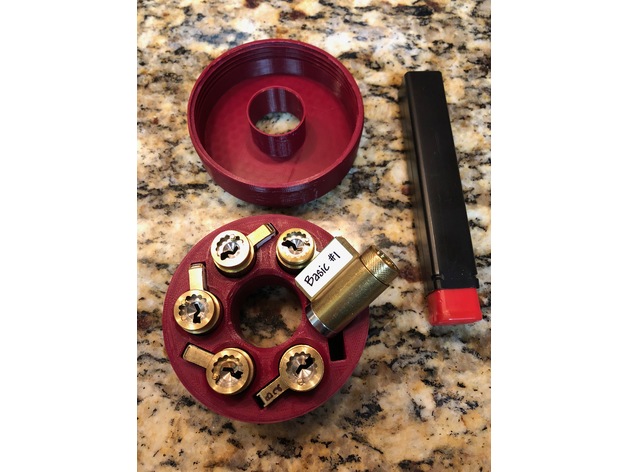
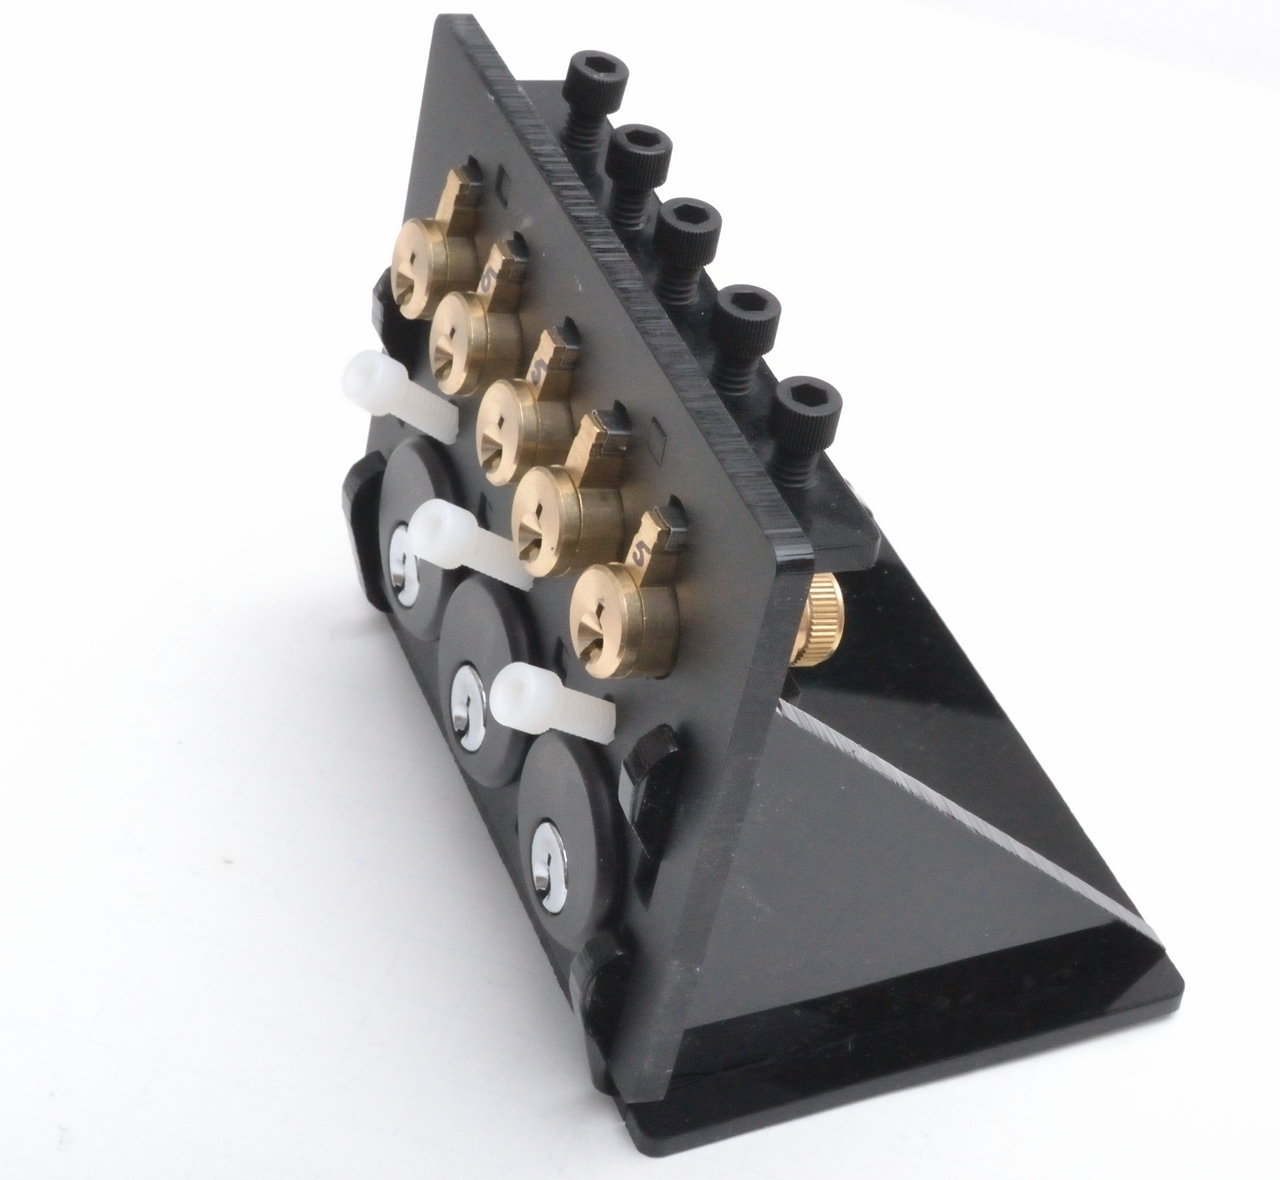
And then there’s the Locksport 5×3, which I wish I had the STL for.
By the way, I have a shit-ton of surplus equipment I’m trying to get rid of. A whole lot of older 1U Dell servers and older Cisco switches. Free for the taking for anyone local. Market value not even high enough to be worth shipping,. But great for anyone putting together a lab.
Also if anyone wants to experiment with GE Simon alarm keypad panels, or strip them of their components, I have HUNDREDS of them.
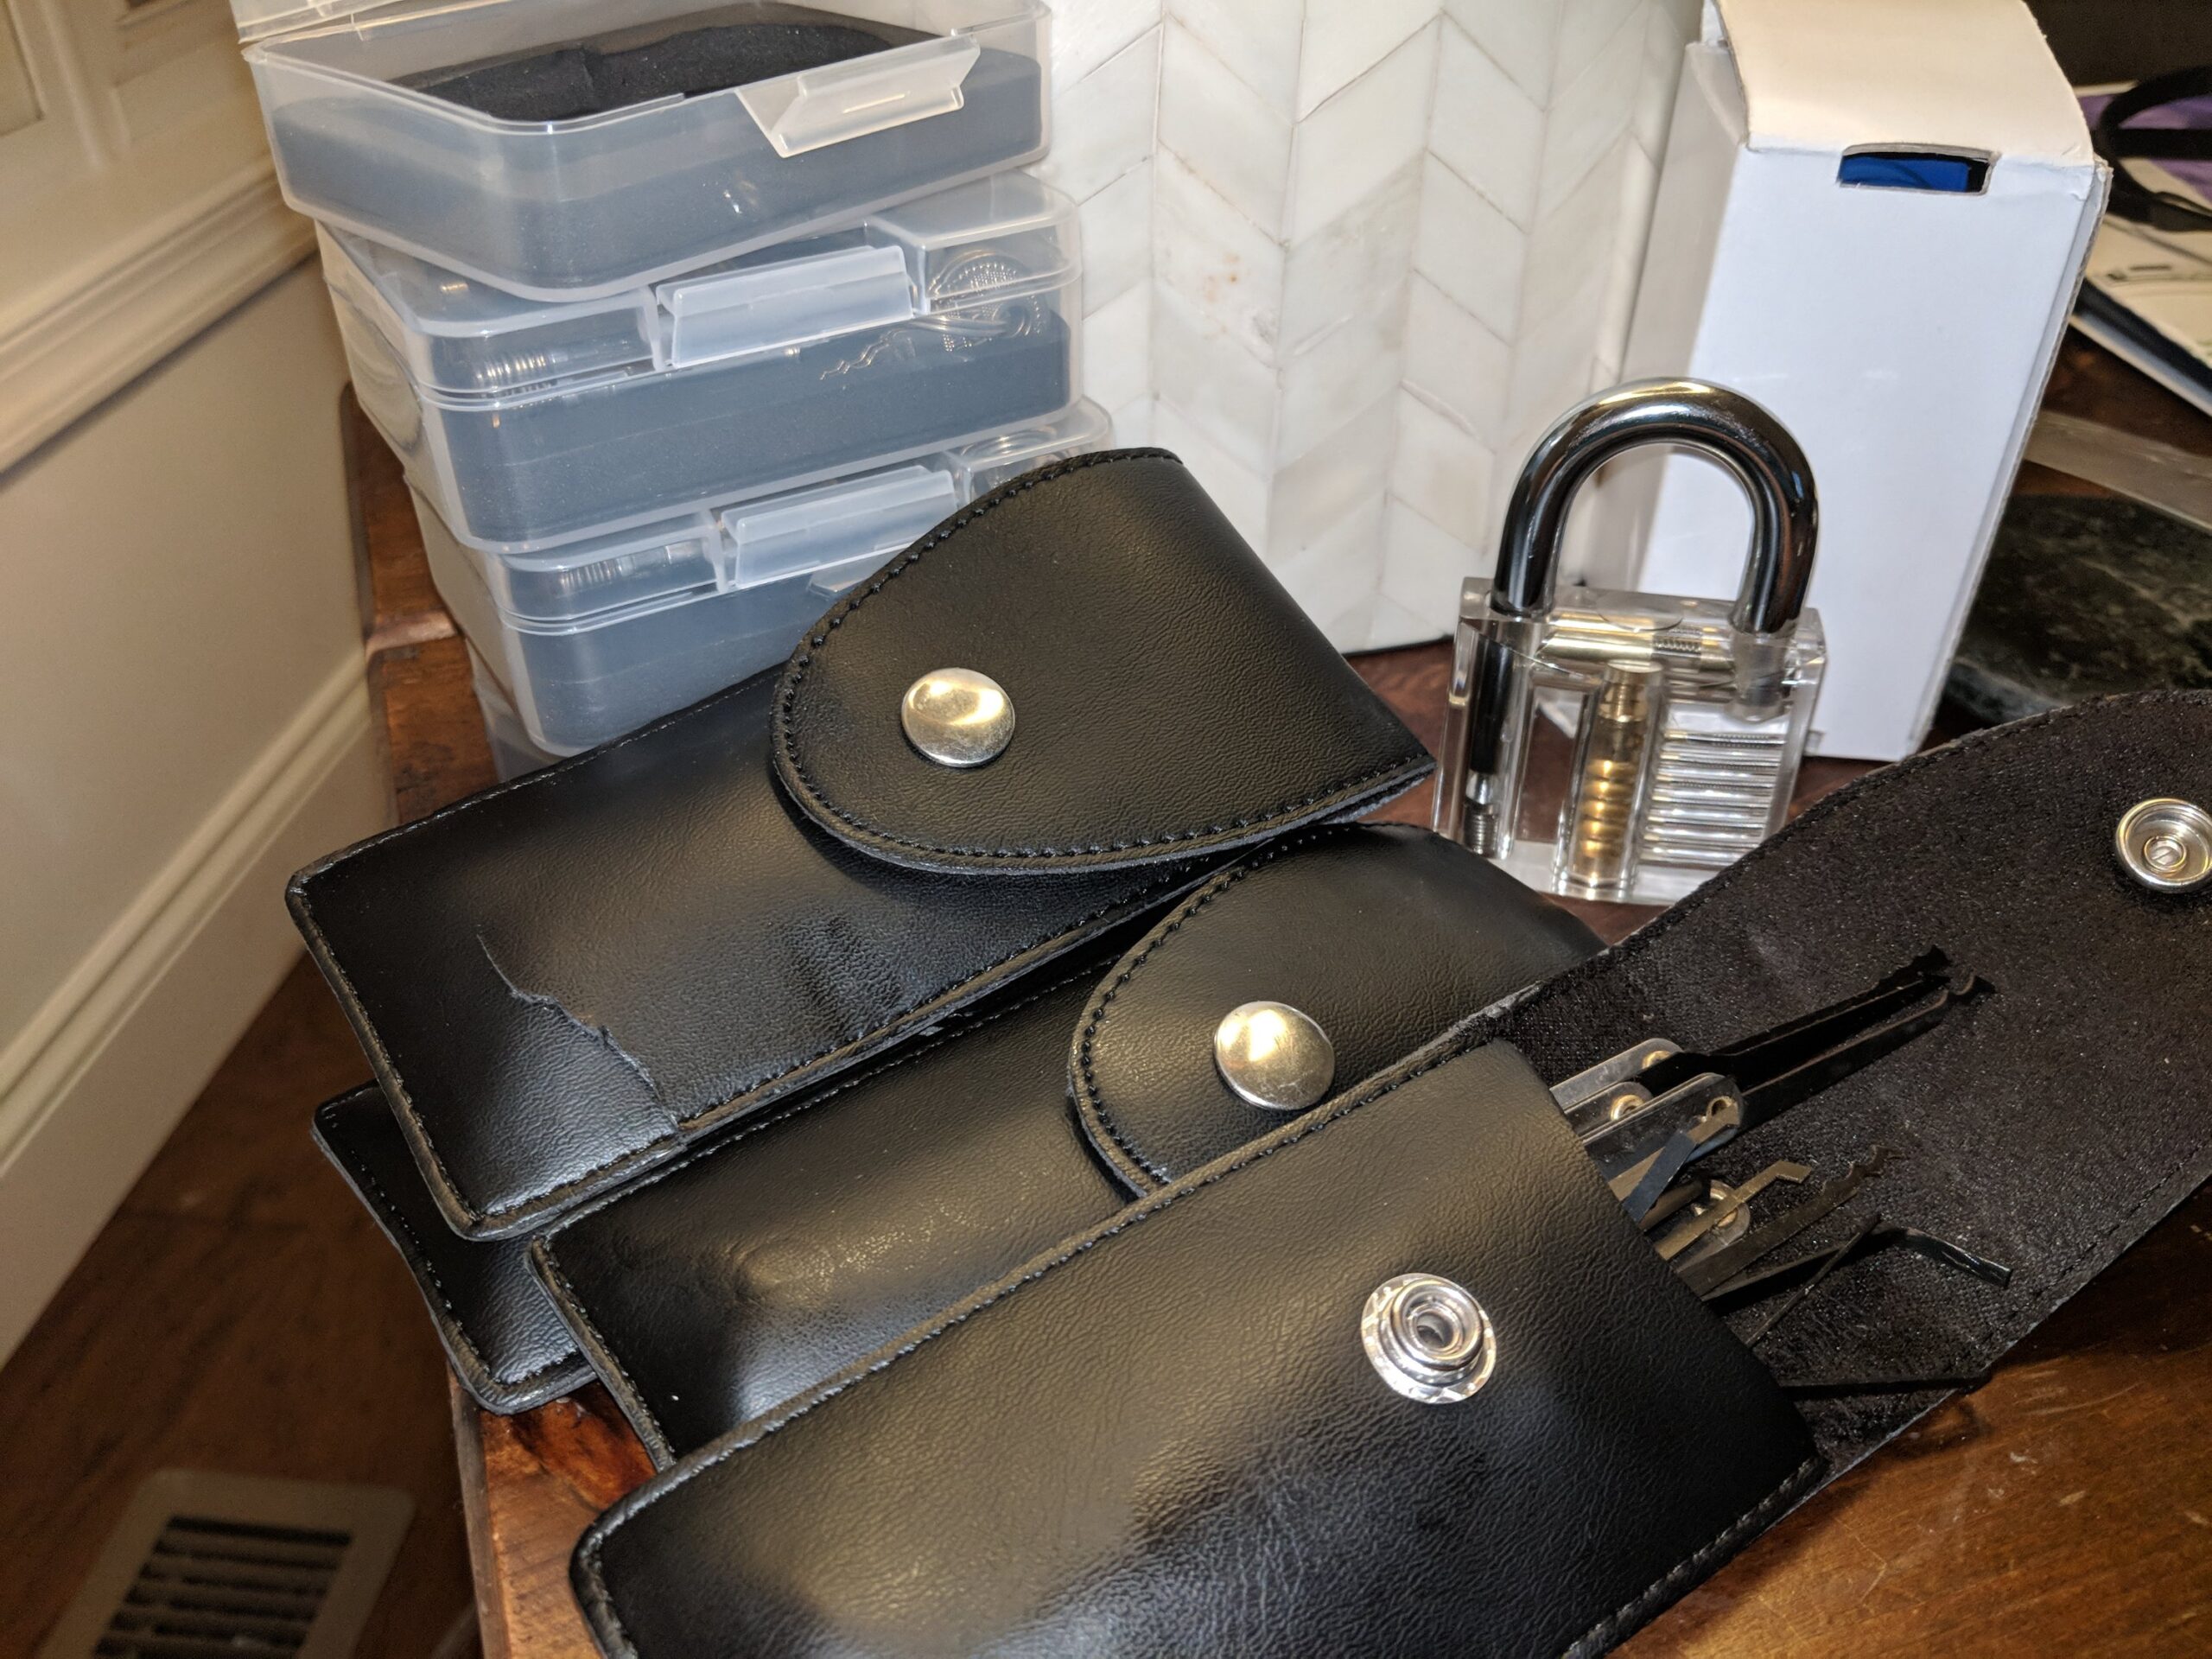
I was on the fence about making an investment in all this stuff, but now it will serve dual purposes. Lockpicking practice at meetings, of course; and I’ve been asked to present a session at my day job as well. So if you want to play, there will be four complete sets of picks and practice locks, and maybe a few extra locks for good measure, so if you have your own picks, by all means, bring them as well, then more people can play at once.
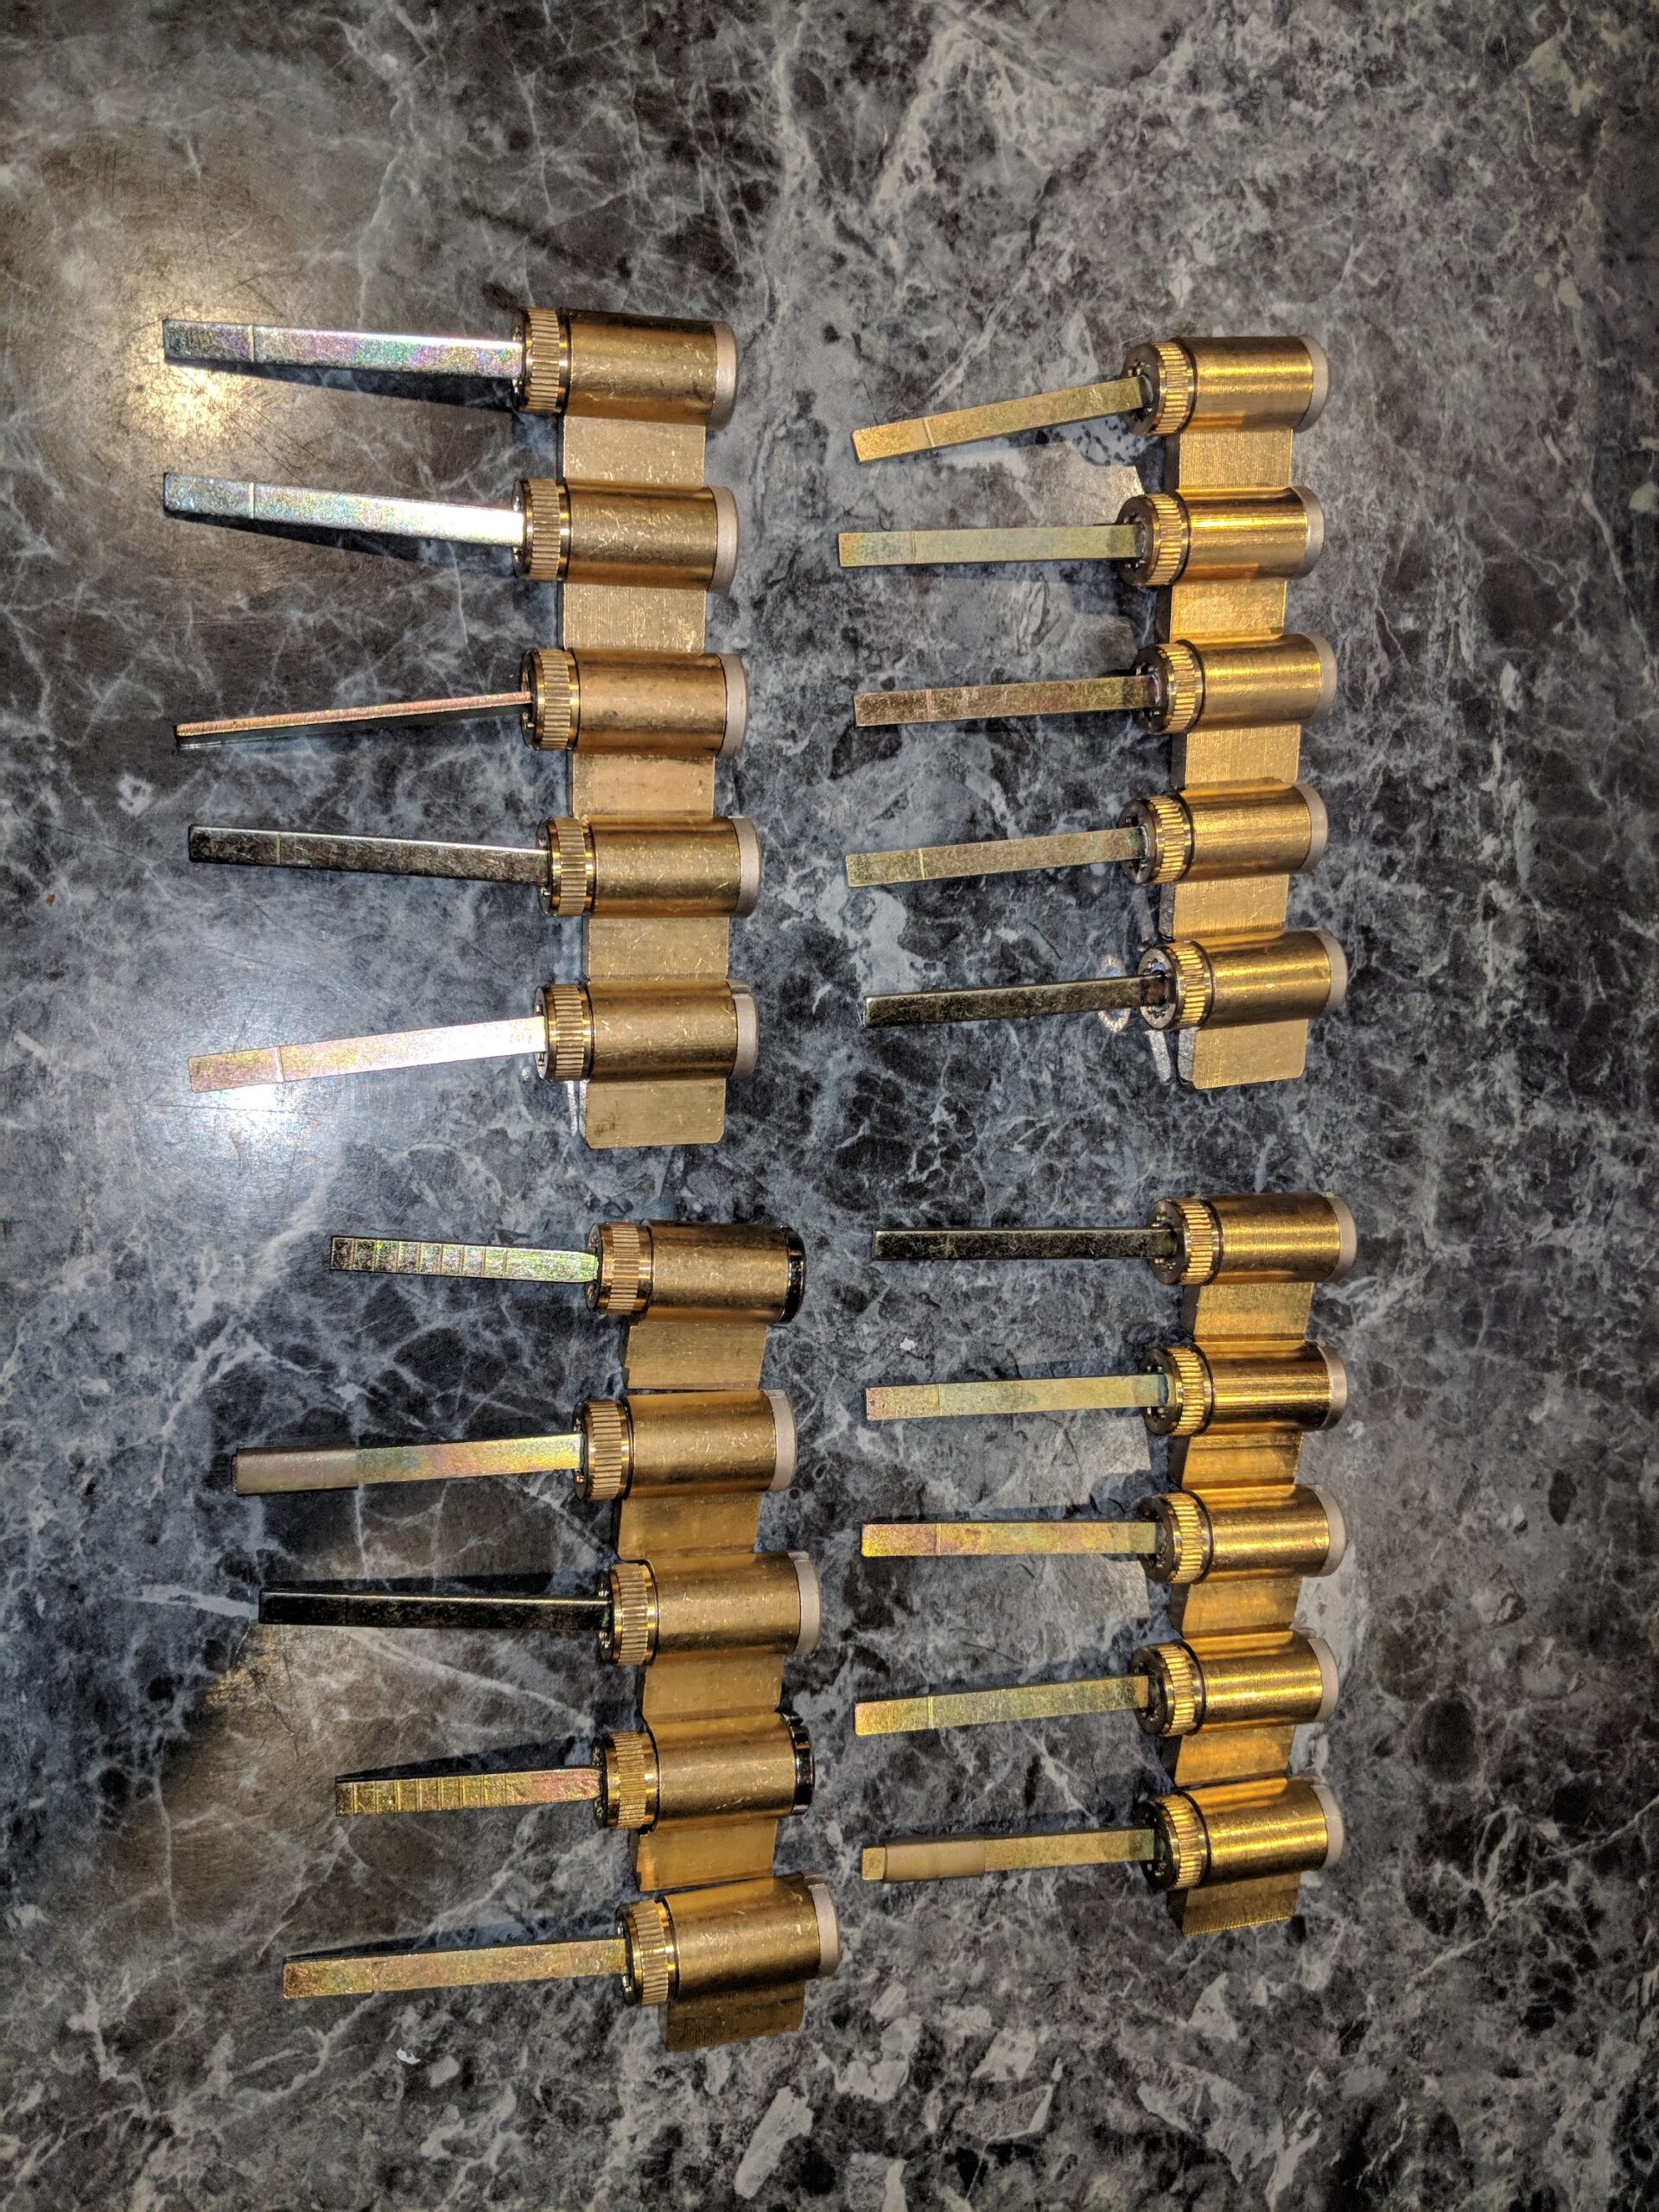
If only these had arrived a couple of days ago, I could have had them prepped and ready to bring with me to the DC202 Social this evening. Corinthian had a good turnout at the rum distillery, and we had some interesting conversations.
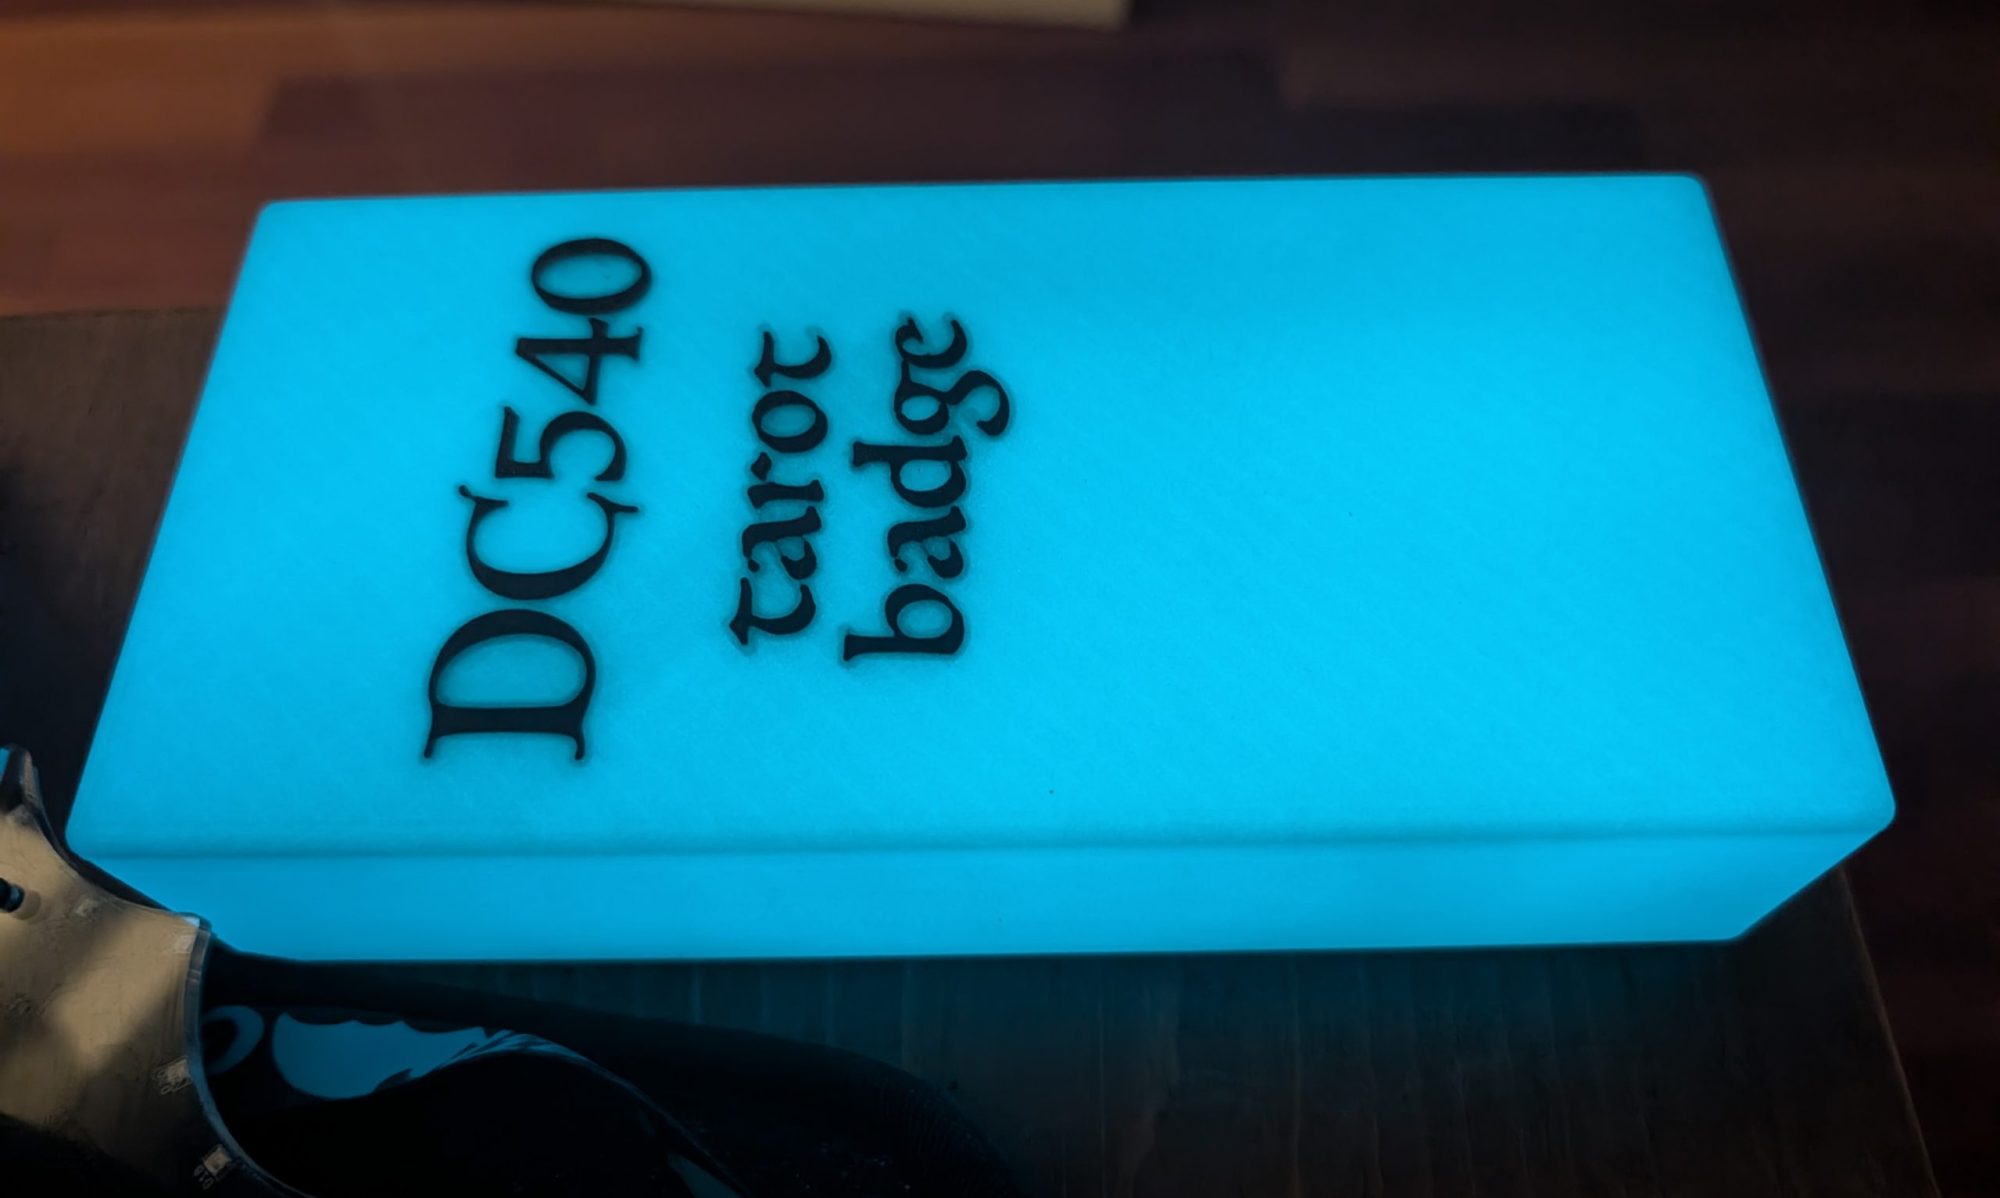
So yeah, we’re halfway to the lockpick village capability. I’ll repin these to be four sets of progressive cylinders, label them in order of difficulty, and bag ’em up for our first DC540 meetup.
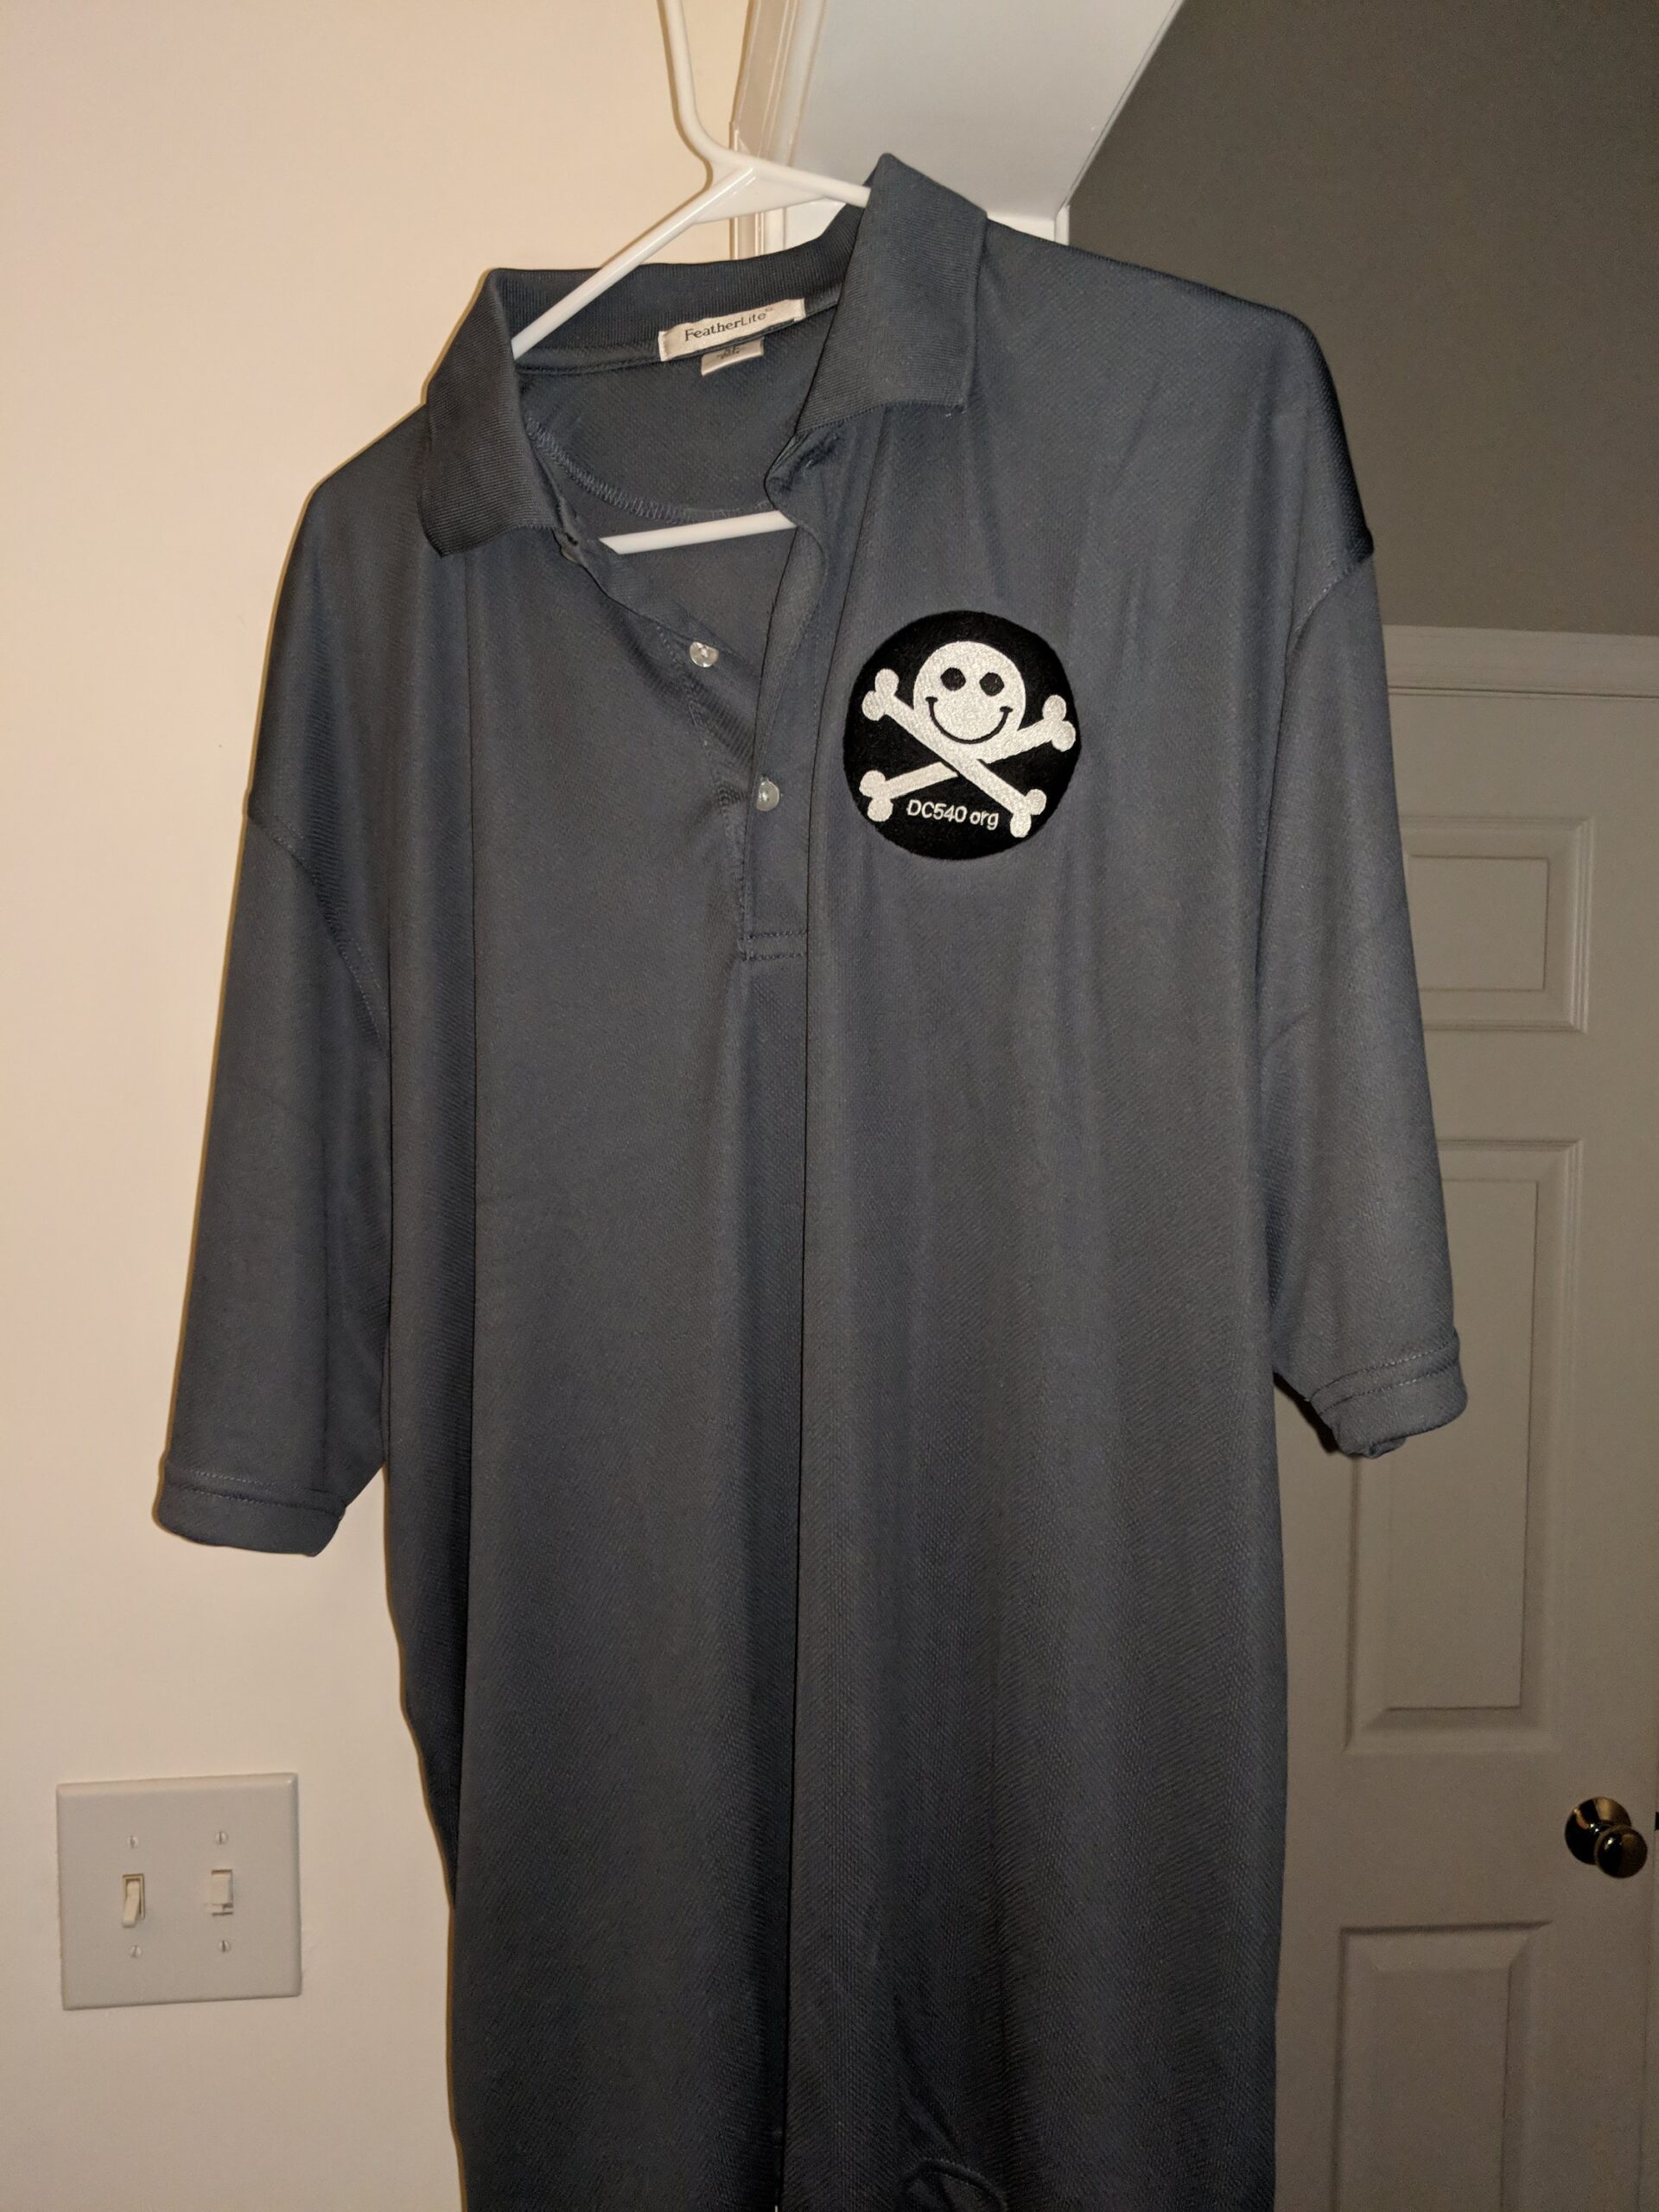
…pieces of cultural apparel…
(and SDRs)
(and Pi/Arduinos)
(and solder irons)
(and storage bins)
(and hotel cards)

How many of you are in on the GoCube Kickstarter? GoCube is a Rubik’s Cube on steroids. Orientation sensors, move transmission via Bluetooth, stickerless with speedcube mechanics.
I’m an old-school cubist. I learned the old way with the old patterns. I’m a sub-two-minute solver on a good day. With this invention, I’m willing to learn the new speedcubing methodologies and get my solve time down lower.
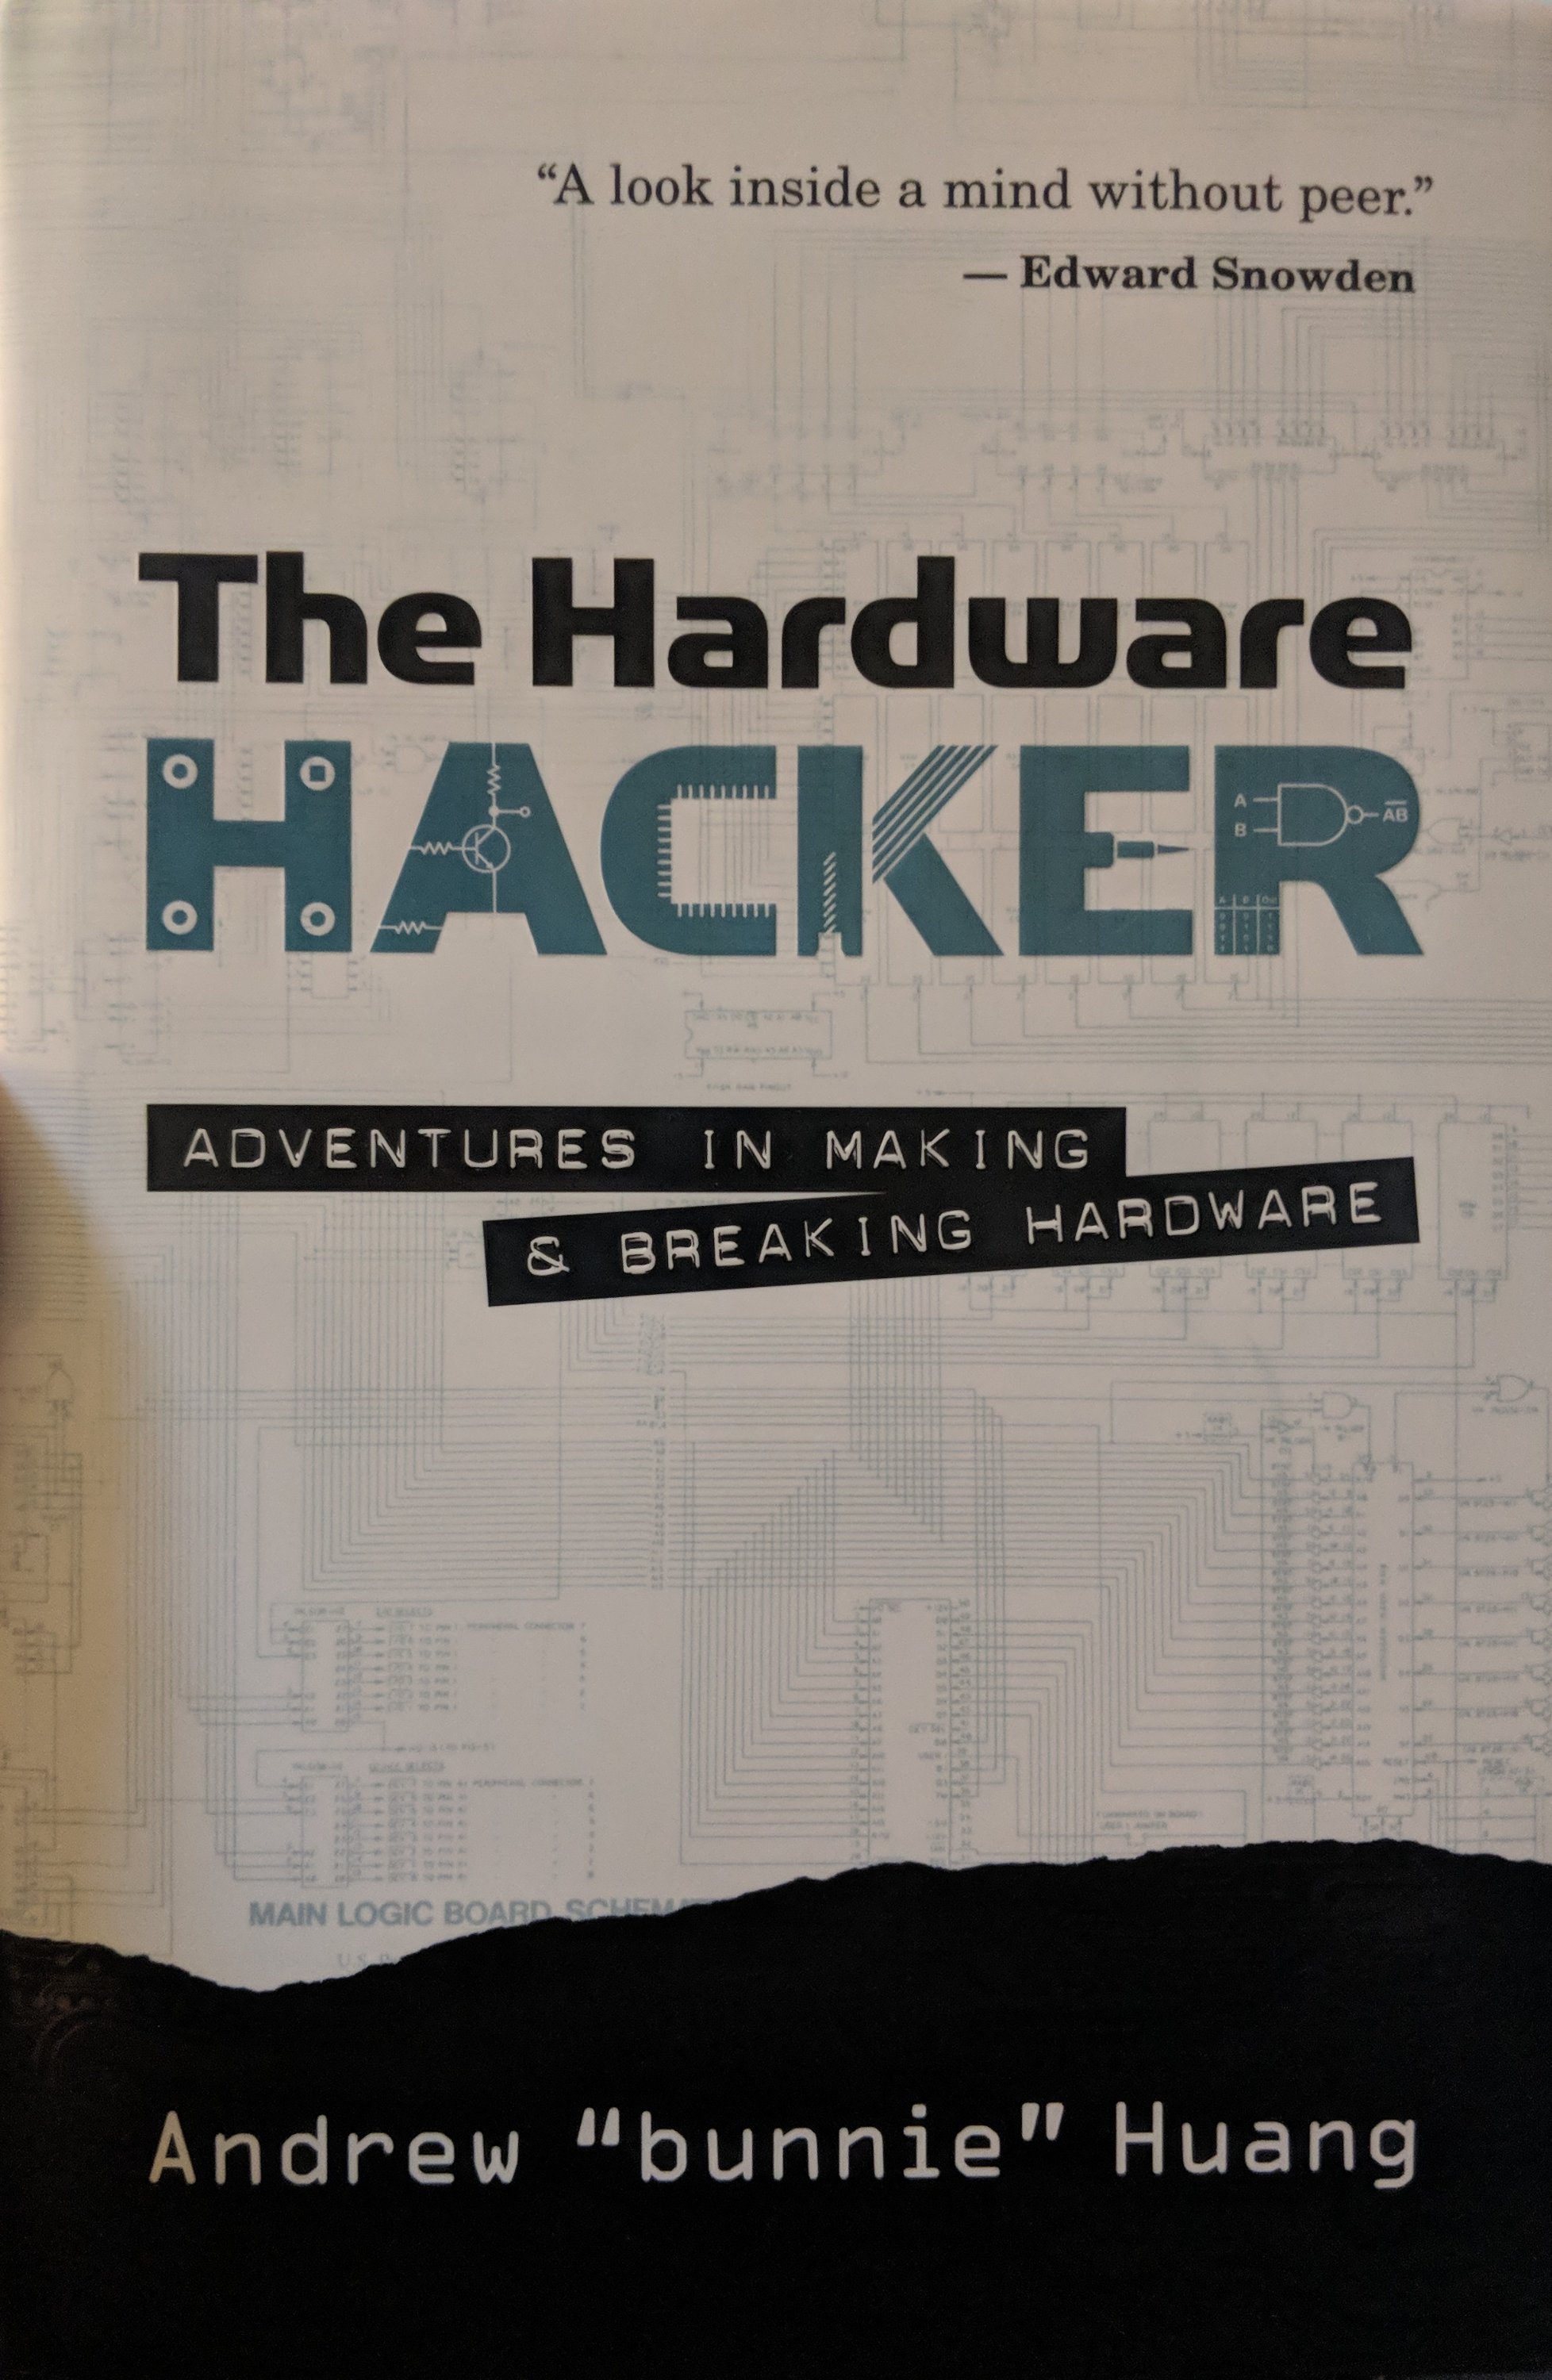
This book arrived at my doorstep yesterday. Color me excited. $12 something at Walmart, go figure. He goes way into Chinese factories, manufacturing and the supply chain before getting into the hacking part of it. Exciting if you’ve got some hardware ideas in your head.
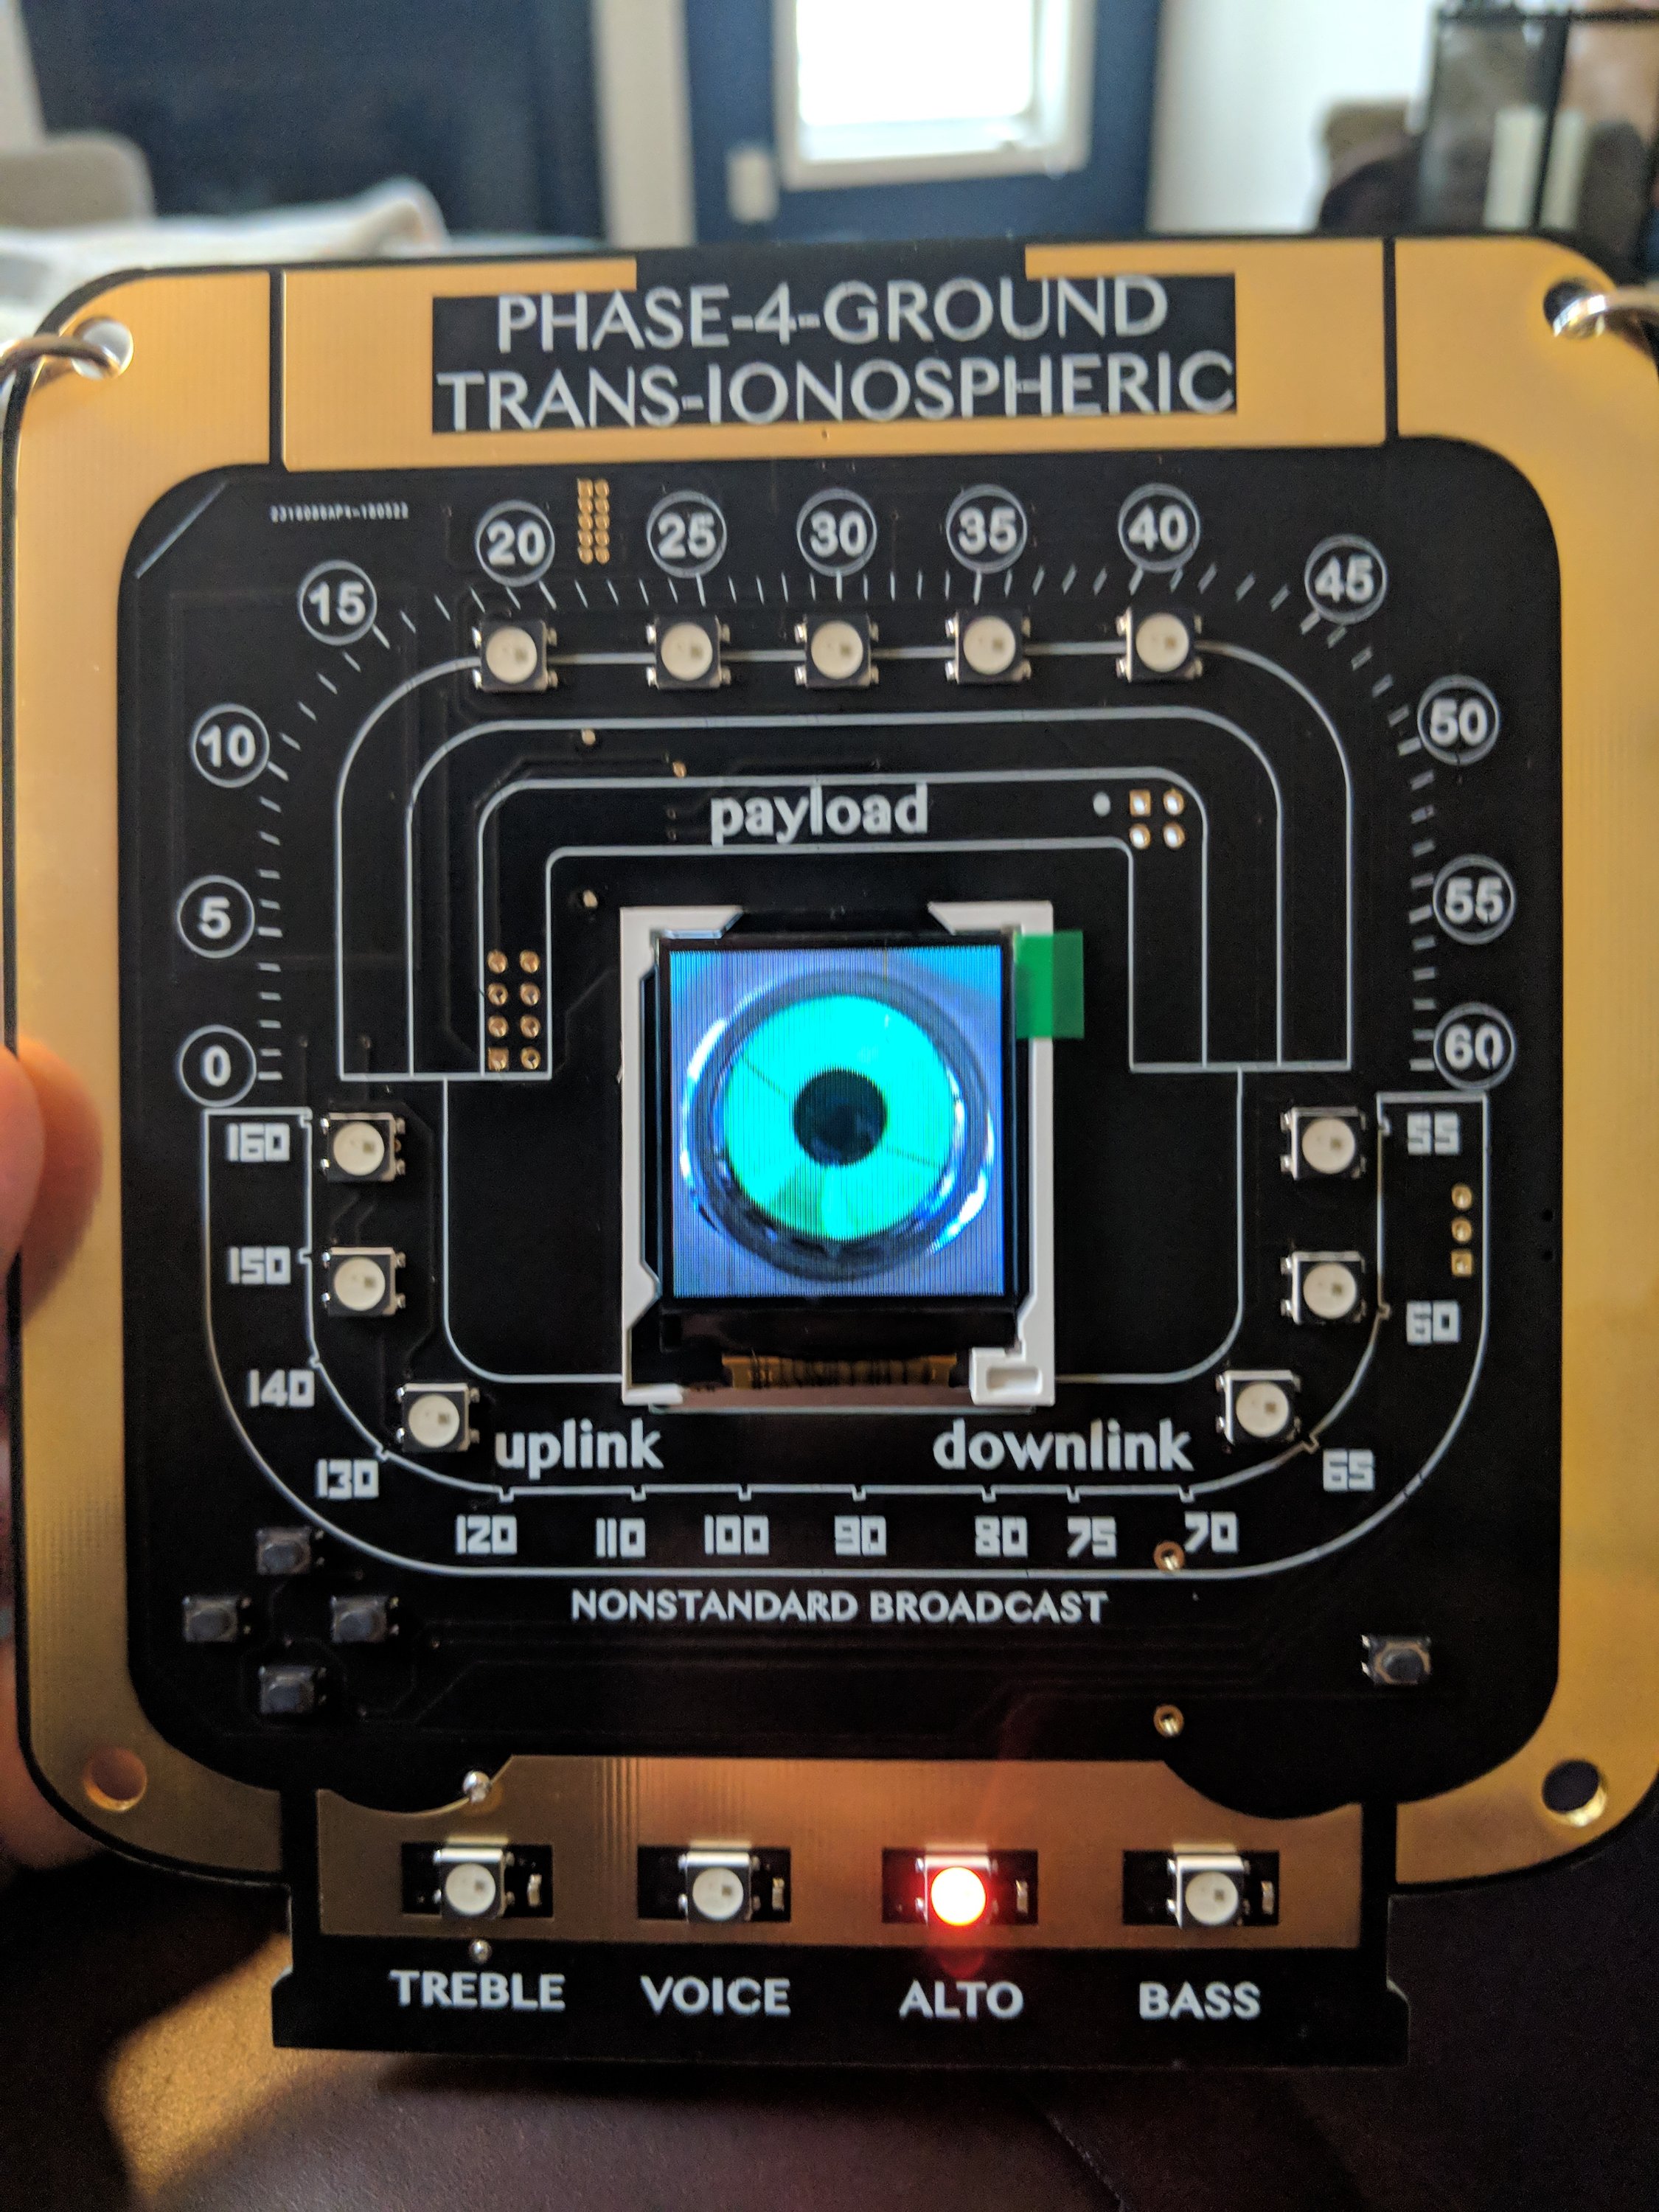
This one is the Phase 4 Ground Trans-Ionospheric Badge, and it’s got a ton of cute visualizations on the screen, games, customizations (name and call sign), and even some actual contact logging/QSO functionality. Another one where the maker decided to undercut the eBay upsellers by doing another run (or maybe there were just leftovers, who knows?). Maybe this trend will keep the badge-scalpers at bay, and keep the prices down to “moderately outrageous” for those of us who can’t seem to say no.
I wish I could tell you which was my favorite of all the badges out there, but I can’t compare function to form in an articulable manner.
You’re doing a great job with your RSVPs so far. I’ve got 8 members coming to the first meeting last time I looked. If you haven’t RSVPd, and you plan to come, you should probably RSVP via Meetup (or directly if you don’t use Meetup), because the room doesn’t have unlimited capacity. Also helps for planning. Also, we’re still not listed on the official Defcon groups page. When that happens, a few more slots may fill up.
I should mention that there will be swag.
I expect there will also be a lockpicking station. Maybe a Proxmark to play with.
If anyone is interested in helping behind the scenes, let’s meet up before the meeting, I’d love to hear your ideas.
Also, please take the poll I posted a few days ago if you haven’t already. It will help guide meeting content.

I had a serendipitous experience last year. The wife and I decided to celebrate a big round anniversary and a big round birthday by embarking on a rather ambitious journey. We drove to St. Louis for the eclipse, then to Burning Man. We got there a few days early to help out with “build week.” The Burning Man stories are for another time and place, but at some point after the event opened officially, I noticed that a camp schedule was posted (we camped in a village of several camps, with a large group of mostly DC area burners). While perusing the schedule, I noticed that there was a lockpicking class on the schedule. I asked the leader of that camp about it, and he replied, “oh yeah, there was going to be a class, but the guy who teaches it couldn’t make the Burn this year.” Excitedly, I asked if his equipment made it without him (it had) and volunteered to teach the class.
Fast forward to class time. I figured one or two people would wander by, so I spread out the backpack full of labeled progressive lock cylinders (1-pin through 5-pin) and the other oddball cylinders and locks on a table with some chairs near the front of our camp and sat and started playing. One or two campmates came to keep me company and play along. It didn’t take long for people to start showing up, and soon the table was crowded. I’d like to say I gave them brilliant insights and harrowing demonstrations of technique, but all I really did was explain how pin tumblers work, and a general demonstration on how to use the tension wrench with just the right amount of pressure in hopefully the correct direction, and boy were they off! The table was aflutter with people shuffling cylinders around, saying “I’m done with 1, is there another 2 free?” “I’m up to 4 already!” Fast forward an hour or three (burner time is a bit fuzzy) and some 20-30 people or so (counting burners is also a bit fuzzy) successfully passed their first lockpicking class. Nobody failed, nobody gave up.
I still haven’t had a chance to thank the guy who didn’t show up. I think he’s part of TOOOL DC, may have dated one of the burners in the camp at some point or something (yeah, facts are fuzzy out there too). I was hoping to track him down at Defcon this year and thank him, but I didn’t manage to get around to it. Hell, there’s always next year.

Answer honestly, as it may affect the content of the meetups.
[democracy id=”2″]
Just a reminder that attending conferences, security group meetings, and similar activities can count toward continuing education credits for maintaining certifications.
I picked up CEH last April, and thanks in a large part to attending DEFCON twice and BSidesLV once, I’ve already got 89 credits toward the 120 required for maintaining my certification..
Over the winter, I intend to take on OSCP. What certs to you folks have?
Here are the activities that qualify as continuing education credits for CEH:
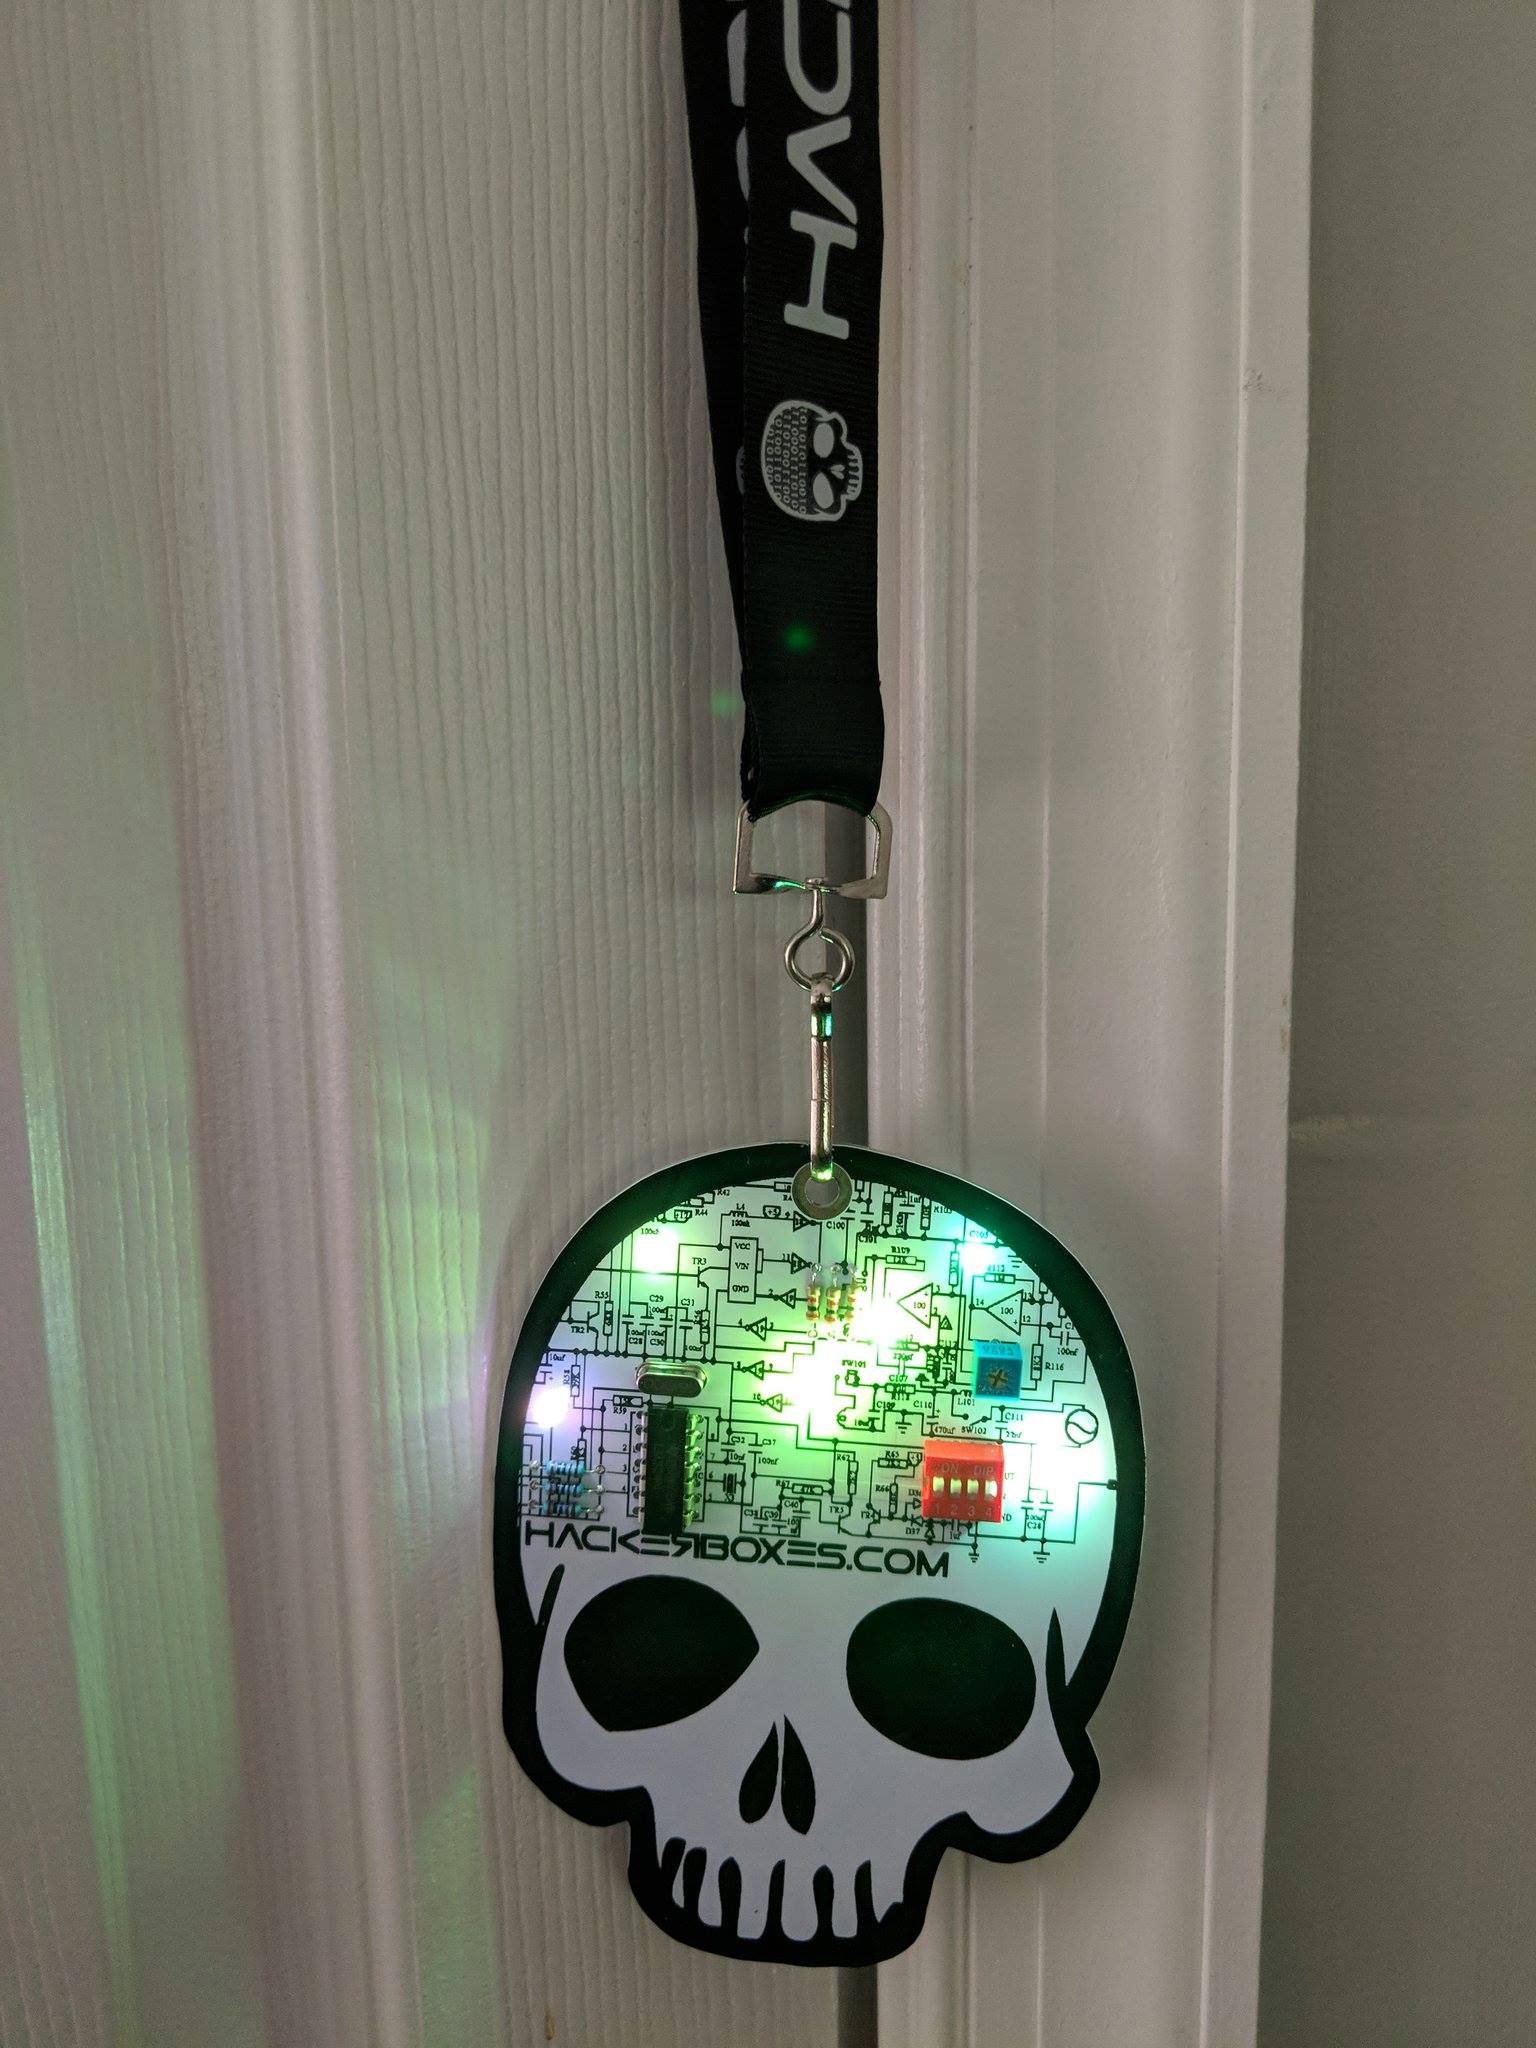
Better late than never. I think this one was released in time for subscribers to assemble it before Defcon. I slapped this together over the weekend. About the simplest project you can imagine. The switches turn the individual LEDs on, and the LEDs each have either a slow transition or fast transition IC built-in. The resistors are purely for decoration. It’s pretty and blinky, so I can’t complain.
The kit also came with a MicroPython PyBoard to experiment with. Going to have to steal some time to play with it, it really sounds like a lot of fun.
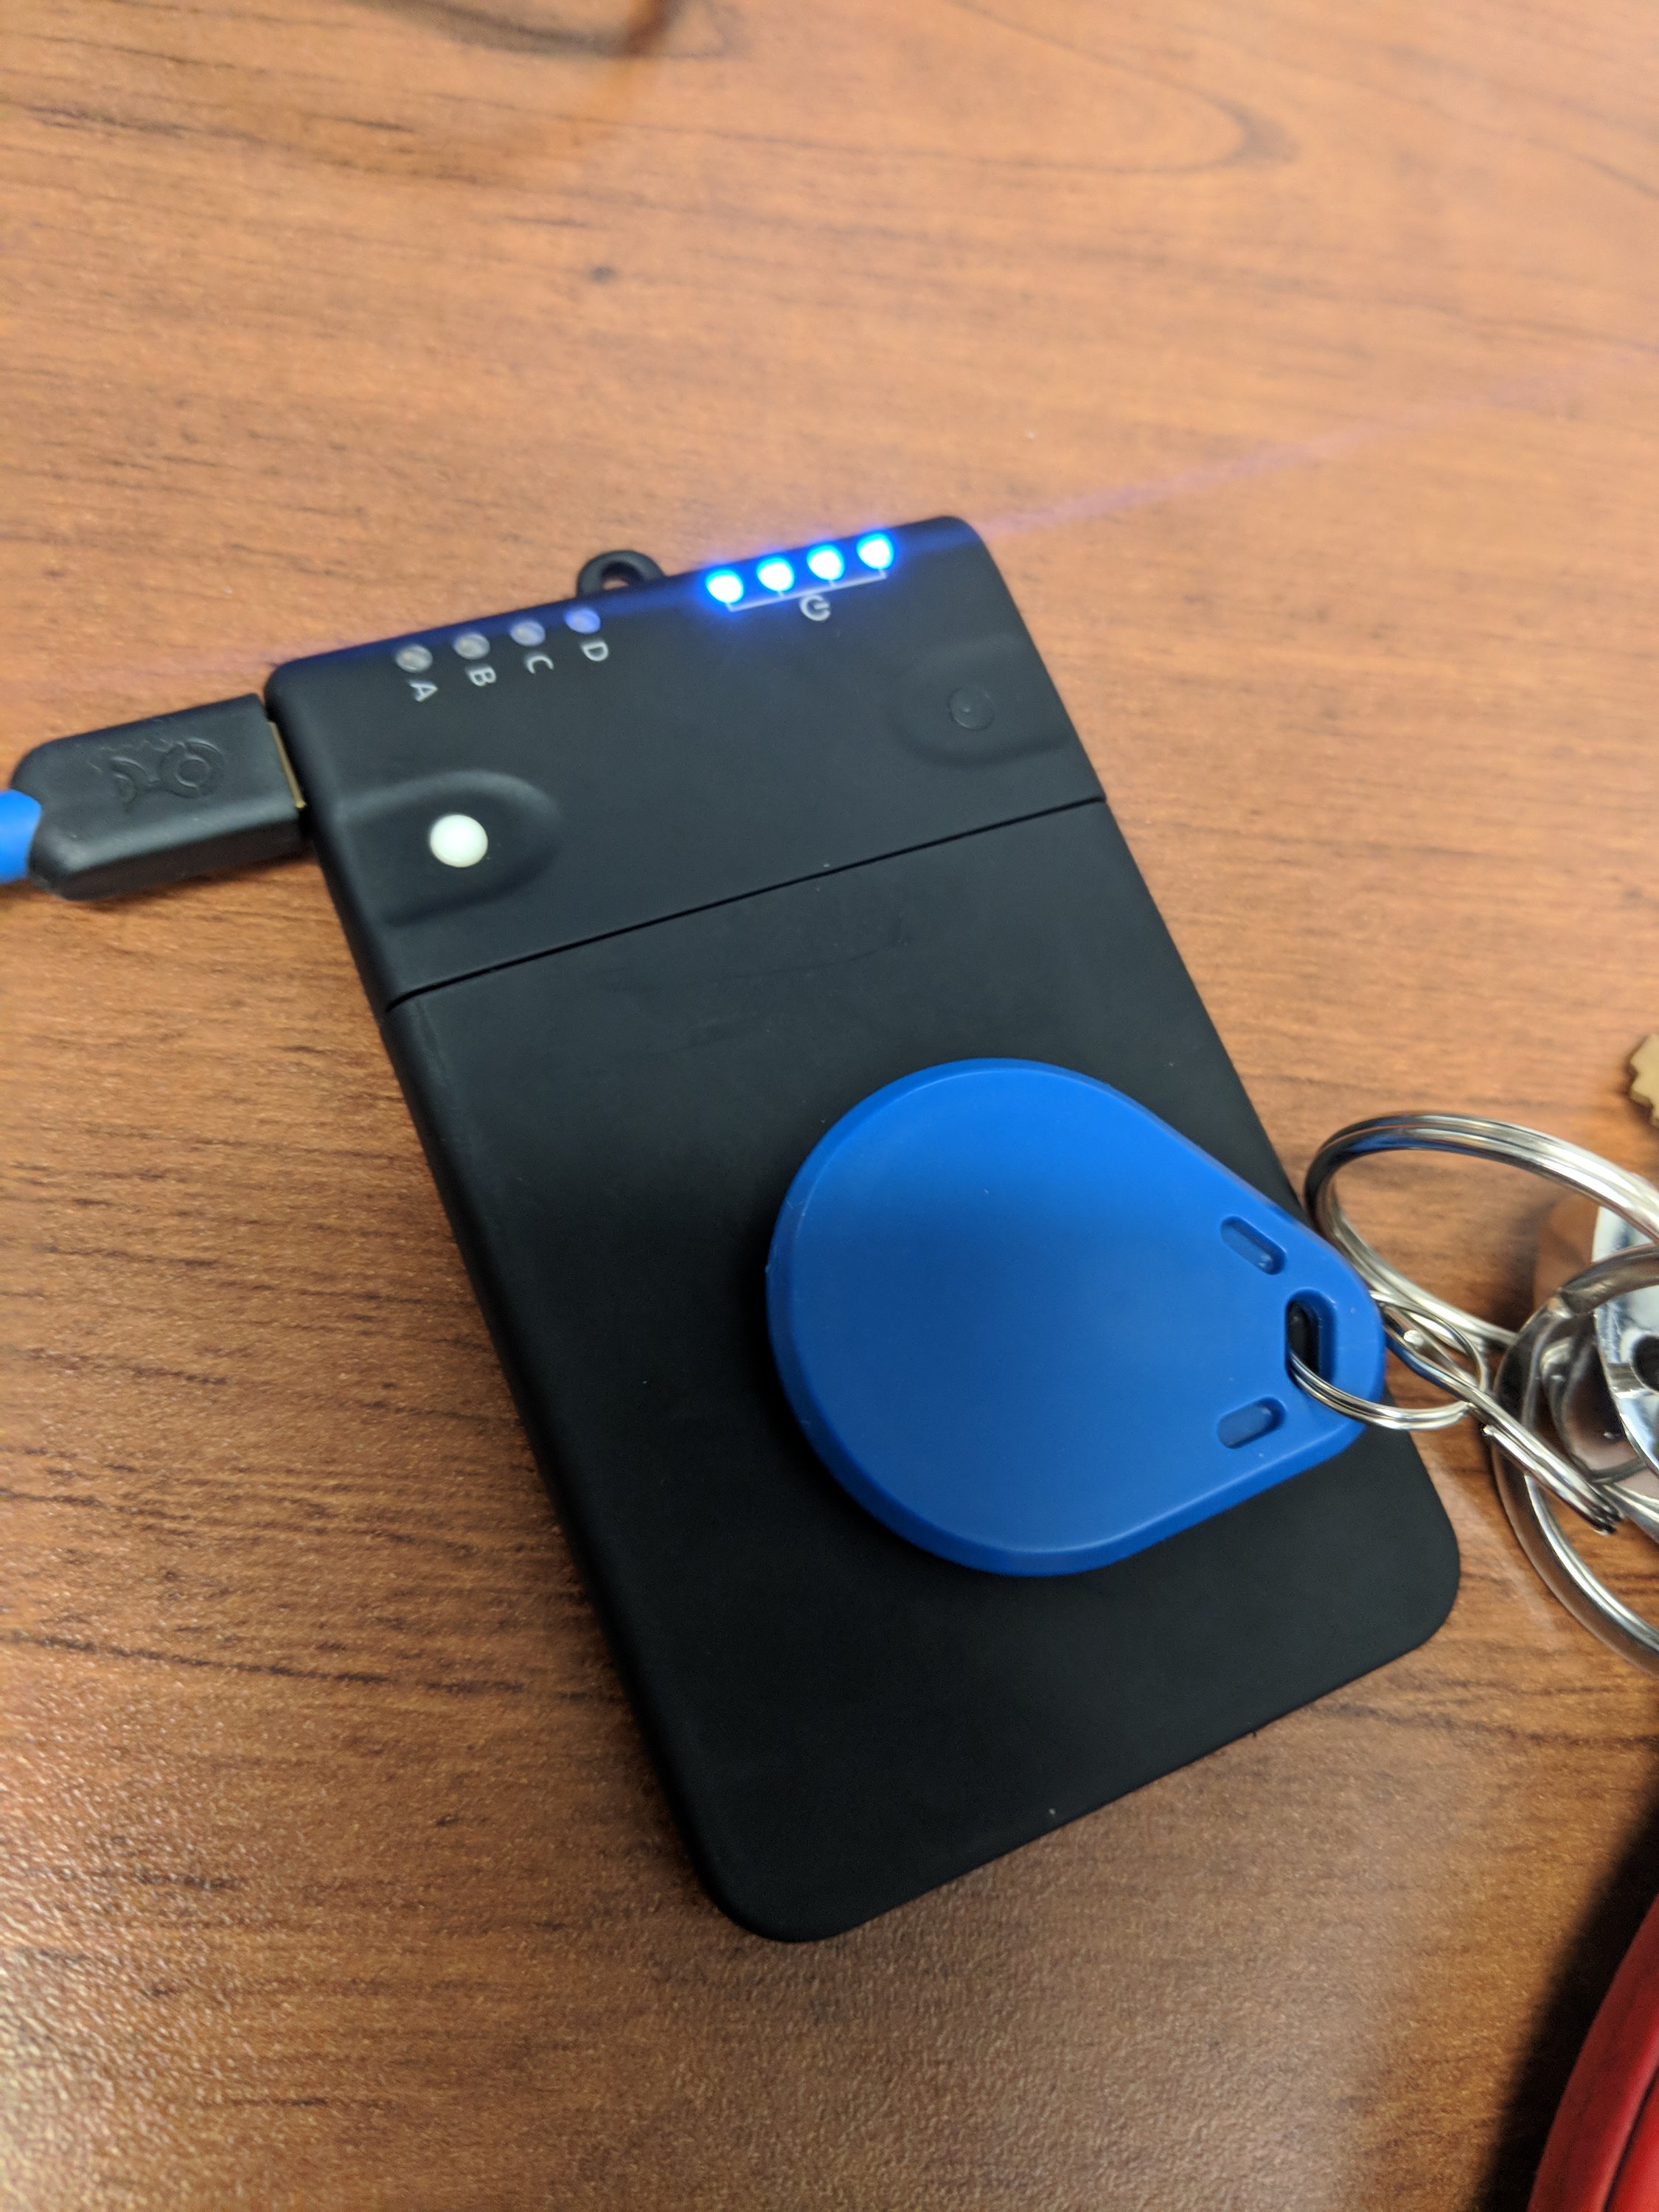
I was excited to pick up the new Proxmark 3 RDV4 from its Kickstarter, before the official, far more expensive release at Defcon 26. I’d been playing with it since I got it, cloned my office entry HID card, and tried out a couple of the Android apps to run it.
There are two Android apps that I’m aware of. Walrus is the one that seems promising to me. It leverages the ability to read, write and simulate (playback) RFID cards native to the Proxmark, and supposedly a feature under development is to brute force readers using bulk-collected tags. Sounds like a fun tool for physical pentesters. Collect cards in a crowded elevator, then try to get into offices using the cards you’ve collected. I haven’t checked for an update since downloading the software, so I have no idea whether it’s been implemented yet. The other one, AndProx, is a standard Proxmark CLI, and I’m not much for typing on phones. It’ll work in a pinch, but I prefer my trusty Macbook for that. Also, it didn’t seem to recognize the Proxmark from my phone. Maybe I need an OTG cable.
I picked up some keyfob tags on Amazon, because I have this annoying habit of forgetting my work card every once in a while and having to borrow a temporary card from the receptionist, and I figure if I have one on the same ring as my car keys it’ll be far less likely that I’ll leave it at home (or in the car). However, my RFID tag knowledge isn’t super deep, and apparently just looking for T5577 cards isn’t good enough. They read as “Indala” in the Proxmark, and I’m unable to clone my HID card to them as I could with the included Proxgrind card, or other random cards in my collection.
So I looked a little closer this time, and ordered another set of fobs that one reviewer claims he was able to clone HID with. Science is all trial and error, right?
If you’re considering getting a Proxmark, I’ll share a couple of experiences. Trying to update the bootloader and firmware from a Linux VM was problematic. The update hung and bricked the Proxmark. This was easily fixed by holding down the button on the unit while powering it up, and while re-uploading the bootloader and firmware directly from MacOS. If you get weird command errors, it’s because your client and firmware versions are out of sync. Once everything’s in sync, it’s like clockwork.
Side note: I’m getting to be known as “that guy” at work. A coworker asked me if I could pick tubular locks today. Gotta dig out my tubular pick set to bring in tomorrow. He wants to replace a drive in a locked drive array and doesn’t know where the key is.
Indala Update 2018-09-09: I somehow managed to get the “Indala” card to work. Hints from iceman gave me confidence that the reader may have just been misreading the tags, so I played around with t55xx commands until I managed to get it right. I will try to duplicate the process in my spare time so that I have a documented solution. The good news is that it does work. Now what to do with these 19 extra fobs. 🙂
Received the Car Hacking Village badge today. The fucker has a beautiful display, nice fluid LED transitions, and an OBD-II port. Looking forward to seeing what its capabilities are. I know it has CAN and NFC capabilities from the website at http://www.specsolns.com/defcon…