And I realize this isn’t apples to apples. Other factors are involved. A lot of people have been able to get the Anet to print way better than this. But there’s a reason there’s a long list of “essential upgrades” for the Anet. It is a rock-bottom DIY machine. I’m not even going to call it entry-level. For entry-level, a primary requirement is ease-of-use. Lower quality can be excused, but entry-level should not frustrate users out of the hobby.
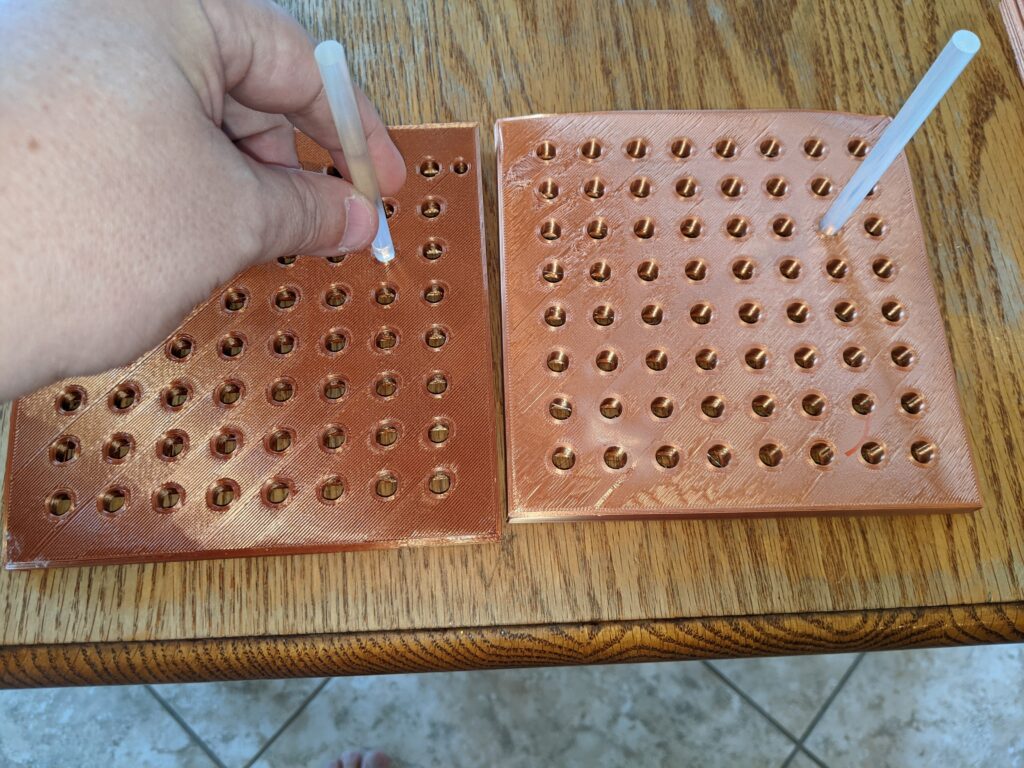
Here are two prints of the exact same part, side by side. Same Cura settings, good bed leveling. The piece is designed to hold glue sticks. The piece on the left, because of the inaccurate circle size printed, won’t even accept the glue stick. It’s just OFF. Can’t even jam it in there. No dice. The piece printed by the Ender, however, has well-rounded holes, and the glue stick just slips in with no friction as intended. The print is within spec.
Now for a closer look.
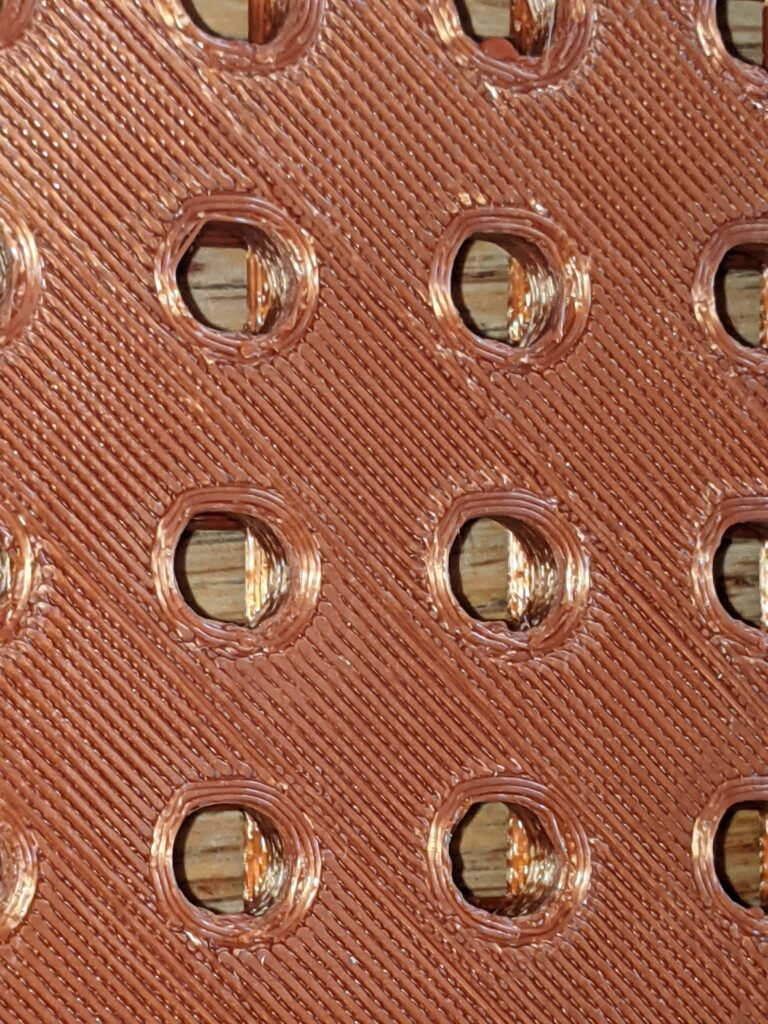
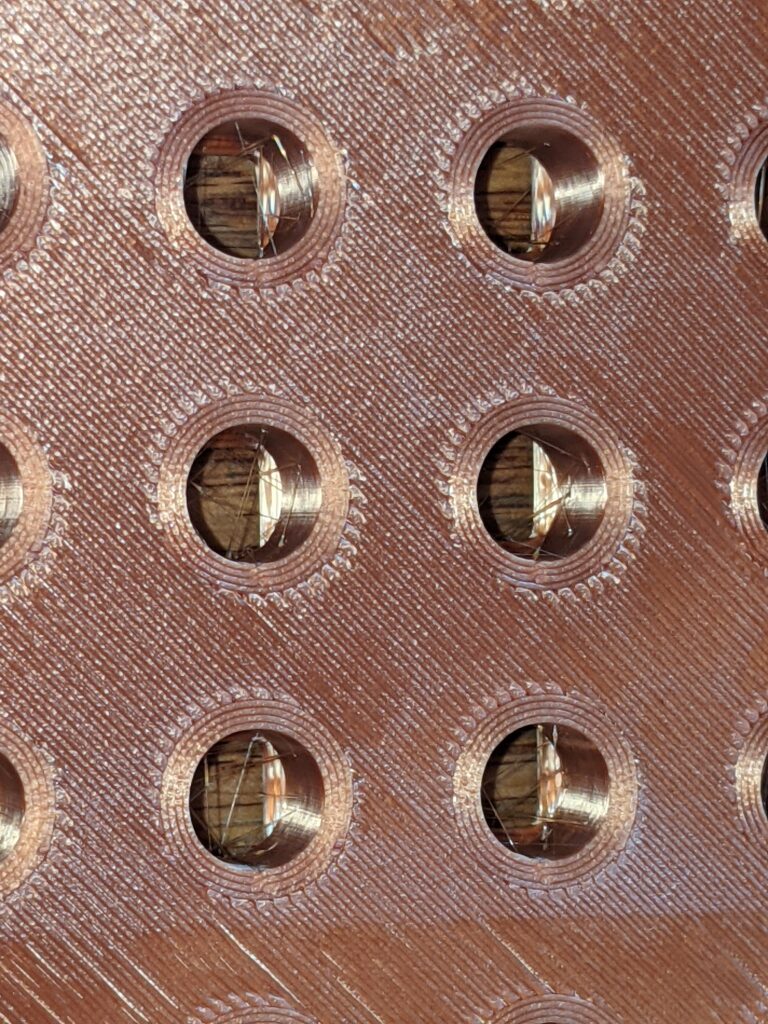
See how much neater and rounder the holes are on the Ender 5? I attribute this to the Anet having an acrylic frame and just being overall wobbly. And with an acrylic frame, you can’t really tighten it too much, else it will crack the acrylic. Accuracy is critical when printing parts that interact with other parts. Also note the uniformity in the fill lines. Still not perfect on this print, but way tighter. This is not because the nozzle is different in any way. It’s the same sized nozzle.
Next let’s look at the layer stacking.
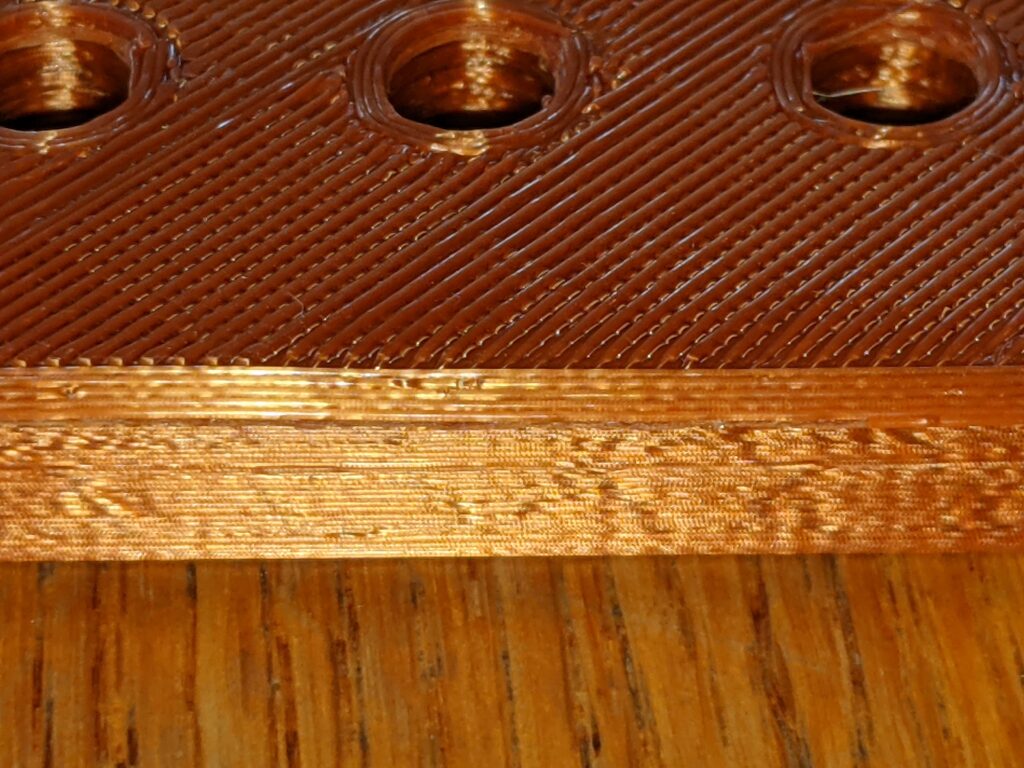
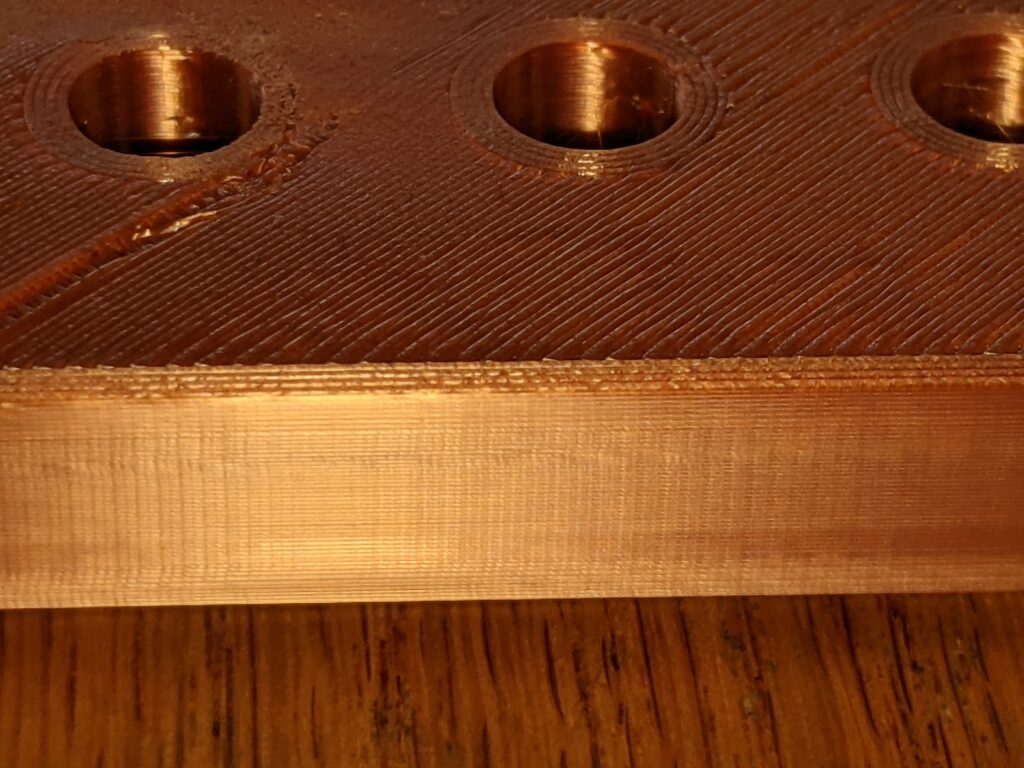
Just so much cleaner.
Again, some of this is definitely attributable to my own skill level. I’m still relatively new at this. A proven amateur. My point is that I got these results from the Ender 5 with a stock, straight out of the box machine, after only adjusting the extruder steps/mm. This is the way.
I still had a bit of an issue with edge curl-up on this print, you might notice that in the side-by-side. I printed the next piece, which is nearly identical, with a brim, and also brought the nozzle just a hair closer to the bed, and about four hours in to a 13 hour print, it looks like edge curl isn’t going to be an issue with this one. As I get more attuned to this machine, I should get better at predicting and preventing issues like that.
Update: Indeed, the brim held, and the next two pieces were virtually flawless, with no corner curl-up. It’s possible the problem was nozzle distance and it would print fine without a brim. Further testing will reveal that, when I’m not trying to complete pieces.
