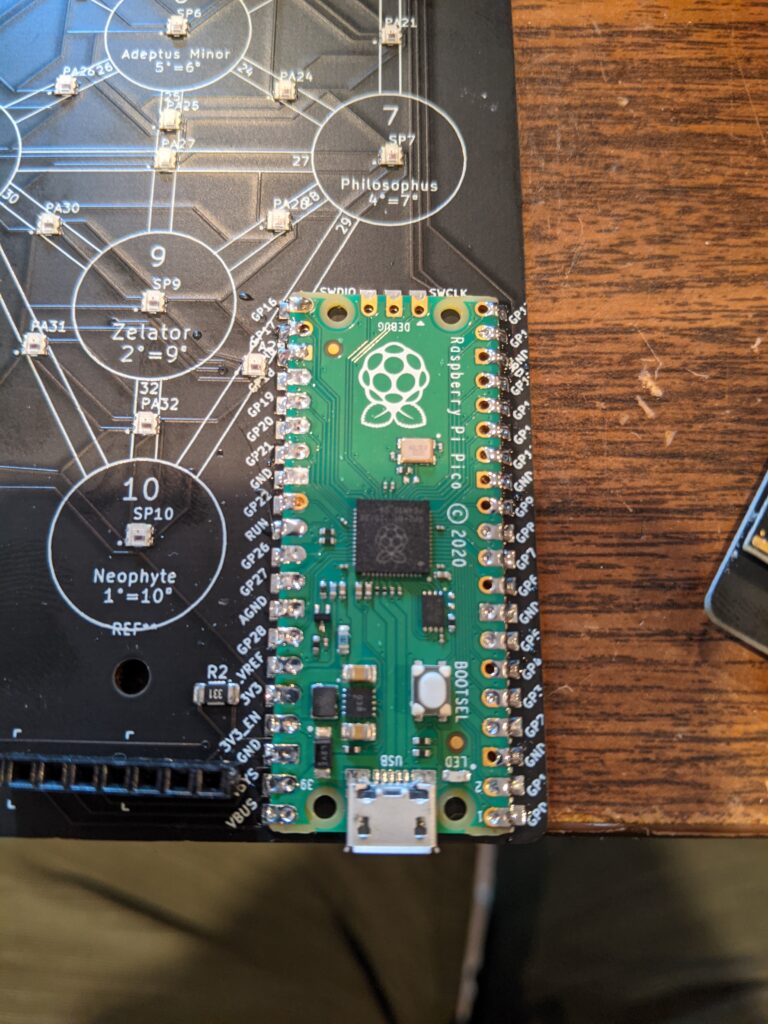
When we chose our badge design, we were cocky and full of ourselves, and went with surface-mount pads on our prototypes. Because our badge is based on the RPi Pico microcontroller, and had castellated edges, we figured we would minimize soldering, maximize space for silkscreen artwork, and up the cool factor by mounting on the pads using solder paste with the castellated edges.
Well, that turned out to be too hard. We don’t know what we’re doing, and didn’t have time for a learning curve, and kept running into bridging below the surface, which is hard to correct after it’s soldered down.
So we decided to go back to thru-hole with the finals. We soldered about half of them with thru-hole headers, which, let me tell you, is a pain. 40 header pins soldered to the board, and 40 soldered to the Pico. It’s tried and true, and any screw-ups are obvious and visible, but we were disappointed.
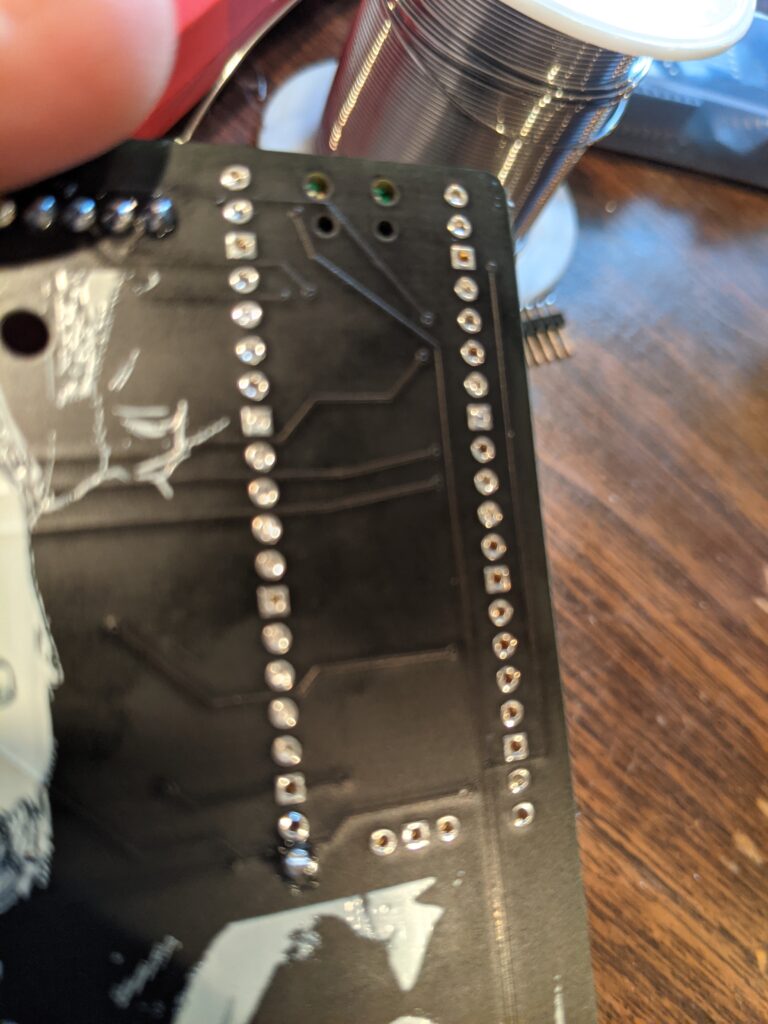
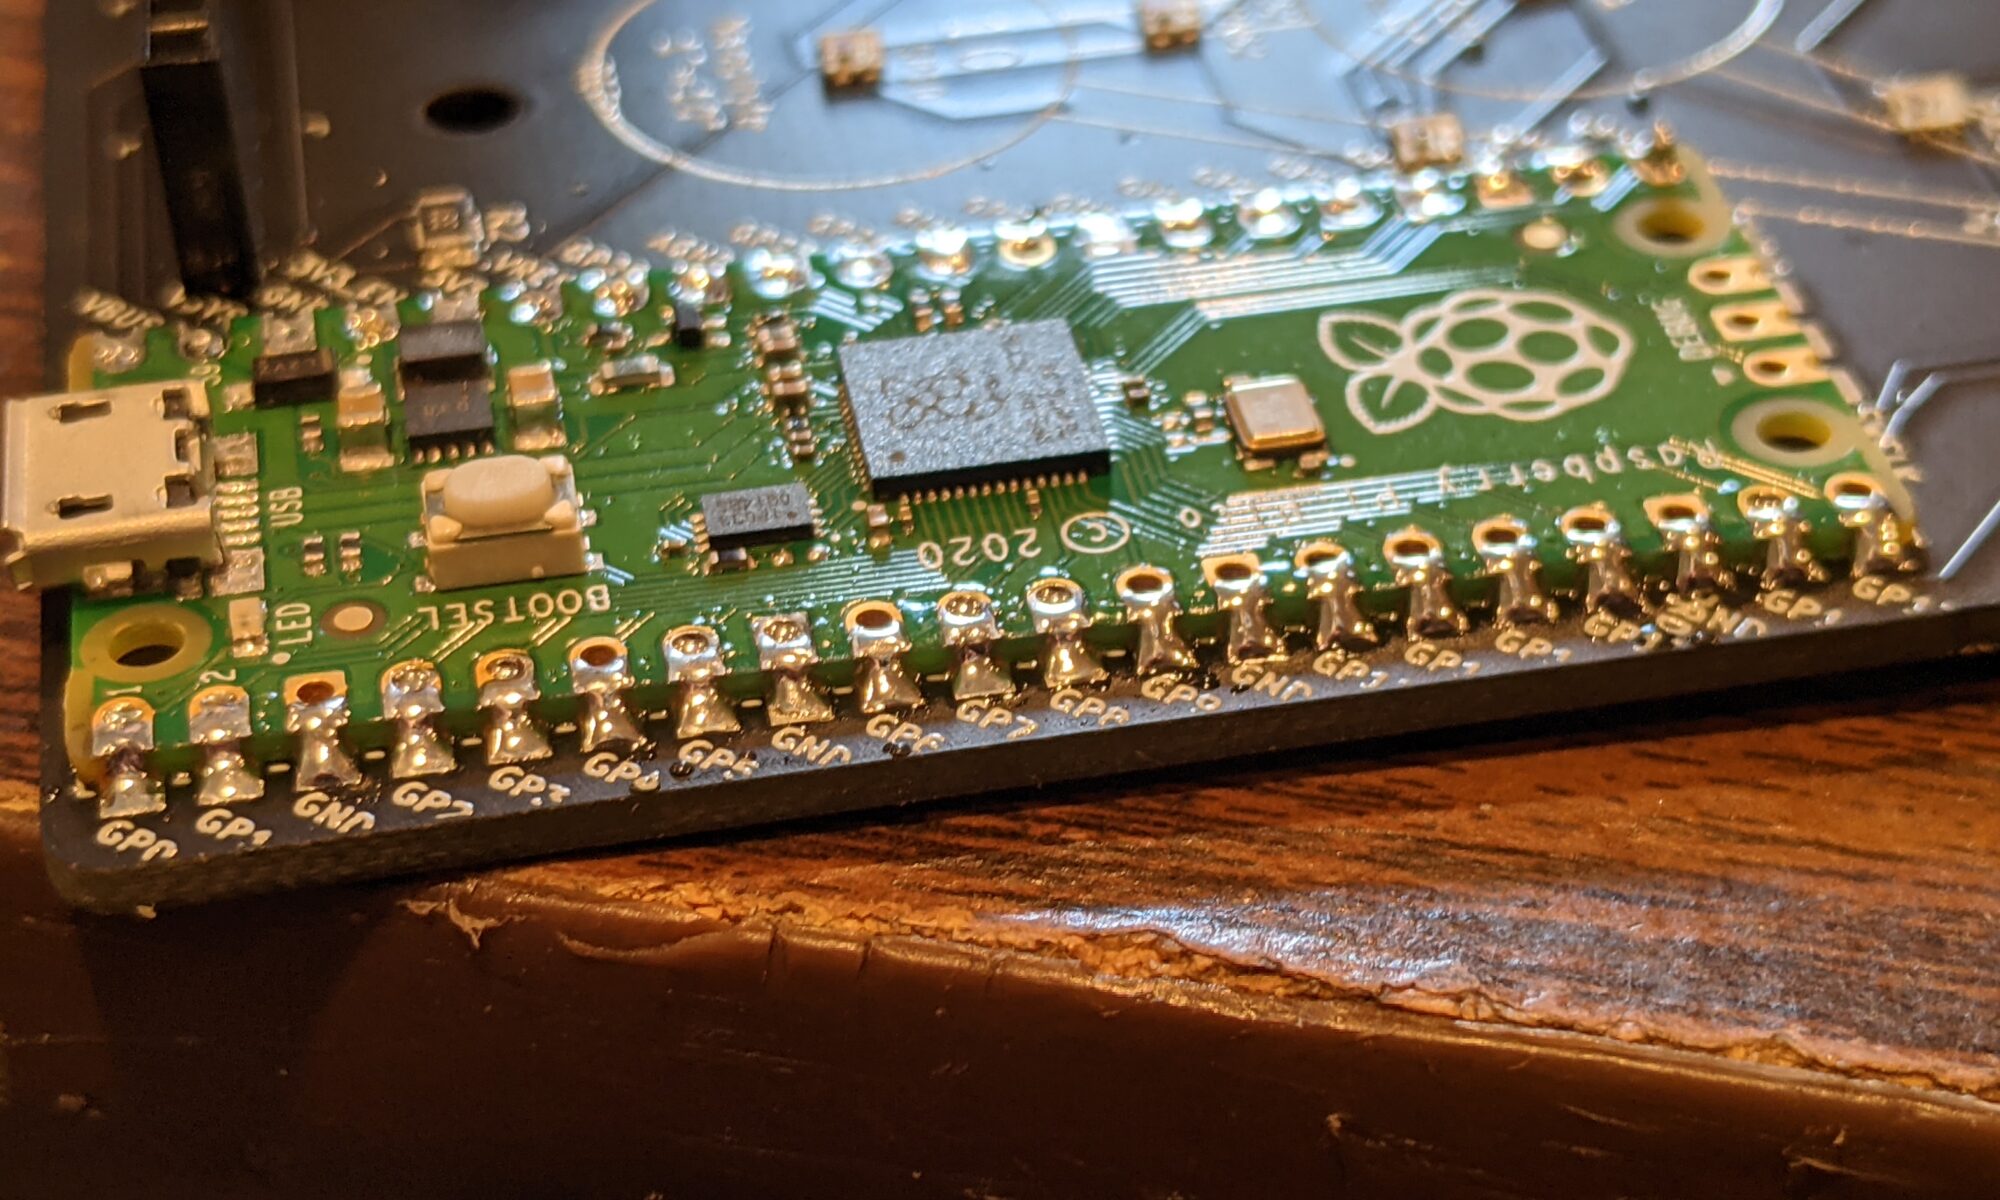
I was assembling the last of batch 1 earlier today, and decided on a whim to try headerless soldering directly to the pads with regular solder instead of paste. I used a 20-pin header temporarily on the left side to hold the pico in place on the board, soldered down the right side, then removed the header and soldered down the left. It worked great. It’s the best of both worlds. It saves wasted time with headers, cuts soldering in half, and keeps unsightly pins from poking out the bottom of the board. Just like regular thru-hole soldering, problems are visible. Bridging is not usually a problem, the solder tends to stick to the pads on the board as well as the generous copper pads on the Pico. All I need to do is make sure there’s a nice ramp from the upper pad, waterfalling over the castellated edges and onto the board pad.
If you ever have the urge to base a PCB around the Pico, consider this option.
Yes, we’re aware you can get the RP2040 chip on its own without the Pico, but one of our members bought a whole REEL of Picos, so it made sense for us to do this.